Give your friends €10 off their first order!
Refer a FRIEND








A project from our live show MIGHTY MONDAY - Join Toni for her detailed papercrafting sessions - Broadcast 25th November 24 · 25/11/2024 · watch it from 31:00
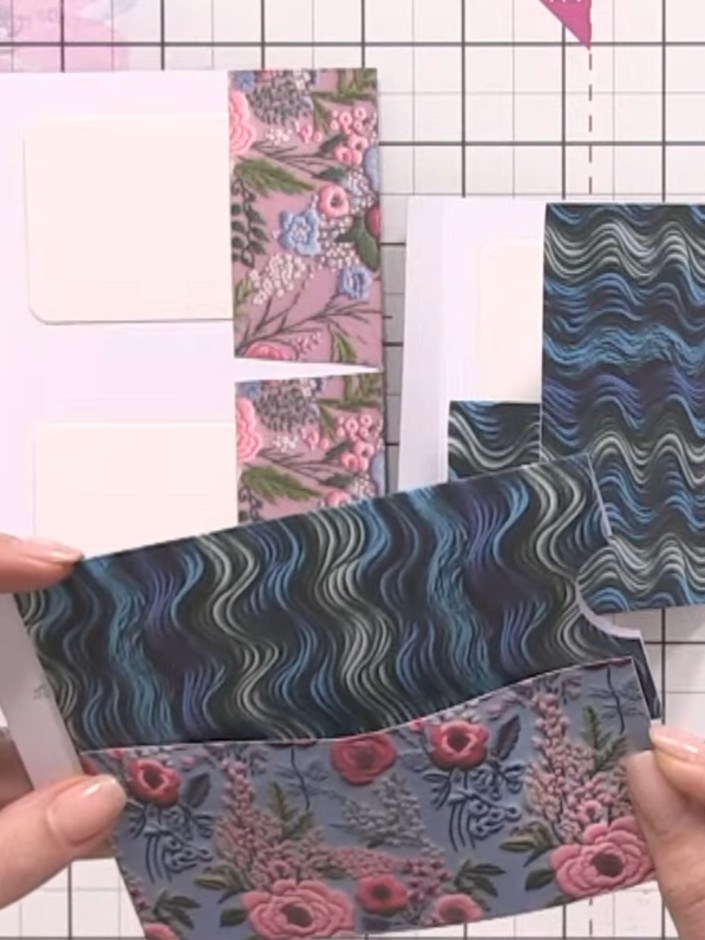
Create a sophisticated 6x6 album page featuring nested pockets with decorative patterned papers in blues, pinks and florals. This layered design incorporates a pocket within a pocket, complete with a pull-out tab bookmark, adding dimension and interactive elements to your memory keeping. The main techniques include precise paper folding, layering multiple patterned papers, and creating functional pull-out elements.
 Stamps By Me Tab Punch 1 - 190822A - 290422ASEE IT
 Circle Craft Punch - 1 Inch - 170926ZSEE IT
 Atc Card Bundle 100 White Cards 090522MSEE IT
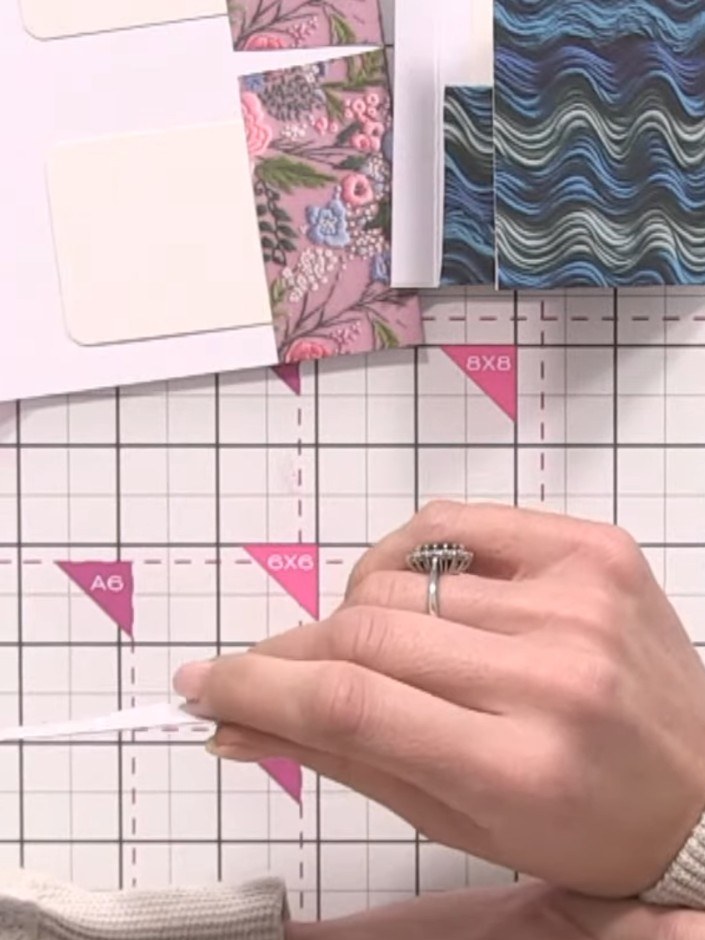
Score a half-inch hinge along one edge of your 6x6 patterned paper using your scoring board.
▶ watch this step (31:00)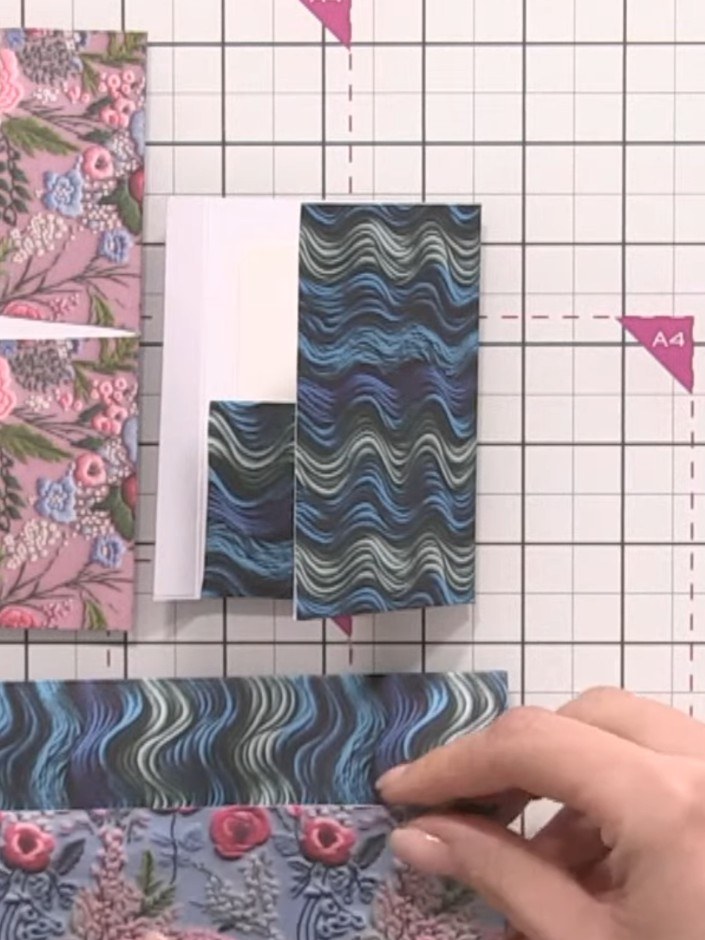
Score and fold the blue wave patterned paper to create a base pocket. Position the folded pocket on your work surface with the opening at the top.
▶ watch this step (31:15)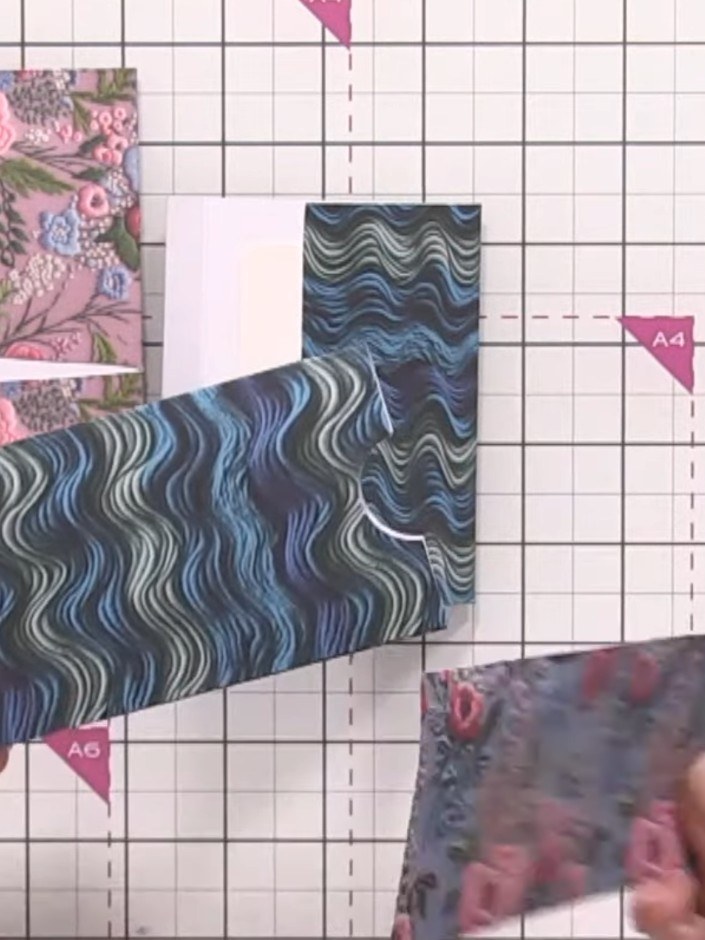
Cut a strip of the floral patterned paper slightly shorter than the height of your pocket piece. This will be used to create a contrasting insert for the guillotine pocket.
▶ watch this step (31:30)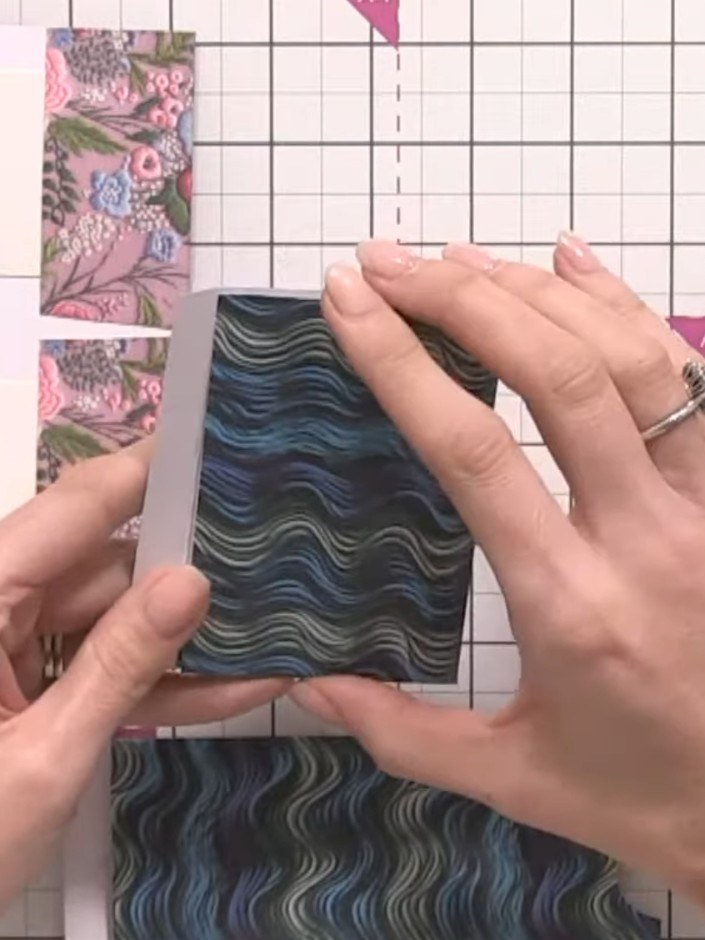
Punch two tab shapes from offcut paper using your tab punch.
▶ watch this step (31:45)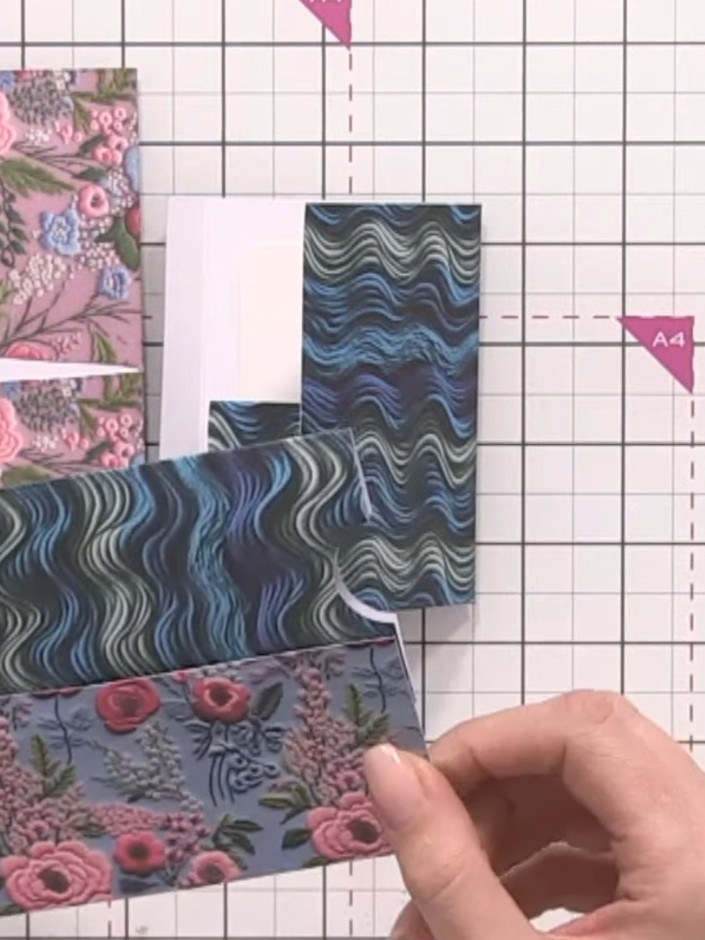
Attach one tab punch to each end of your paper strip using adhesive tape to create pull-out handles for the pocket.
▶ watch this step (32:00)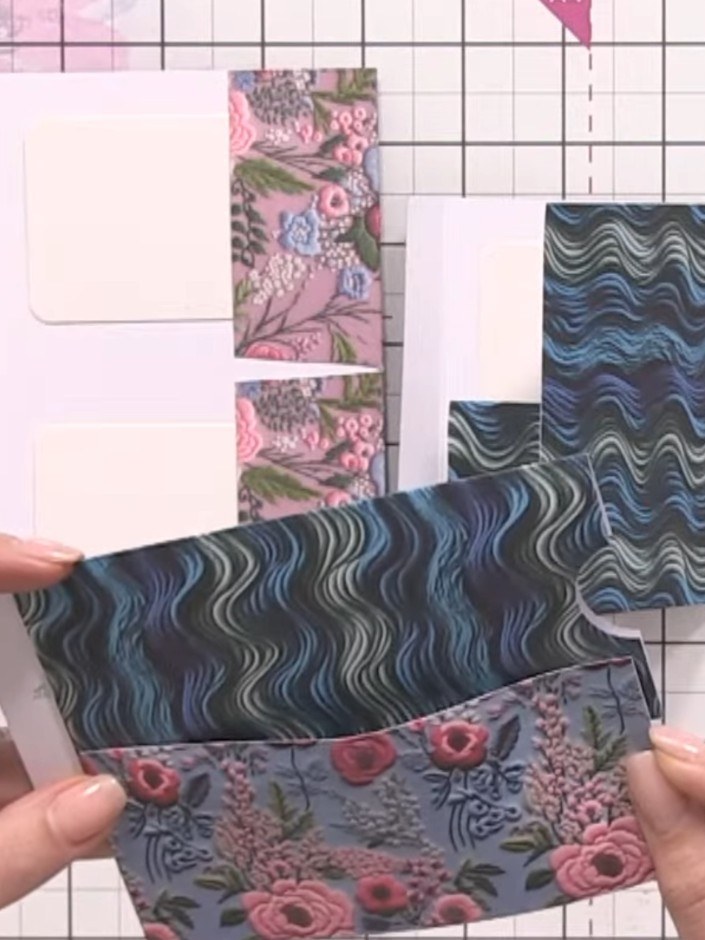
Take an offcut of the wave-patterned paper and score quarter-inch lines along one edge. Fold along the score lines to create a small pocket, then attach the floral-patterned paper strip to form the pocket base.
▶ watch this step (32:15)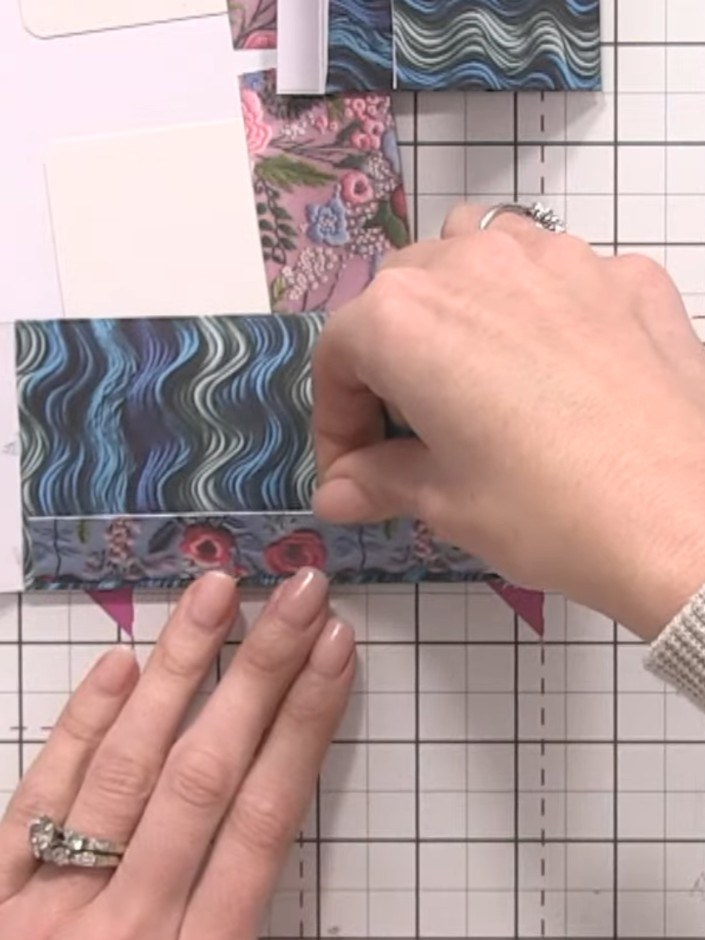
Adhere the small pocket (with the blue wavy pattern) to the inside of your base pocket (with the floral pattern). Position it carefully so the edges align neatly.
▶ watch this step (32:30)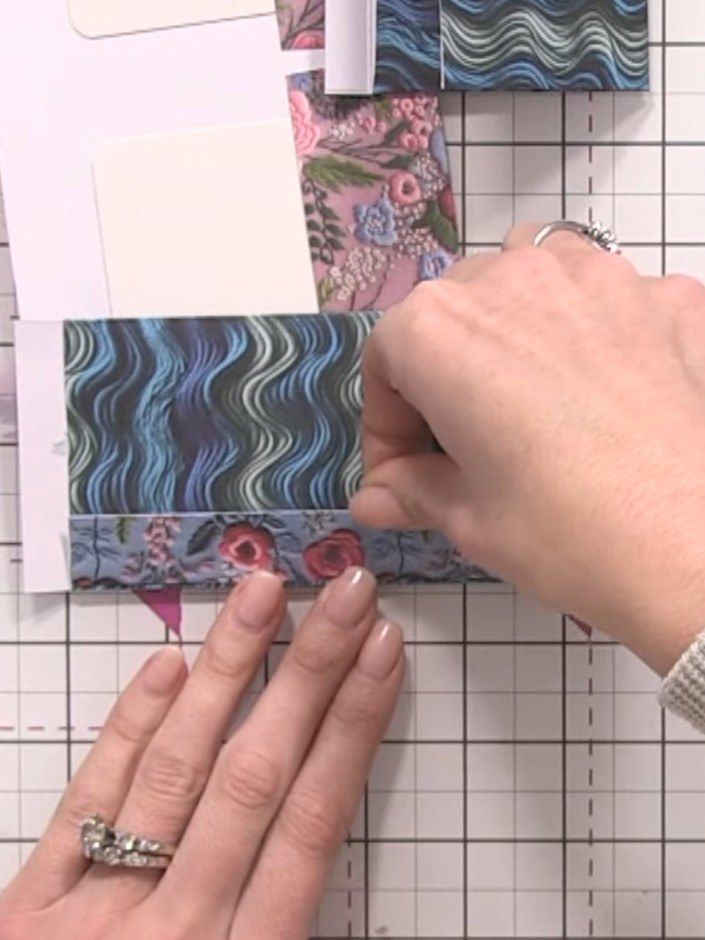
Seal all pocket edges with double-sided tape or glue. Press firmly to ensure the floral patterned strip is securely attached to the wavy blue patterned piece, creating a sealed pocket edge.
▶ watch this step (33:00)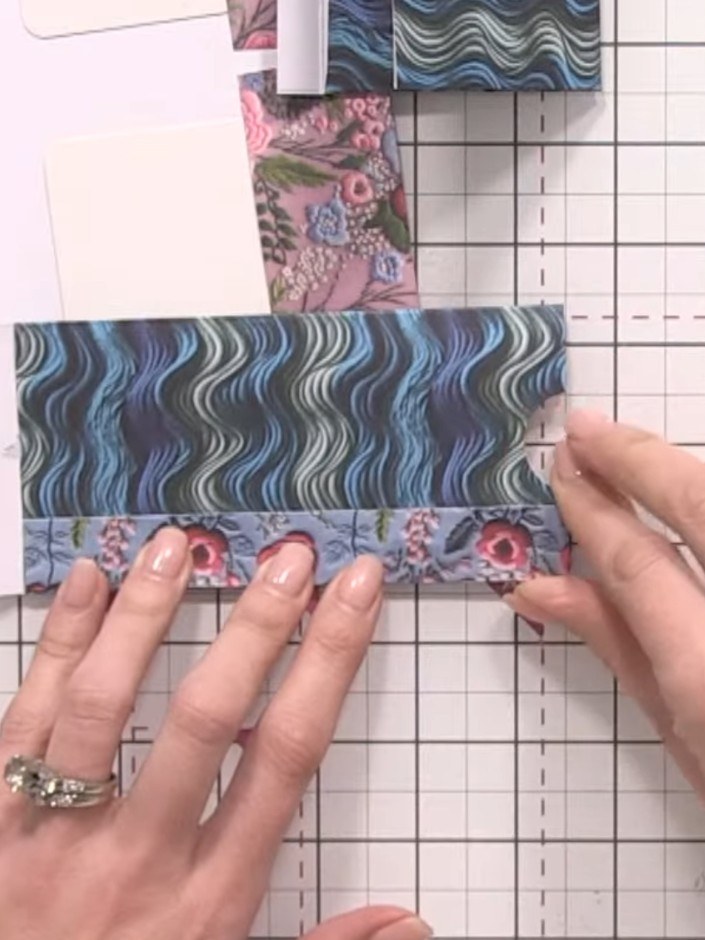
Trim away any excess hinge material from the edges to reduce bulk before adding the page to your album.
▶ watch this step (33:15)Written up from the show itself. See every guide from our shows · free how-to guides · watch live on My Telly