Give your friends €10 off their first order!
Refer a FRIEND








A project from our live show ONE DAY SPECIAL - Join Toni for brand new launch - Broadcast 22nd November 24 · 22/11/2024 · watch it from 9:15
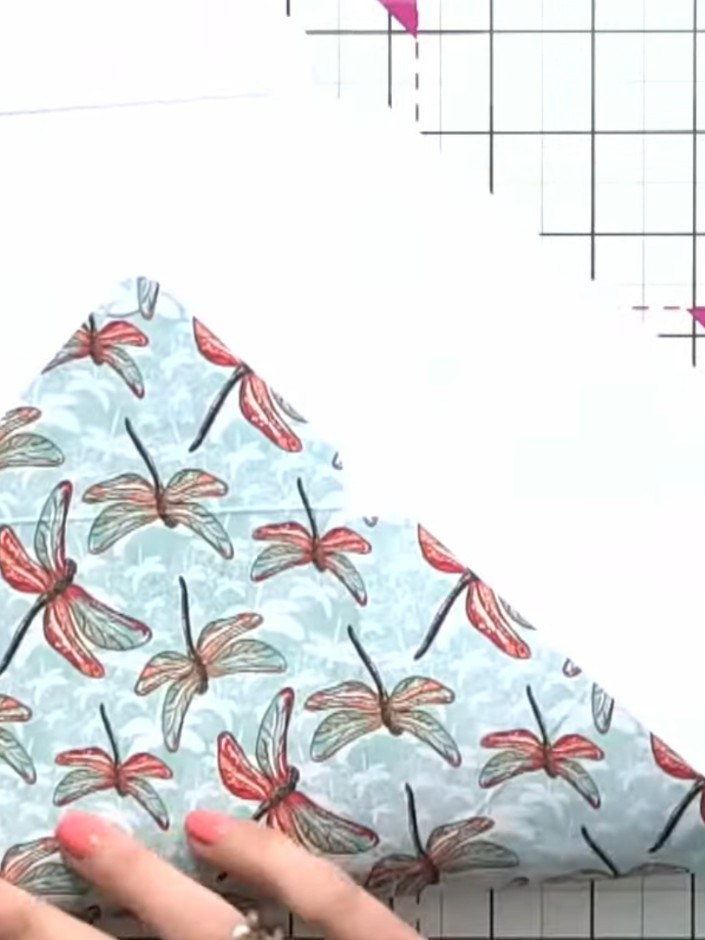
Create an elegant glueless gift box measuring 4×4×4 inches using decorative papers in coordinating floral designs. This clever construction uses a hook-and-eye locking mechanism that requires no adhesive, making it both practical and reusable. The box features beautiful pink, grey, and blue botanical patterns perfect for presenting special gifts.
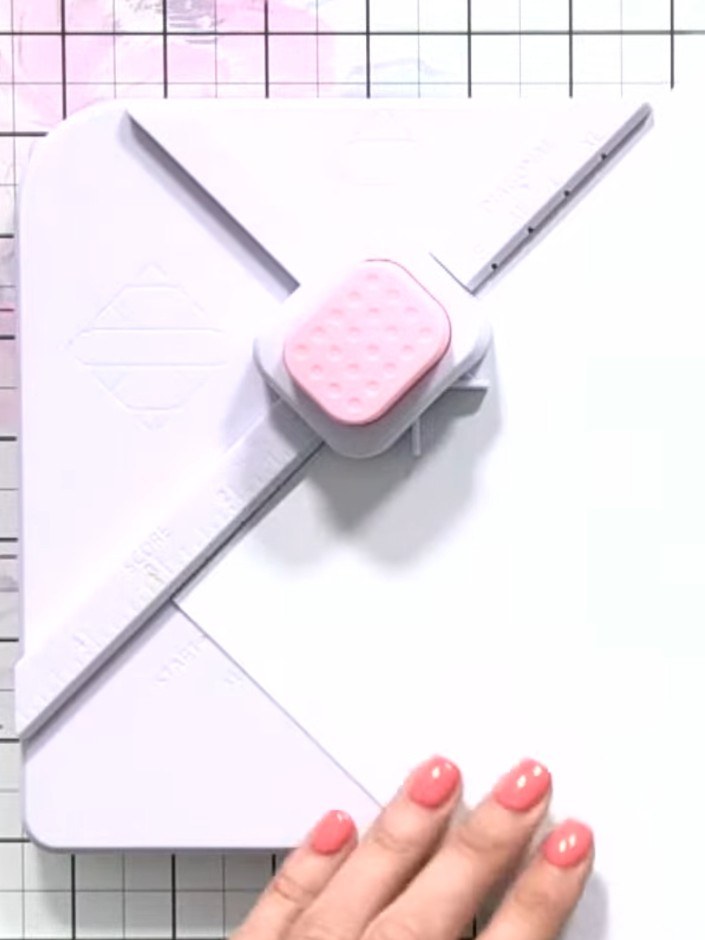
Cut a 12 by 12 inch piece of white card stock. Place the Stamps By Me Box and Envelope Maker tool on the card stock to prepare for scoring.
▶ watch this step (11:00)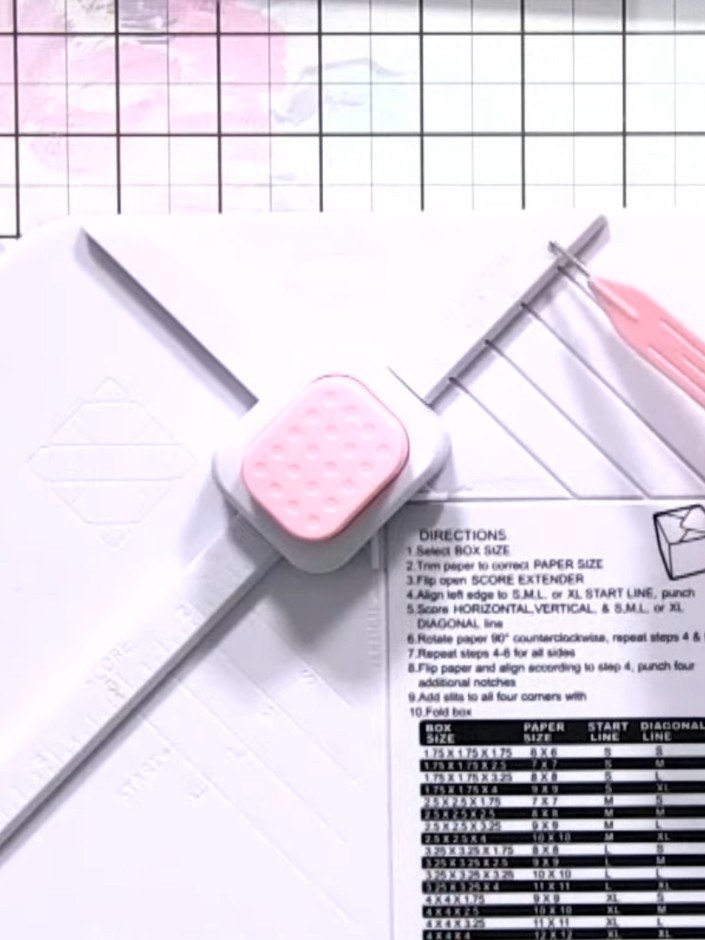
Insert the paper into the box maker tool, aligning it with the XL start line on the diagonal scoring guide.
▶ watch this step (11:00)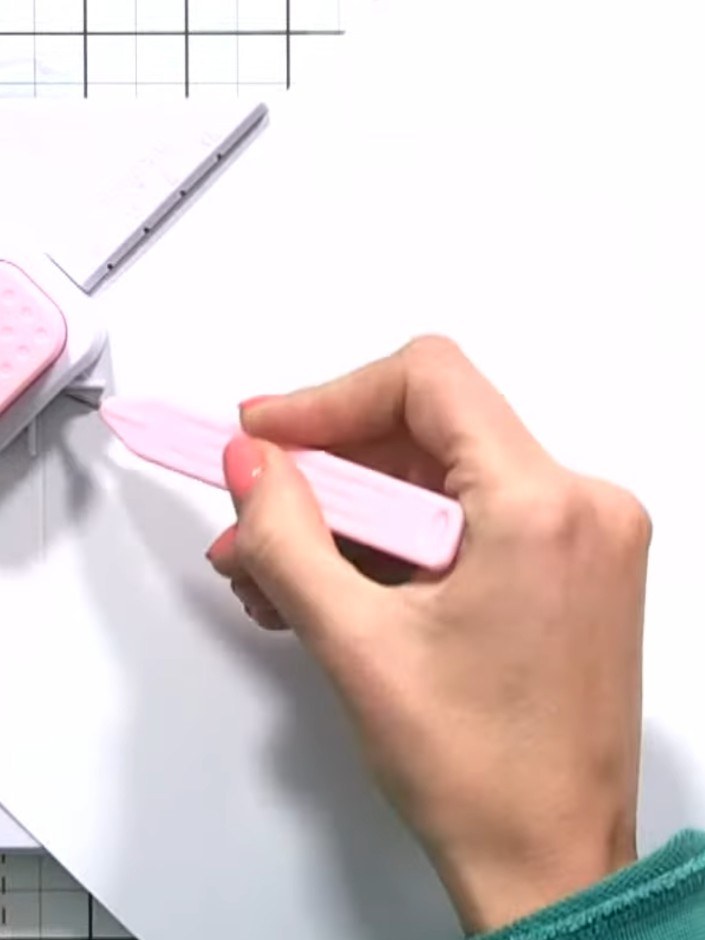
Using the XL punch, punch the first hole on the XL start line marked on your card.
▶ watch this step (11:15)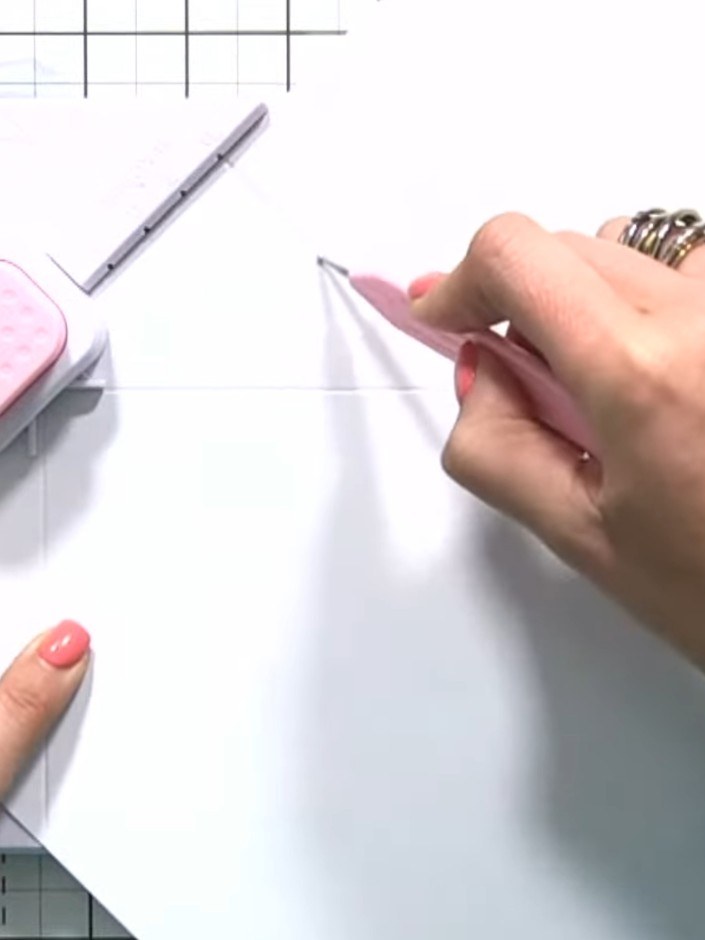
Using the scoring tool, score along the entire length of the paper on the start line, working from top to bottom and all the way across.
▶ watch this step (11:30)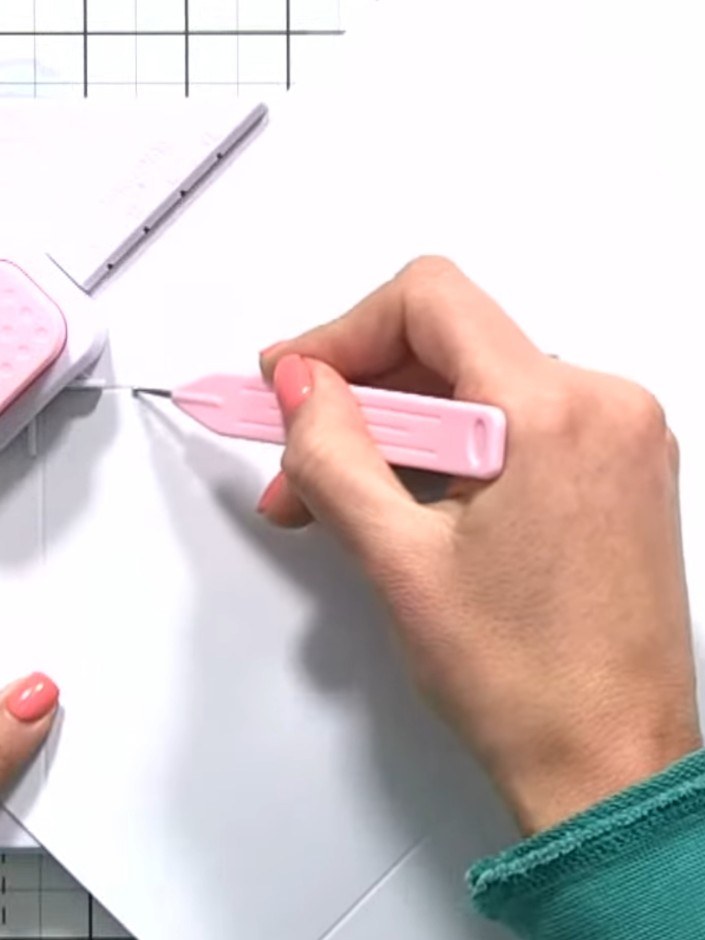
Twist the envelope and box tool to rotate the paper and line it back up with the XL diagonal line on the tool.
▶ watch this step (11:45)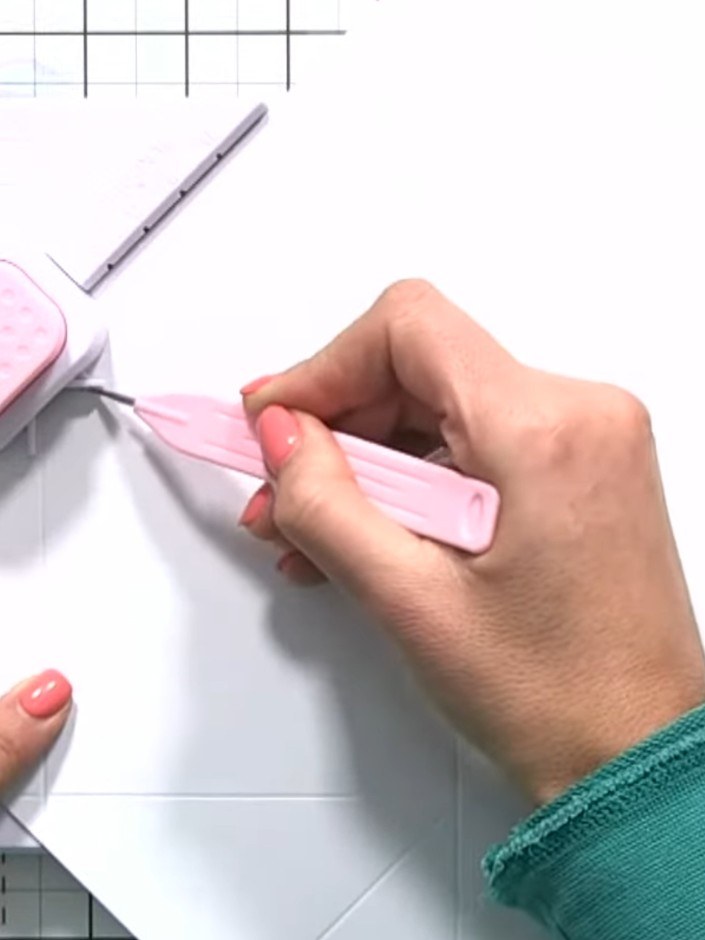
Using the envelope and box tool, punch and score along the diagonal XL line on the pink cardstock. Turn the card and repeat the scoring process across the diagonal.
▶ watch this step (12:00)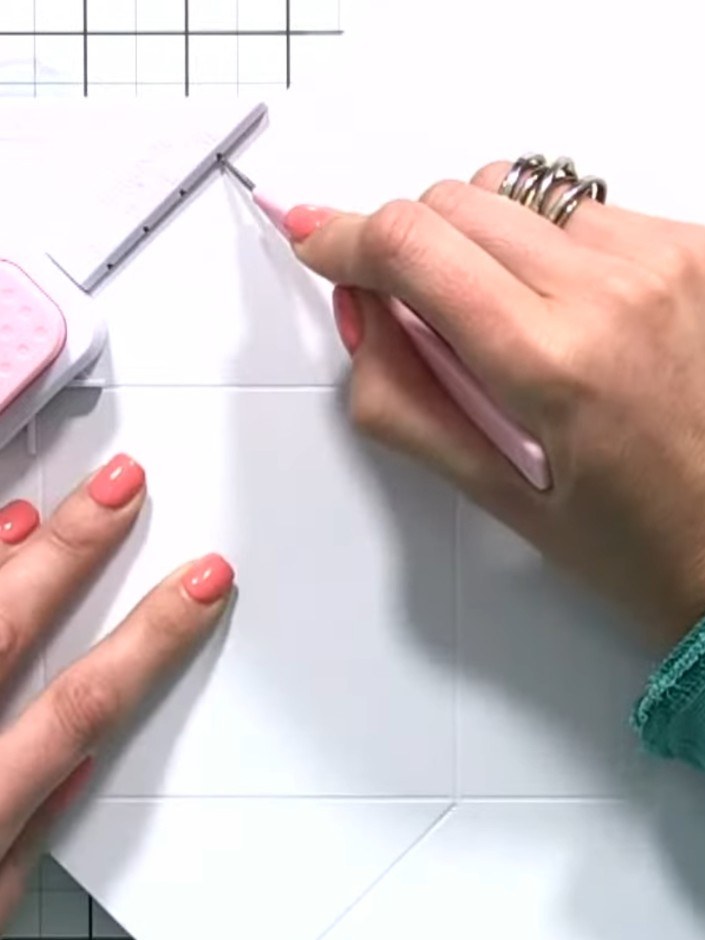
Repeat the twist, line-up, punch and score sequence for all four sides of the paper, ensuring each side is scored consistently.
▶ watch this step (12:30)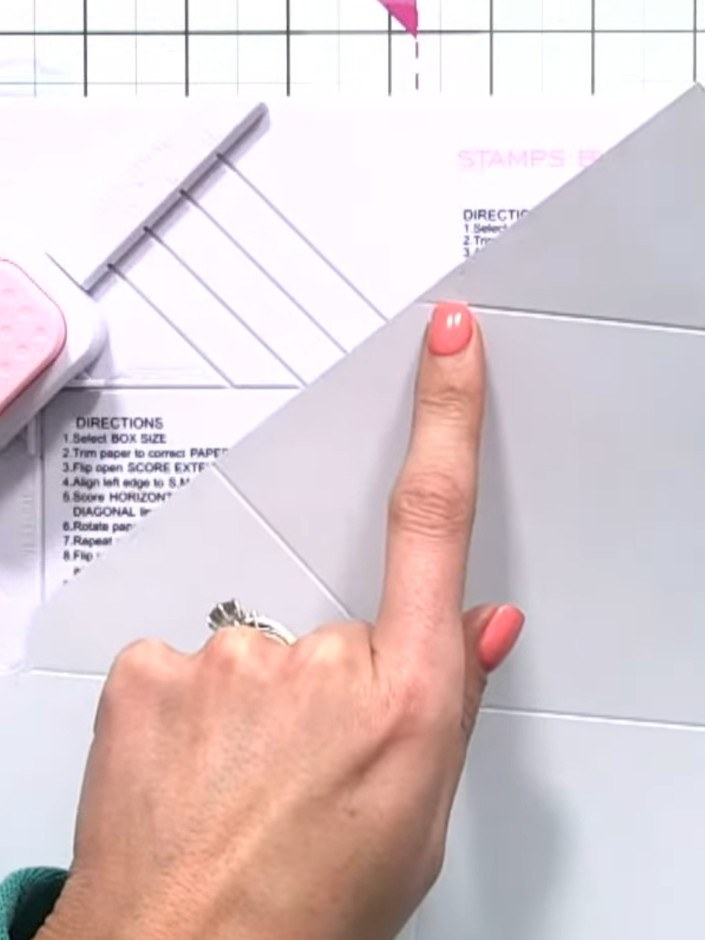
Remove the four small triangle pieces from the corners of your scored paper. Line up the score lines on the tool to ensure accurate placement before removing each corner piece.
▶ watch this step (13:00)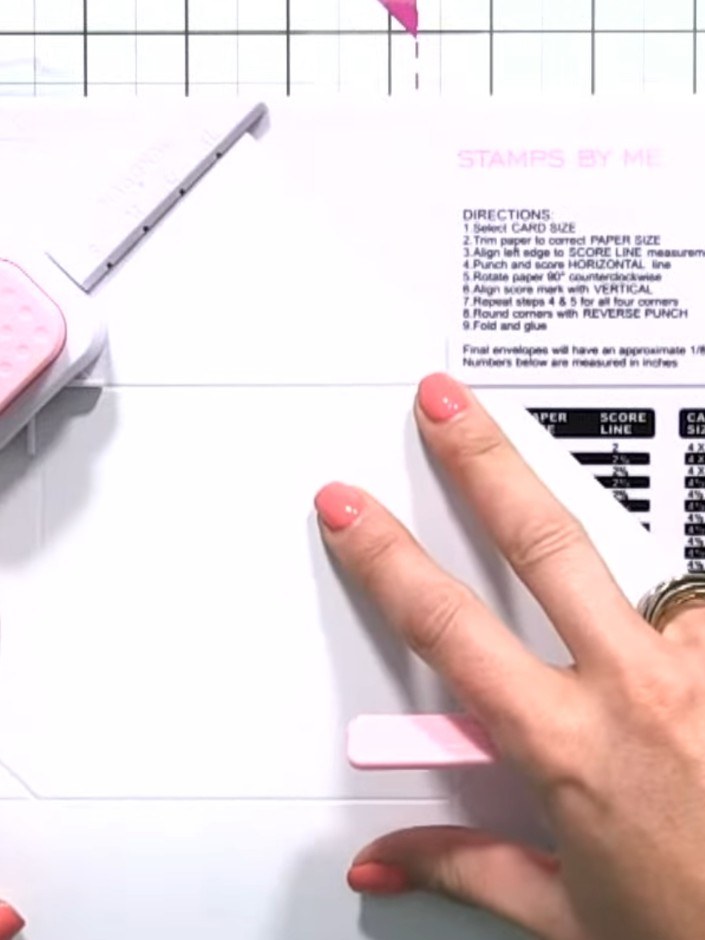
Line up each corner triangle with the envelope and box tool and punch out the hook-and-eye connectors on all four corners.
▶ watch this step (13:15)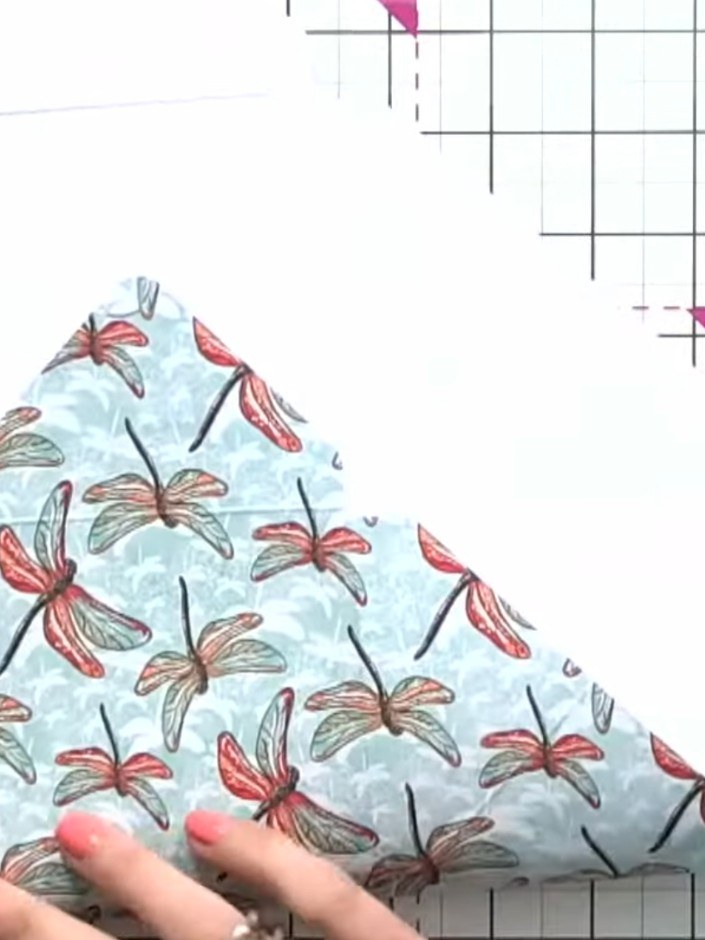
Score all the fold lines firmly using a scoring tool to create crisp, neat edges for folding.
▶ watch this step (14:30)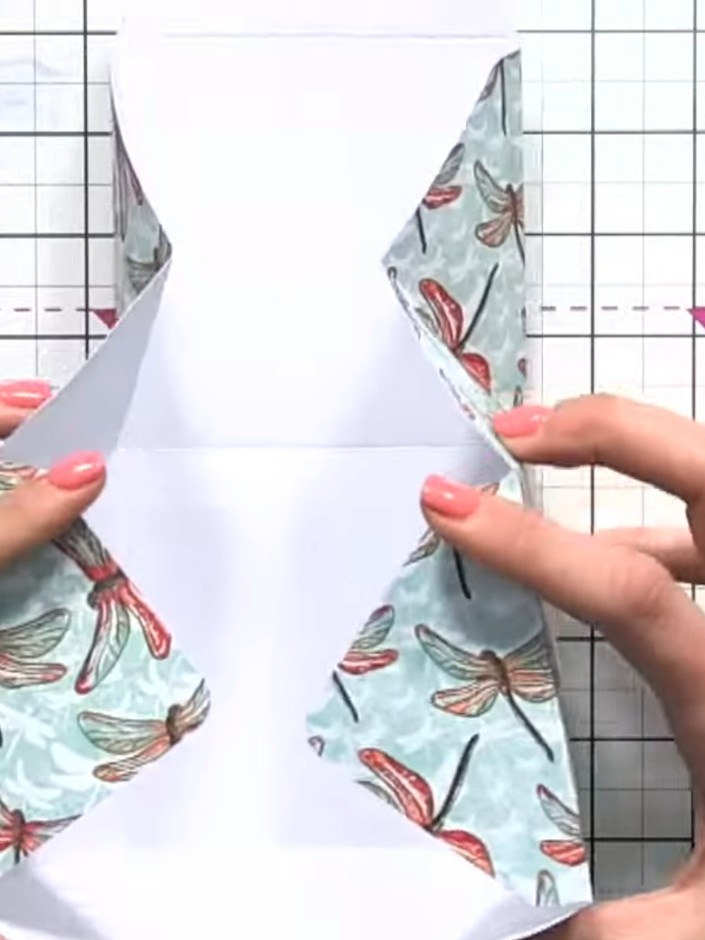
Pinch the diagonal score lines to create the box's three-dimensional shape. The butterfly patterned paper should form the outer sides of the box whilst the white card forms the inner structure.
▶ watch this step (15:00)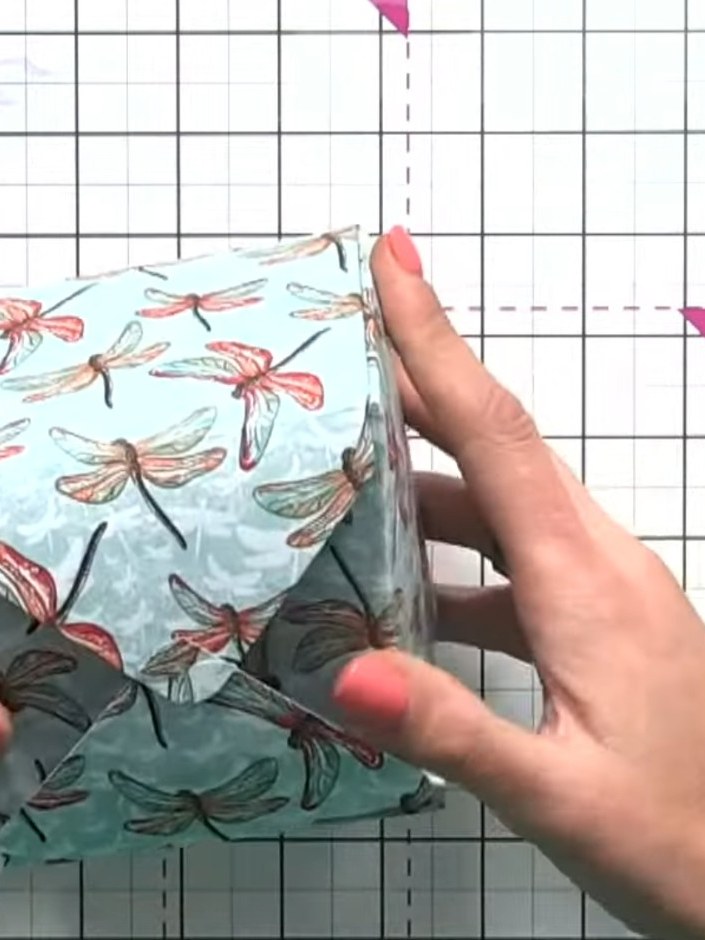
Fold up all four sides of the box, manipulating the paper gently to form the box shape. The dragonfly patterned paper should form the outer sides with the grey paper forming the inner lining.
▶ watch this step (15:30)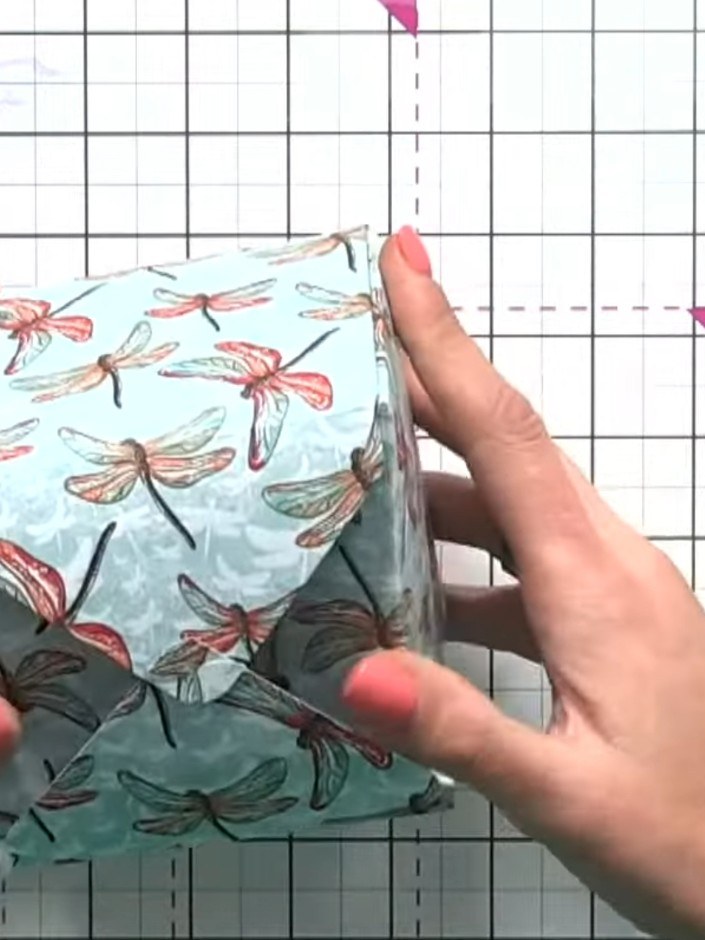
Connect the hook-and-eye system at each corner by interlocking the punched features to secure the box. Give the box a gentle manipulation to ensure all corners are properly connected and the box holds its shape.
▶ watch this step (15:45)Written up from the show itself. See every guide from our shows · free how-to guides · watch live on My Telly