Give your friends €10 off their first order!
Refer a FRIEND








A project from our live show ONE DAY SPECIAL - Join Toni for brand new launch - Broadcast 22nd November 24 · 22/11/2024 · watch it from 18:30
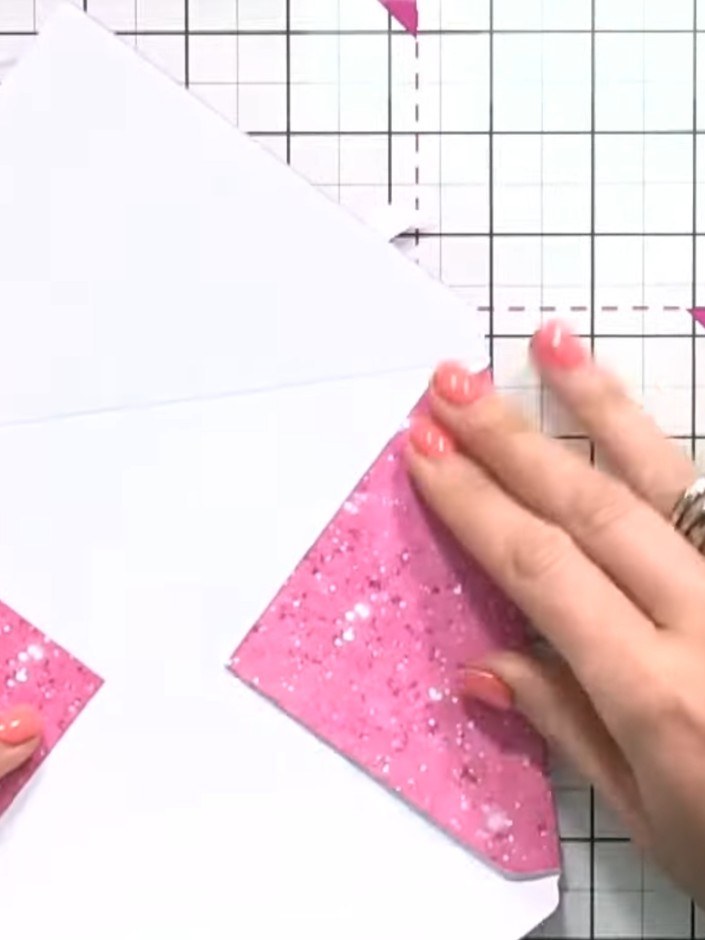
Create a beautiful coordinating envelope using the box maker tool to perfectly fit a 5×7 inch card. This sparkly pink glitter envelope features professionally rounded corners achieved through the tool's built-in punch system. The technique uses precise scoring and folding to create a polished, handmade envelope that adds a special touch to your cards and gifts.
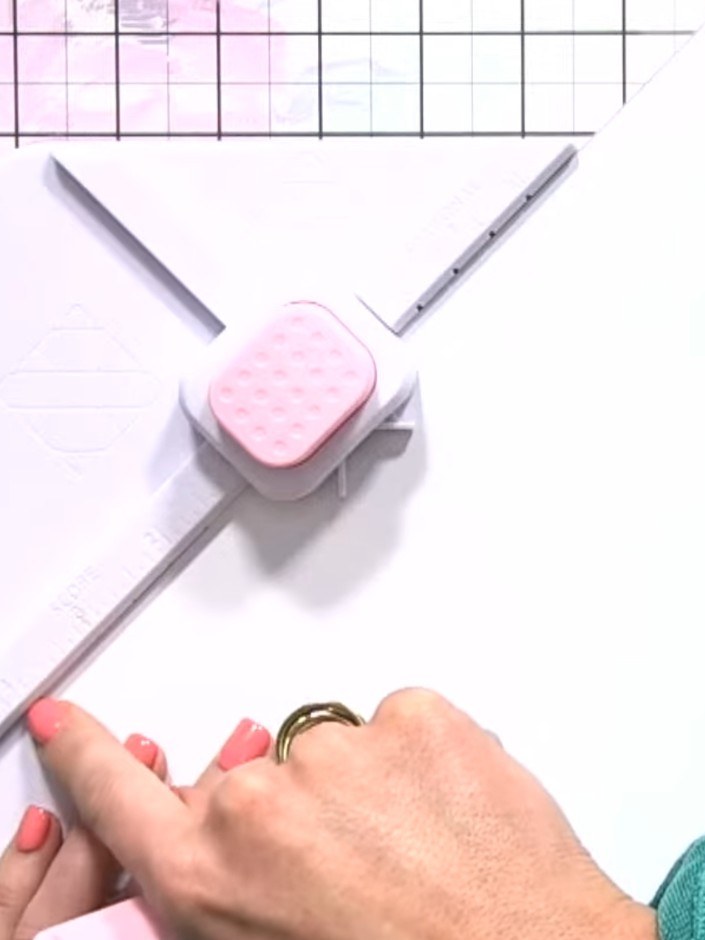
Cut a piece of card stock to 9½ by 9½ inches for a 5×7 envelope.
▶ watch this step (20:15)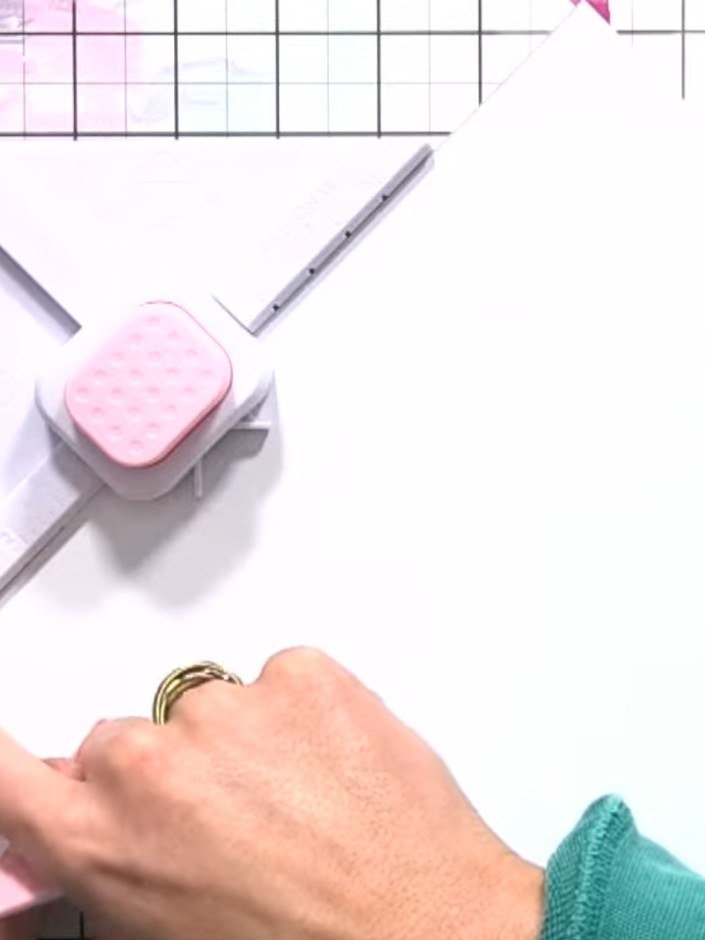
Insert the white cardstock into the box and envelope maker tool, aligning it with score line 4. Use the scoring tool to create the fold line.
▶ watch this step (20:30)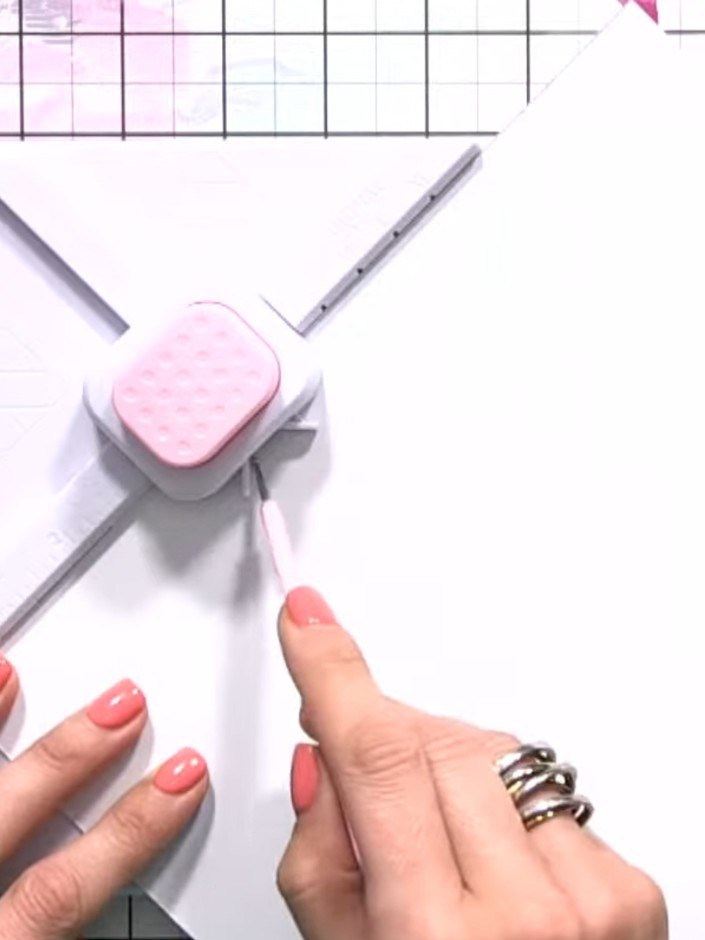
Use the scoring tool to score along the groove lines on the paper, following both the diagonal and straight lines created by the box maker tool.
▶ watch this step (20:45)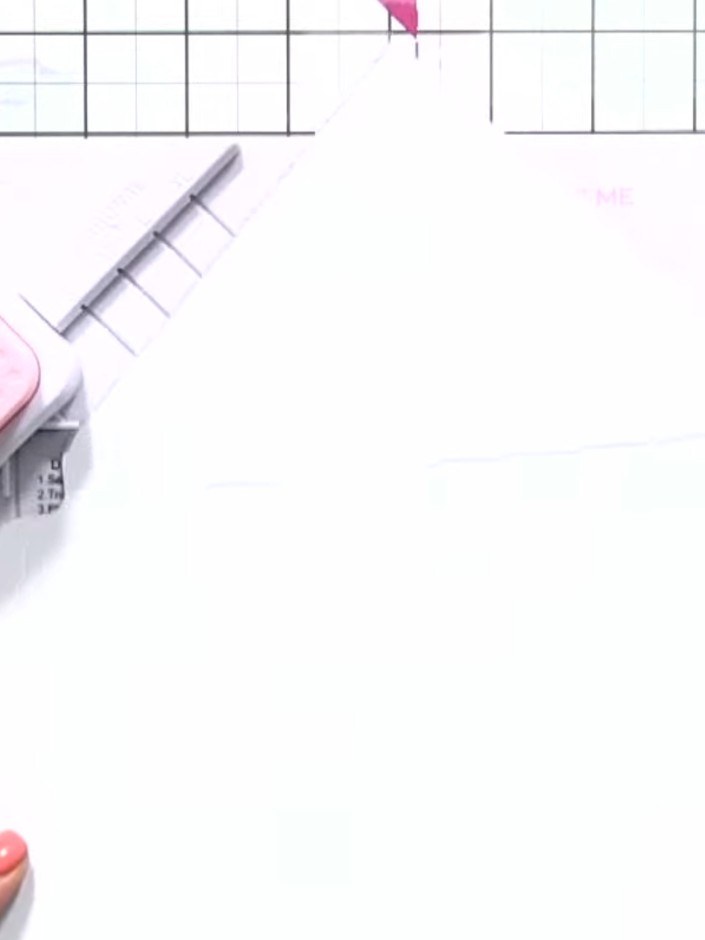
Line up the envelope template with the horizontal score line on the paper. Punch the first score line using the reverse punch at the four corners.
▶ watch this step (21:00)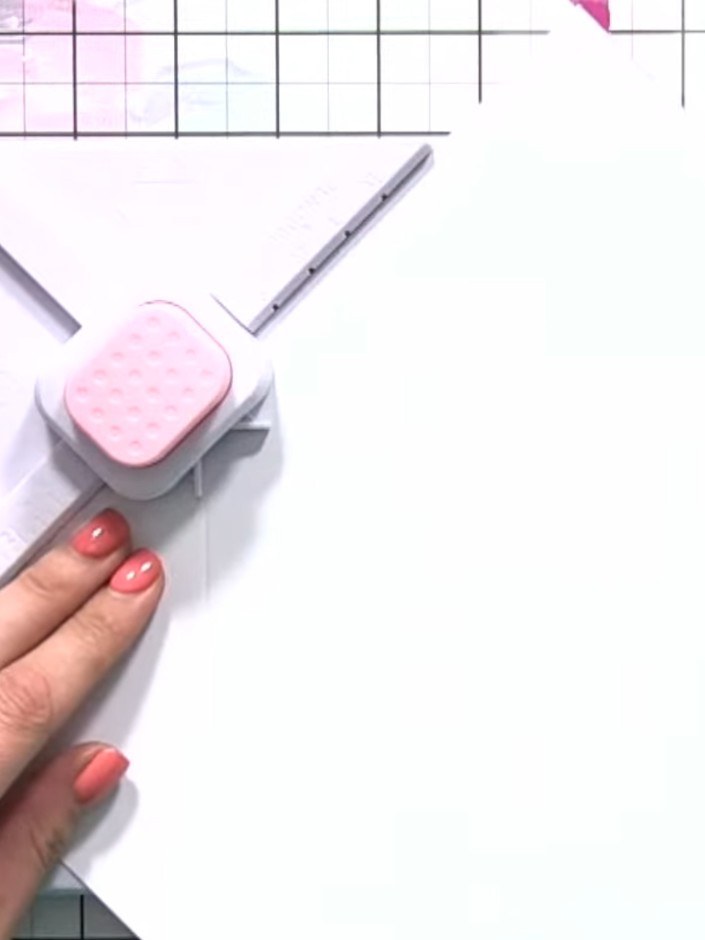
Twist the box maker tool and line the paper back up with the first score line to create the next fold.
▶ watch this step (21:15)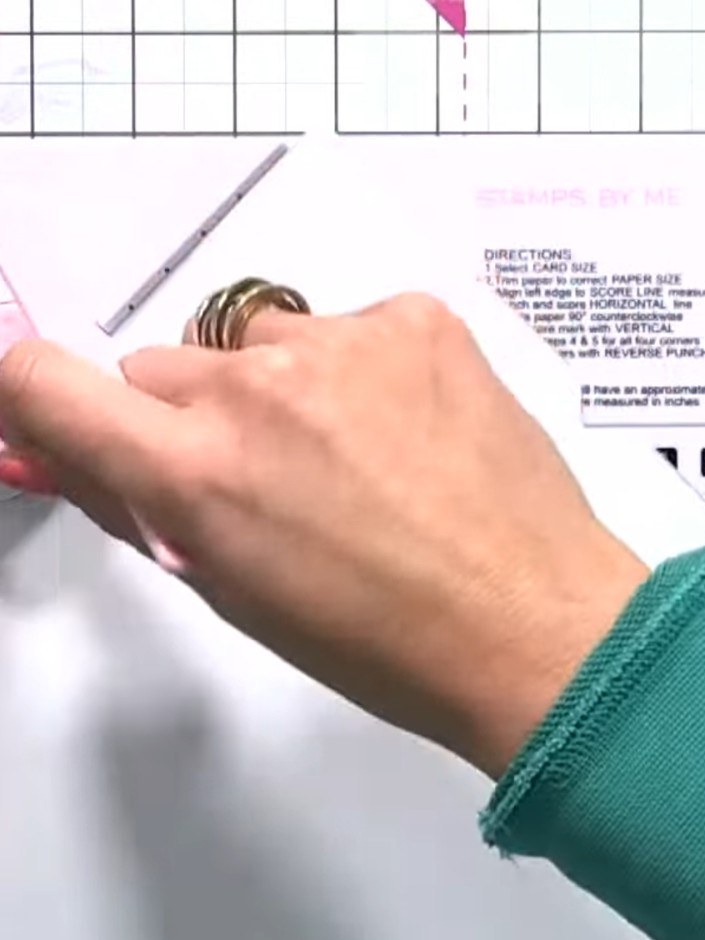
Score across the paper using the box maker tool and punch the corners. The score lines will help create the envelope folds.
▶ watch this step (21:30)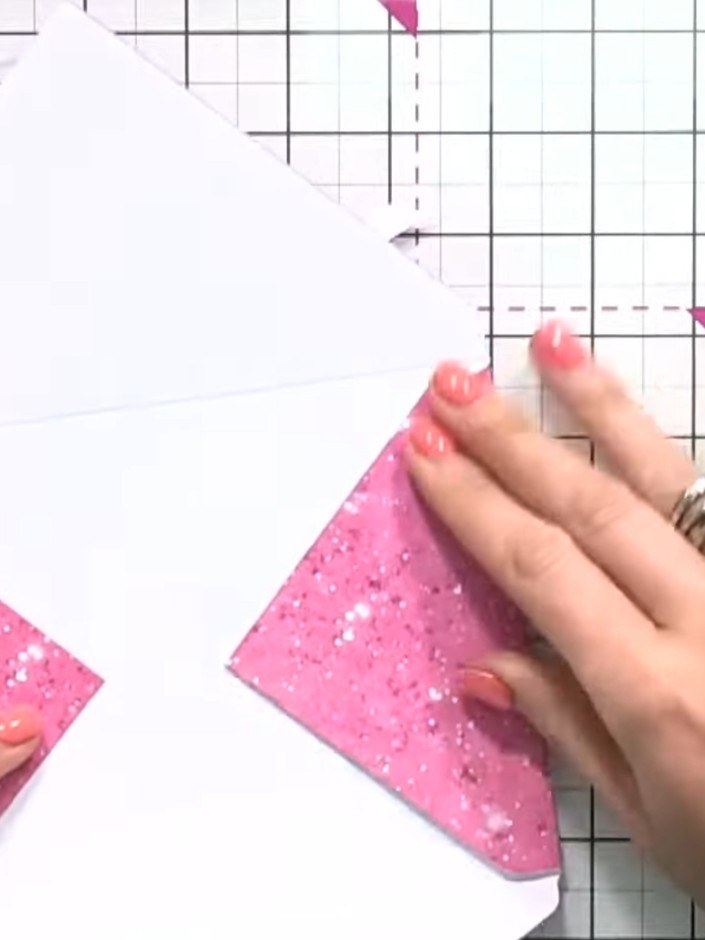
Repeat the process for the remaining score lines: twist the paper to align each score line with the tool, score it, and punch the corner. Continue until all four sides are complete.
▶ watch this step (21:45)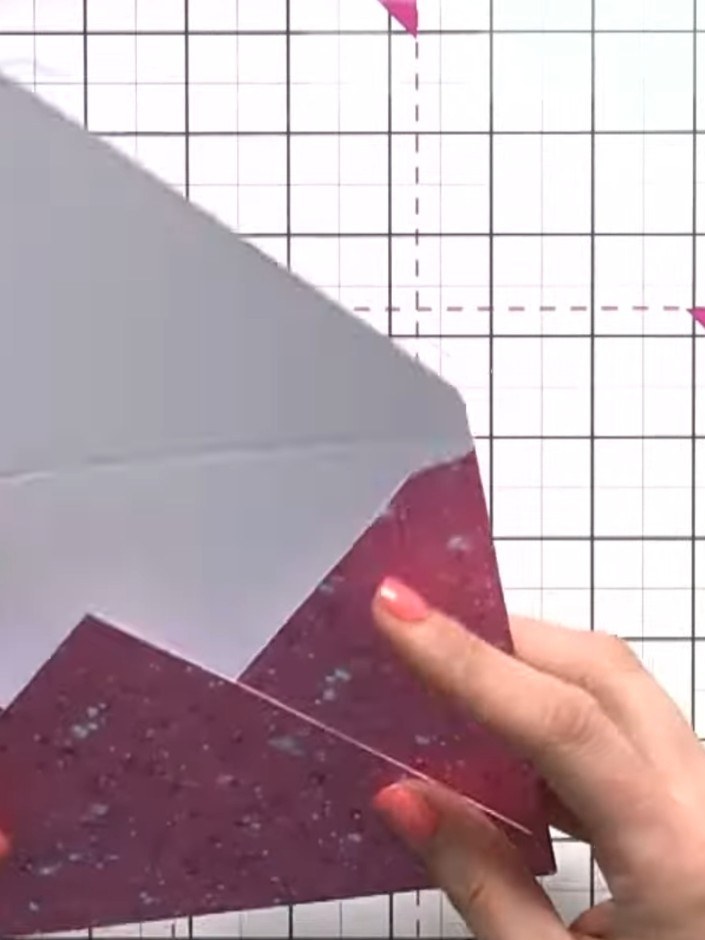
Fold the envelope into shape by bringing the triangular flaps together. Layer the grey cardstock piece over the glitter cardstock to form the envelope structure.
▶ watch this step (22:00)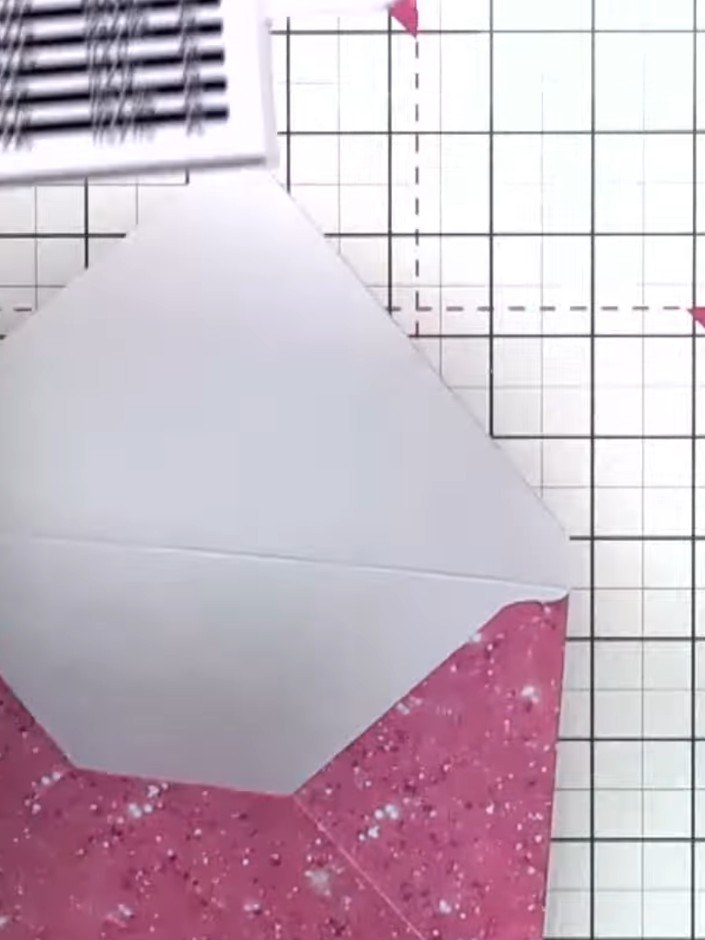
Tuck in the small tail at the top of the envelope for a neater finish.
▶ watch this step (22:15)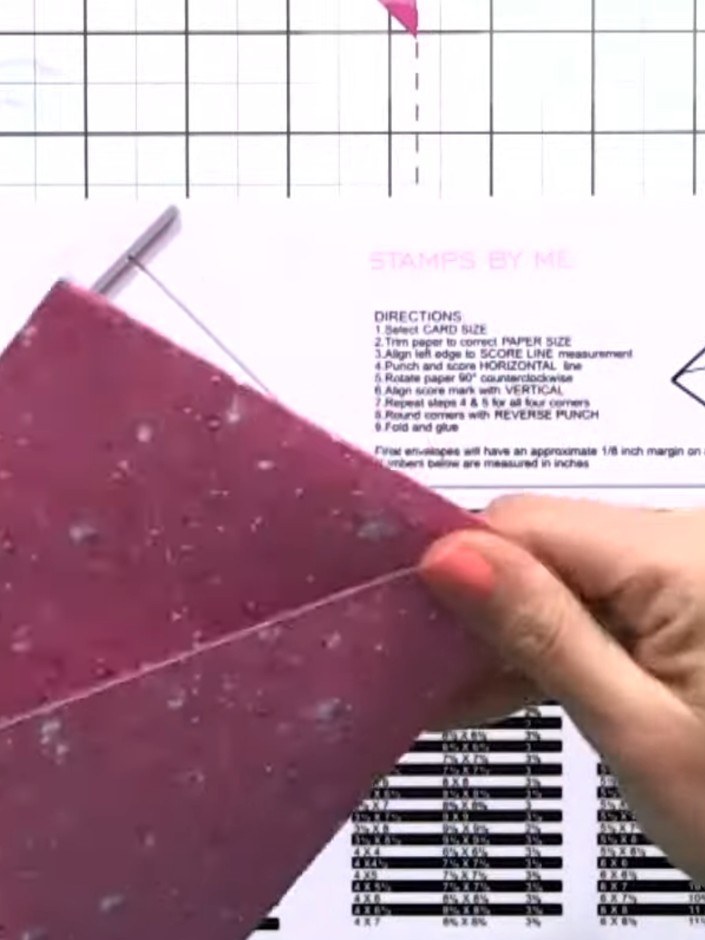
Use the corner punch feature on the box maker tool to round the corners of the envelope flap. Position each corner of the flap into the corner punch and press down to create neat rounded edges.
▶ watch this step (22:30)Written up from the show itself. See every guide from our shows · free how-to guides · watch live on My Telly