Give your friends €10 off their first order!
Refer a FRIEND








A project from our live show ONE DAY SPECIAL - Join Toni for brand new launch - Broadcast 15th November 24 · 15/11/2024 · watch it from 27:15
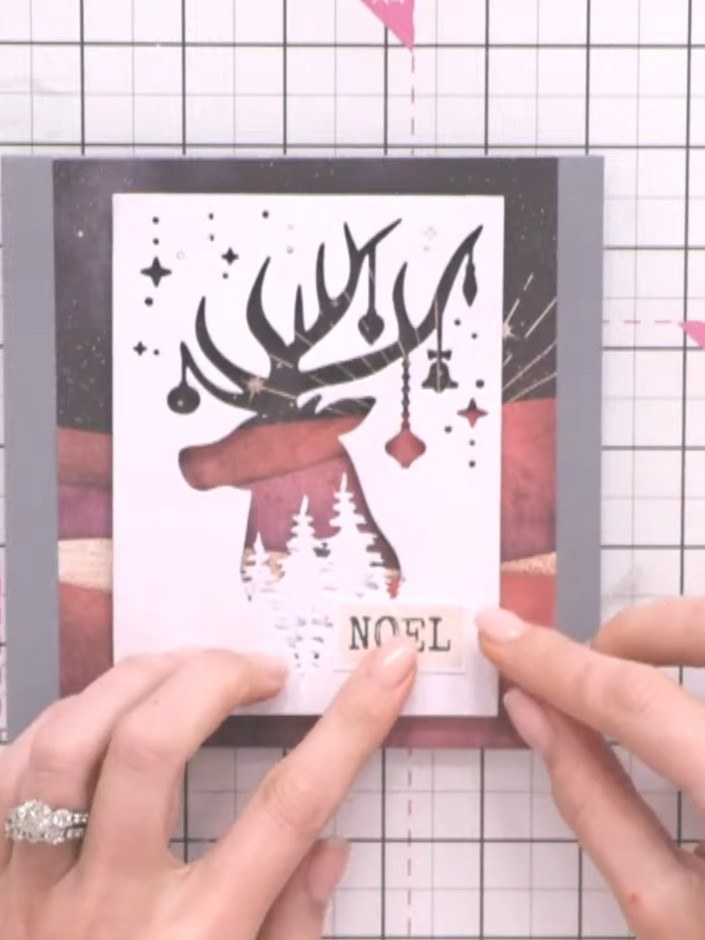
Create an elegant woodland Christmas card featuring a layered stag silhouette with tree line details. The design uses coordinating papers in warm coral and grey tones with die-cut elements to create a dimensional landscape effect. This project combines die-cutting, layering and paper piecing techniques to achieve a sophisticated festive look with 'NOEL' sentiment.
 Stamps By Me - Merry & Bright - 5 X 7 Paper Pad - 140224ASEE IT
 Stamps By Me - Merry & Bright Collection - 111124BSEE IT
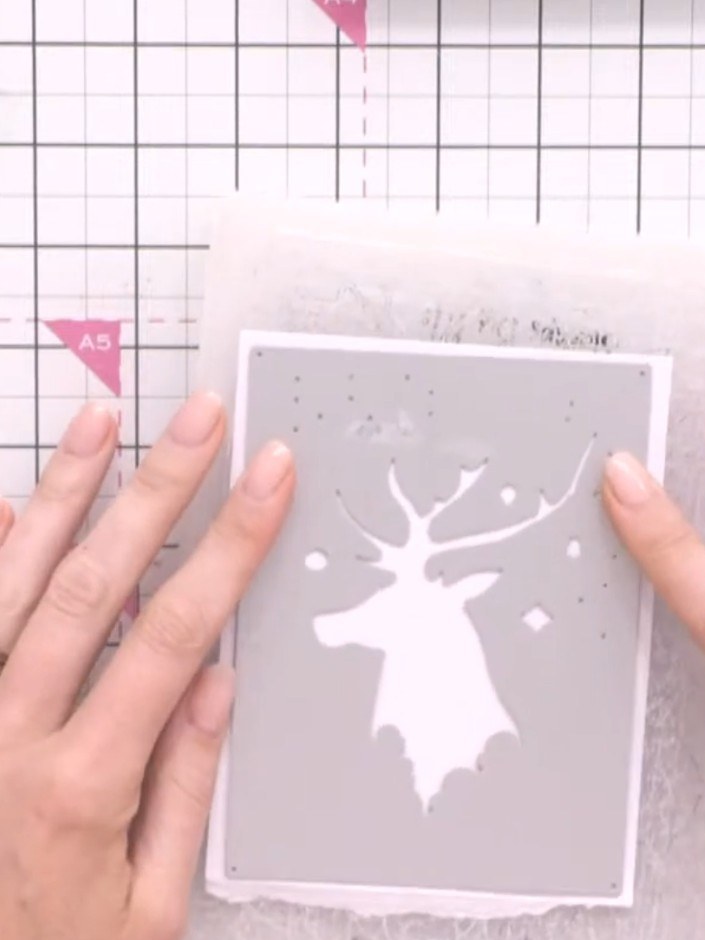
Cut the stag die from white cardstock using your die-cutting machine. The stag measures approximately 5½ x 4 inches.
▶ watch this step (27:30)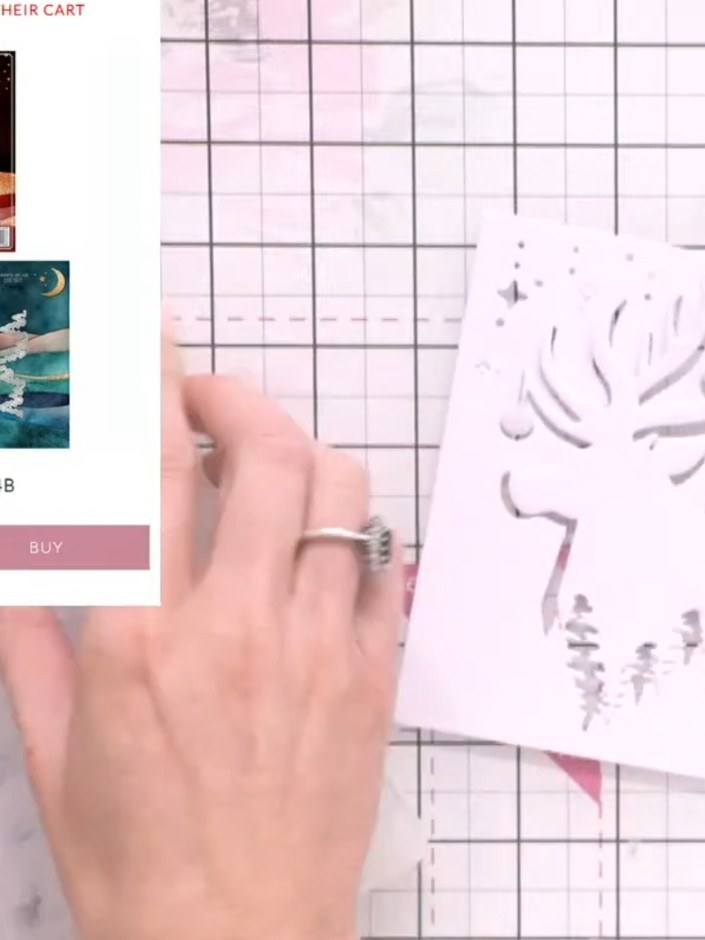
Die cut the tree line from your chosen paper colour. Ensure the die-cut stays within the boundaries of the paper.
▶ watch this step (29:30)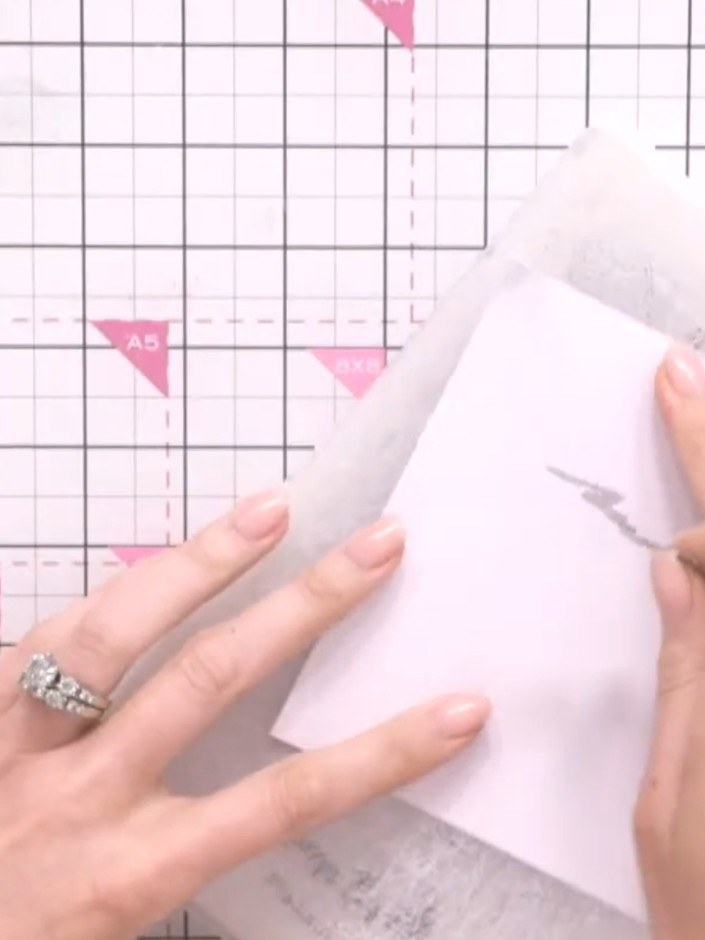
Select a patterned paper from the Merry & Bright pad. Trim the paper to size to create a panel for your card base.
▶ watch this step (30:45)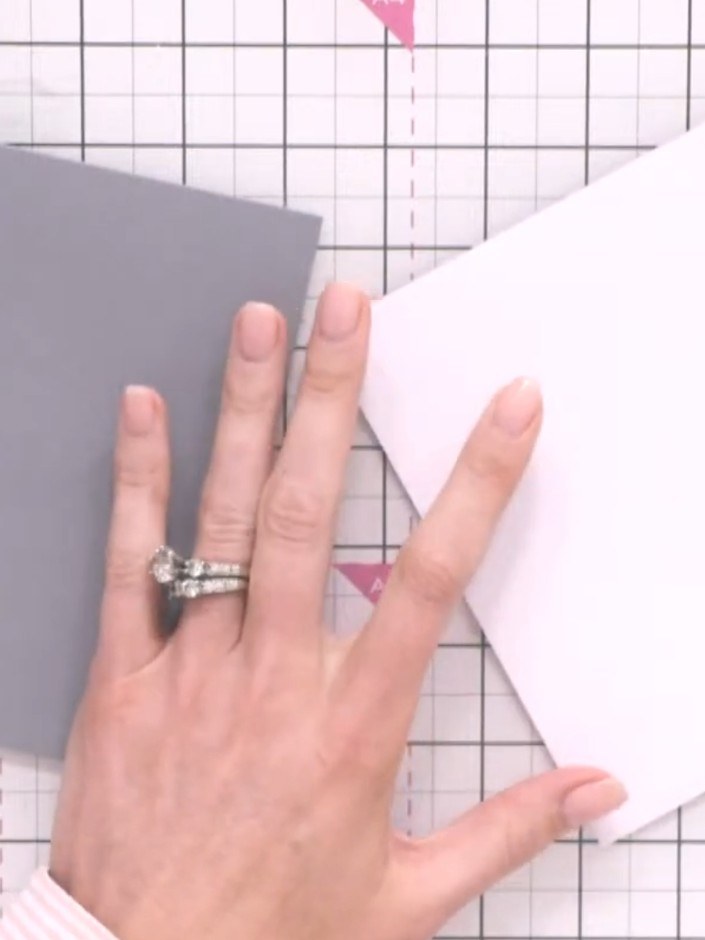
Adhere the patterned paper panel to your grey card blank, positioning it to leave a clean border down one side of the card.
▶ watch this step (35:30)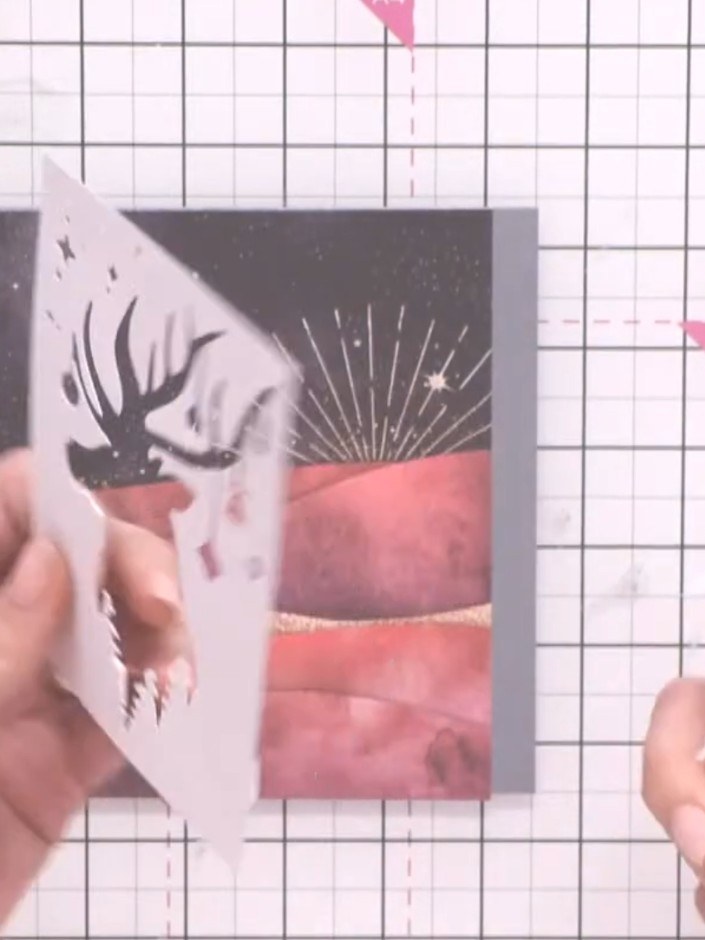
Position the tree line stencil piece over the card using foam pads for dimension. Layer it to fill any gaps in the design, placing the deer silhouette on the left side.
▶ watch this step (36:00)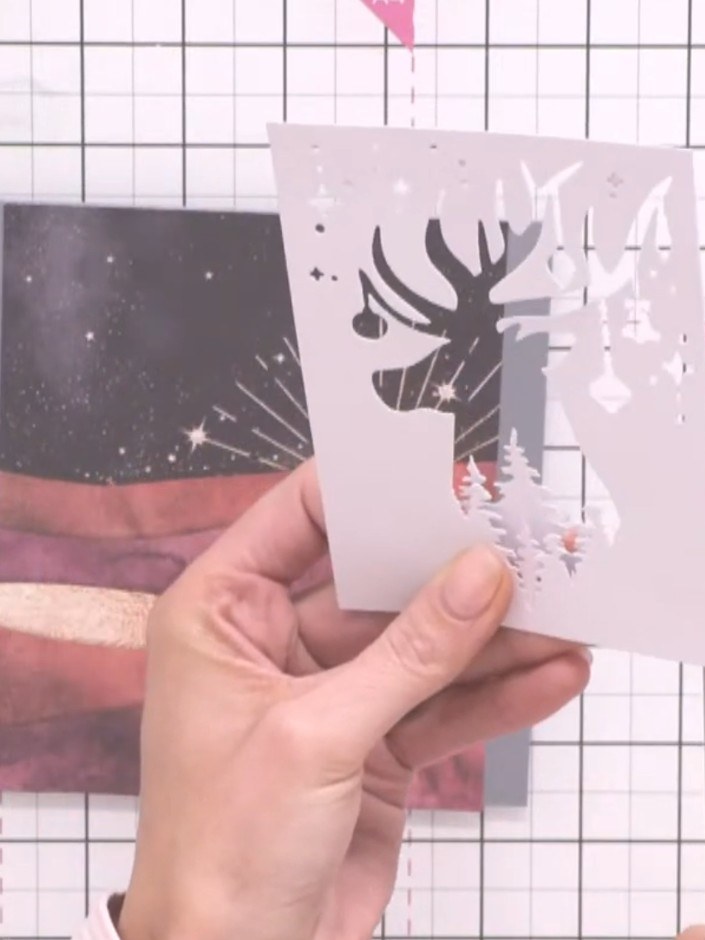
Add a second tree line piece at a different height to the card front. Trim the excess from the leg of the stag using scissors to ensure a neat finish.
▶ watch this step (37:00)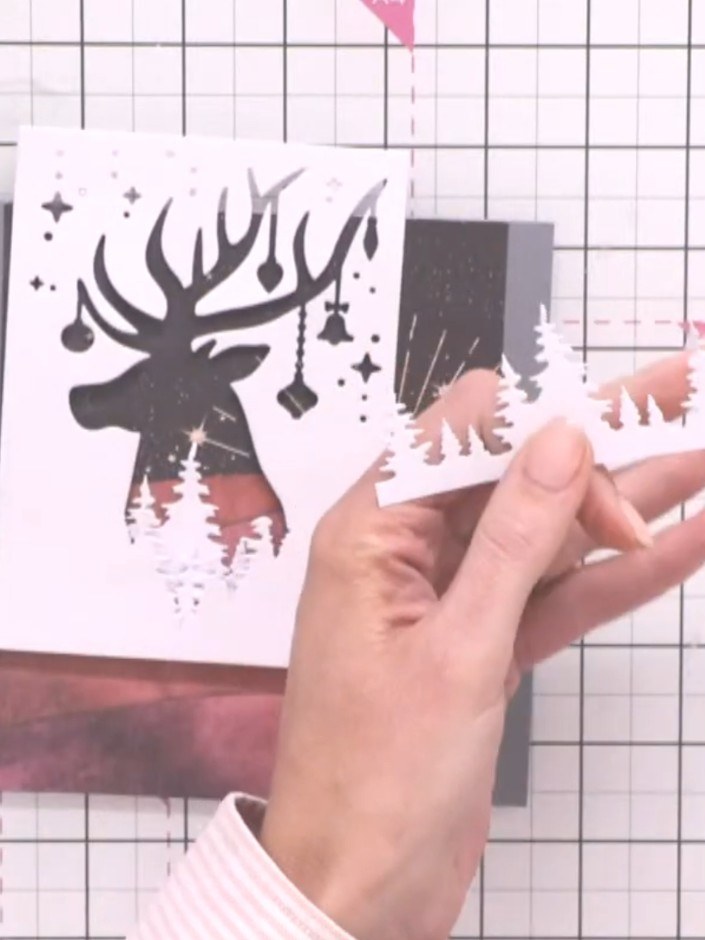
Secure additional tree line pieces using foam pads, varying their heights to create a cascading effect across the card front.
▶ watch this step (37:45)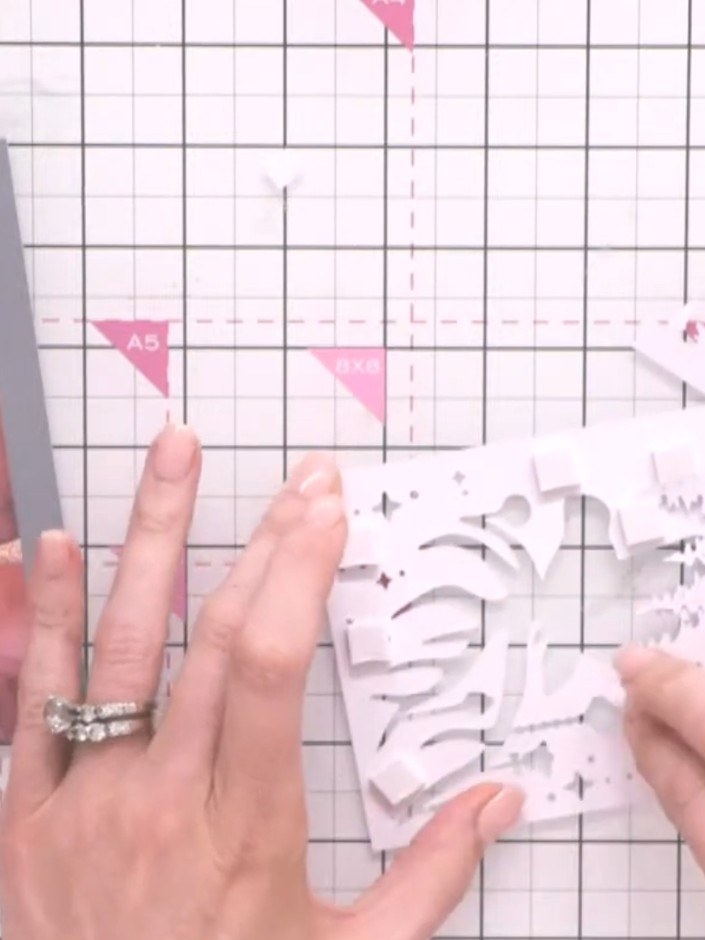
Cut a pre-printed sentiment from the Merry & Bright collection. Adhere it below the tree line arrangement on your card front.
▶ watch this step (39:00)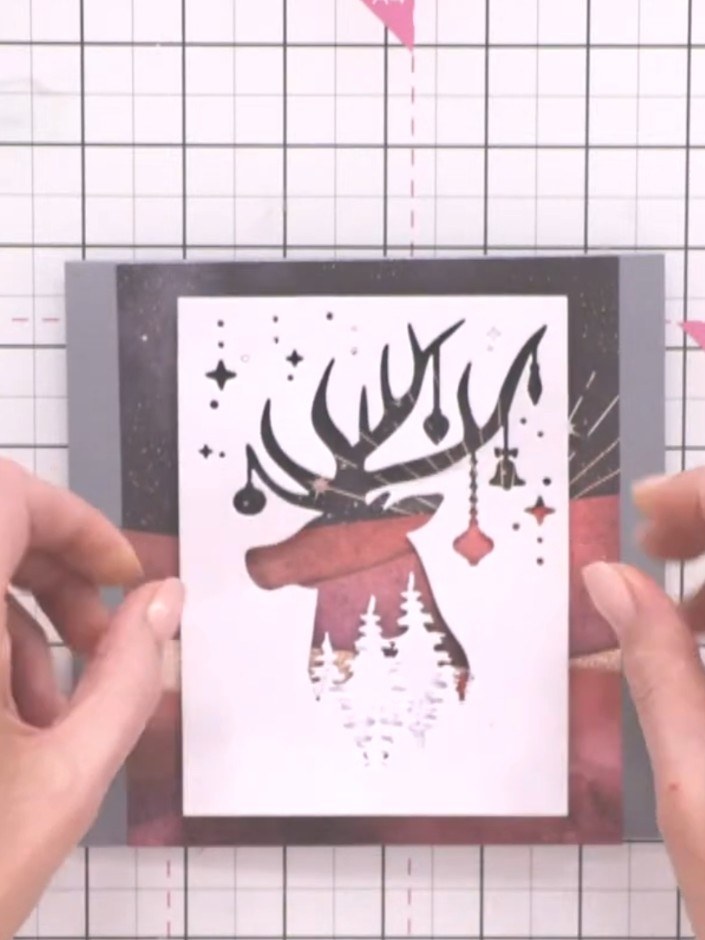
Add optional embellishments such as glitter glue or sparkle accents to the tree lines, deer silhouette, or sentiment to add extra festive shimmer to your card.
▶ watch this step (40:00)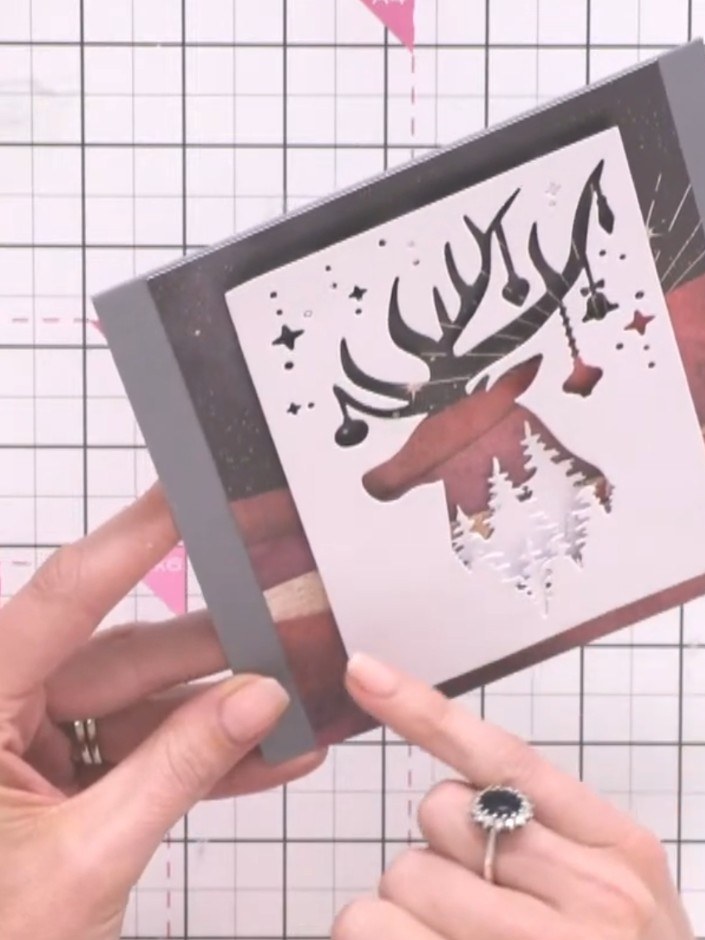
Secure all layers together with tape or glue to ensure nothing shifts. Your finished layered stag and tree line Christmas card is now complete and ready to display.
▶ watch this step (41:00)Written up from the show itself. See every guide from our shows · free how-to guides · watch live on My Telly