Give your friends €10 off their first order!
Refer a FRIEND








A project from our live show ONE DAY SPECIAL - Join Toni for brand new launch - Broadcast 15th November 24 · 15/11/2024 · watch it from 44:30
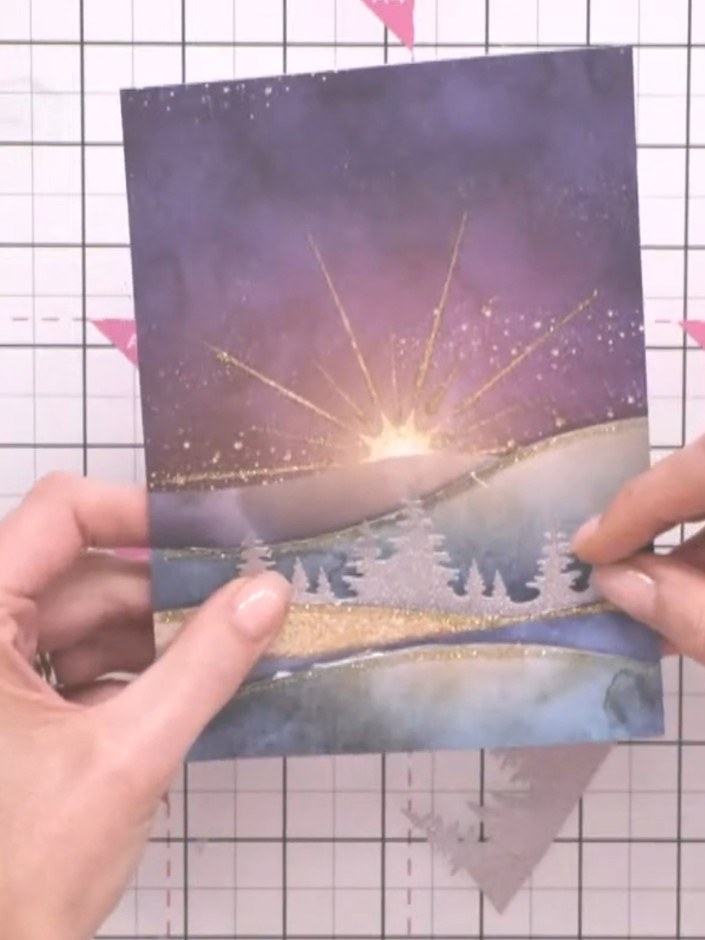
Create a stunning dimensional card featuring layered hillside cutouts with sparkle tree silhouettes. This elegant design uses negative space to showcase frosted trees against a dramatic purple and gold starburst sky. The modern cutout technique creates beautiful depth and visual interest perfect for festive greetings.
 Stamps By Me - Merry & Bright - 5 X 7 Paper Pad - 140224ASEE IT
 Stamps By Me - Hot Foiled Coloring Book - Festive Backgrounds - 110424ASEE IT
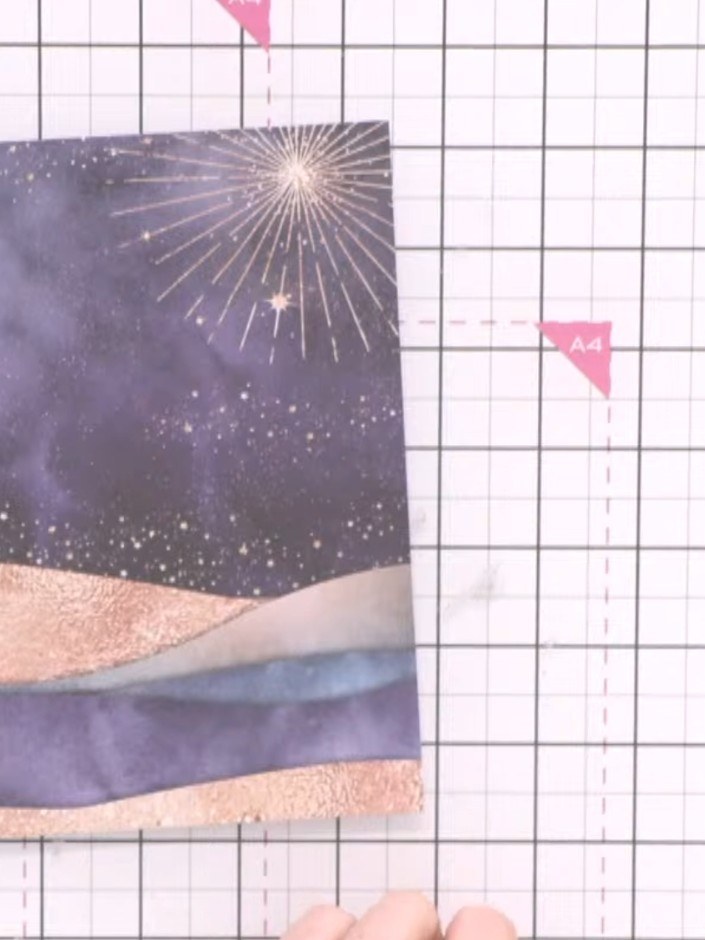
Select a patterned paper from the Merry & Bright pad that features hill designs in purple and peach tones with a starry sky.
▶ watch this step (45:00)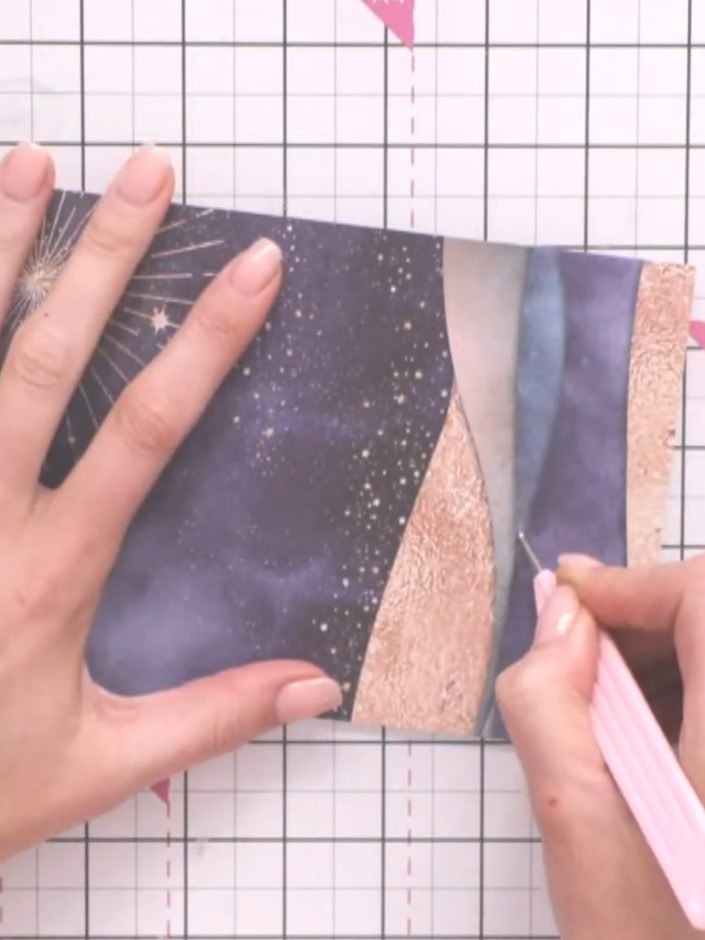
Using a craft knife, carefully cut along each hill line on the patterned paper to create negative space cutouts. Hold the paper steady whilst cutting to ensure clean, precise lines.
▶ watch this step (45:30)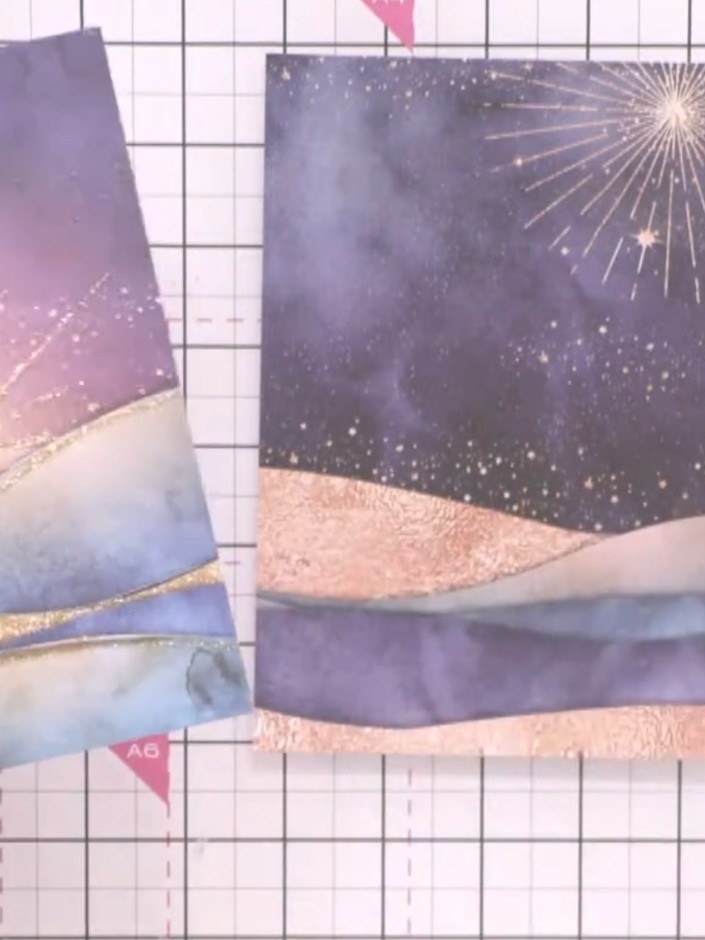
Cut tree line dies from sparkle cardstock in coordinating colours. Use the die-cut trees to create a layered hillside effect with the glittery landscape papers.
▶ watch this step (46:00)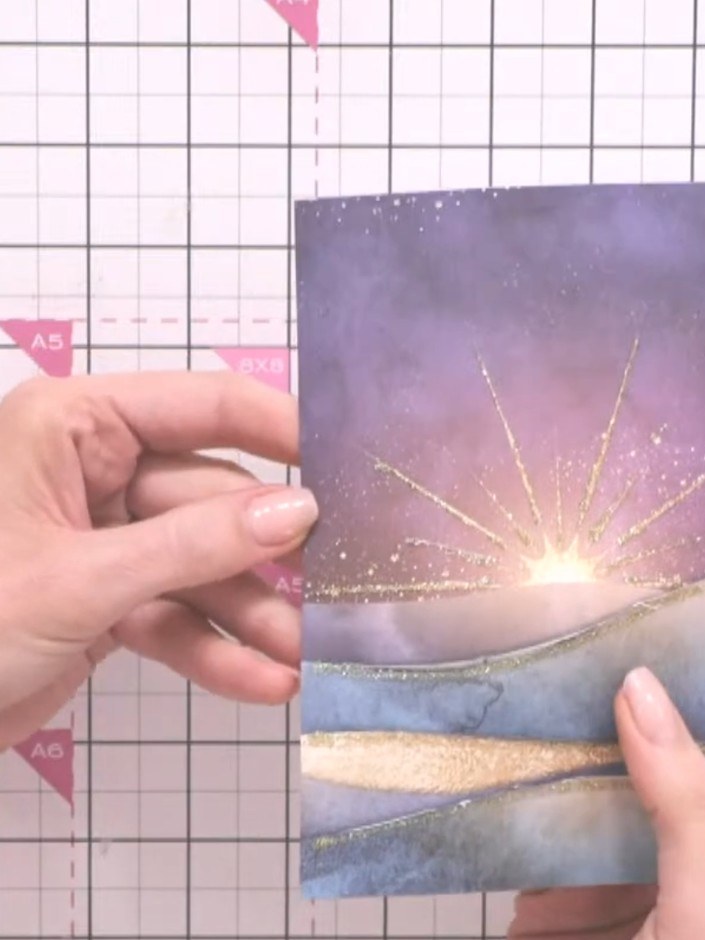
Position the first tree line piece into one of the hill cutouts on your card base, ensuring it sits level and aligns with the opening.
▶ watch this step (48:00)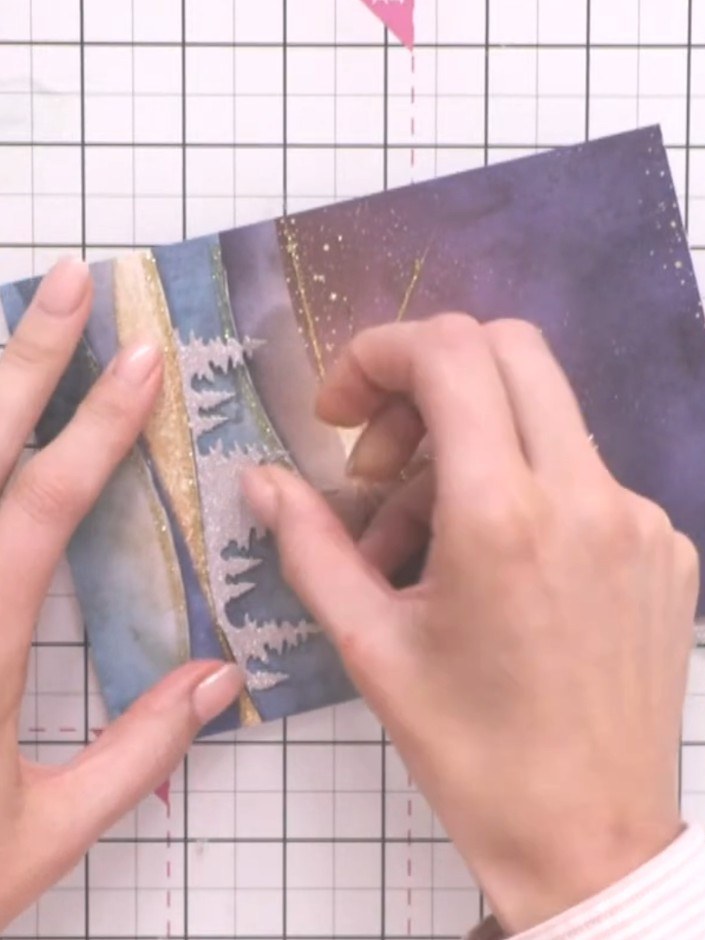
Position a second tree line piece at a different height on your card, overlapping the first. Trim the piece to fit the space as needed to create varied levels in your hillside scene.
▶ watch this step (49:00)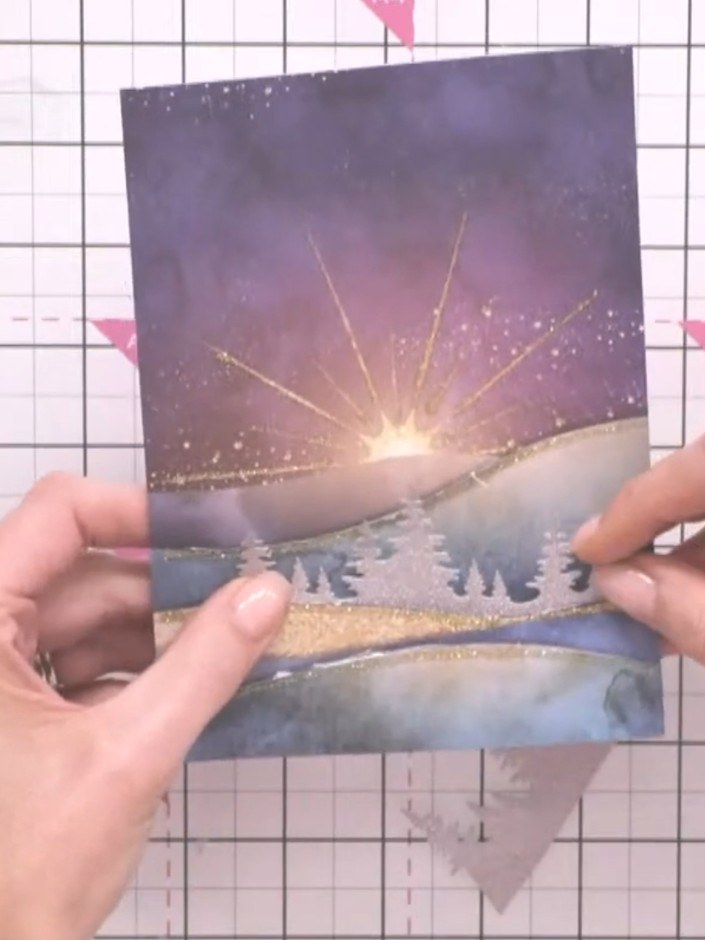
Insert a third tree line piece in a contrasting sparkle colour between the existing layers to add visual interest and break up the design.
▶ watch this step (50:00)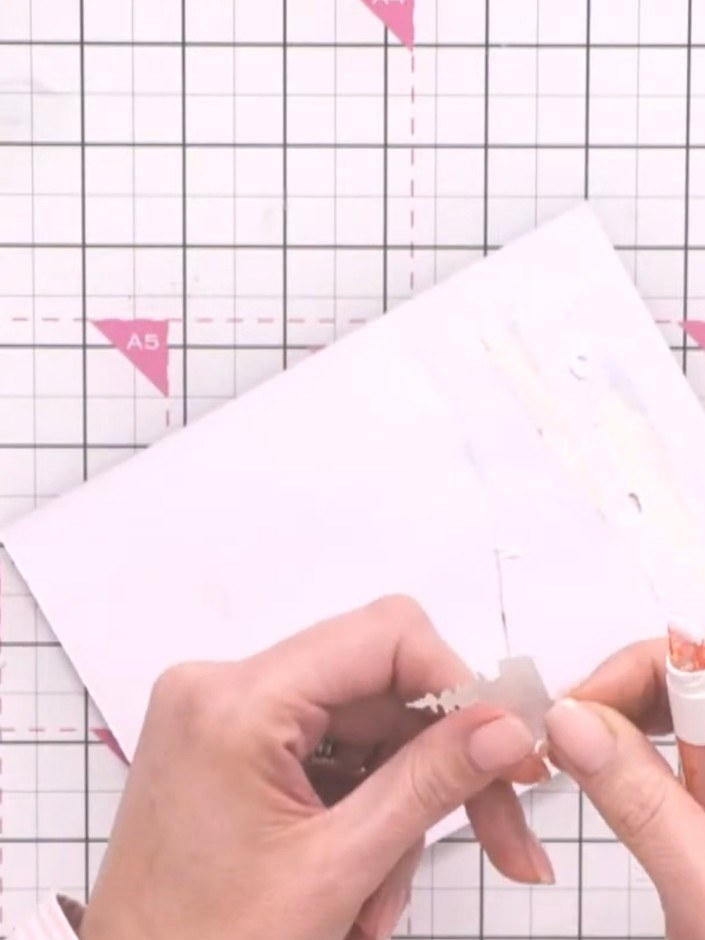
Secure all tree line pieces from the back using foam pads or glue to prevent them from shifting. Ensure each layer is firmly attached to create a stable dimensional effect.
▶ watch this step (51:00)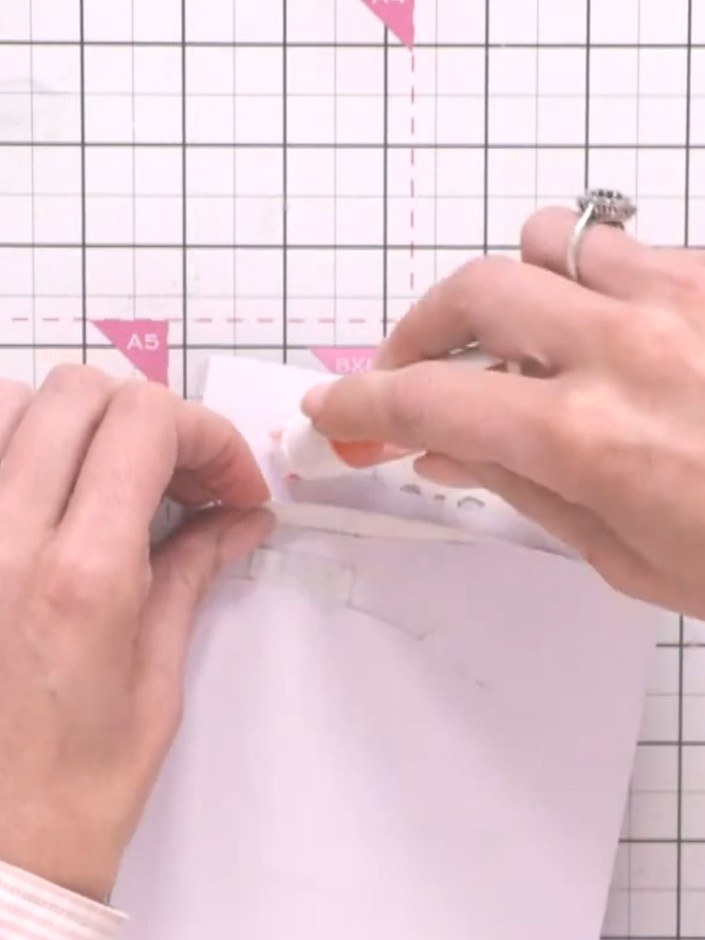
Apply glue to the back of your decorated paper panel and mount it onto your card base, leaving a clean border around the edges.
▶ watch this step (52:00)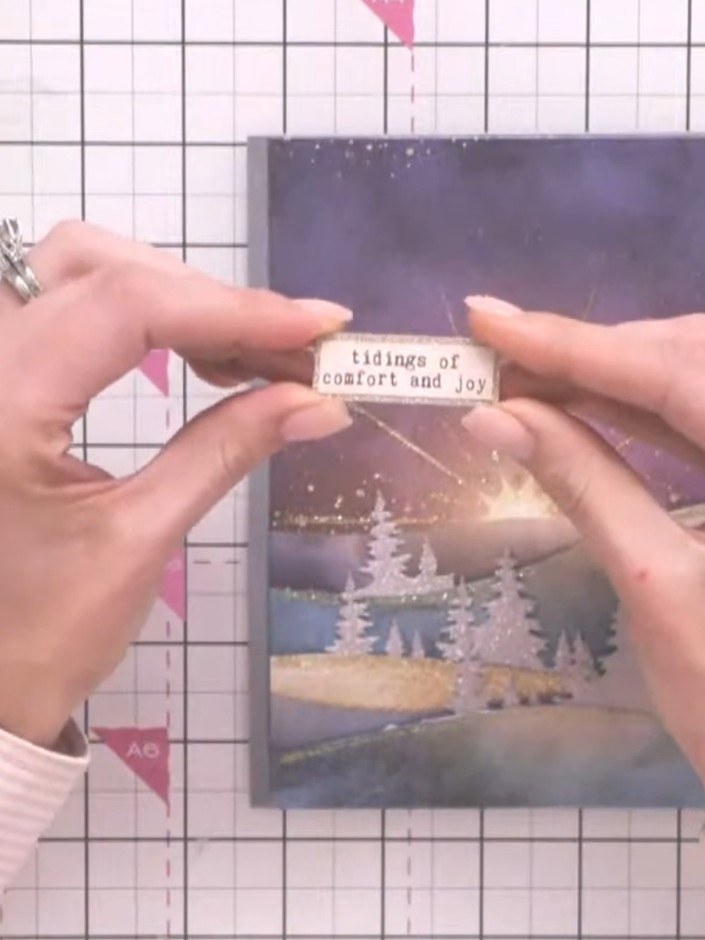
Cut out a pre-printed sentiment reading 'Tidings of Comfort and Joy' and adhere it to the card front below the tree arrangement.
▶ watch this step (54:00)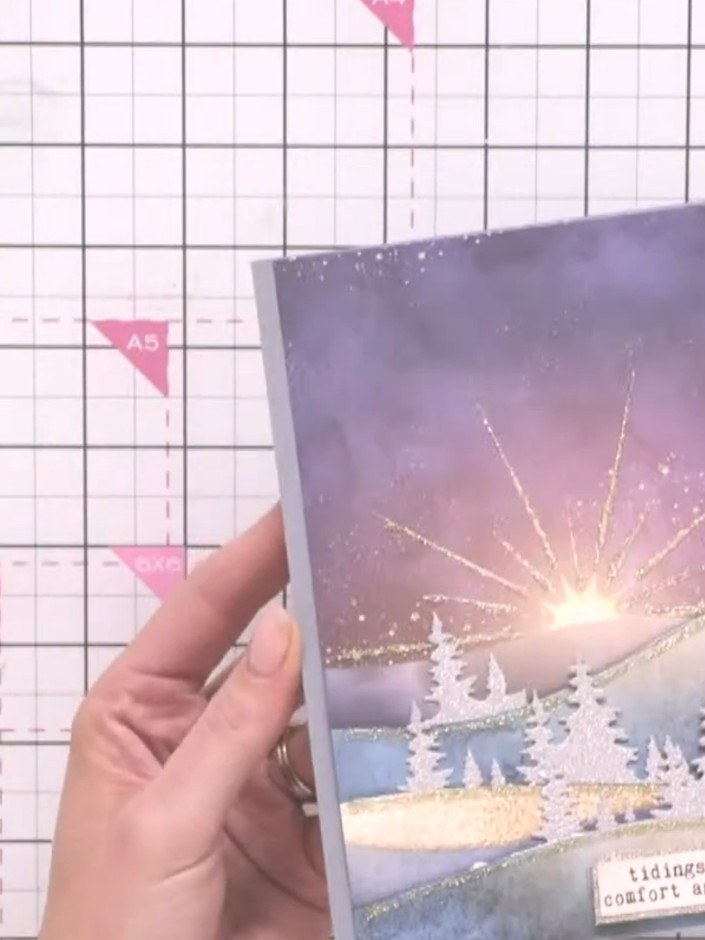
Optional: Apply gold glitter glue along the cut edges of the hills to add sparkle and highlight the layered landscape. This completes your card.
▶ watch this step (55:00)Written up from the show itself. See every guide from our shows · free how-to guides · watch live on My Telly