Give your friends €10 off their first order!
Refer a FRIEND








A project from our live show ONE DAY SPECIAL - Join Toni for brand new launch - Broadcast 1st November 24 · 01/11/2024 · watch it from 40:00
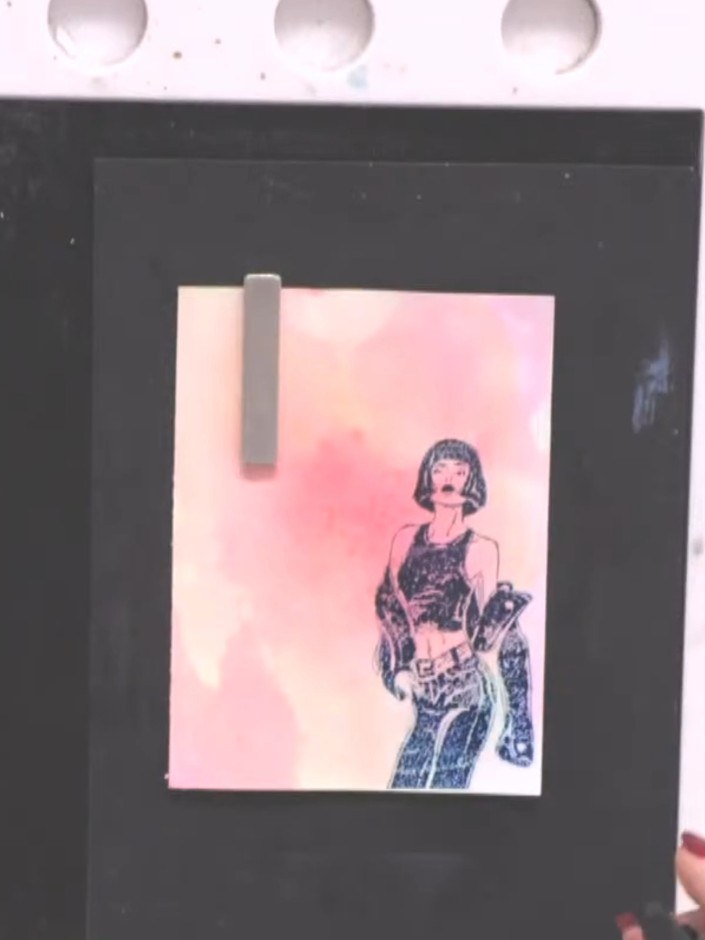
Create an artistic card featuring a watercolour ink wash background with an abstract stamped lady image. This elegant design combines soft pink and coral blended tones with a striking black silhouette, using a fuzzy bled-out stamping technique layered with crisp detail for a modern, gallery-style finish. The project showcases watercolour ink blending and creative stamping methods to achieve a sophisticated, contemporary look.
 Stamps By Me - Premium Dye Ink Pad - Limeade - 121022ASEE IT
 Stamps By Me - Premium Dye Ink Pad - Ocean - 121022BSEE IT
 Stamps By Me - Premium Dye Ink Pad - Tiffany - 121022CSEE IT
 Stamps By Me - Premium Dye Ink Pad - Redwood - 121022DSEE IT
 Stamps By Me - Premium Dye Ink Pad - Heather - 121022ESEE IT
 Stamps By Me - Premium Dye Ink Pad - Fandango - 121022FSEE IT
 Stamps By Me - Premium Dye Ink Pad - Surfboard - 040522ASEE IT
 Stamps By Me - Premium Dye Ink Pad - Indigo - 040522BSEE IT
 Stamps By Me - Premium Dye Ink Pad - Magenta - 040522CSEE IT
 Stamps By Me - Premium Dye Ink Pad - Hedgerow - 040522DSEE IT
 Stamps By Me - Premium Dye Ink Pad - Bittersweet - 040522ESEE IT
 Stamps By Me - Premium Dye Ink Pad - Sherbet - 040522FSEE IT
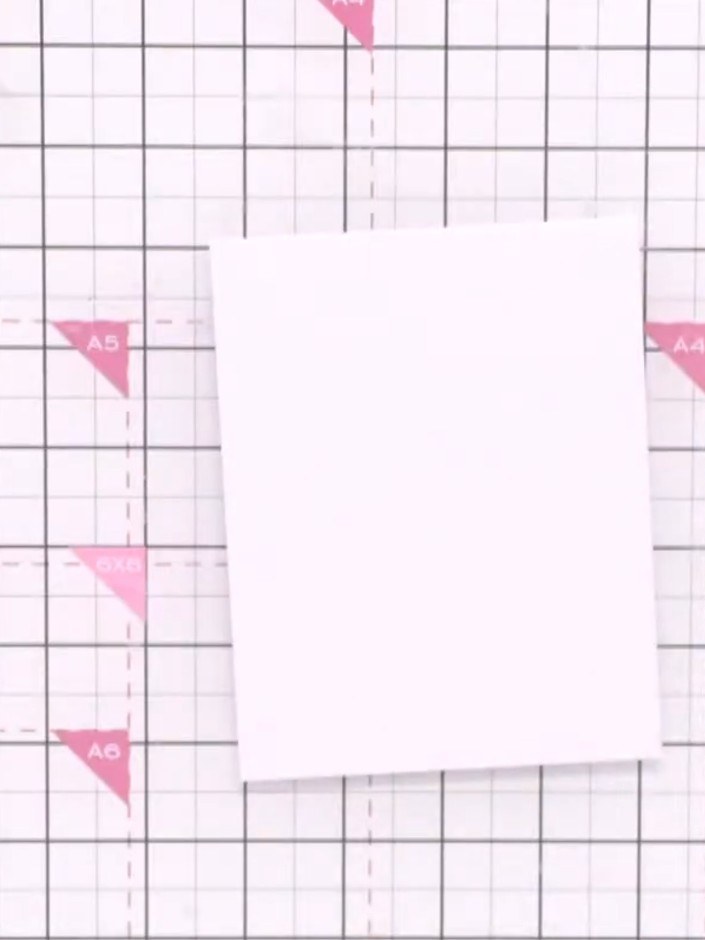
Cut a piece of white card stock slightly smaller than your card blank to use as your working surface.
▶ watch this step (40:30)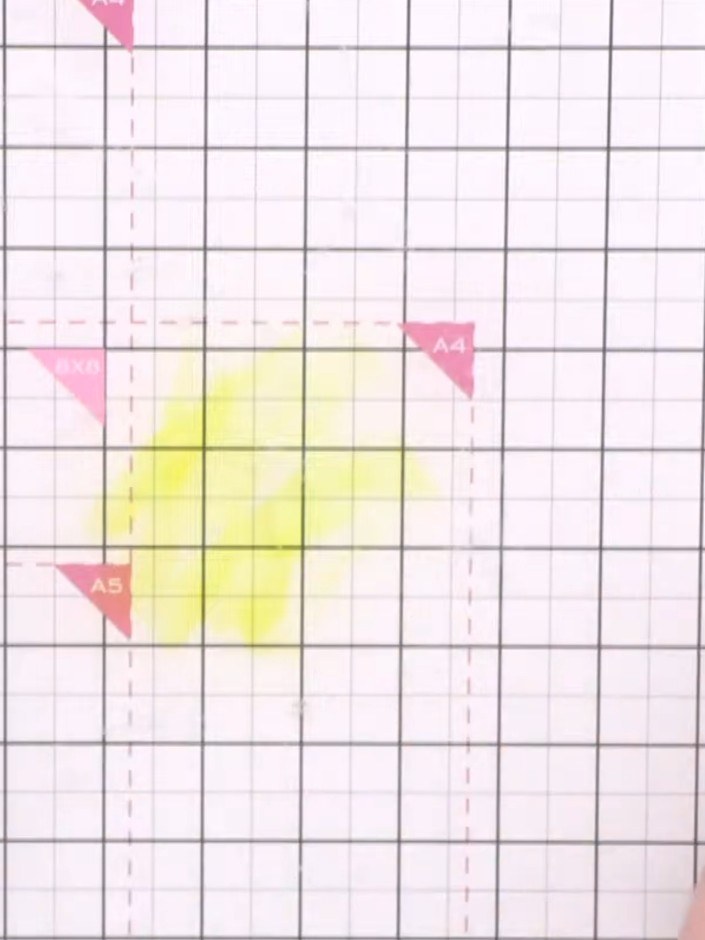
Spray water onto your craft mat to create a wet working area. Add drops of yellow ink from the Sherbet ink pad directly onto the wet mat. You can also spray the card lightly with water if desired.
▶ watch this step (41:00)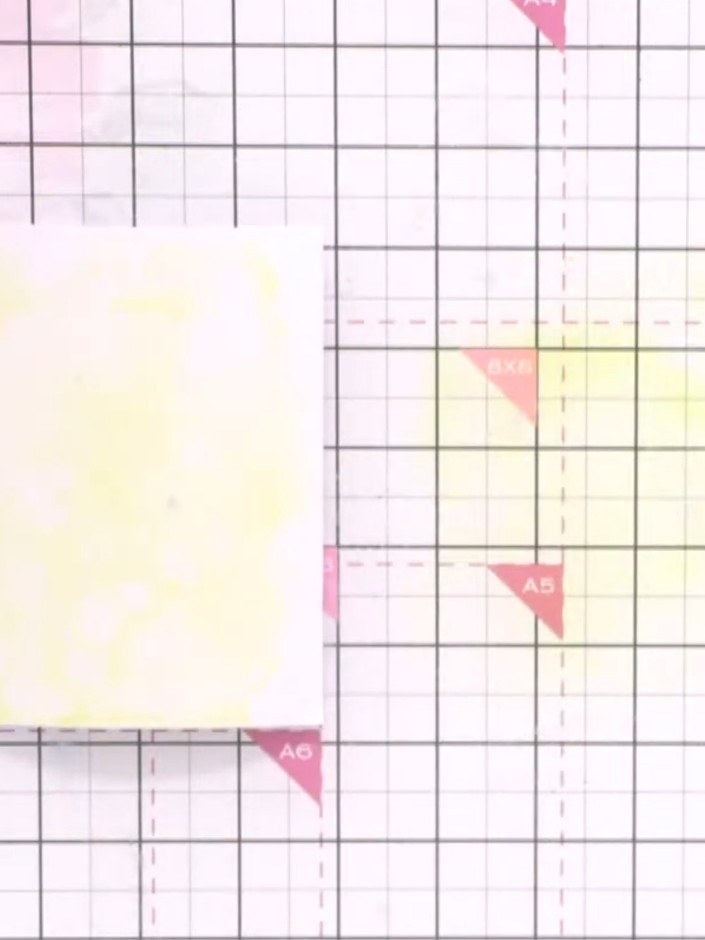
Press your wet card face down into the yellow ink puddle, allowing the colour to transfer and blend across the surface.
▶ watch this step (41:15)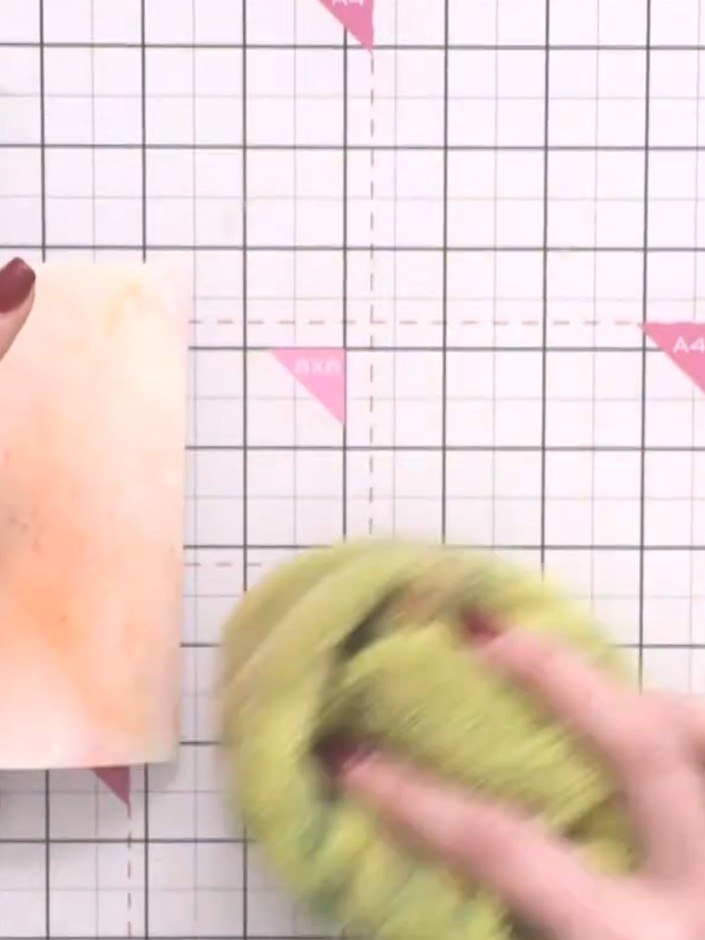
Rinse your card under water to remove excess ink. Pat dry with kitchen roll. Repeat the process with orange ink (Bittersweet) in a separate area of your craft mat, applying the ink and spritzing with water.
▶ watch this step (41:45)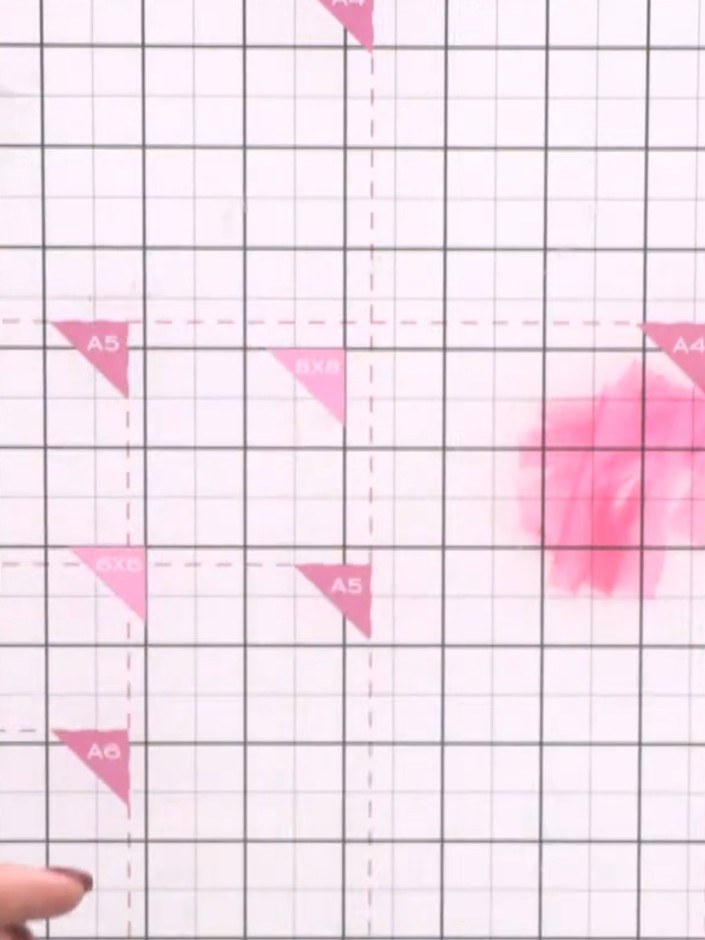
Apply pink ink to your card to create a third colour wash. Build up a gradient effect by blending the pink with the existing peach and teal washes, working the colours together to create smooth transitions.
▶ watch this step (42:00)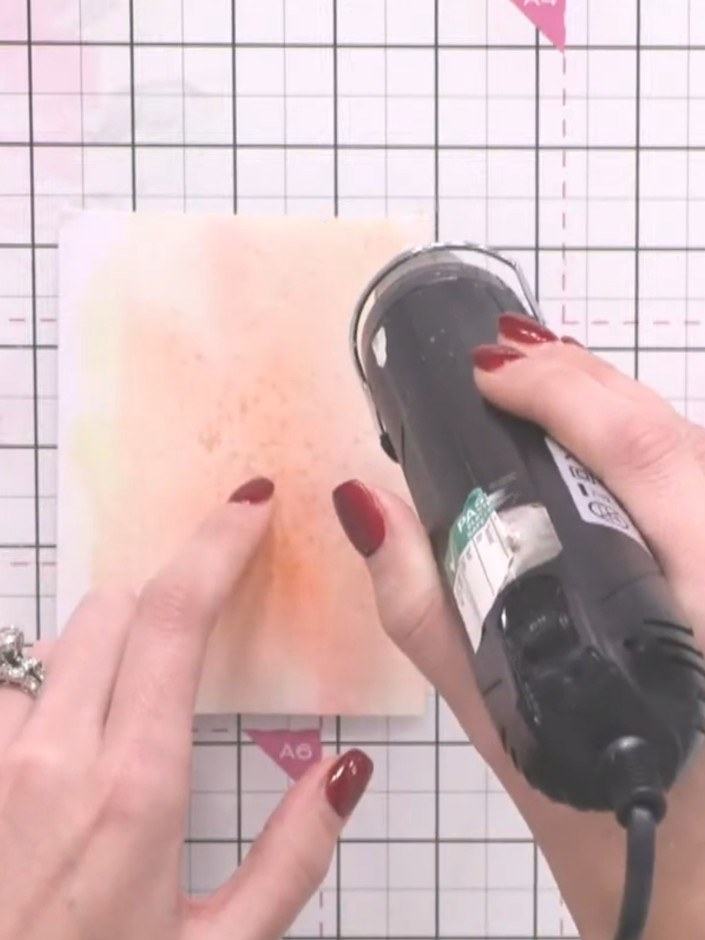
Use a heat tool to dry the card completely. Move the heat tool over the entire surface of the card until all the ink is dry.
▶ watch this step (42:30)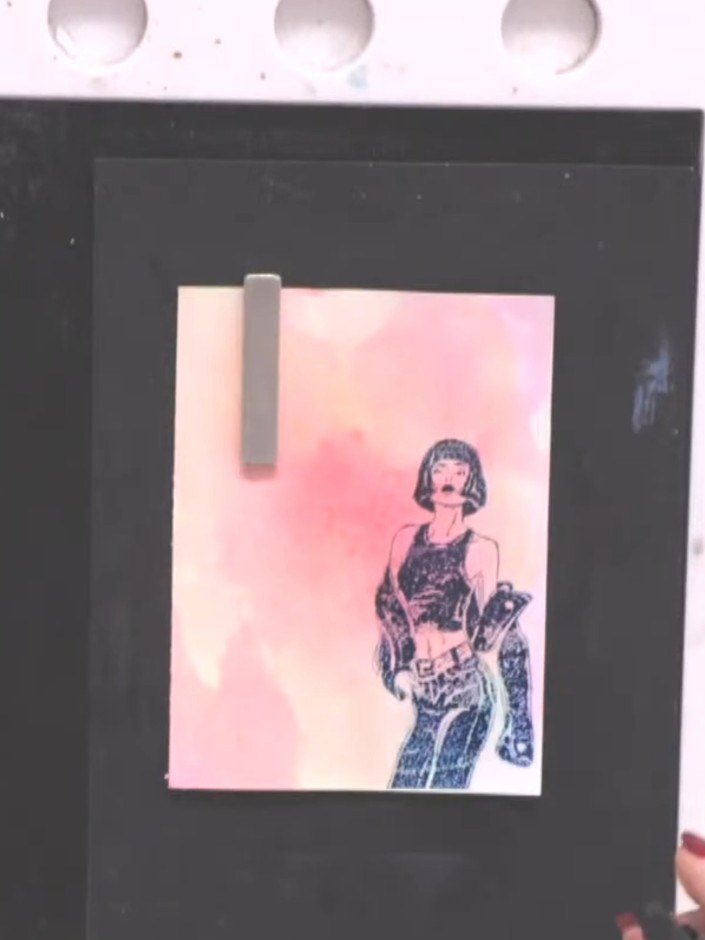
Ink up your lady stamp with a dark teal or navy ink pad (such as Indigo or Ocean) and press firmly onto the dried watercolour card to create a clear impression.
▶ watch this step (46:00)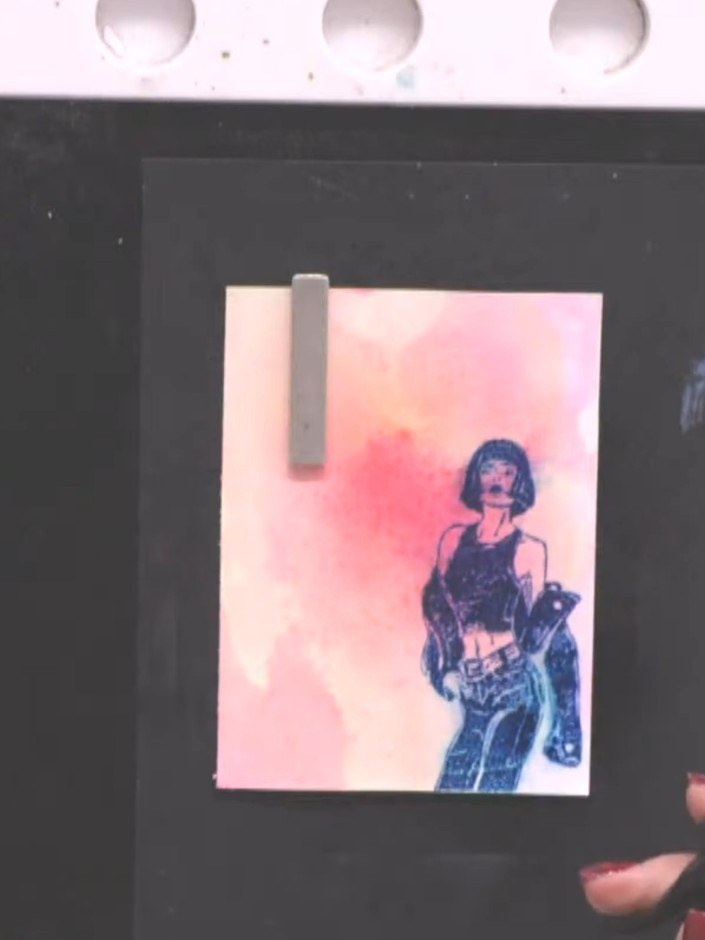
Lightly spray the stamped image with water to create a fuzzy, bled effect around the edges, allowing the colours to bleed slightly into the background.
▶ watch this step (46:15)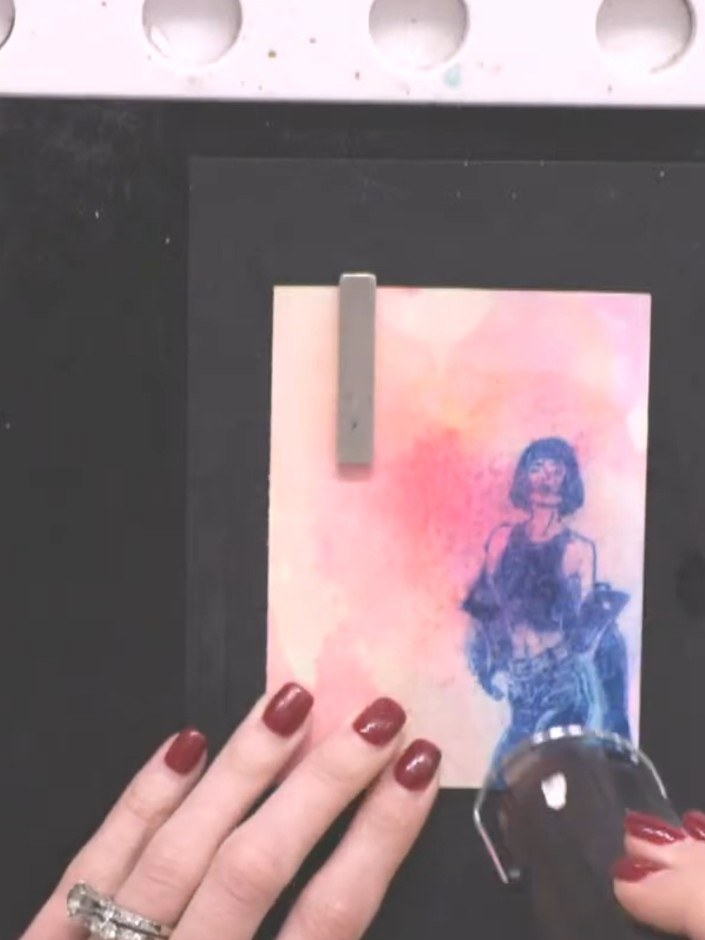
Once the watercolour wash is completely dry, re-stamp the same lady image directly over the top using black ink. This will add crisp definition and detail over the soft watercoloured background.
▶ watch this step (47:00)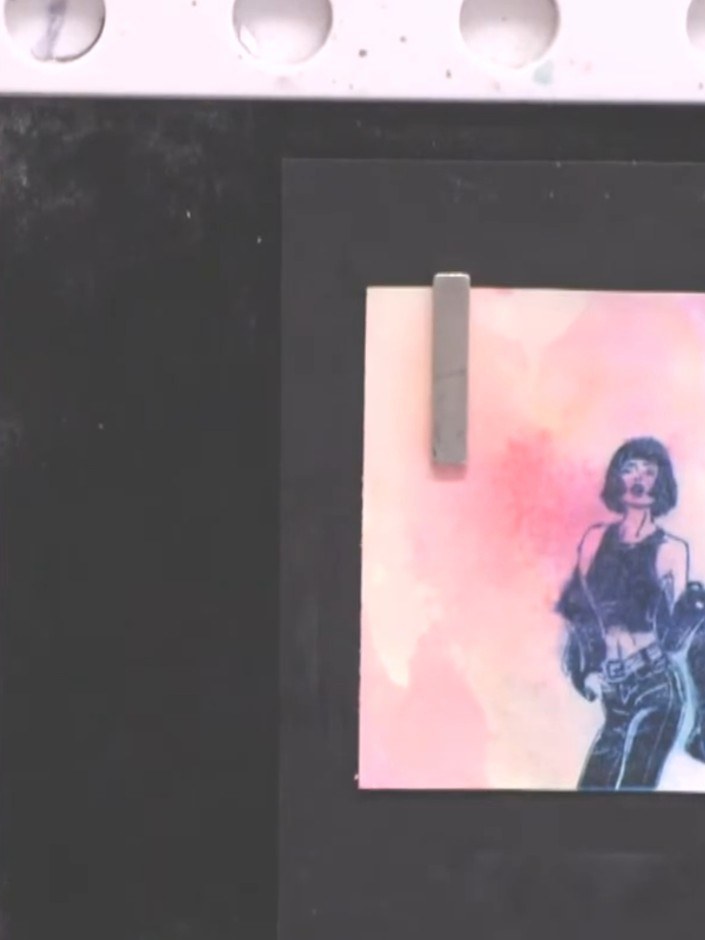
Use a white gel pen to add fine details to the lady figure, such as hairlines, belt lines and other accents to bring back definition and highlights.
▶ watch this step (48:00)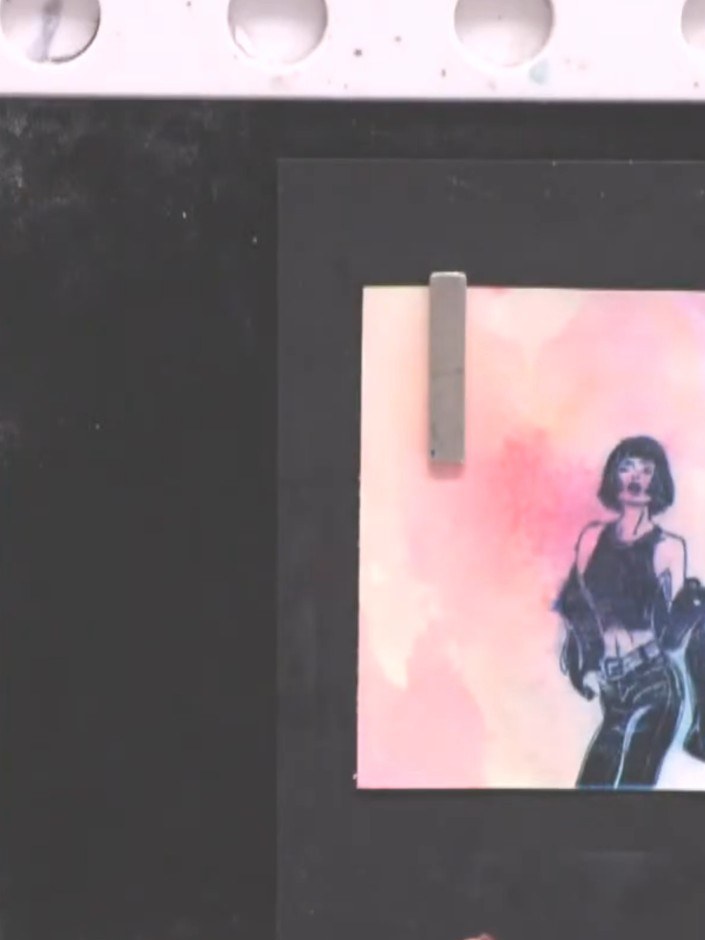
Mount your finished watercolour lady artwork onto a black card blank using adhesive. Position it centrally in the aperture to create a striking frame for your abstract design.
▶ watch this step (48:30)Written up from the show itself. See every guide from our shows · free how-to guides · watch live on My Telly