Give your friends €10 off their first order!
Refer a FRIEND








Prices change straight away. Every language is our own translation, not Google.
A project from our live show HOBBYMAKER TV - Join us for the latest show - Broadcast 2 p.m. (UK) 15th August 2026 · 15/08/2026
Create a stunning floral card featuring vibrant poppies in rich coral-red tones with fresh green foliage. Using a multi-layer stencil system, you'll build up colour and dimension by applying inks in sequence to achieve a beautiful, artistic botanical design. This technique allows you to create professional-looking layered florals with depth and visual interest.
 1
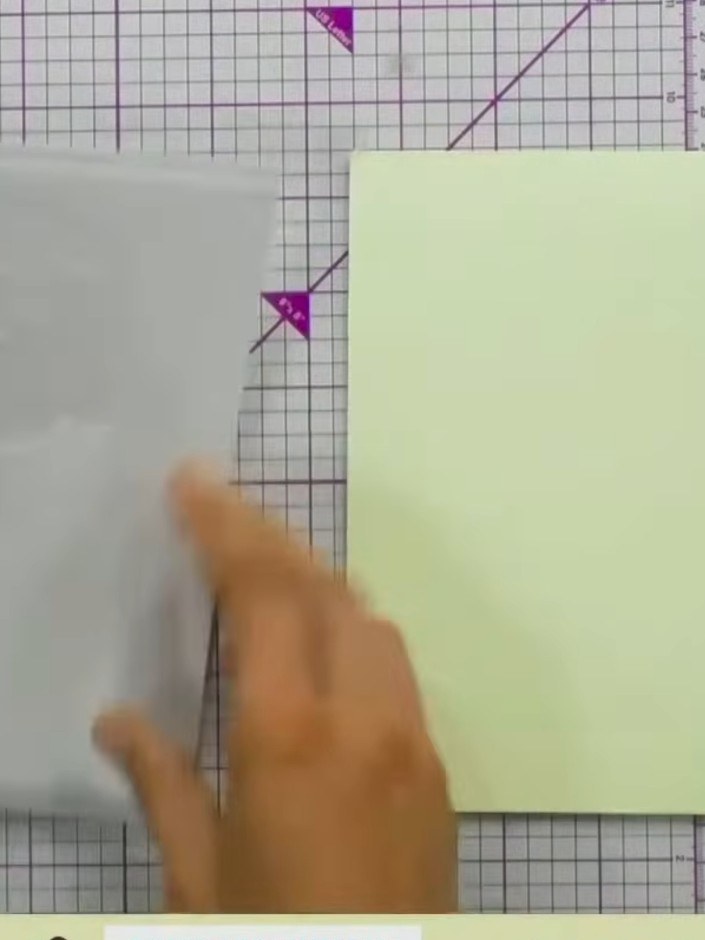
Position the first stencil from the Poppy Bouquet layering set onto your pale green card blank, aligning it with the edges of the card.
 2
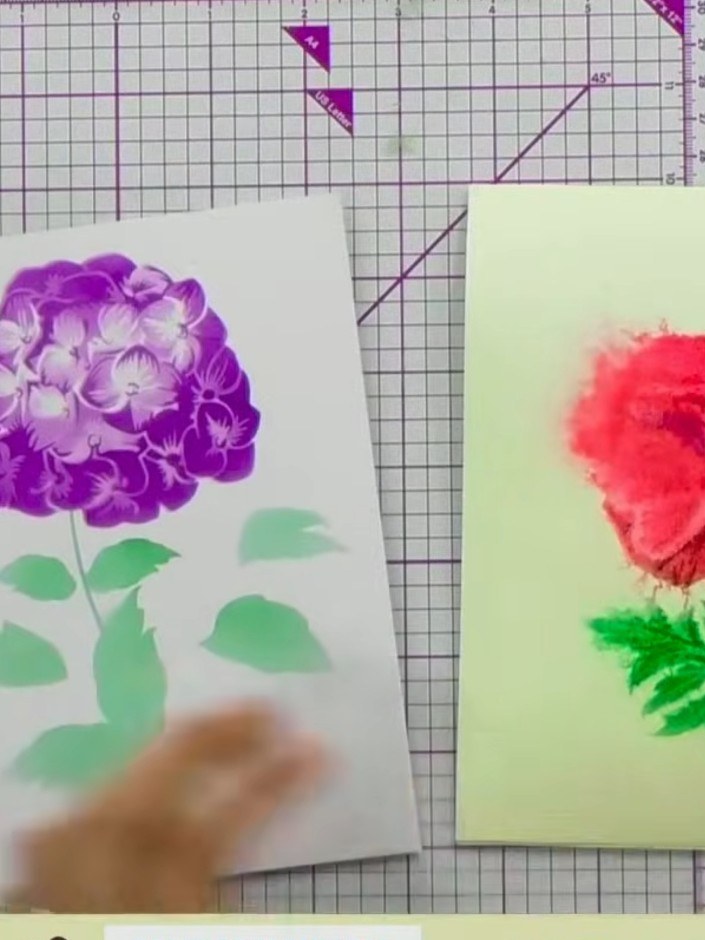
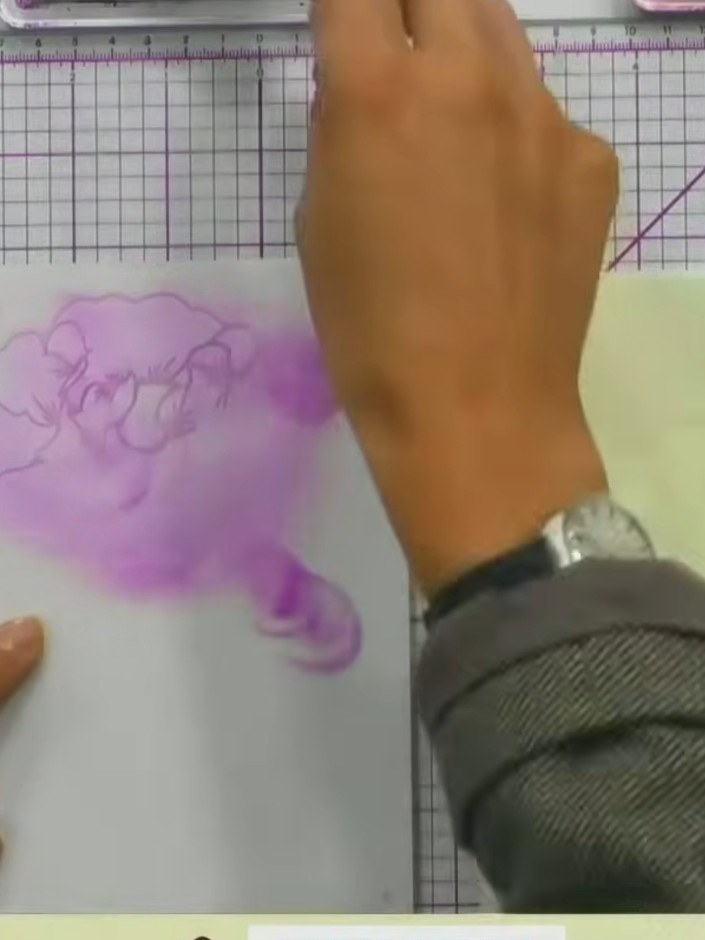
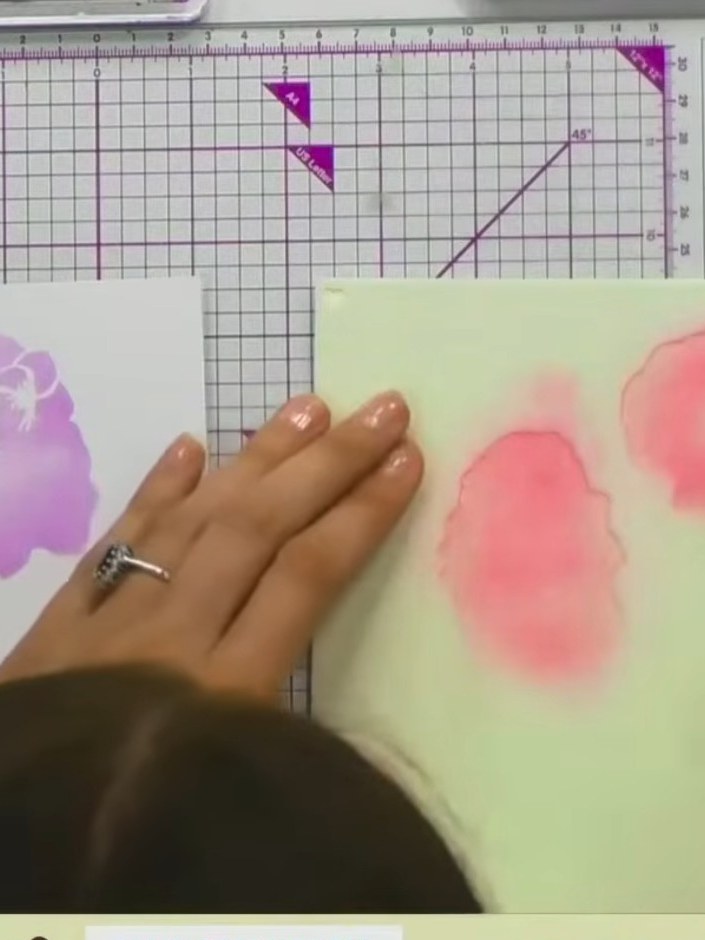
Apply pink or red ink through the stencil using a light touch and circular motions. Work the colour gently to create a soft, blended effect on the card.
 3
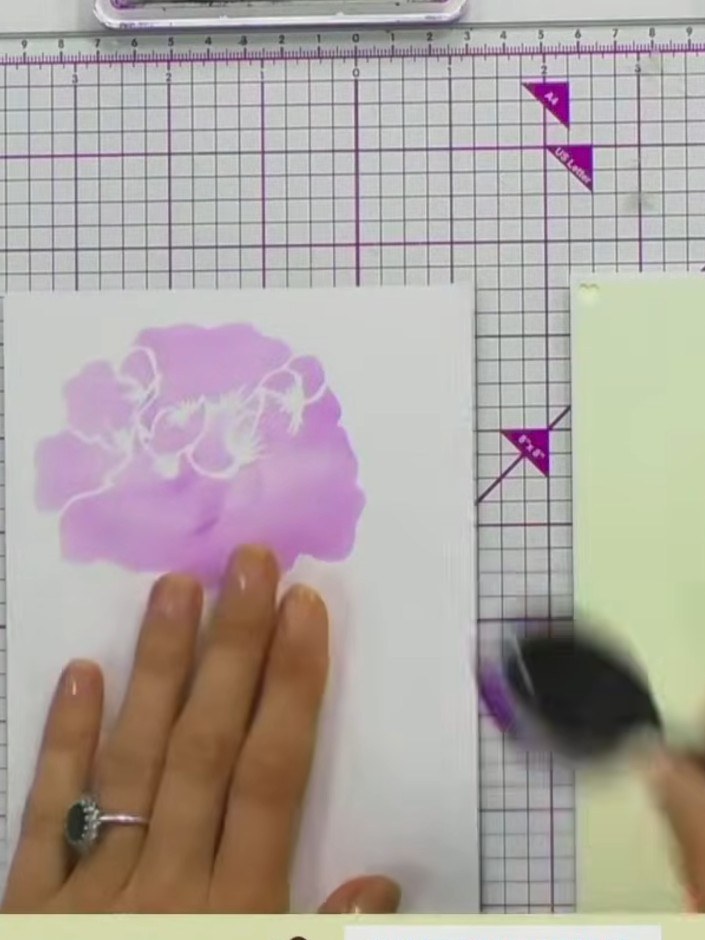
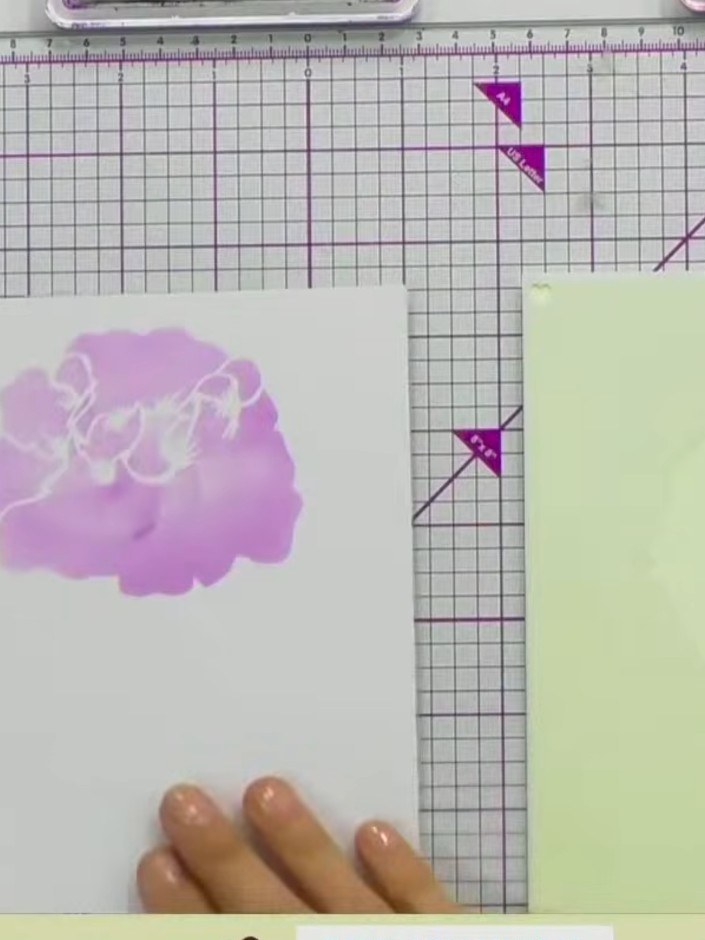
Remove the stencil carefully from the card stock. Allow the pink and purple ink to dry completely before proceeding to the next step.
 4
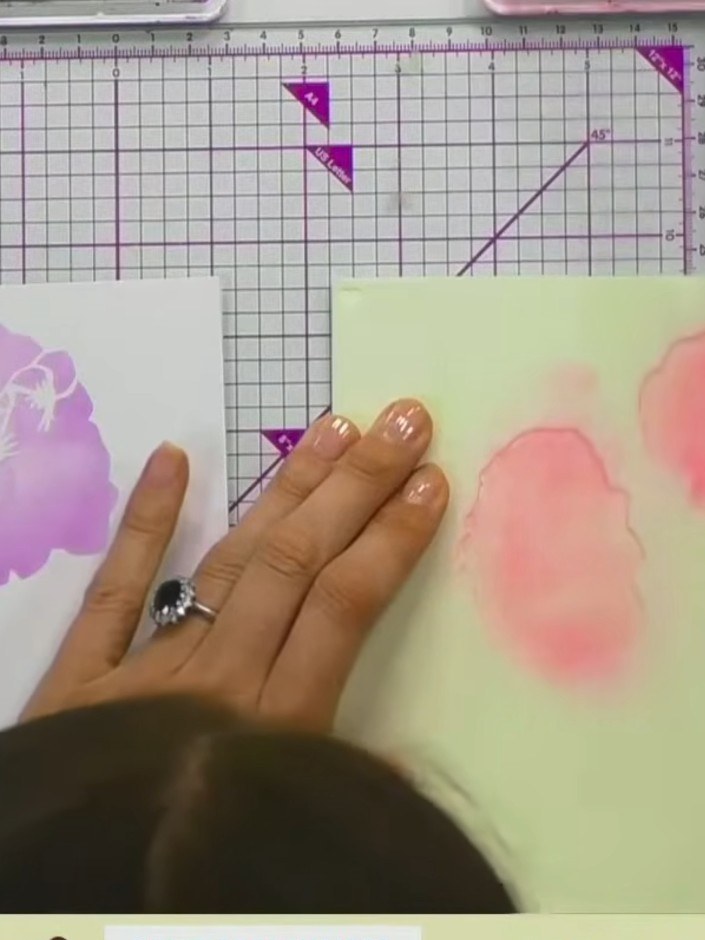
Position stencil number 2 over your stamped image, aligning it carefully. Apply pink ink through the stencil using a blending tool to add the second layer of colour to your poppy.
 5
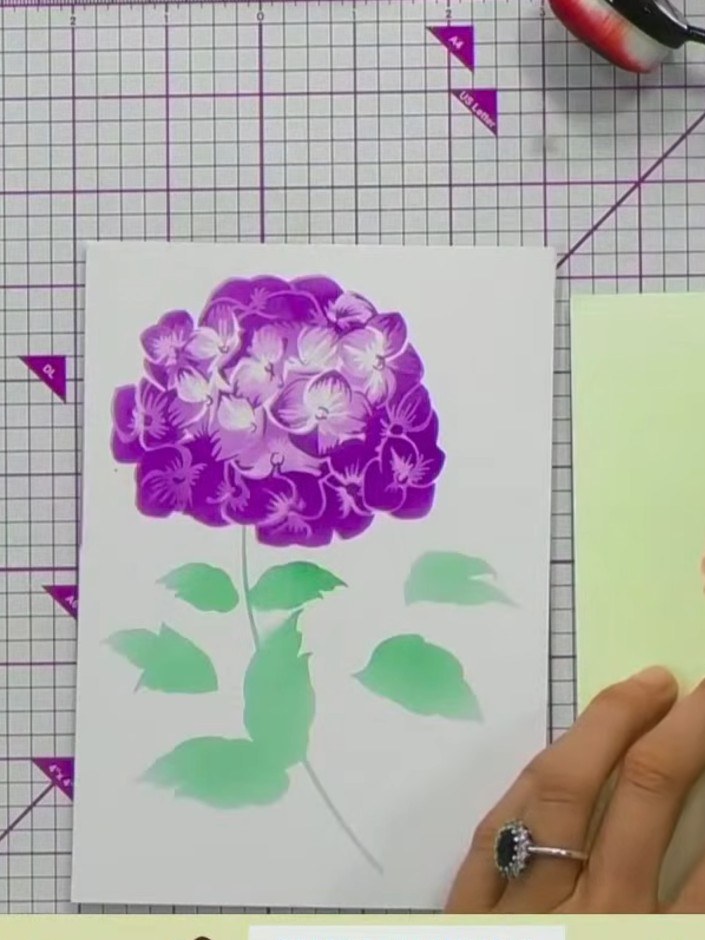
Use stencil 3 to add green ink for the foliage and leaves. Apply the ink through the stencil using a blending tool, building up the colour gradually.
 6
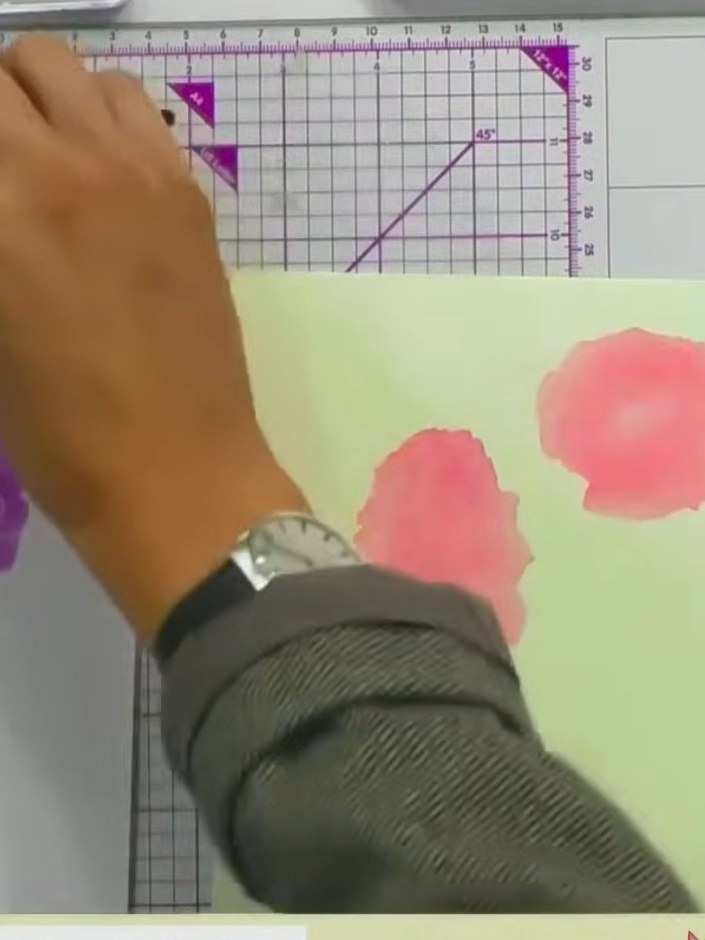
Position stencil 4 over your blended flowers and use a blending tool to add the final layer of detail. Apply purple ink to the purple flower and coral pink ink to the pink flowers to add depth to the petals and centres.
 7
Use the coordinating outline die to cut out the finished poppy design. The die will cut around the stamped and blended floral images, creating a neat shaped edge for your card topper.
Share your make with the Stamps By Me community - and keep this guide for next time.
Written up from the show itself. See every guide from our shows · free how-to guides · watch live on My Telly · the previous layout