Give your friends €10 off their first order!
Refer a FRIEND








A project from our live show HOBBYMAKER TV - Join us for the latest show - Broadcast 2 p.m. (UK) 8th August 2026 · 08/08/2026 · watch it from 23:30
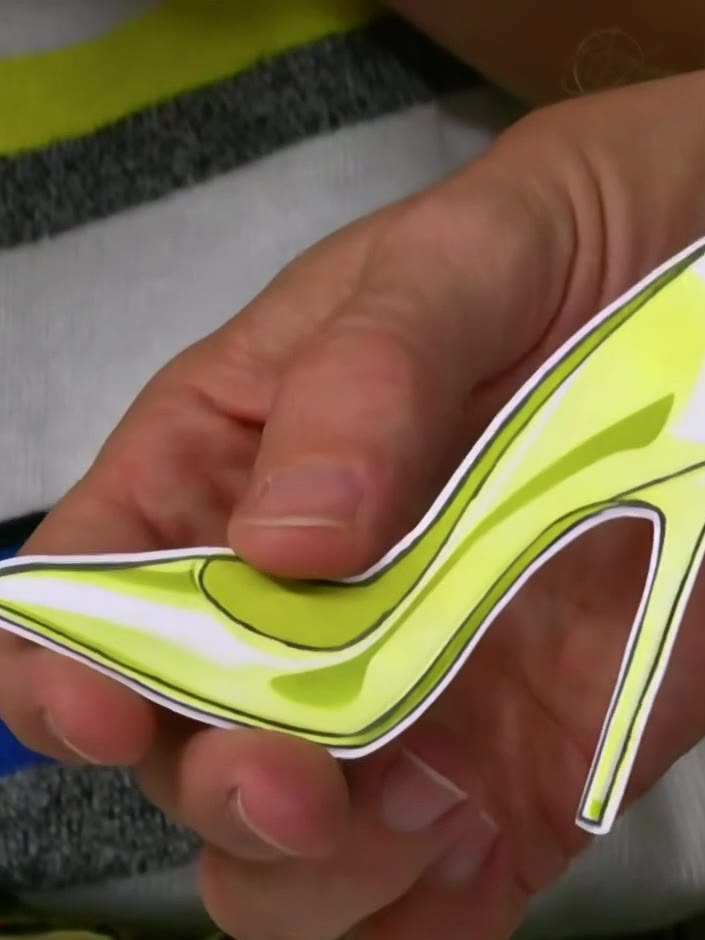
Create a glamorous high-heeled shoe card using the innovative Quattro D system. This elegant design features a lime green stiletto with metallic accents, combining four professional techniques: stencilling, stamping, die-cutting and embossing. The result is a stunning dimensional card with a shop-quality finish perfect for fashion lovers.
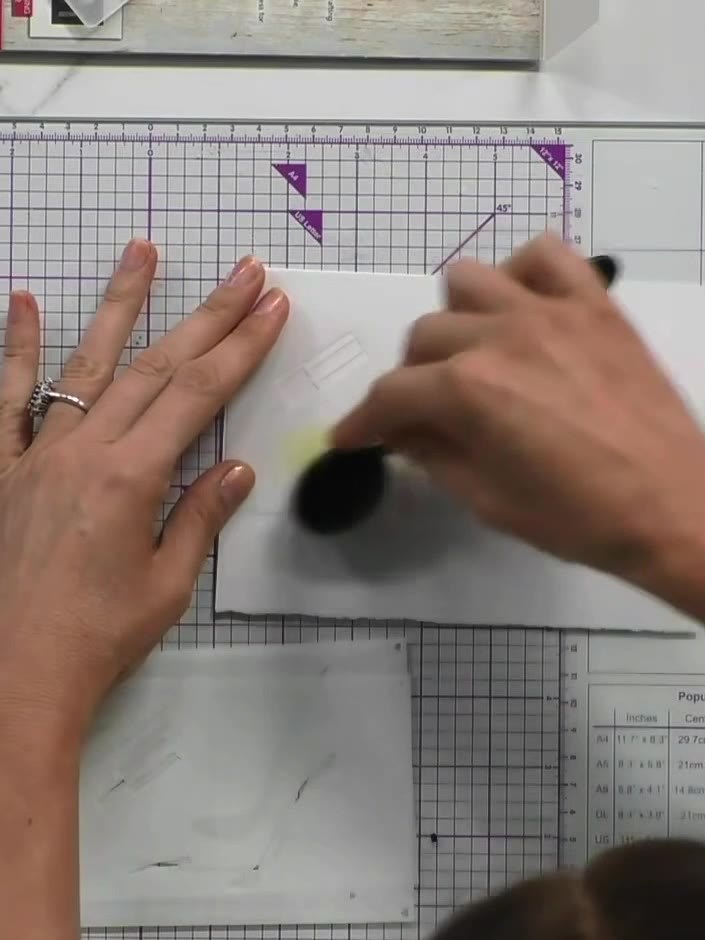
Line up the first numbered stencil at the edge of your white card blank. Apply gold ink through the stencil using an ink pad, dabbing gently to transfer the metallic colour.
▶ watch this step (24:30)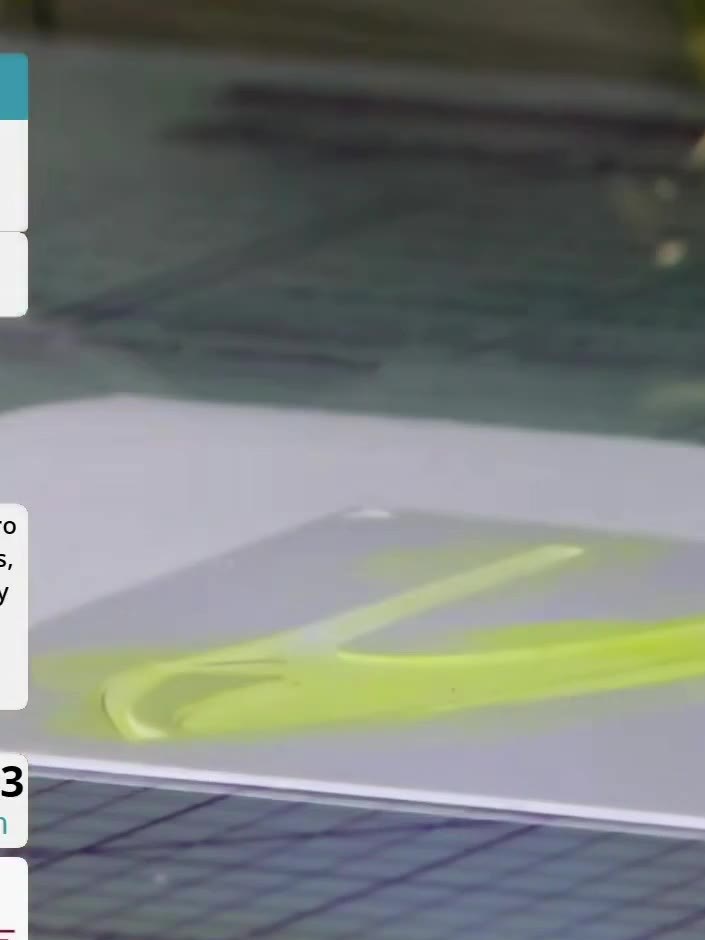
Position the second stencil over your card and apply the same gold ink using the blending tool. Press firmly to build up dimension and create a layered effect.
▶ watch this step (25:00)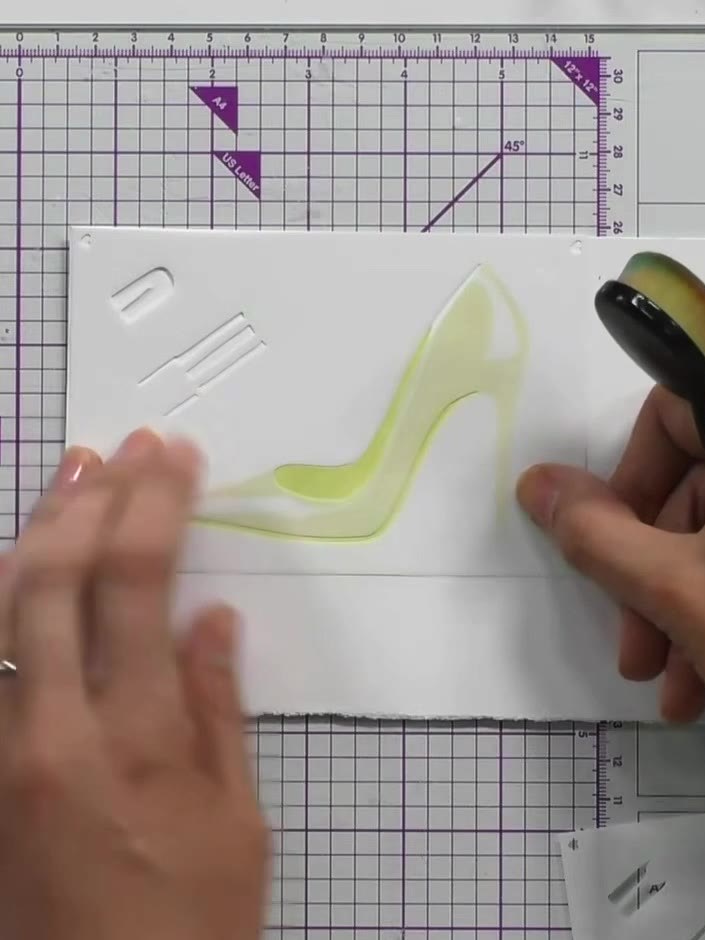
Apply the third stencil layer using gold ink and a blending tool. Press down firmly to create light and shade effects on the shoe design.
▶ watch this step (25:45)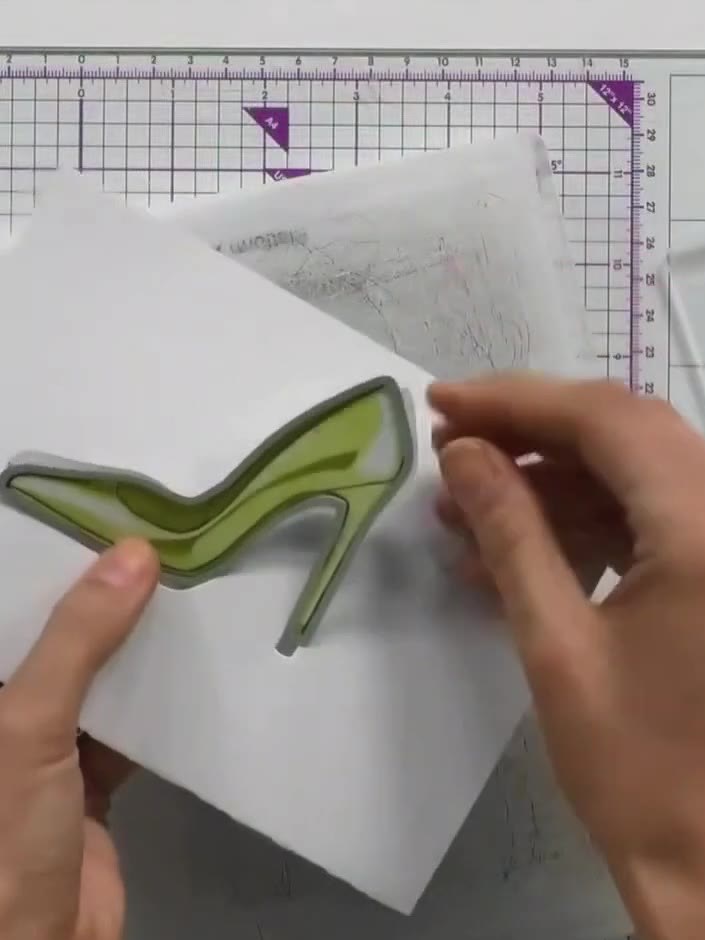
Die-cut the shoe shape using the die-cutting machine with the fat plate on the bottom and thin plate on top. Feed the layered sandwich through the machine to cut out the green shoe design.
▶ watch this step (31:15)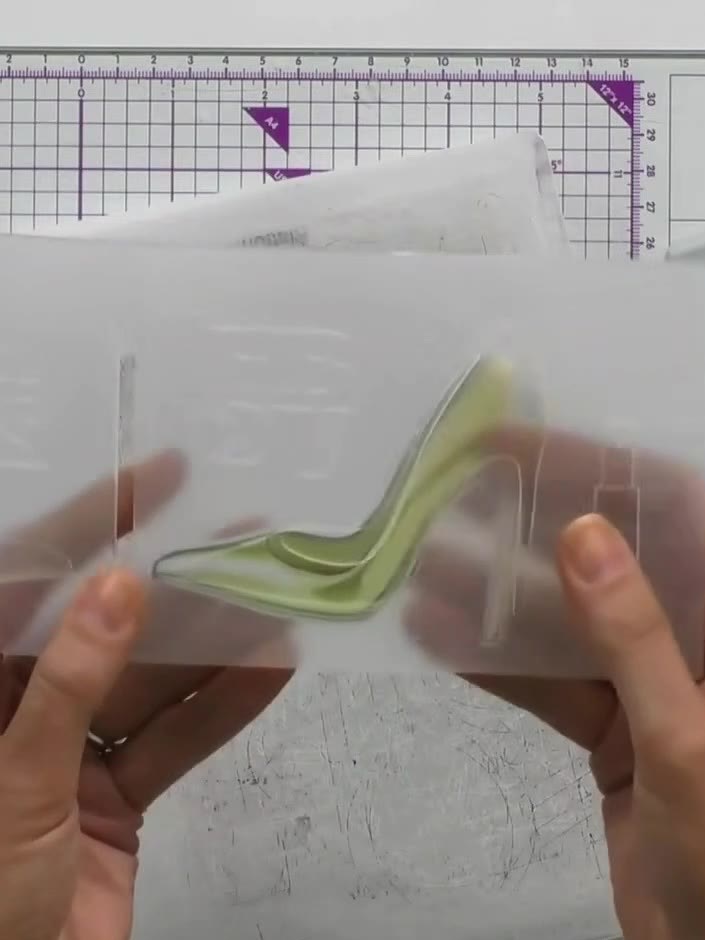
Line up the die-cut green shoe with the embossing folder, ensuring the shoe aligns properly within the folder before running through the machine.
▶ watch this step (32:15)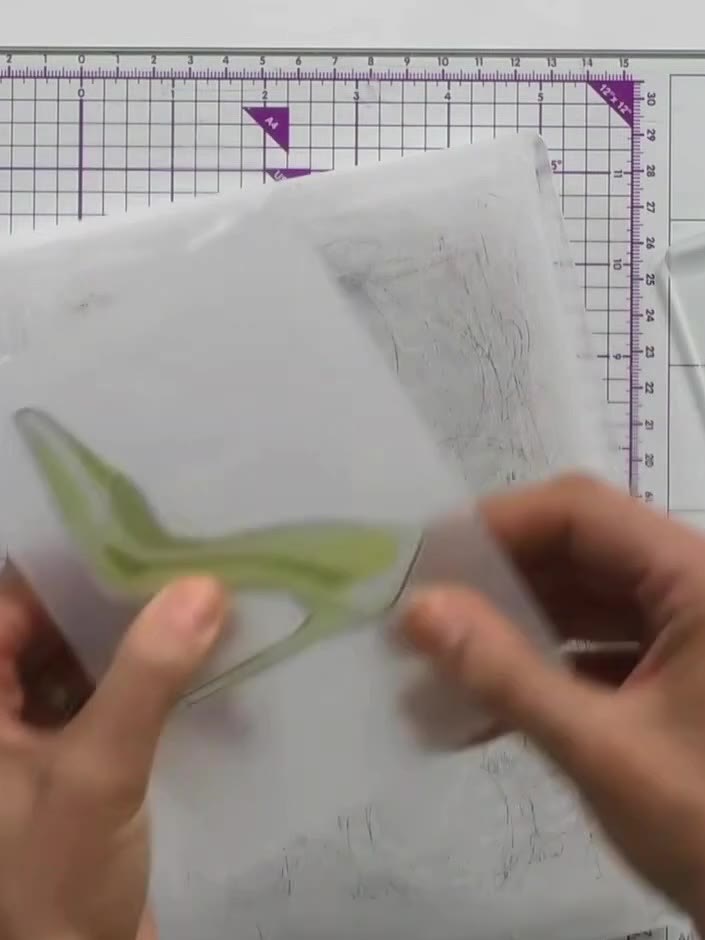
Run the shoe through the die-cutting machine with the embossing folder to add three-dimensional texture and stitching detail to the surface.
▶ watch this step (32:45)
Mount the finished lime green embossed shoe onto your card base. Position it centrally, leaving white space around the shoe to create a border that highlights the focal point.
▶ watch this step (33:45)Written up from the show itself. See every guide from our shows · free how-to guides · watch live on My Telly