Give your friends €10 off their first order!
Refer a FRIEND








A project from our live show HOBBYMAKER TV - Join us for the latest show - Broadcast 2 p.m. (UK) 8th August 2026 · 08/08/2026 · watch it from 46:30
Create a stylish card featuring a designer handbag and sunglasses using the Quattro D four-stage layering system. This elegant design combines stencilling, stamping, die-cutting and embossing to build up dimensional images with professional depth and detail. The finished card showcases fashion accessories in coordinating colours with a sophisticated, boutique-quality finish.
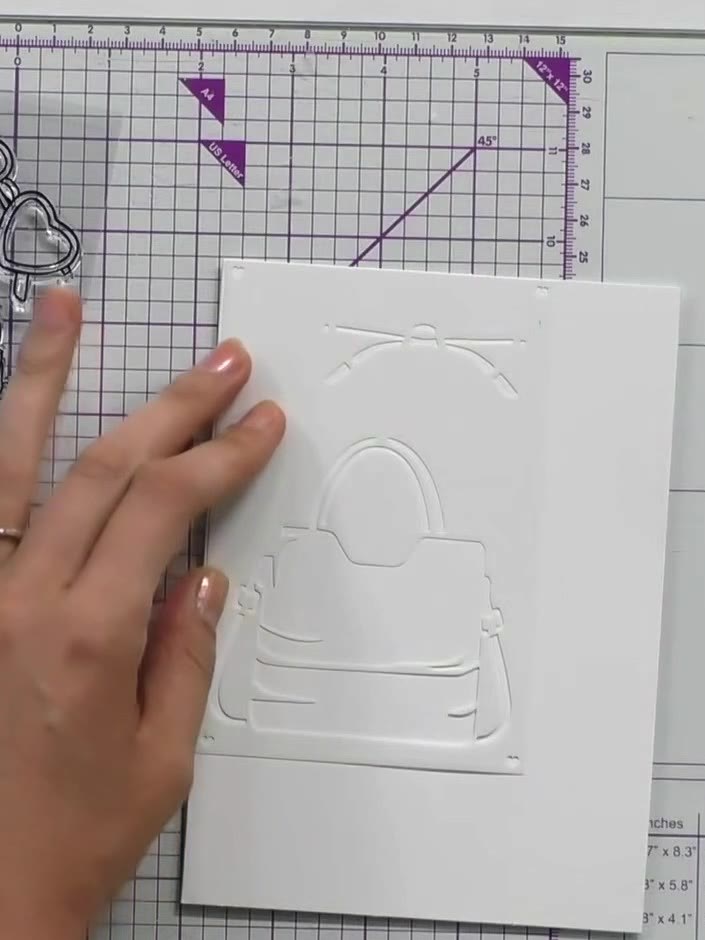
Line up the first numbered stencil for the handbag at the edge of your white card blank. Apply black ink through the stencil using a blending tool or sponge.
▶ watch this step (46:45)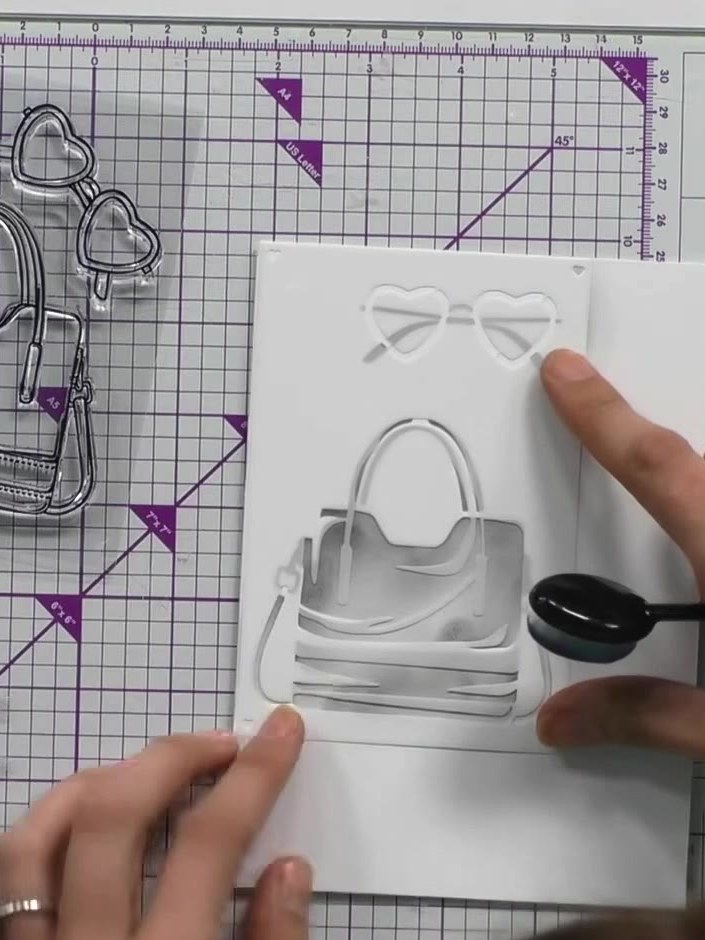
Position the second stencil layer showing the bow detail at the top of the handbag. Apply black ink using a blending tool, building up the bag's shape and adding dimension to the design.
▶ watch this step (48:00)
Stamp the glasses outline onto white card using black ink to define the shape and add detail to the design.
▶ watch this step (49:00)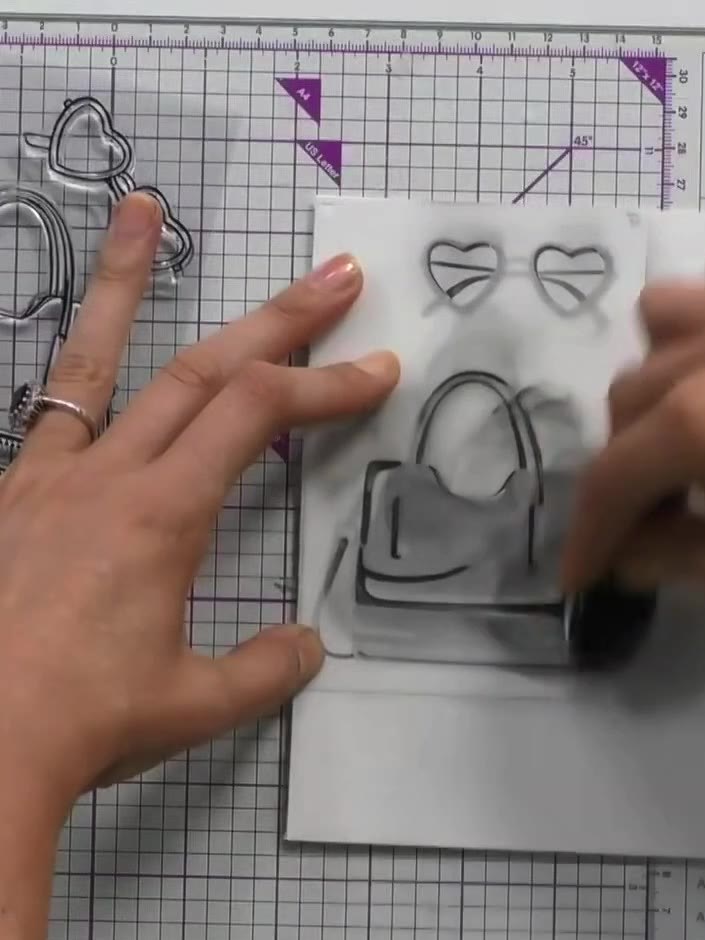
If desired, change your ink colour to create rose-tinted or coloured lenses on the glasses. Use the stencils to apply the coloured ink through the lens areas of the glasses design.
▶ watch this step (49:30)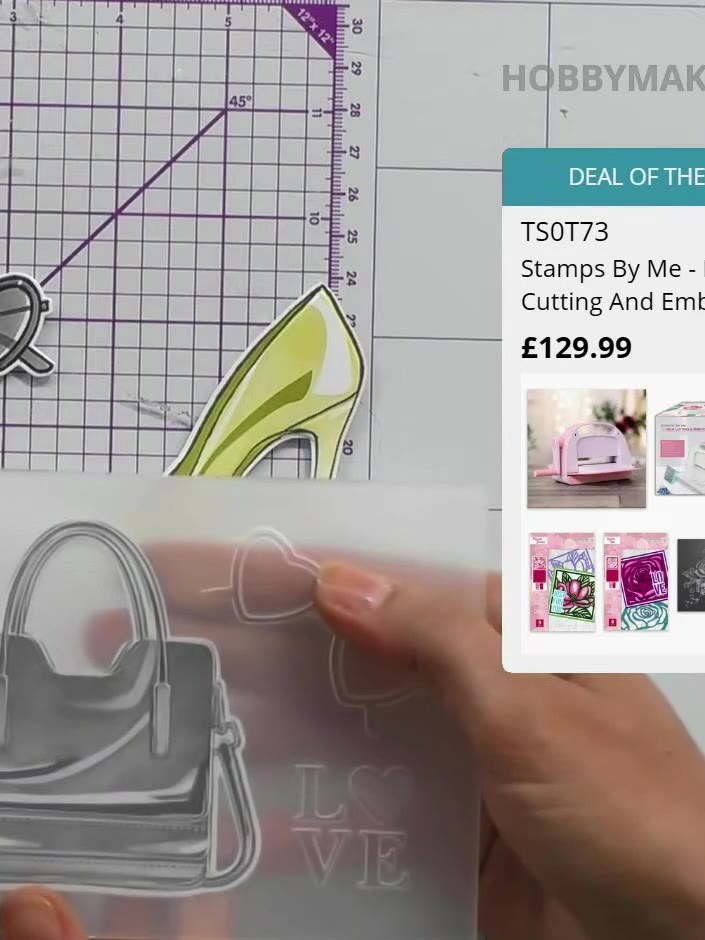
Place the handbag die cut into the embossing folder, ensuring it is properly aligned. Run the folder with the handbag through your die cutting machine to add stitching detail and create three-dimensional folds on the handbag.
▶ watch this step (56:00)
Emboss the white background cardstock using the embossing folder with words or texture. Layer your coloured handbag piece on top of the embossed background to create dimension.
▶ watch this step (57:30)Written up from the show itself. See every guide from our shows · free how-to guides · watch live on My Telly