Give your friends €10 off their first order!
Refer a FRIEND








A project from our live show CREATE AND CRAFT TV - New and Exclusive - Broadcast 27th August 24 · 27/08/2024 · watch it from 45:00
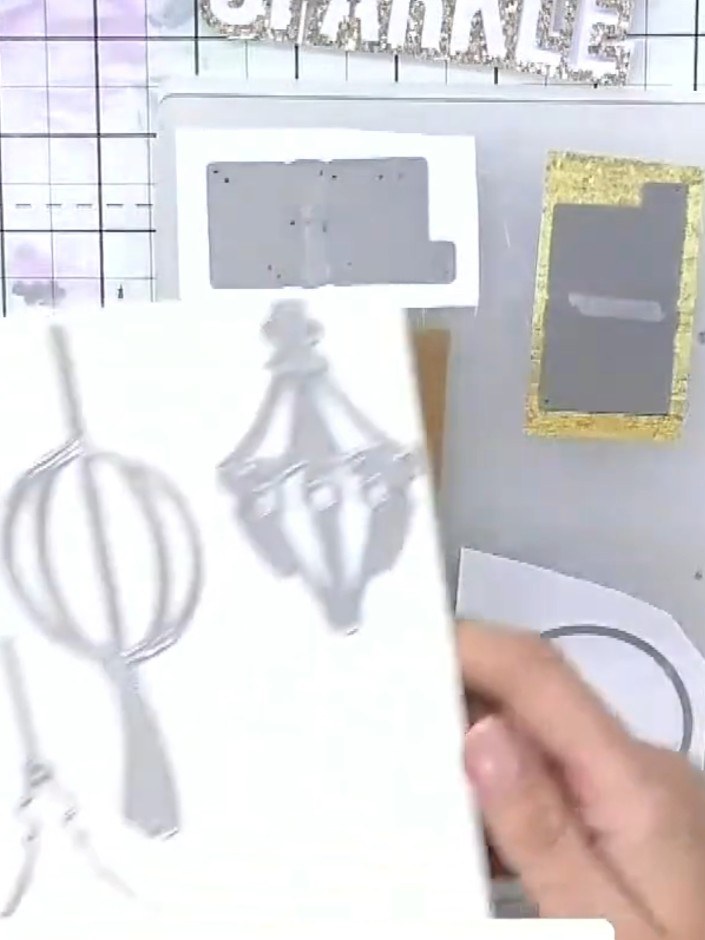
Create a stunning 3D bauble ornament with layered die-cut pieces featuring elegant floral designs in rich greens and reds. Use coloured ink to add depth and shading to each layer, then finish with a decorative tassel for a beautiful hanging decoration. This festive ornament combines die-cutting, ink blending and dimensional layering techniques for a professional result.
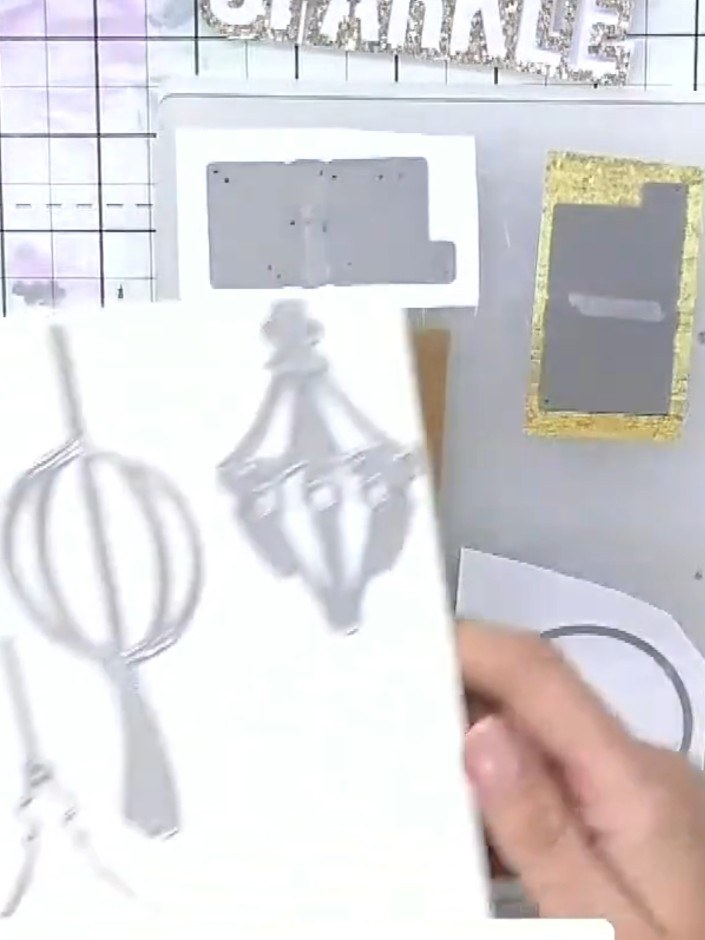
Die-cut the bauble circle from white card stock using the bauble die set. Position the circular bauble die on white card and run through your die-cutting machine.
▶ watch this step (45:00)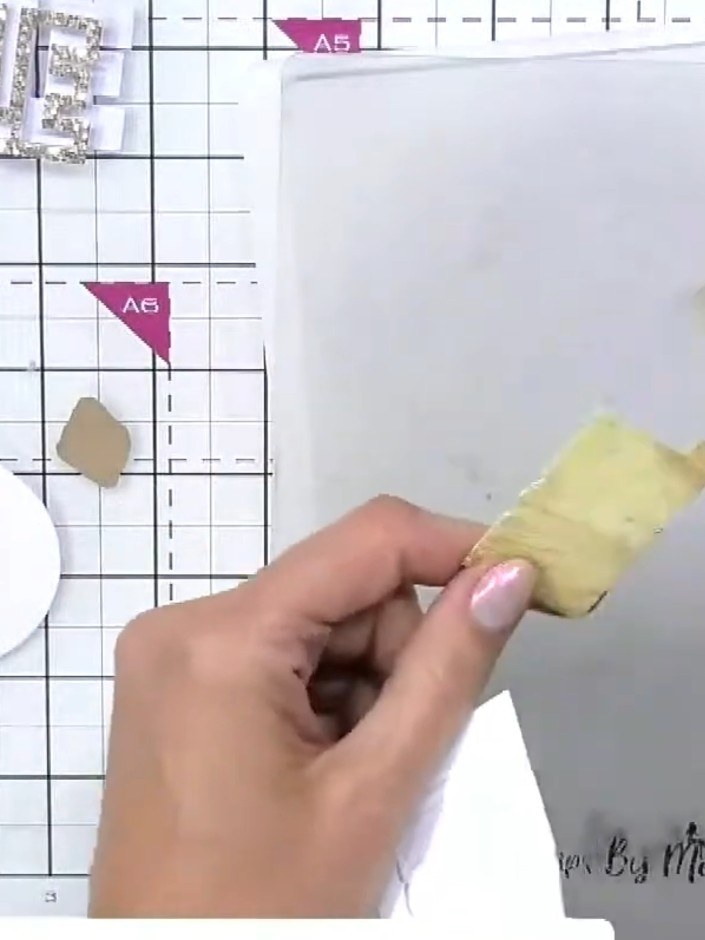
Choose one side of the bauble piece and apply a heavier concentration of the gold ink to create shading and depth. Build up the colour by dabbing the ink applicator repeatedly on the surface.
▶ watch this step (46:00)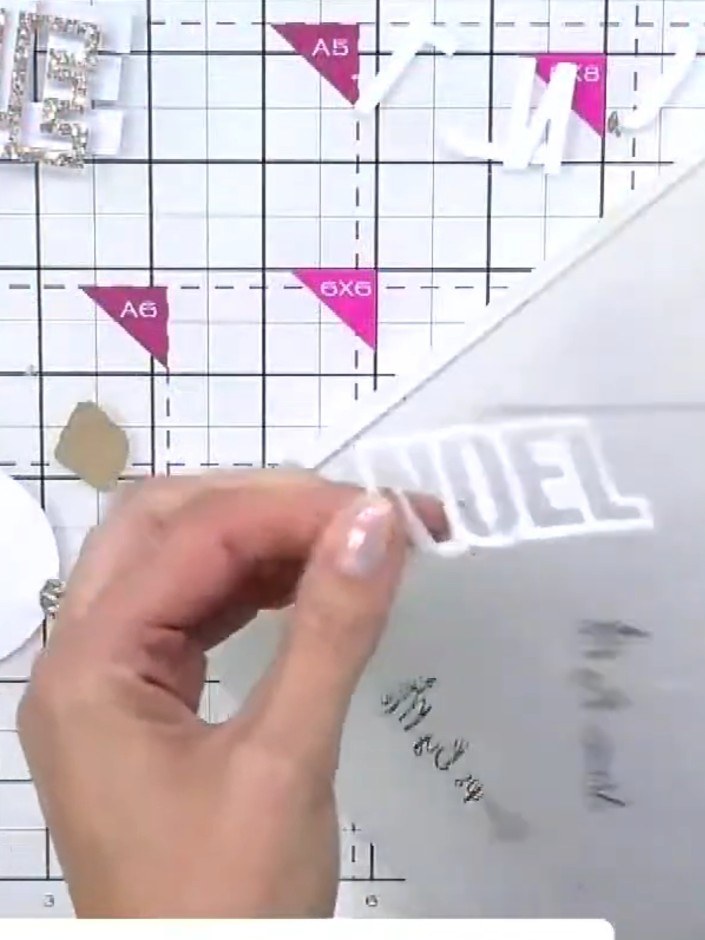
Blend the darker ink down towards the lighter side of the white circle to create a 3D spherical effect, working the colours together smoothly.
▶ watch this step (46:30)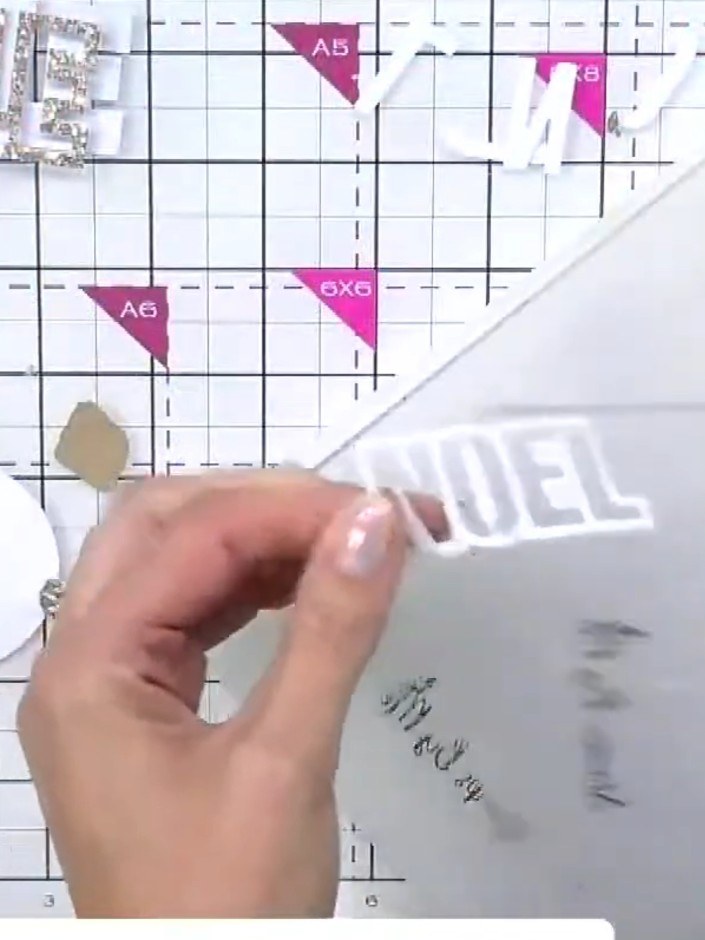
Spray a small amount of water onto the inked bauble to add texture and create a distressed look. The water will react with the ink to create interesting patterns.
▶ watch this step (47:00)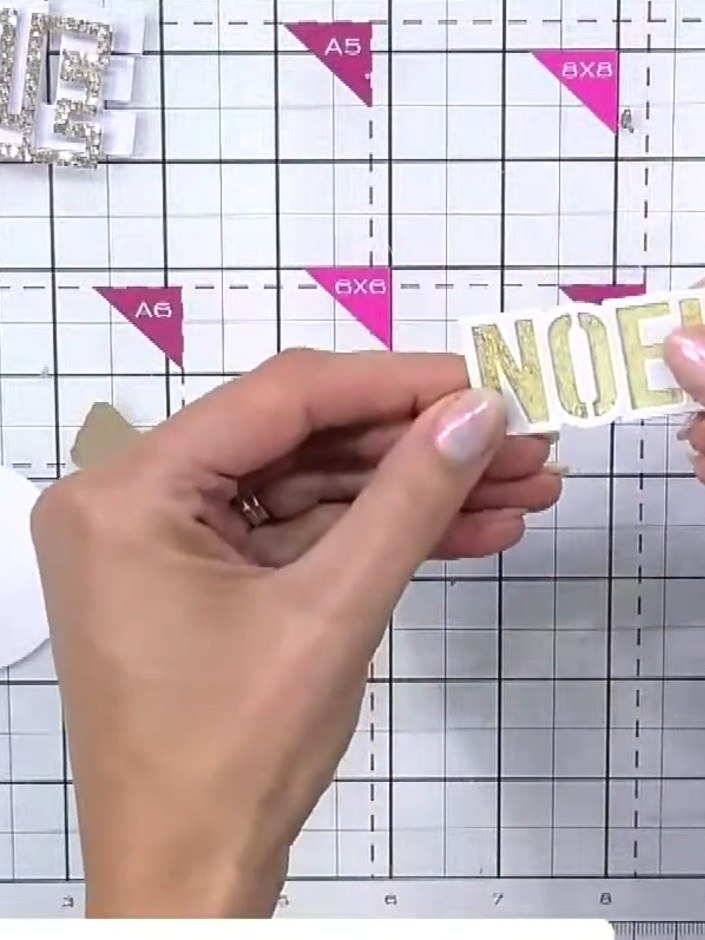
Use a piece of card or paper towel to dab and lift some of the wet ink from the 'NOEL' letters for additional texture and variation.
▶ watch this step (47:30)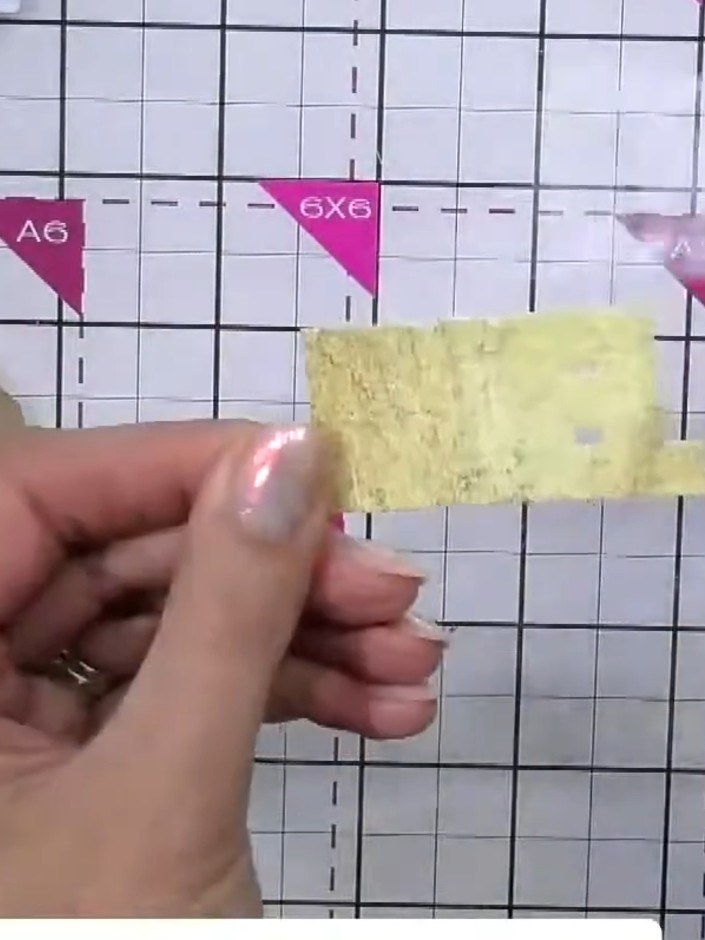
Apply a darker ink colour such as brown or black around the edges of the bauble pieces and the tassel area to add depth and a vintage feel.
▶ watch this step (48:00)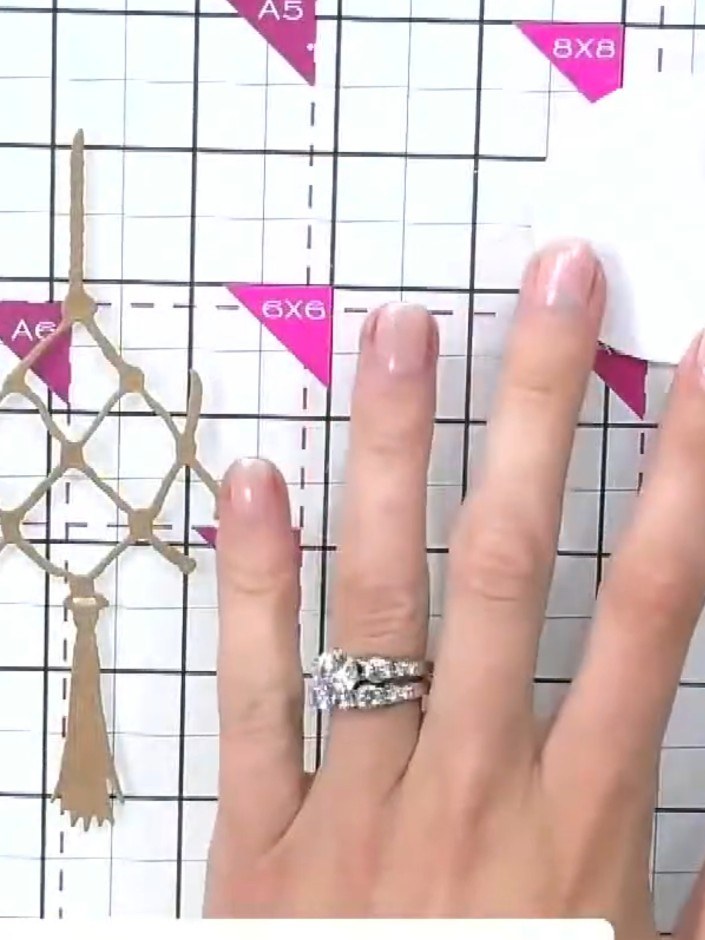
Attach the decorative tassel element to the top of the bauble using adhesive. Apply the adhesive to the top of the assembled bauble structure and press the tassel firmly in place.
▶ watch this step (48:30)Written up from the show itself. See every guide from our shows · free how-to guides · watch live on My Telly