Give your friends €10 off their first order!
Refer a FRIEND








A project from our live show CREATE AND CRAFT TV - New and Exclusive - Broadcast 27th August 24 · 27/08/2024 · watch it from 53:00
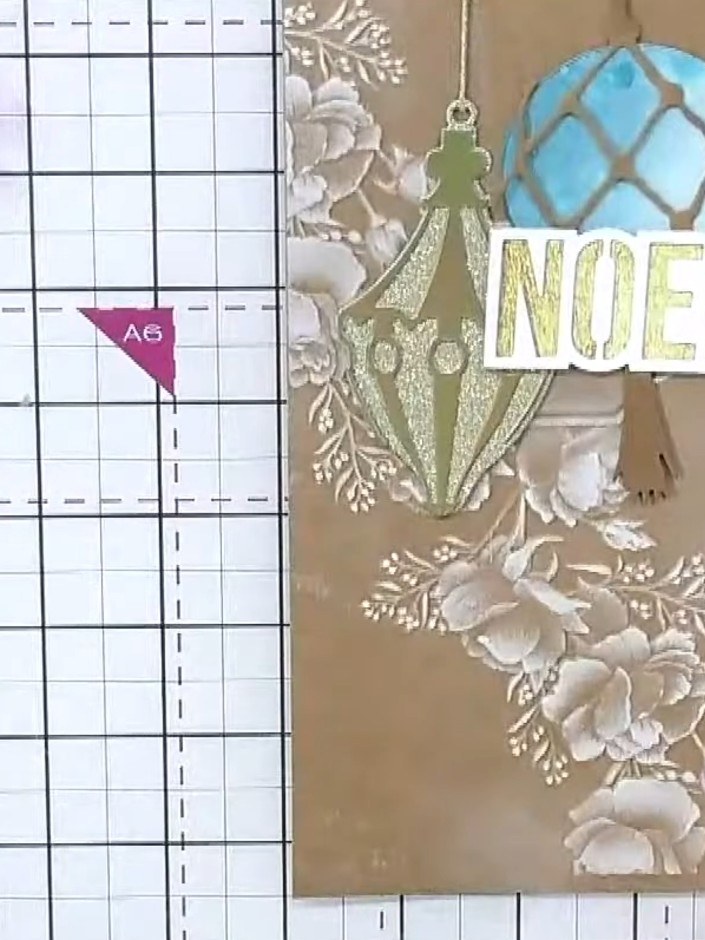
Create an elegant layered Christmas bauble decoration featuring a blue ornament with lattice detail and gold 'NOEL' lettering. This project combines sparkle paper, metallic embellishments, and 3D embossing folders to build up decorative floral and festive elements. The finished piece has a luxurious appearance achieved through careful layering and positioning of die-cut components.
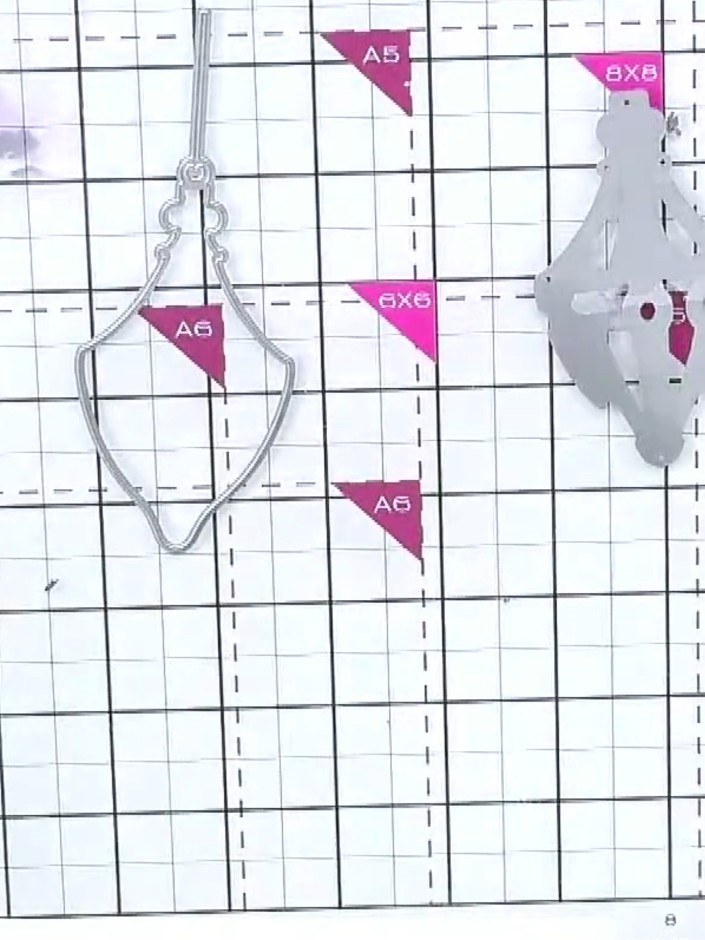
Die-cut the bauble back panel from metallic card stock using the appropriate die from the collection. The die creates an ornate bauble shape with decorative cutout details.
▶ watch this step (53:00)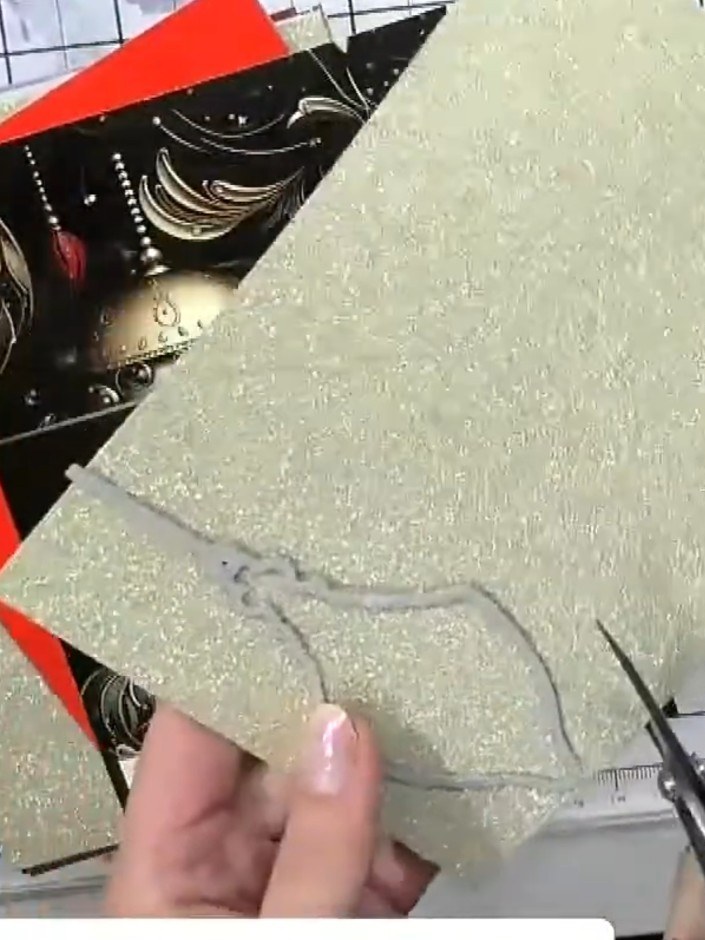
Die-cut the bauble shape from gold sparkle paper. This will form the front of your layered bauble decoration.
▶ watch this step (53:30)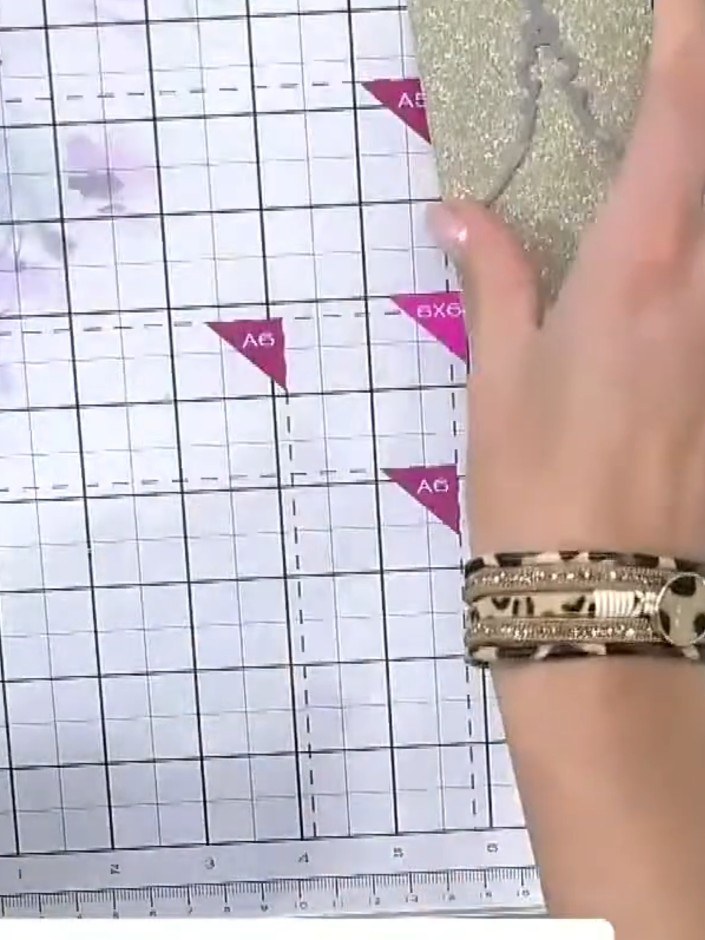
Die-cut the decorative lace or detail element from gold glitter paper using the coordinating die from your collection. Position the die on the paper and run through your die-cutting machine.
▶ watch this step (54:00)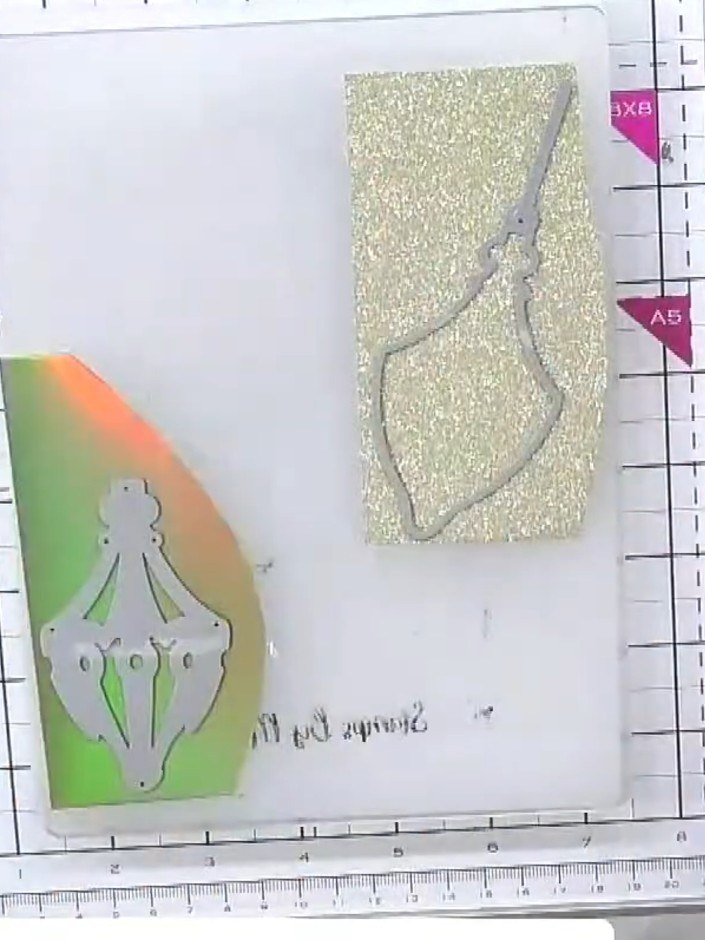
Layer the decorative die-cut element on top of the gold sparkle bauble front, positioning it carefully and adhering it in place.
▶ watch this step (54:30)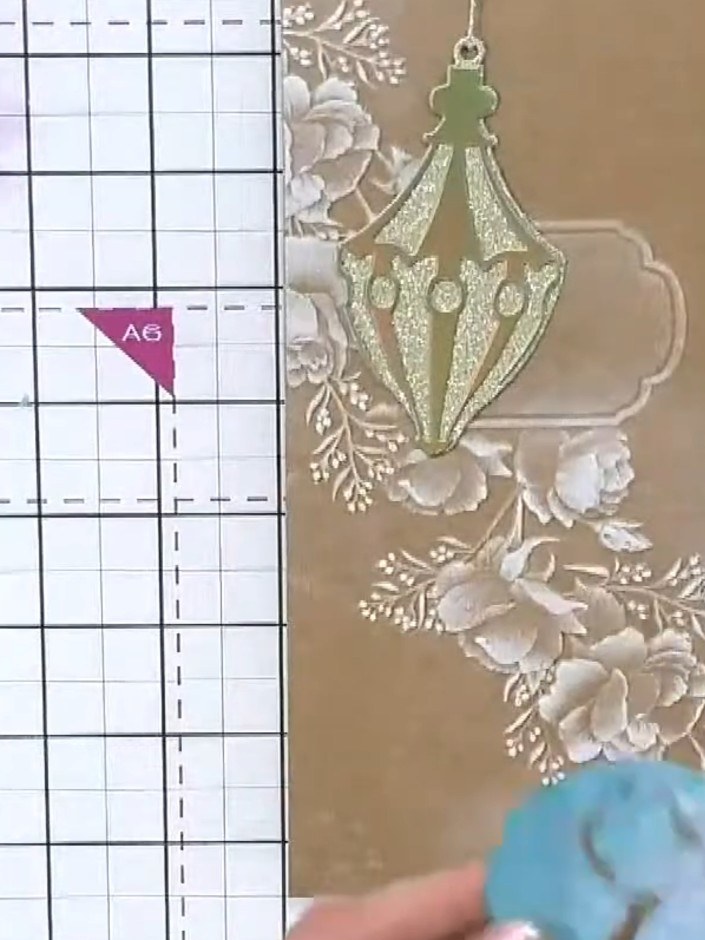
Attach the layered bauble front to the back panel using foam pads or adhesive to create dimension. Position the decorative elements carefully to ensure they align properly with the sparkle paper backing.
▶ watch this step (55:00)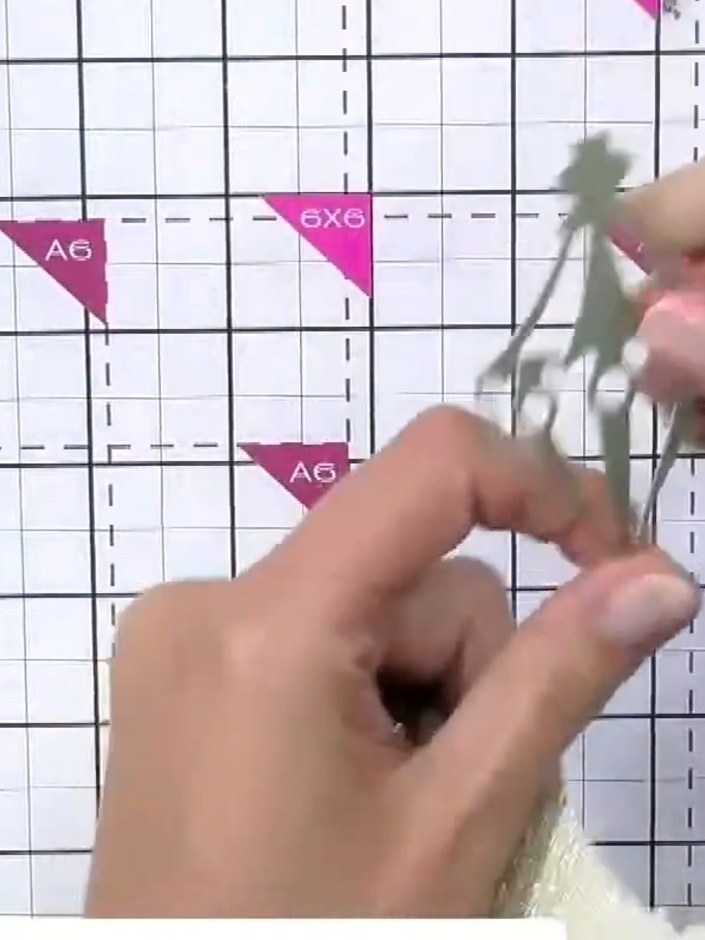
Attach the tassel element to the top of the bauble. Position it centrally and secure in place.
▶ watch this step (55:30)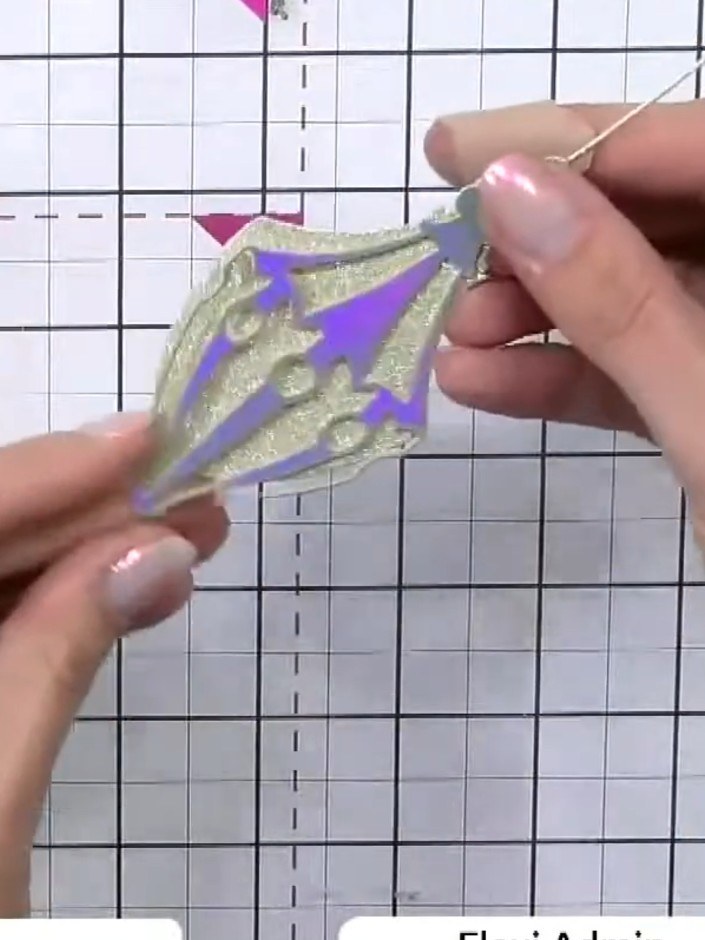
Mount the finished bauble onto your card base, positioning it at the desired height on the front panel. Ensure it is centred and secure it in place with adhesive.
▶ watch this step (56:00)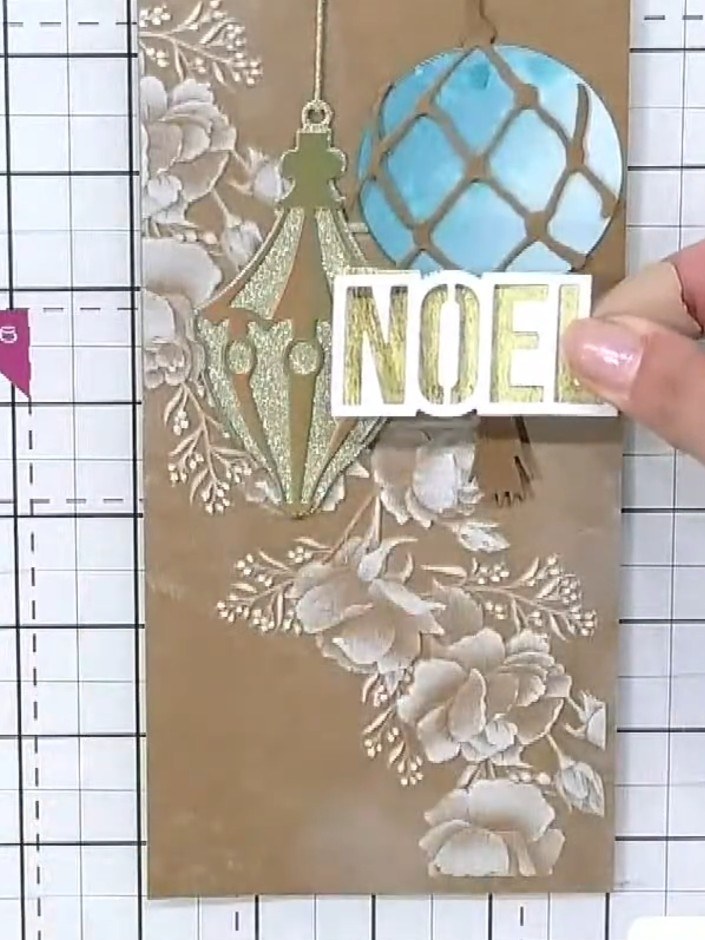
Add a sentiment word or greeting from the collection to complete your card. Position the 'NOEL' sentiment on the card front using foam pads for dimension.
▶ watch this step (56:30)Written up from the show itself. See every guide from our shows · free how-to guides · watch live on My Telly