Give your friends €10 off their first order!
Refer a FRIEND








A project from our live show CREATE AND CRAFT TV - New and Exclusive - Broadcast 27th August 24 · 27/08/2024 · watch it from 28:30
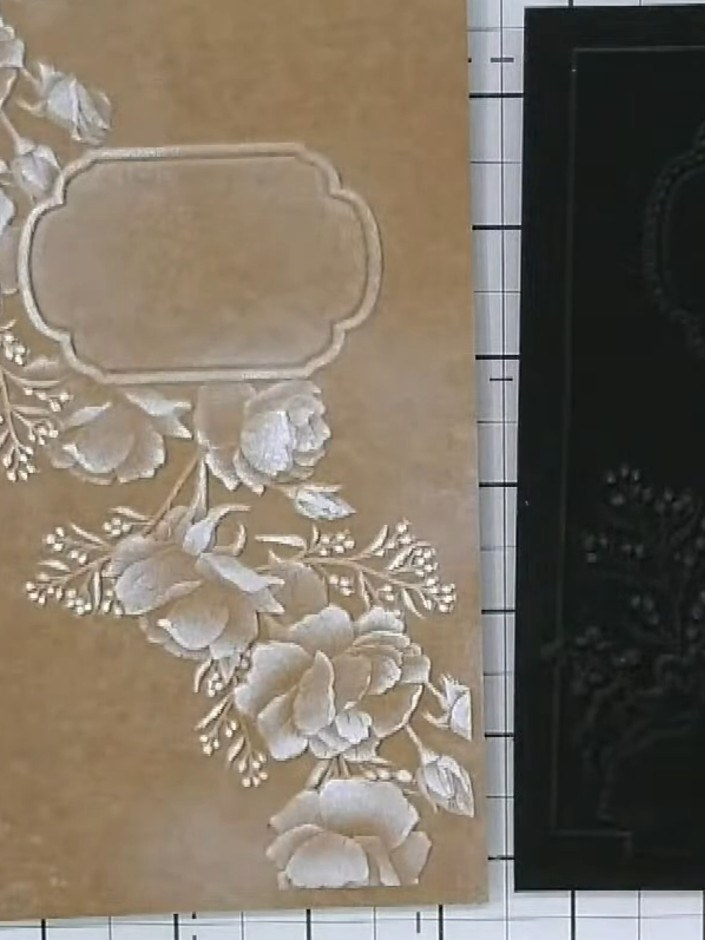
Create an elegant 5x7 greeting card featuring embossed floral designs enhanced with metallic gilding wax. The black card showcases raised roses and foliage with copper and bronze highlights, framed by a sophisticated chamfered border. This luxurious technique combines 3D embossing with gilding wax application to produce a stunning card perfect for birthdays and special celebrations.
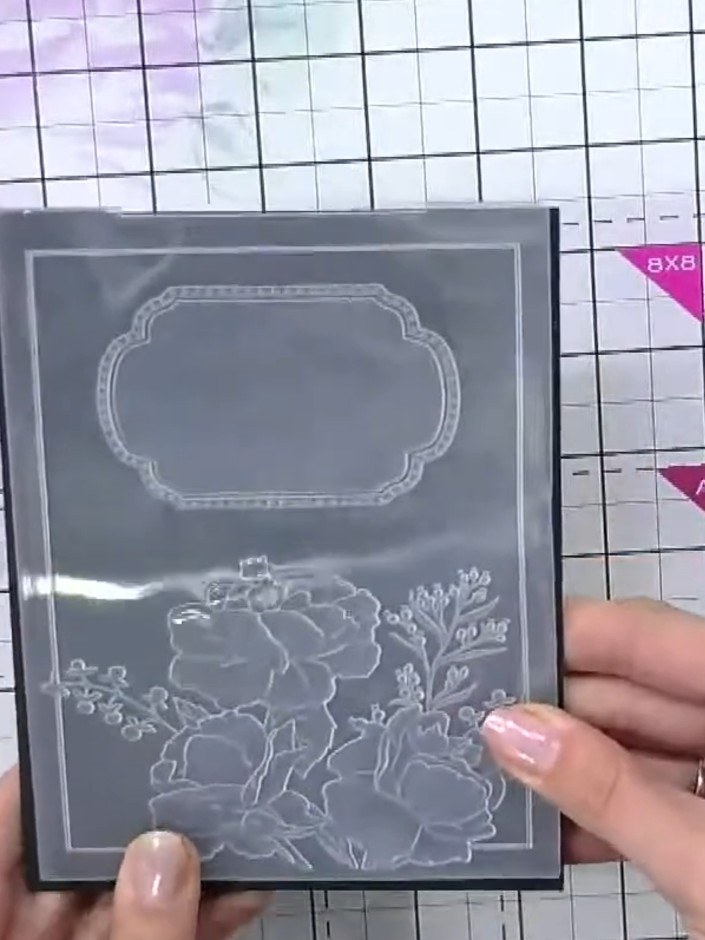
Place the 5x7 embossing folder with the floral design into your die-cutting machine and run it through to emboss the design onto your card.
▶ watch this step (28:45)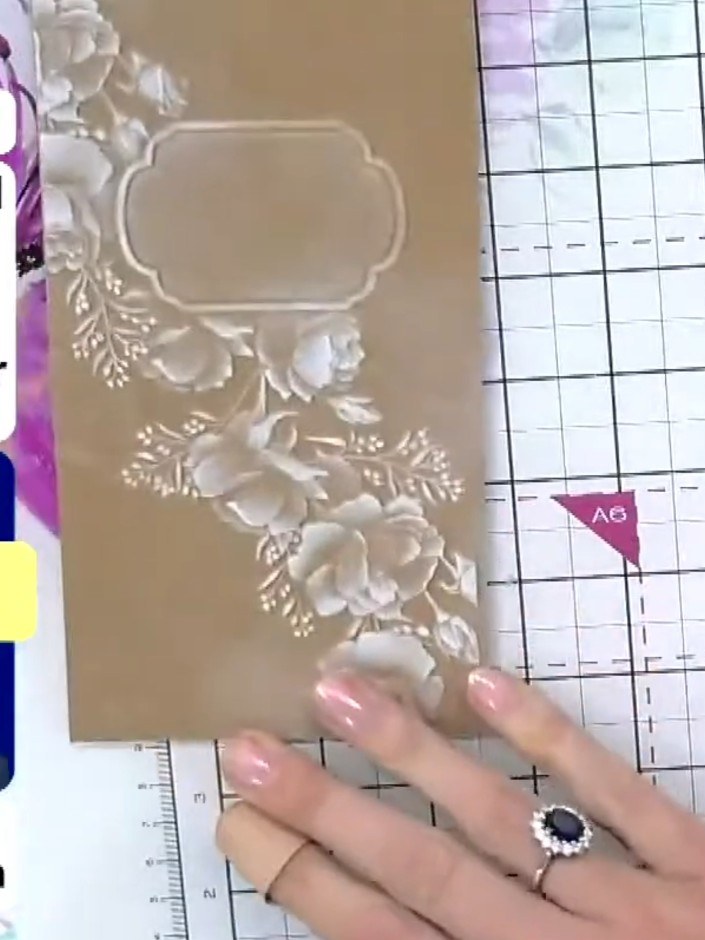
Open the embossing folder and carefully remove your embossed card from inside.
▶ watch this step (29:00)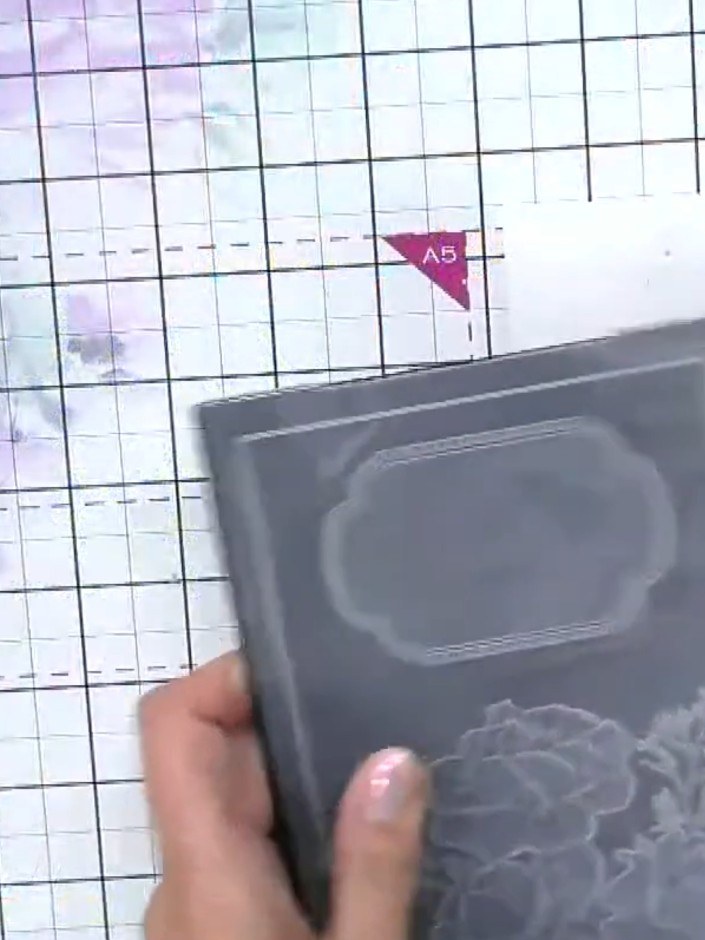
Apply gilding wax around the embossed frame using a small applicator or brush. Work the wax gently into the raised edges of the embossed design to highlight the details.
▶ watch this step (30:00)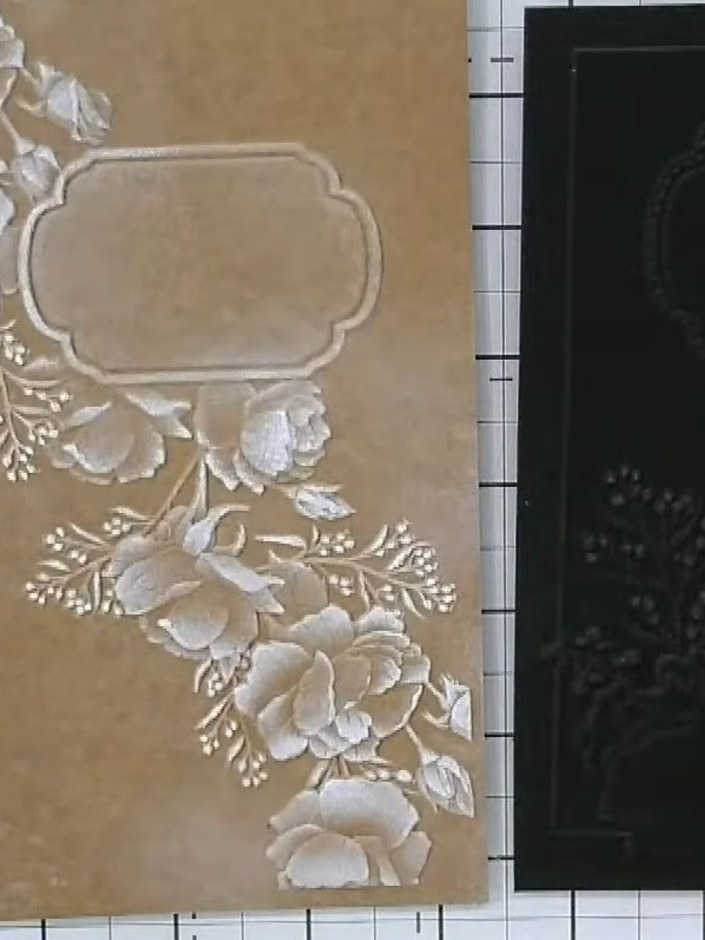
Gently buff the gilding wax with your finger or a soft cloth to create a polished metallic finish on the embossed design.
▶ watch this step (30:30)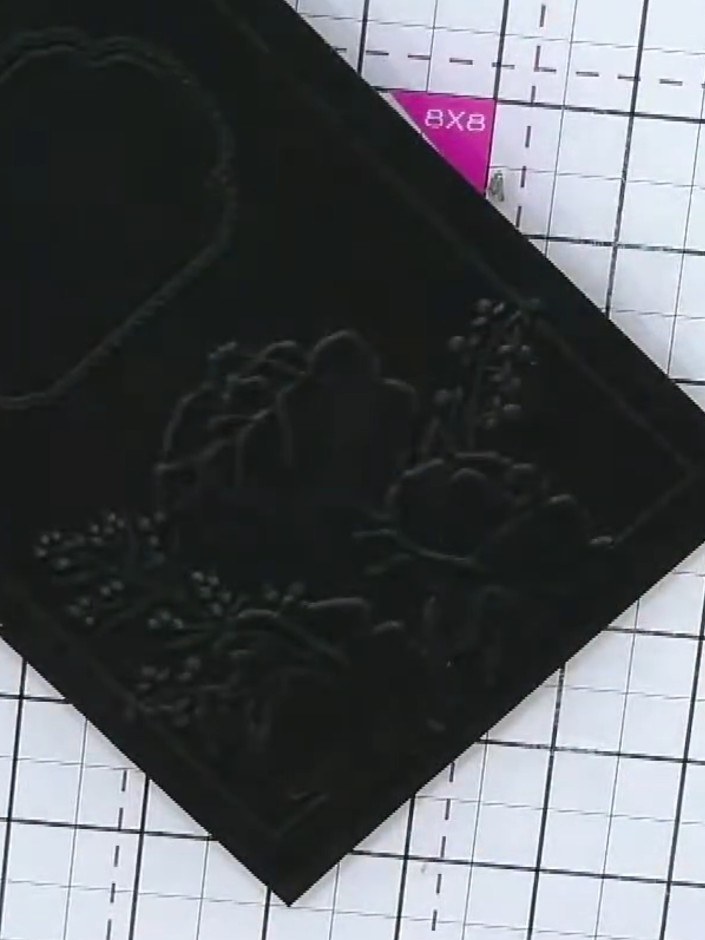
Trim your embossed black card to size if needed. Mount the embossed panel onto your card base to complete your card.
▶ watch this step (31:00)Written up from the show itself. See every guide from our shows · free how-to guides · watch live on My Telly