Give your friends €10 off their first order!
Refer a FRIEND








A project from our live show QVC.DE Produktvorschau – Ausstrahlung am 24. August · 24/08/2024 · watch it from 20:15
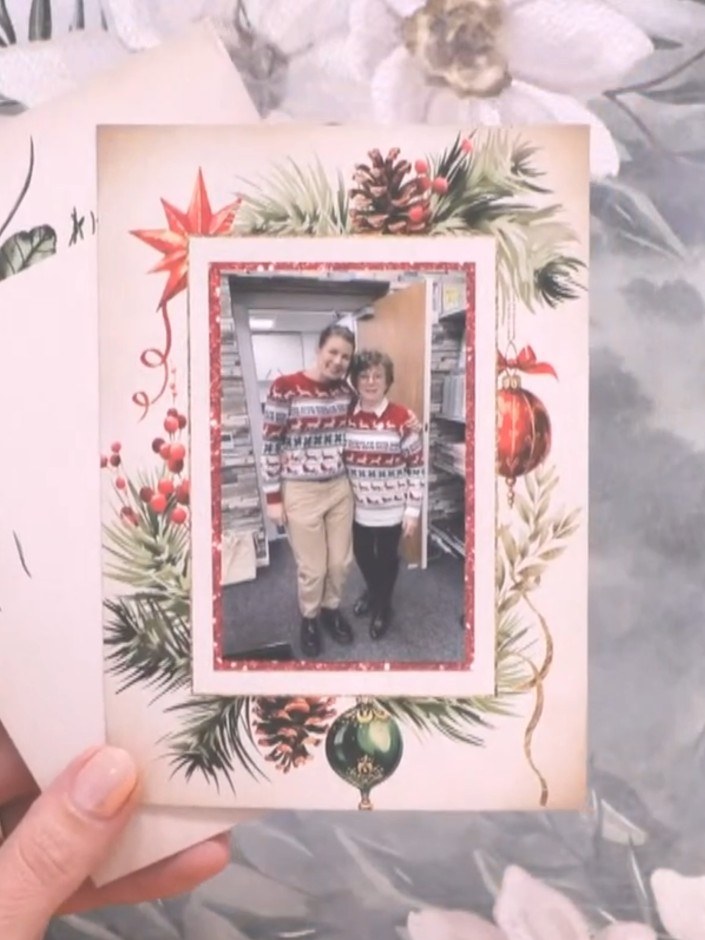
Create a festive scrapbook page featuring vintage-style Christmas candles with watercolour botanical accents. This charming design combines a pre-printed topper panel with decorative foliage elements, mounted on a bold red card base with black and white striped backing. The finished piece showcases a warm, nostalgic Christmas scene perfect for preserving holiday memories.
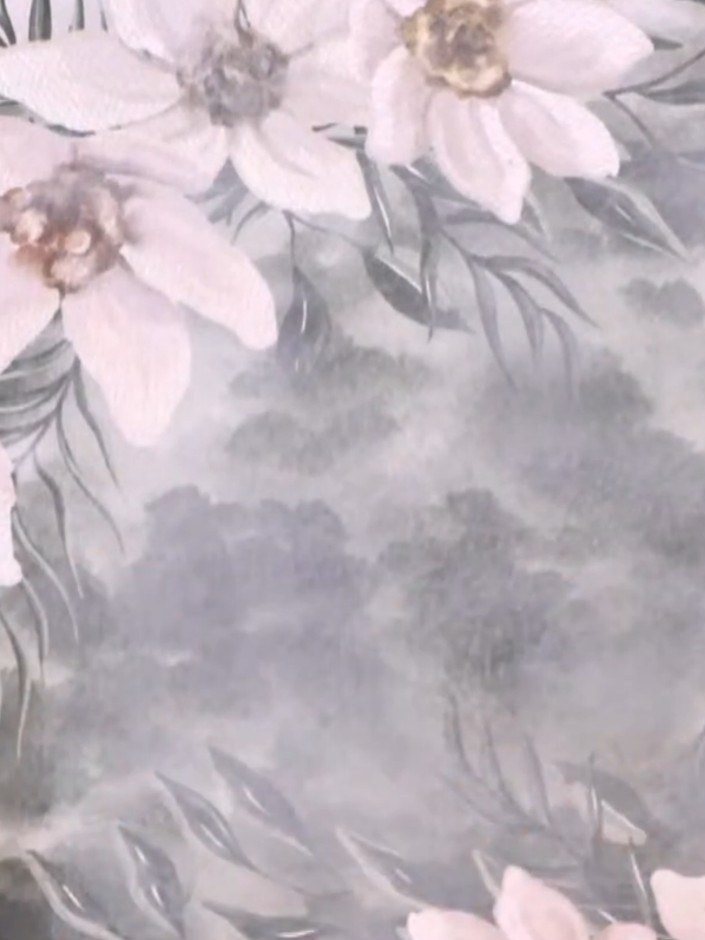
Select a 12x12 inch piece of patterned paper from your collection as the base for your scrapbook page. Choose a design that complements your theme - this example uses a floral pattern with white flowers and grey foliage.
▶ watch this step (20:30)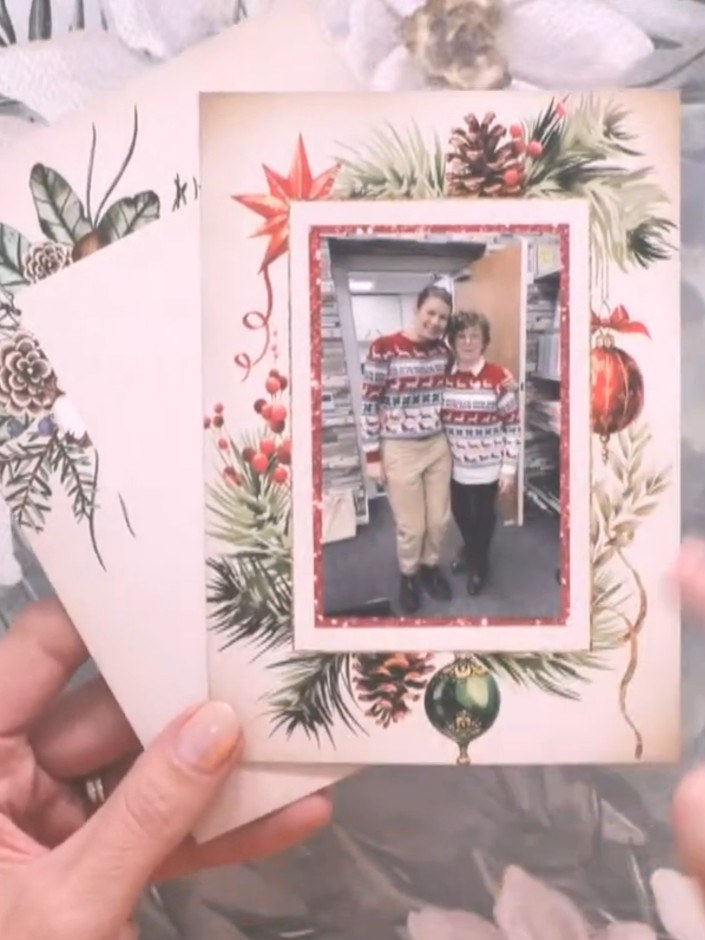
Take one of the pre-made topper panels from the collection. Using an ink pad, carefully add ink around the edges of the panel to create definition and depth.
▶ watch this step (20:45)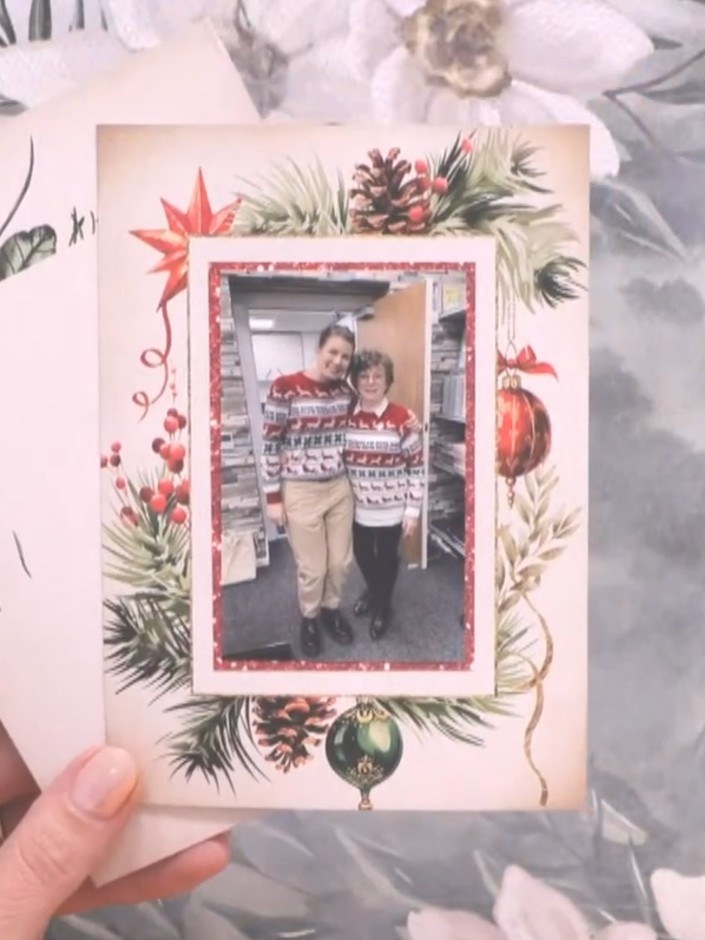
Adhere a decorative panel with festive foliage and pinecone design to your scrapbook page. Mount your chosen photo in the centre of the panel using a red glitter frame mat.
▶ watch this step (21:00)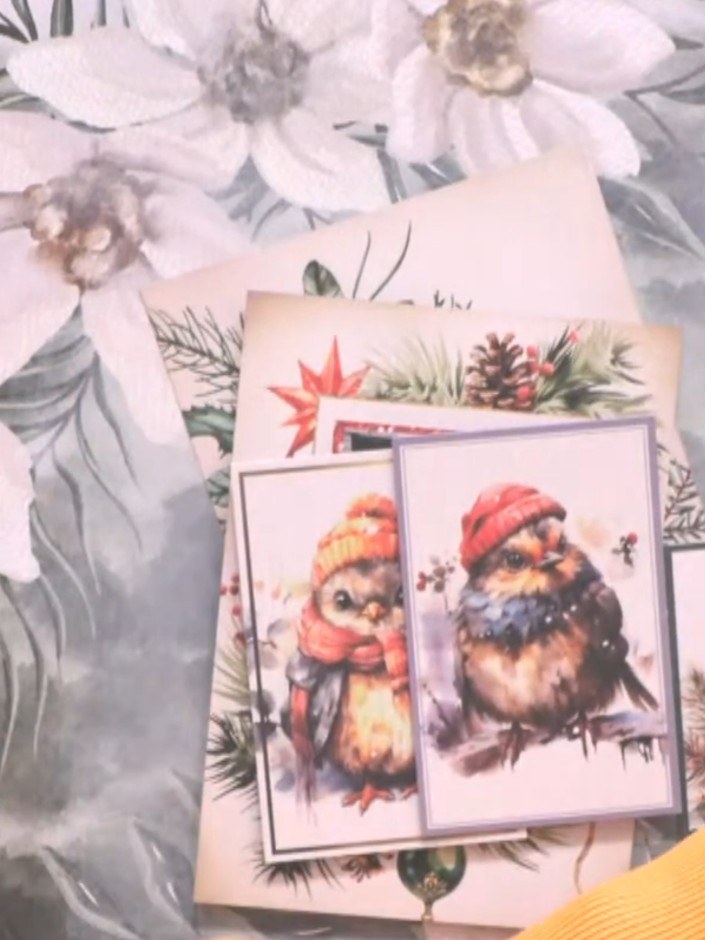
Cut out individual animal toppers from the kit to use separately from their mounts. Carefully trim around each character image to separate them from the decorative frames.
▶ watch this step (21:30)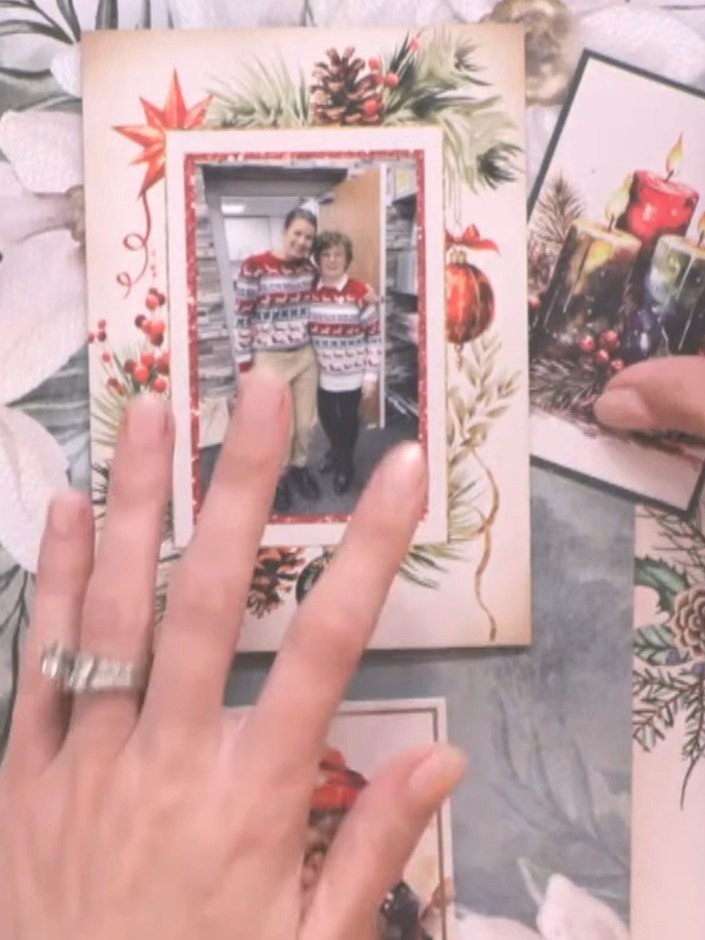
Arrange your topper elements around the page to decide on placement before adhering. Position the decorative rabbits, photo frames, and other embellishments where you want them to sit on your layout.
▶ watch this step (22:15)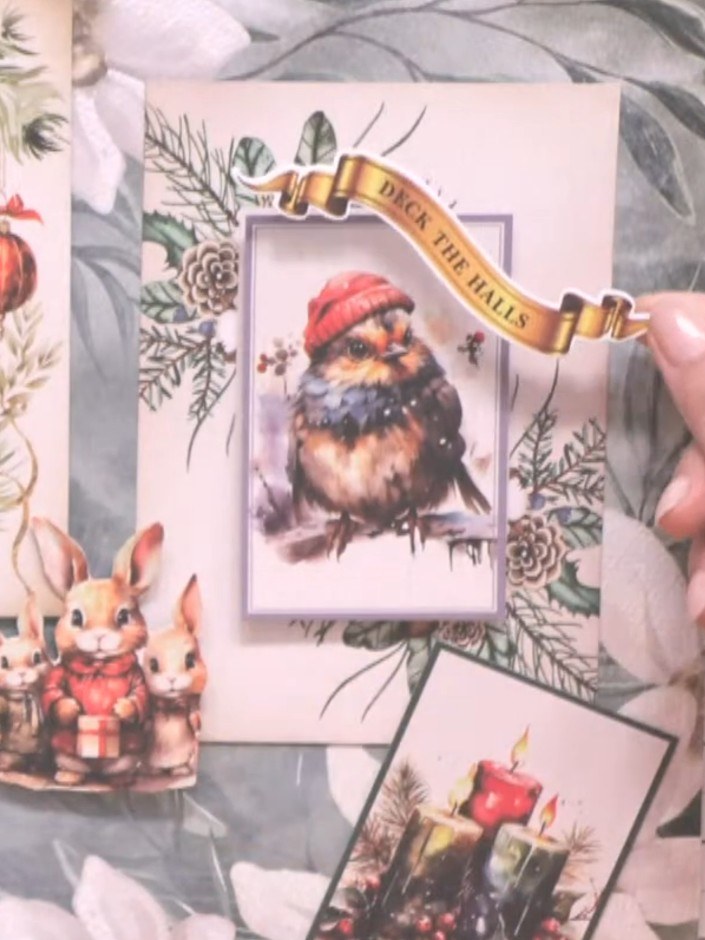
Add the decorative banner sentiments to your cards. Position 'Deck the Halls' on the top left card with the photo, and 'Season's Greetings' on the bottom right card with the candles image.
▶ watch this step (22:45)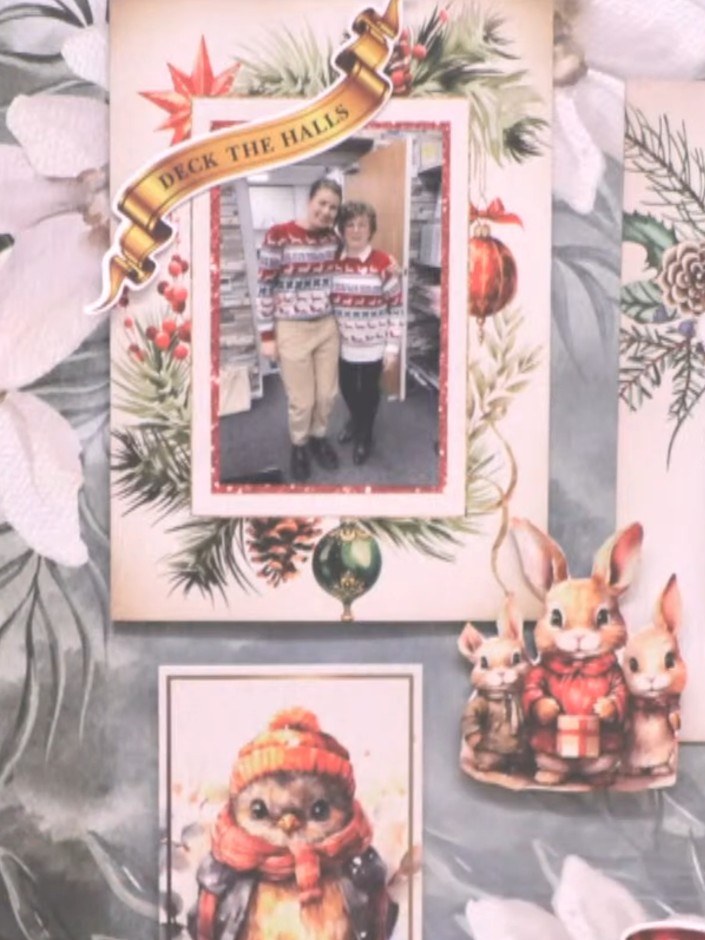
Adhere all the decorative elements to your scrapbook page using foam pads to create dimension. Position the 'Deck the Halls' banner at the top of the photo frame, the 'Season's Greetings' banner on the candles card, and secure the squirrel family and robin toppers in their chosen positions.
▶ watch this step (23:30)Written up from the show itself. See every guide from our shows · free how-to guides · watch live on My Telly