Give your friends €10 off their first order!
Refer a FRIEND








A project from our live show QVC.DE Produktvorschau – Ausstrahlung am 24. August · 24/08/2024 · watch it from 35:30
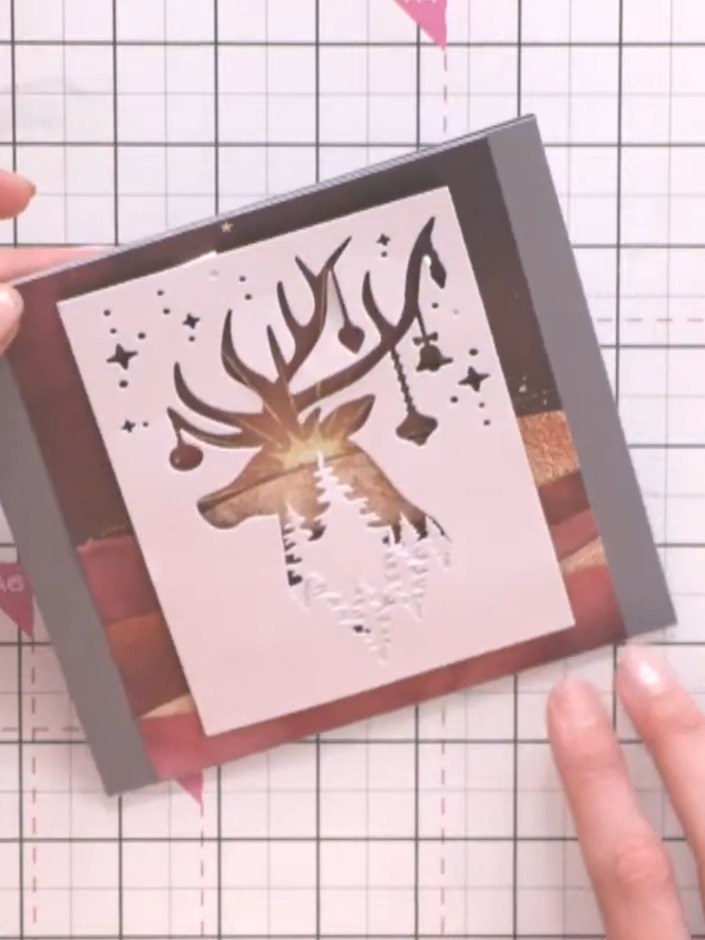
Create a stunning dimensional card featuring a die-cut reindeer design with metallic copper accents and sparkle details. This elegant winter-themed card showcases a layered aperture effect with 'Winter Magic' sentiment, combining white, grey and rose gold tones. The project uses die-cutting, layering and foiling techniques to achieve a sophisticated 3D effect perfect for festive greetings.
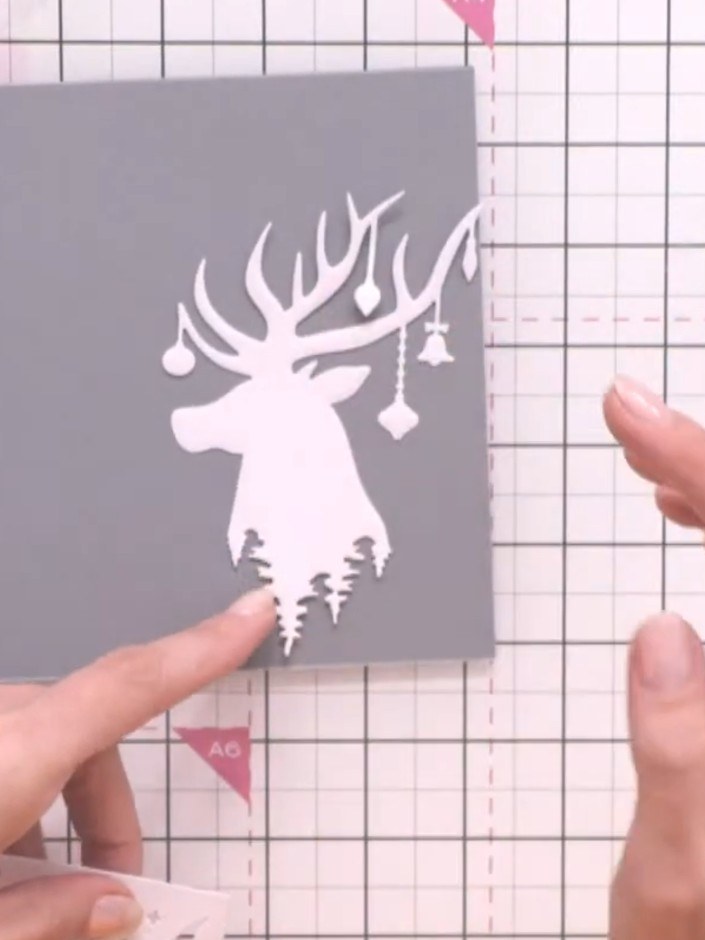
Die cut the large reindeer panel design from white card stock. This creates the white silhouette that will form the base of your dimensional card design.
▶ watch this step (35:45)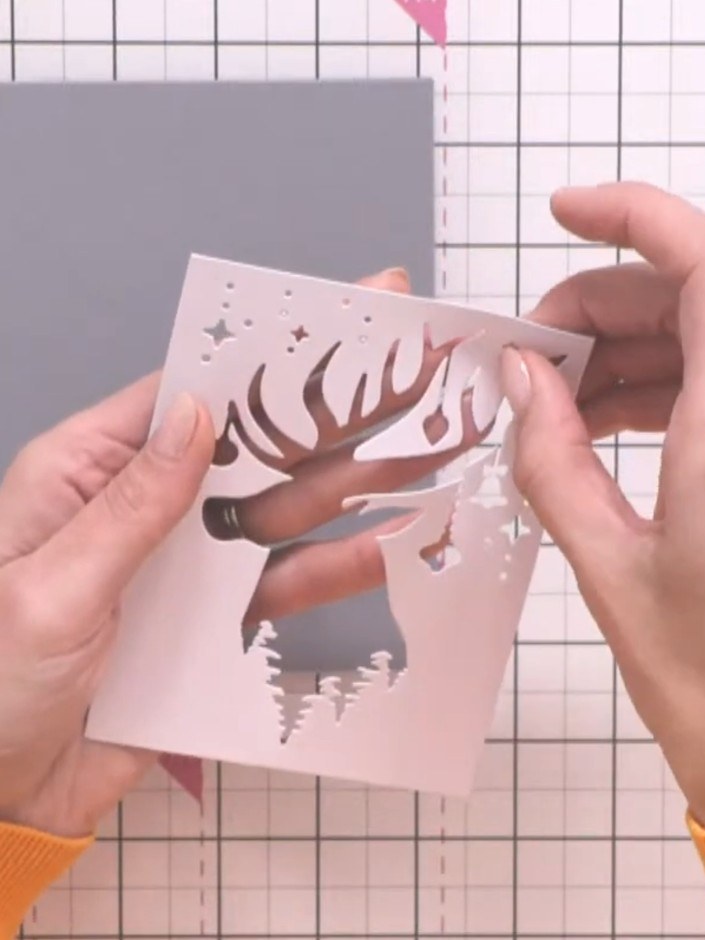
Save the waste piece from the reindeer die-cut, as it creates a beautiful stencil effect showing the silhouette design with decorative stars and baubles.
▶ watch this step (36:00)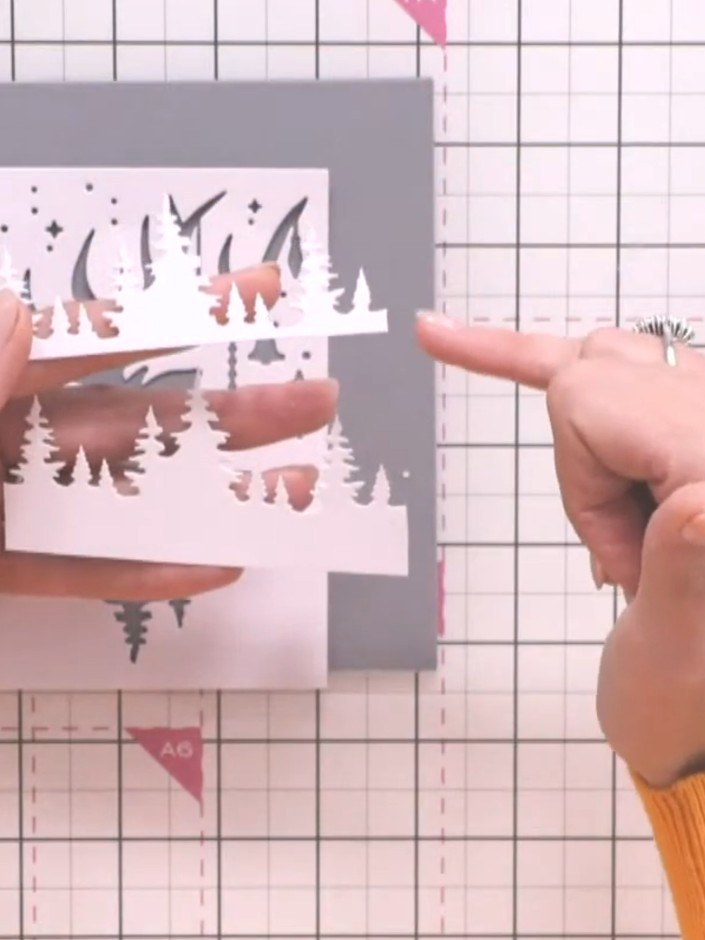
Die-cut the tree silhouettes from white card stock using the stencil. Keep the die-cut pieces attached at the bottom of the card so they remain in place, then carefully snip them away from the card base.
▶ watch this step (36:15)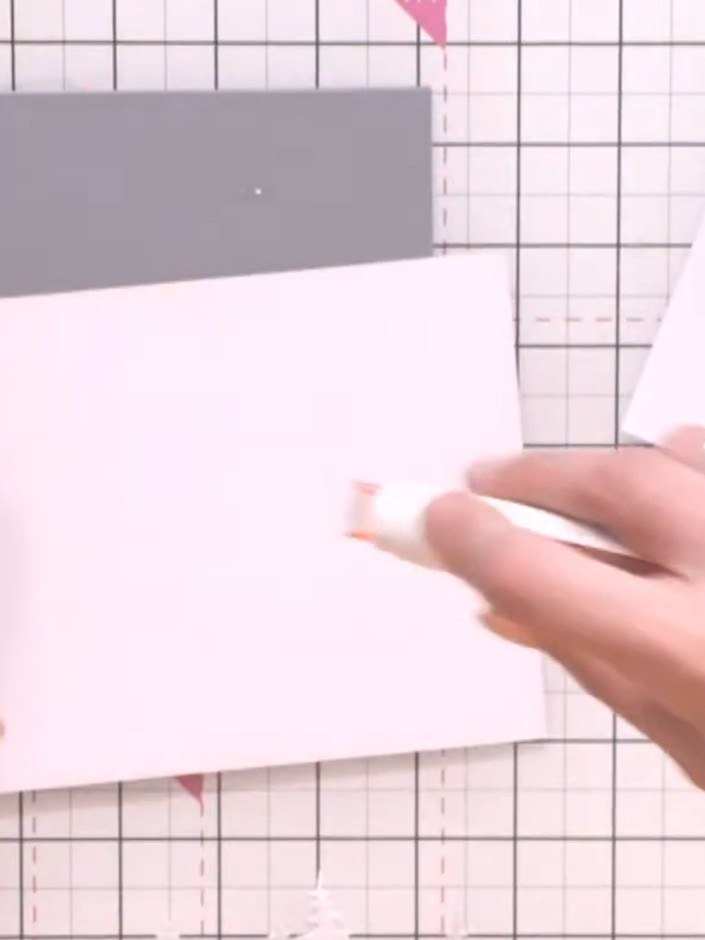
Select a patterned paper from the Merry and Bright collection to use as your card background. Place it on your craft mat ready to add the layered elements.
▶ watch this step (36:45)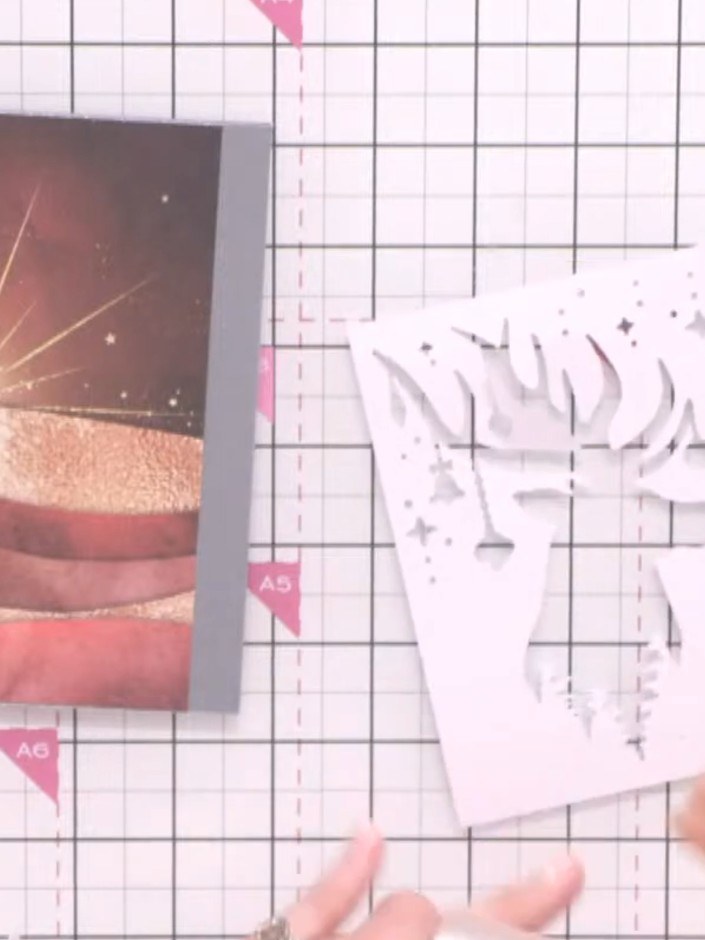
Adhere the patterned paper featuring the sunset scene to your grey card base using a tape runner.
▶ watch this step (37:15)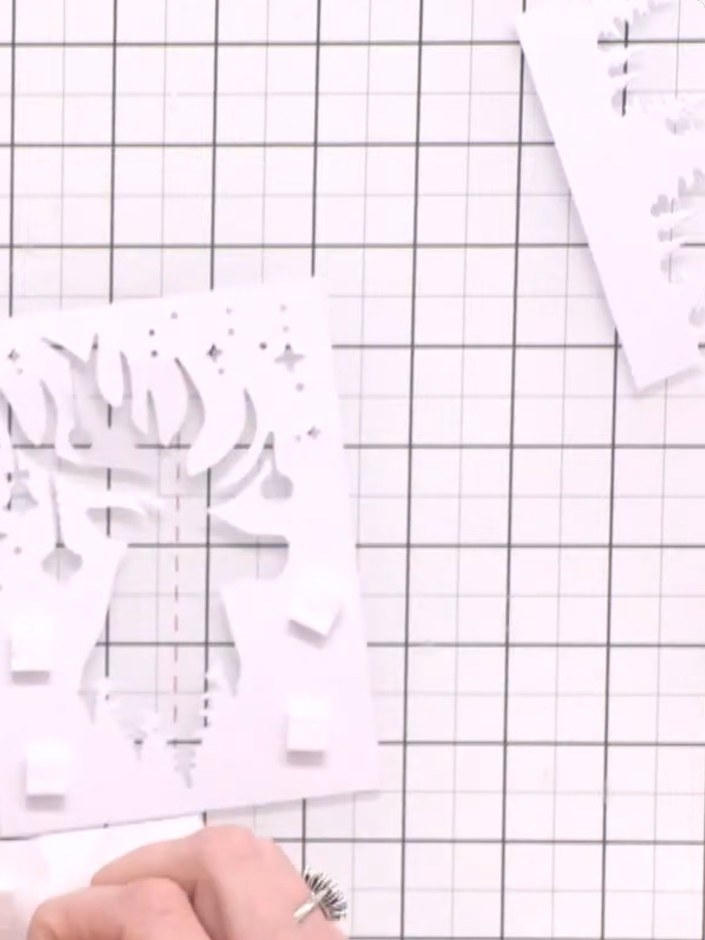
Add foam pads in random places on the back of your die-cut tree silhouette panel to create dimension.
▶ watch this step (37:30)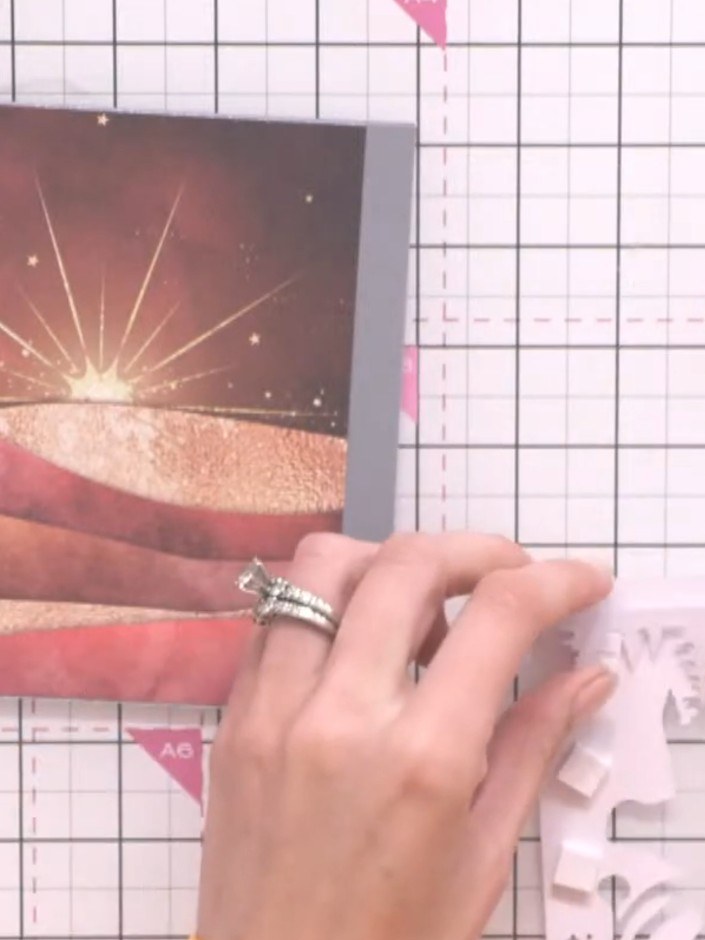
Position the white silhouette panel centrally on your card base and adhere it in place.
▶ watch this step (38:00)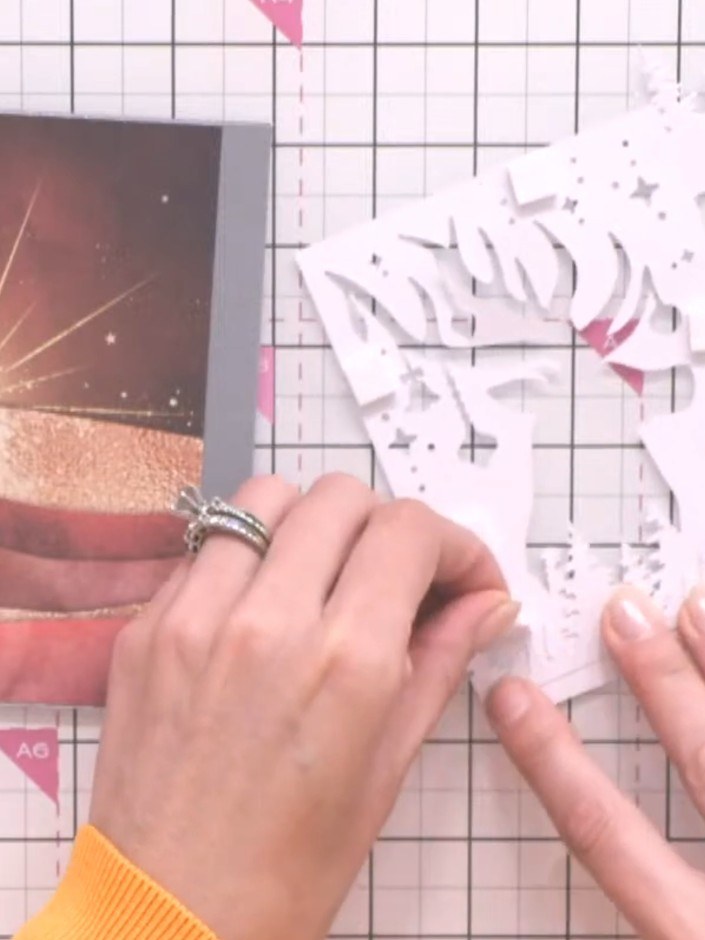
Layer the white tree die-cuts at varying heights behind the silhouette panel using foam pads to create a dimensional cascade effect. Position the trees so they show through the cut-out areas of the panel.
▶ watch this step (38:30)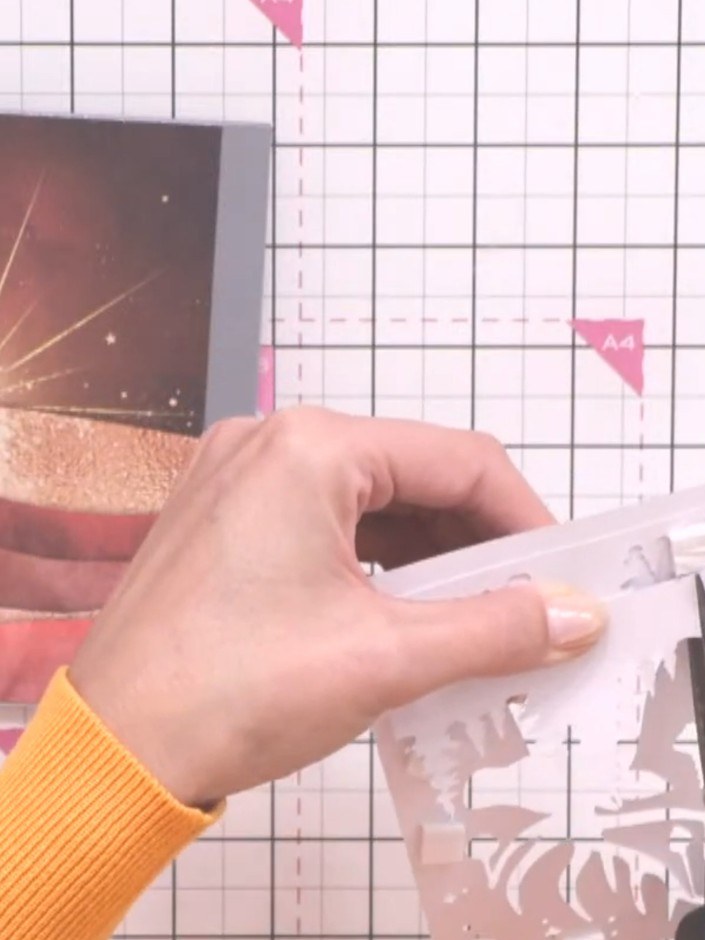
Using scissors, carefully trim away any excess parts of the tree stencil that extend beyond the edges of your card base to create a neat finish.
▶ watch this step (39:00)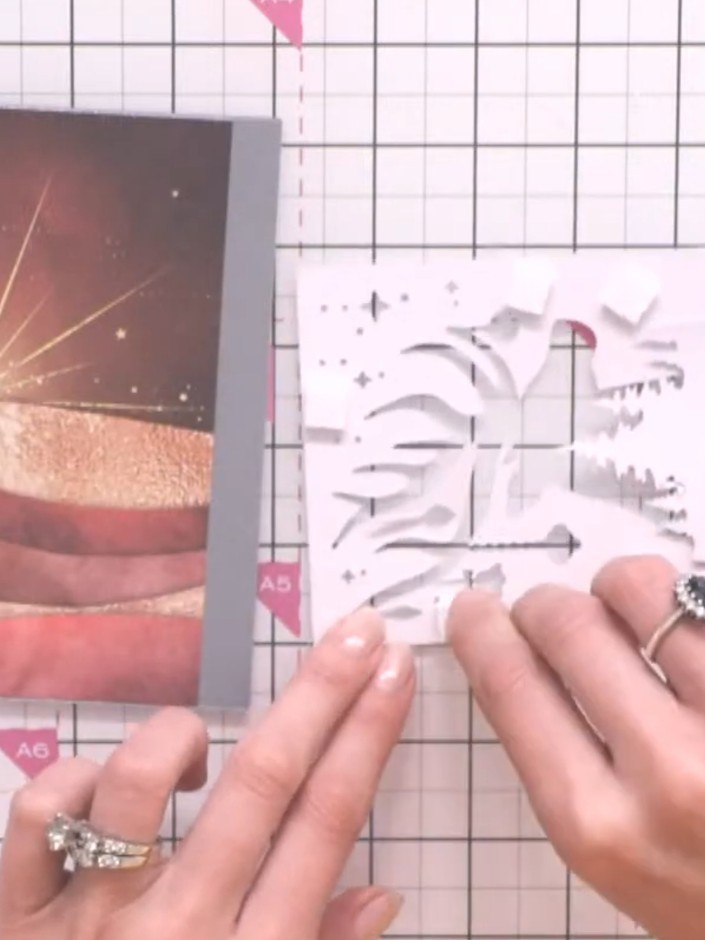
Position foam pads underneath the white silhouette panel. This will lift the panel and add extra dimension to your card design.
▶ watch this step (40:00)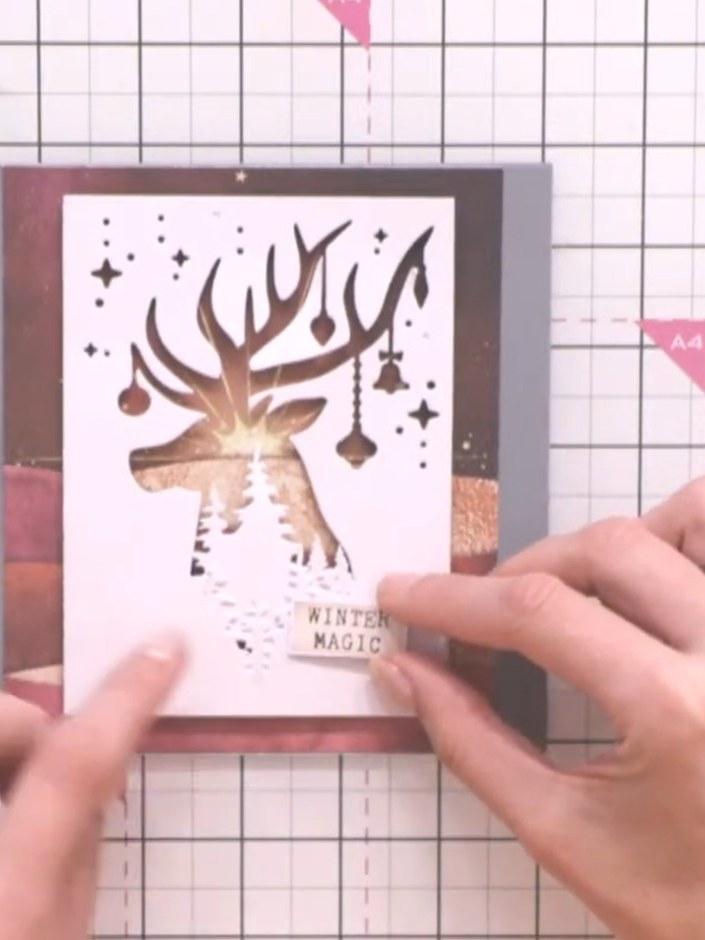
Apply a pre-printed sentiment reading 'WINTER MAGIC' from the kit to the lower portion of the card front, positioning it below the reindeer design.
▶ watch this step (40:45)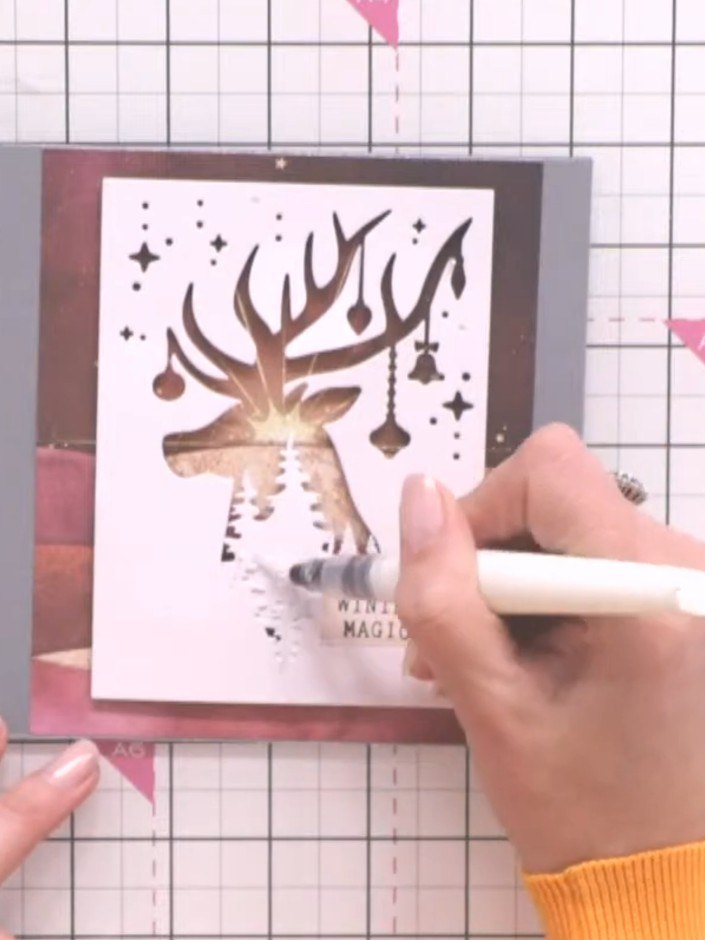
Add sparkle and glitter throughout the trees and design elements to create a magical winter effect on your card.
▶ watch this step (41:15)Written up from the show itself. See every guide from our shows · free how-to guides · watch live on My Telly