Give your friends €10 off their first order!
Refer a FRIEND








Prices change straight away. Every language is our own translation, not Google.
A project from our live show HOBBYMAKER TV - Join us for the latest show - Broadcast 2 p.m. (UK) 8th August 2026 · 08/08/2026 · watch it from 41:00
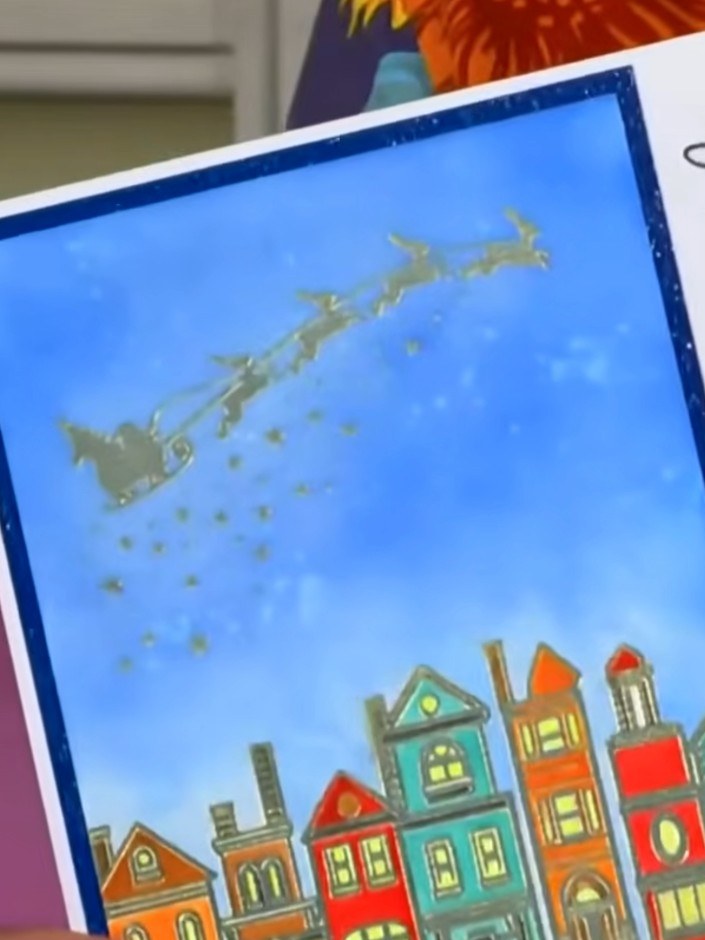
Create a beautiful greeting card featuring a winter village scene with a church tower, bare tree and crescent moon. The design is embossed with gold foil which acts as a resist when colouring, making it easy to add colour within the lines. This elegant card uses simple colouring techniques to achieve a professional finish with a festive, atmospheric feel.
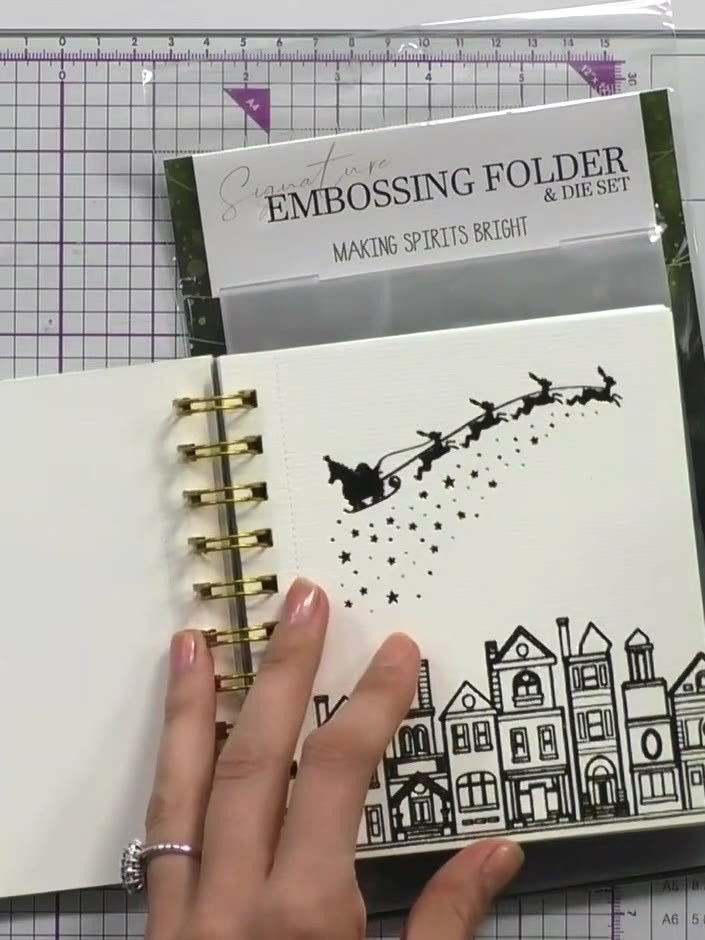
Open the ring-bound foil colouring book to reveal the festive scene pages. Select a page you wish to colour - the book features designs including Santa's sleigh with reindeer and stars, and a row of houses.
▶ watch this step (41:15)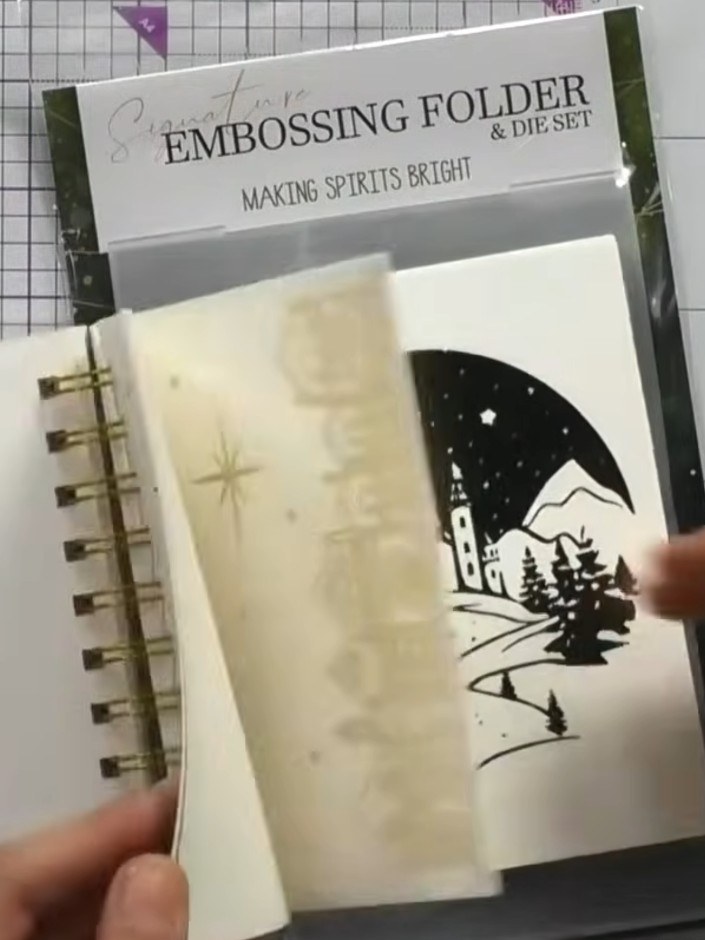
Colour the embossed image using watercolours, paints or coloured pencils. The gold foil will resist the colour, creating definition and allowing the metallic detail to show through.
▶ watch this step (41:30)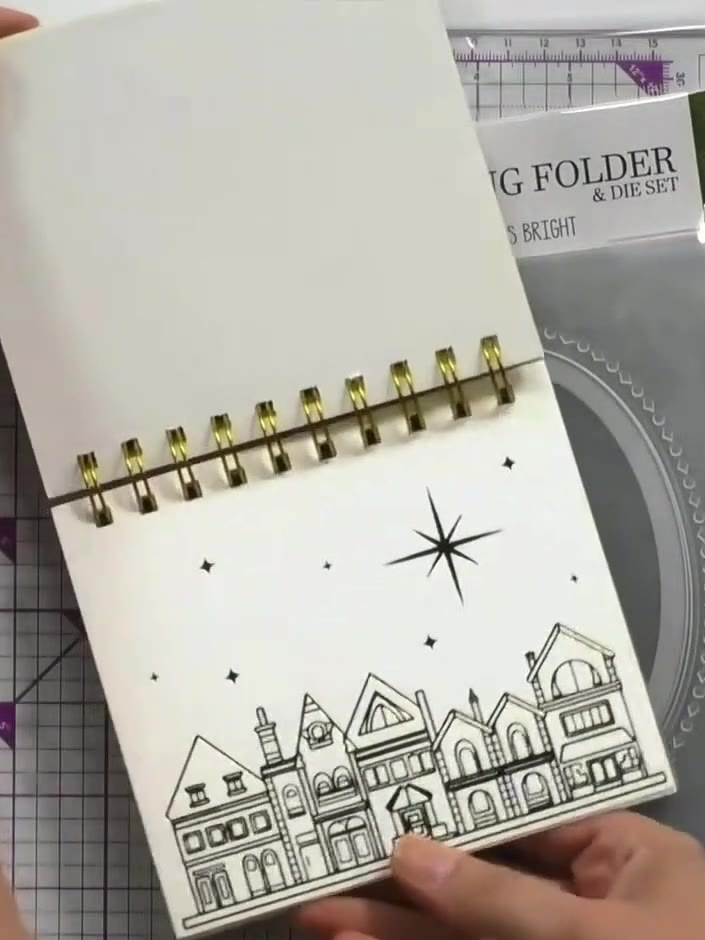
Once the colouring is dry, carefully tear out the completed page along the perforation at the side of the colouring book. The page should separate cleanly from the spiral binding.
▶ watch this step (42:00)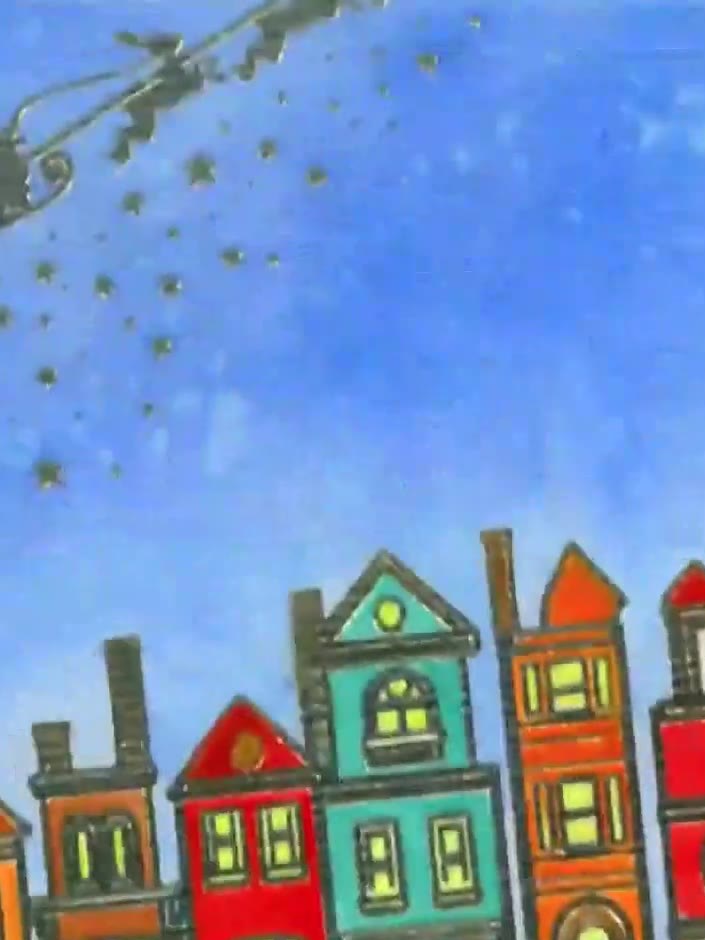
Mount your coloured page onto a card blank using adhesive. Ensure the design is centred and press down firmly to secure it in place.
▶ watch this step (42:15)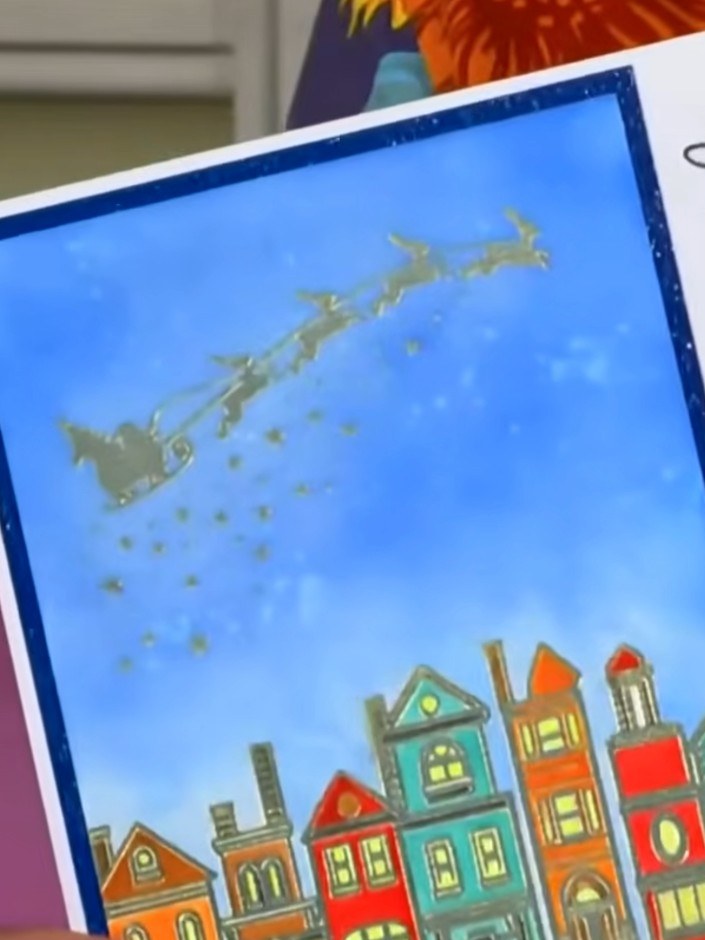
Add a sentiment or greeting to your card. Position the 'Happy Holidays' text stamp from the embossing folder set onto your coloured page to complete the festive scene.
▶ watch this step (42:30)Written up from the show itself. See every guide from our shows · free how-to guides · watch live on My Telly


