Give your friends €10 off their first order!
Refer a FRIEND








A project from our live show ONE DAY SPECIAL - Join Toni for her brand new release - Broadcast 23rd August 24 · 23/08/2024 · watch it from 18:00
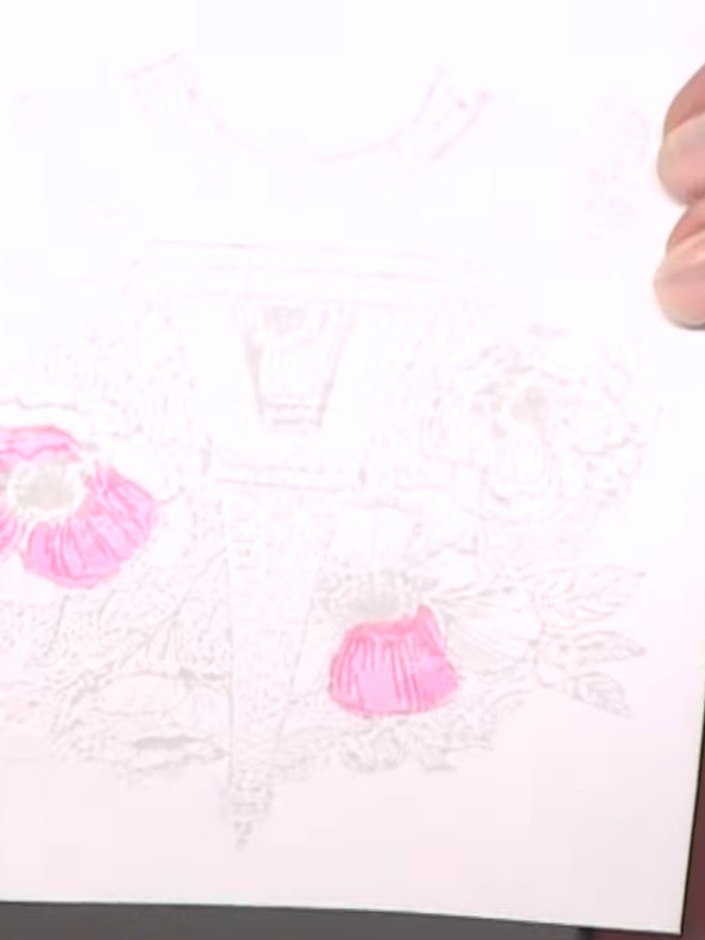
Create a delicate watercolour flower card using the no-line stamping technique. This project features soft pink flowers with a gentle, fused watercolour effect achieved by stamping with light-coloured ink and painting over with watercolours. The technique allows the stamp outline to disperse into the colour, creating a beautifully blended, artistic finish.
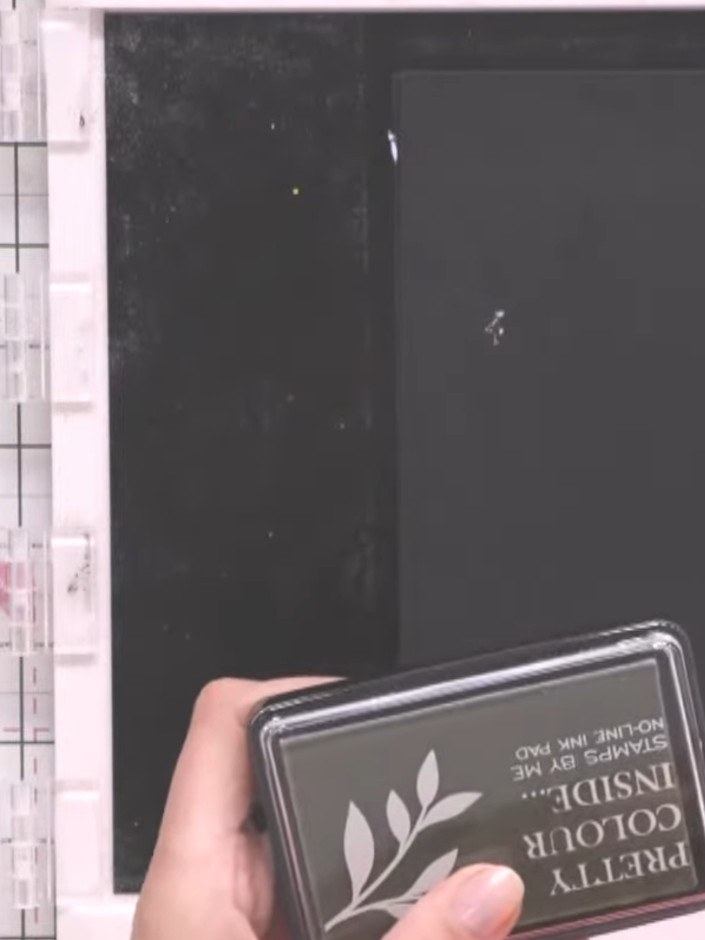
Ink a flower stamp with the Pretty Colour Inside no-line ink pad. The ink appears very light on the stamp.
▶ watch this step (18:30)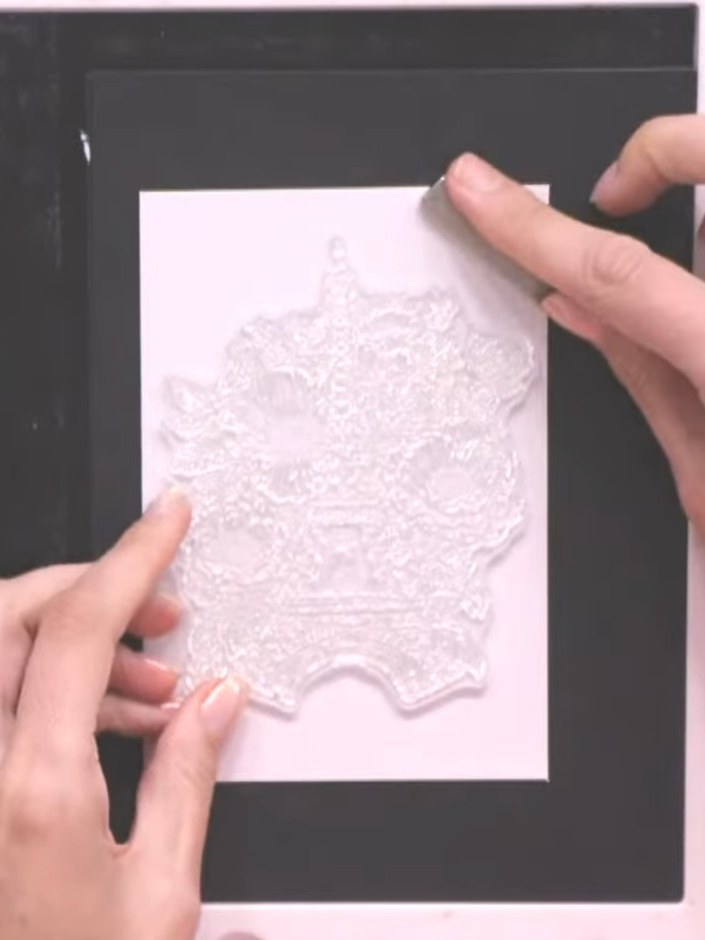
Stamp the flower design onto white card stock using the no-line ink pad. Position the stamp carefully and press firmly to transfer the image.
▶ watch this step (18:45)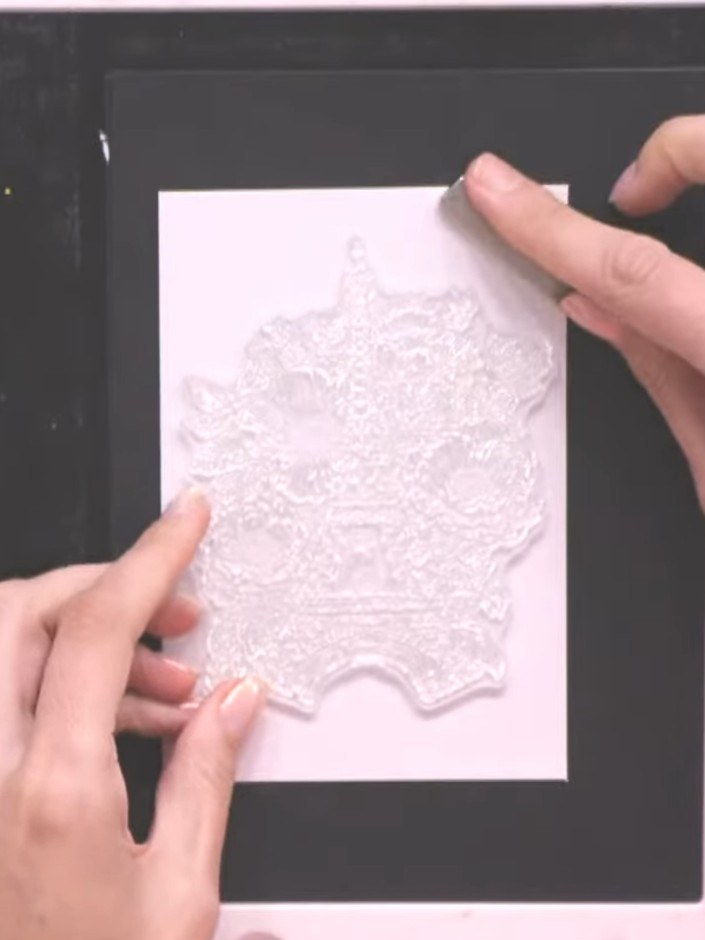
Stamp the design a second time onto white cardstock using the no-line ink pad to create a lighter, more subtle impression.
▶ watch this step (19:00)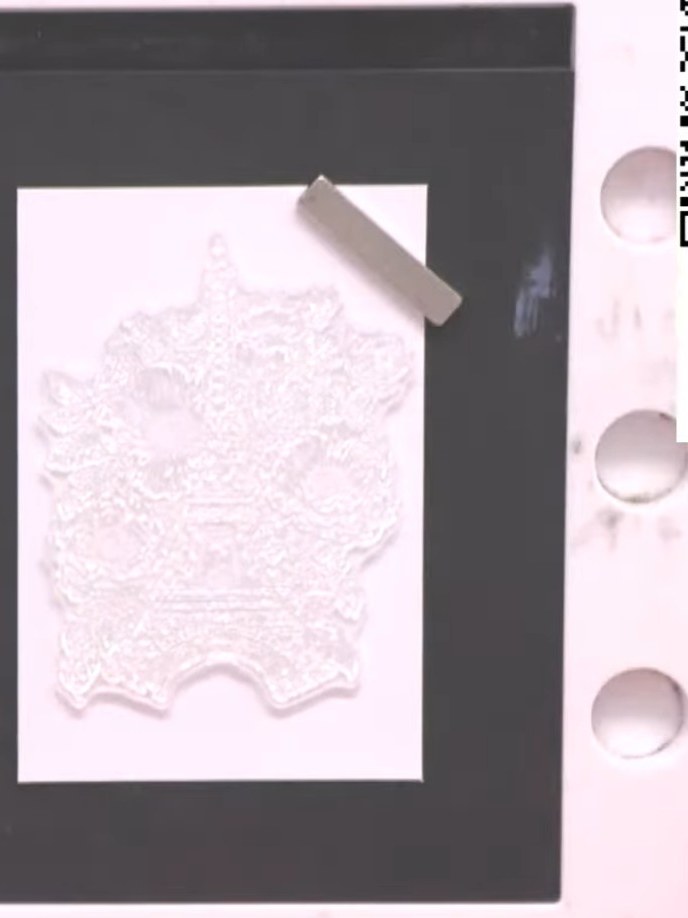
Squeeze watercolour ink from the pad onto a ceramic mat. Spray the ink with water to create a puddle for painting.
▶ watch this step (19:30)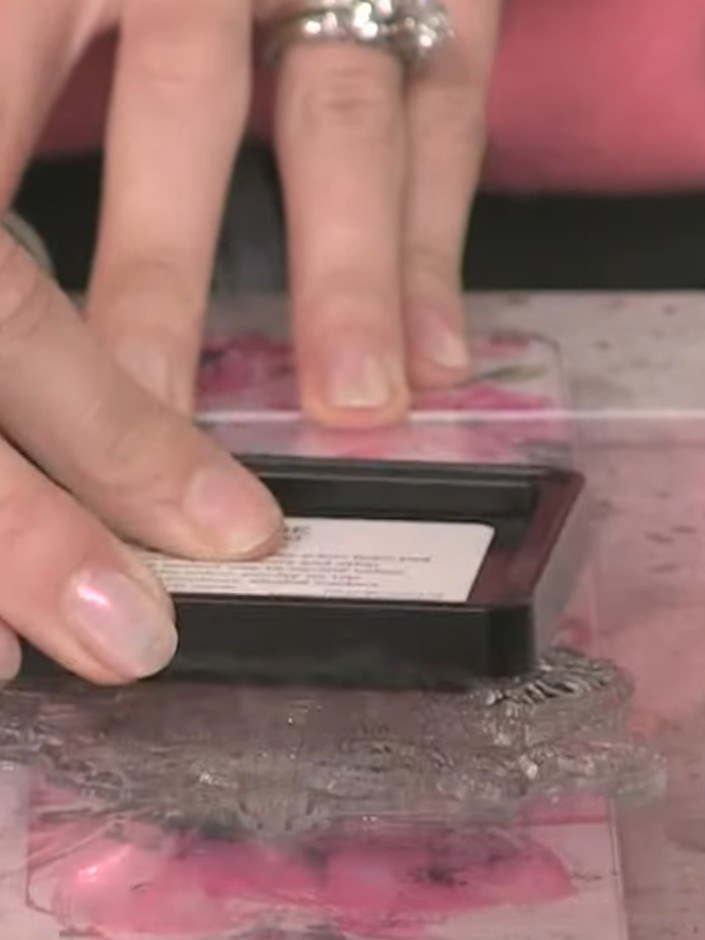
Using a small brush, paint the watercolour into the flower petals, starting with one petal. Apply the colour carefully within the stamped outline.
▶ watch this step (20:00)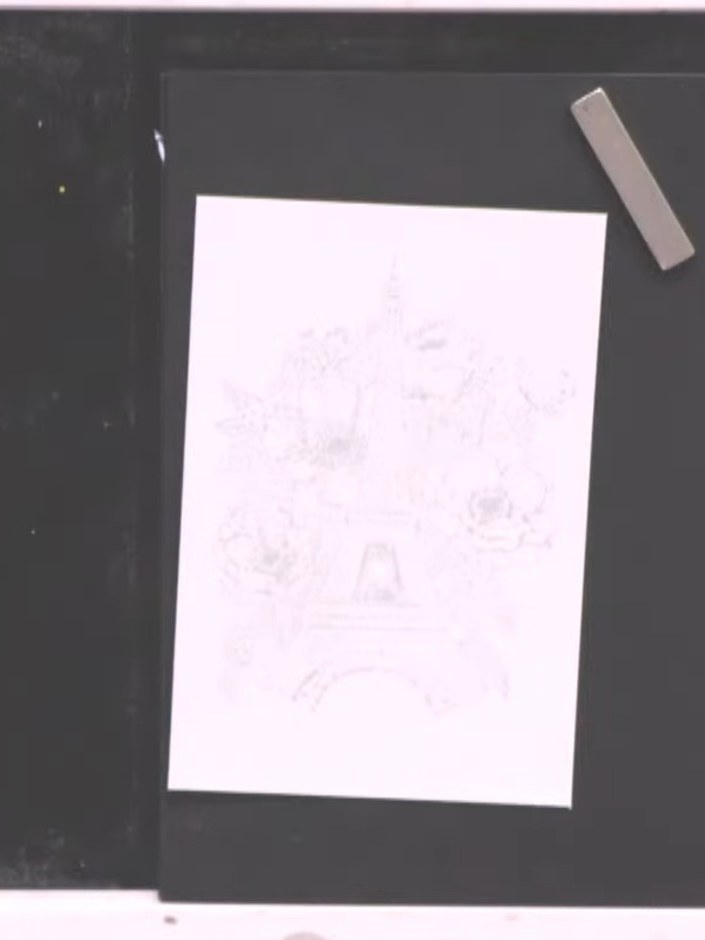
Allow the watercolour to blend and disperse into the no-line outline as it dries. The design will gradually become visible as the water evaporates and the colour settles.
▶ watch this step (20:30)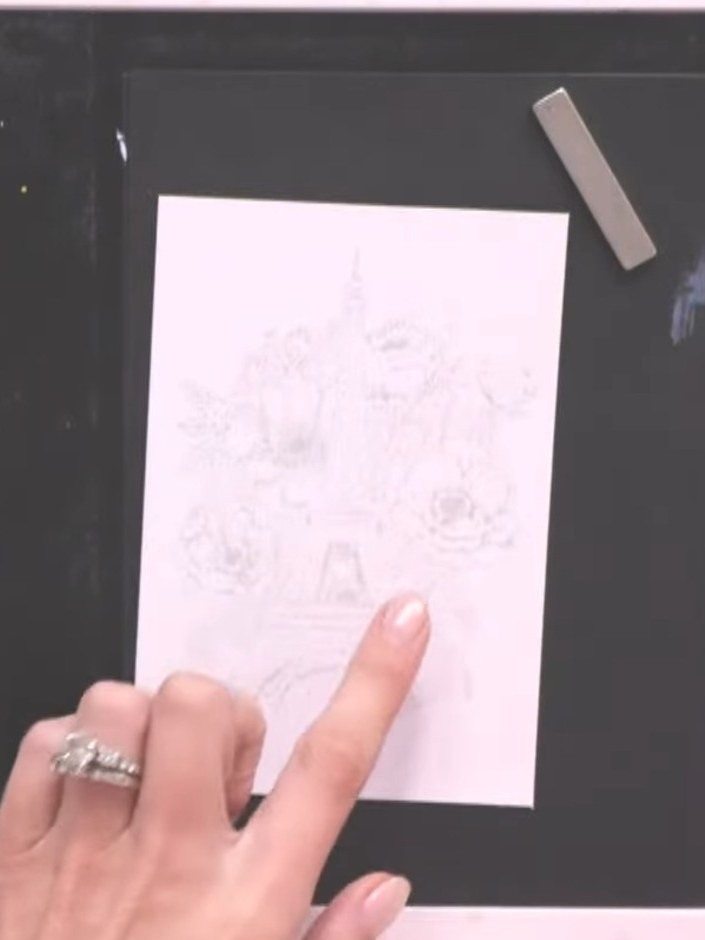
Paint additional petals with the watercolour ink pad, allowing the pink colours to blend naturally on the card. Work on the floral design, building up the petals with gentle dabbing motions.
▶ watch this step (21:00)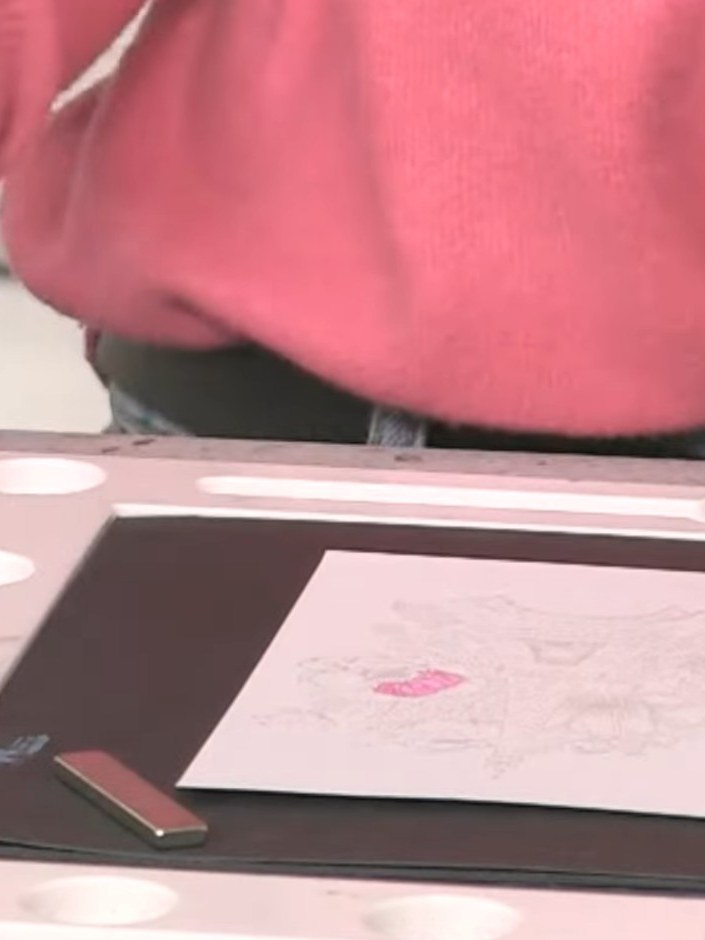
Allow the card to dry completely to reveal the final tone-on-tone watercolour effect. The subtle pink floral design will be visible against the white background once fully dried.
▶ watch this step (21:30)Written up from the show itself. See every guide from our shows · free how-to guides · watch live on My Telly
