Give your friends €10 off their first order!
Refer a FRIEND








A project from our live show ONE DAY SPECIAL - Join Toni for her brand new release - Broadcast 23rd August 24 · 23/08/2024 · watch it from 24:30
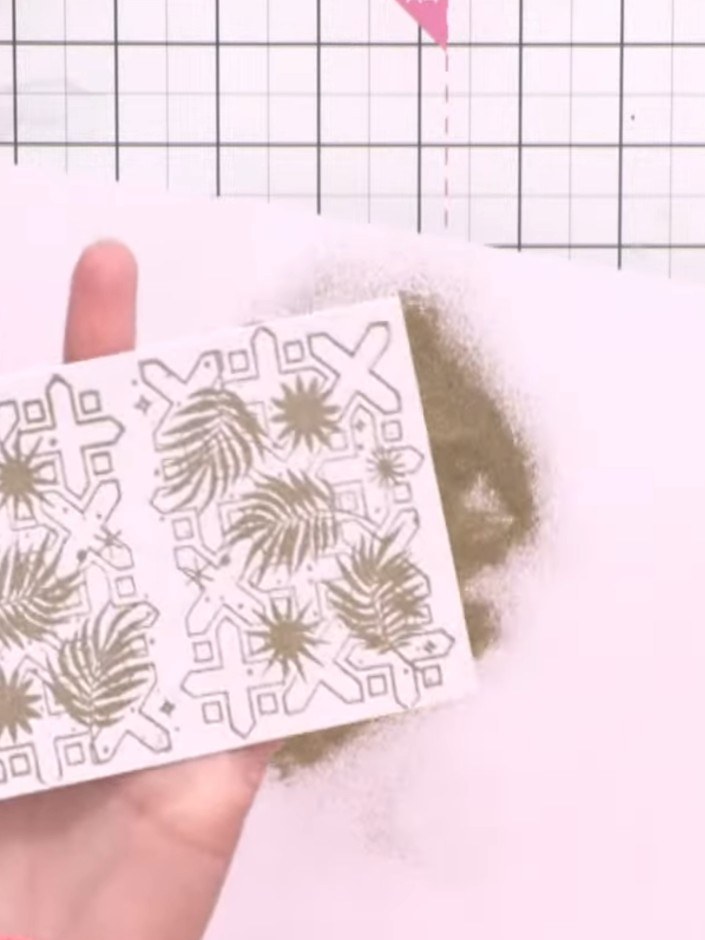
Create a stunning decorative background using abstract tile stamps with gold embossing powder, enhanced with a watercolour wash in teal and pink. The gold embossed areas resist the watercolour, creating beautiful contrast and dimension. This technique combines heat embossing with watercolour painting for an elegant, contemporary finish.
 Stamp - Abstract Tiles - 240424LSEE IT
 Stamps By Me - Premium Hybrid Ink - Midnight - 121022NSEE IT
 Stamps By Me - White Blank Cards & Envelopes 6 X 8 - 240323FSEE IT
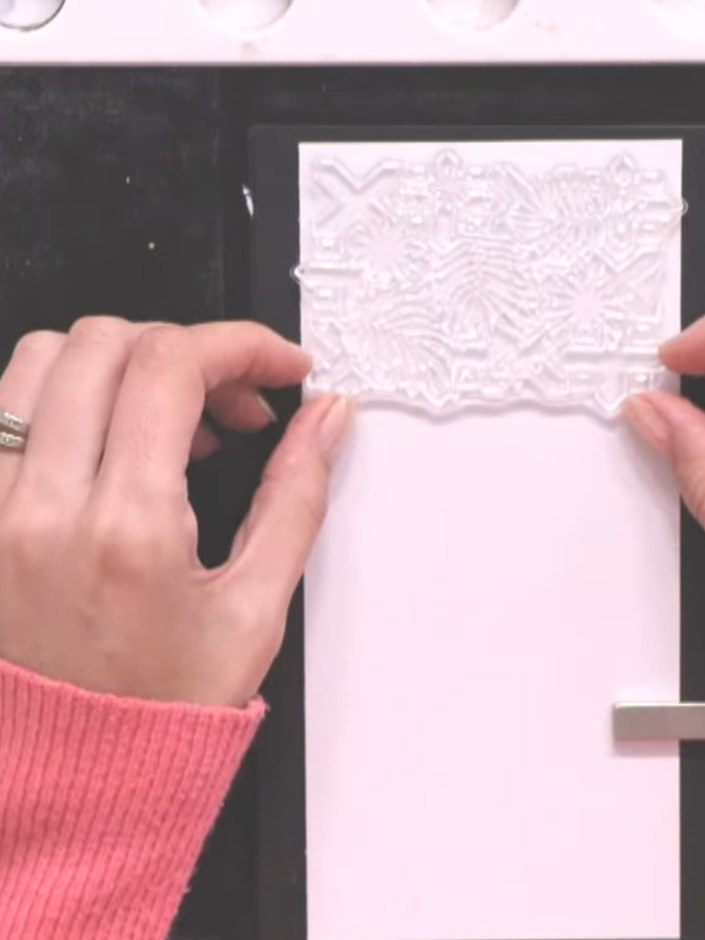
Use an antistatic bag to remove any static from your white card panel before stamping.
▶ watch this step (24:45)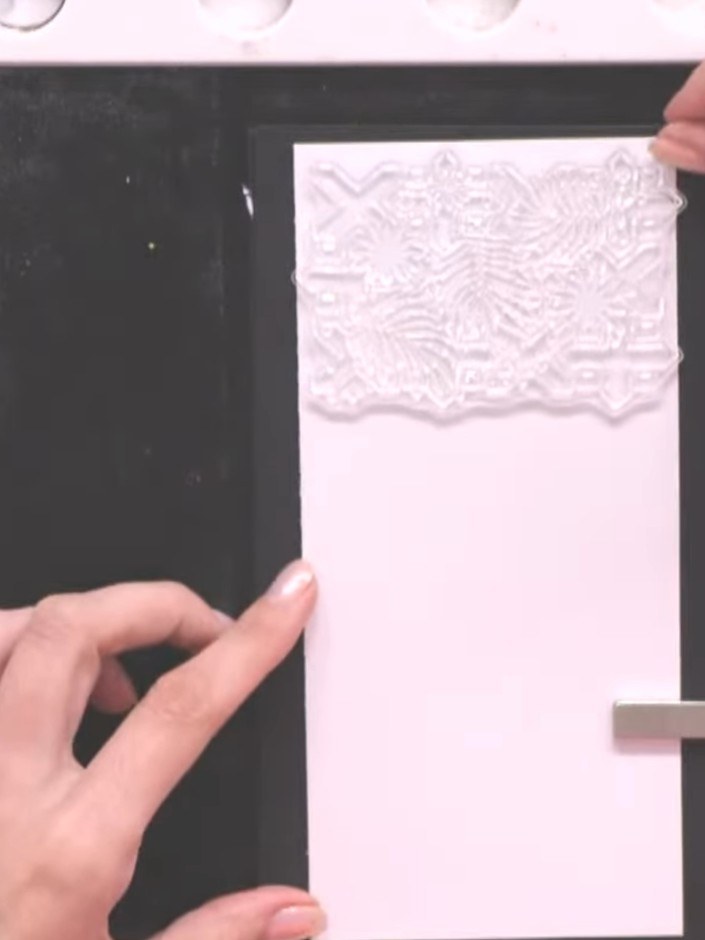
Ink the Abstract Tiles stamp with Midnight hybrid ink. Position the stamp on the white card blank and press firmly to transfer the design.
▶ watch this step (25:00)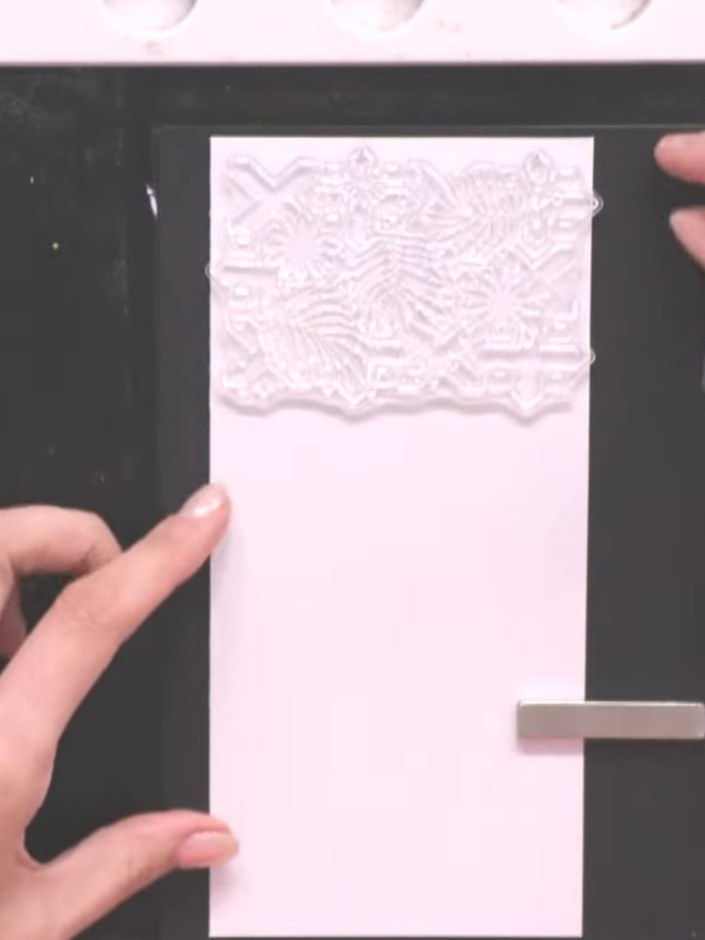
Position the Abstract Tiles stamp centrally at the top of your white card panel. Ink the stamp with Midnight hybrid ink and press firmly to create a clear embossed tile design at the top of the panel.
▶ watch this step (25:15)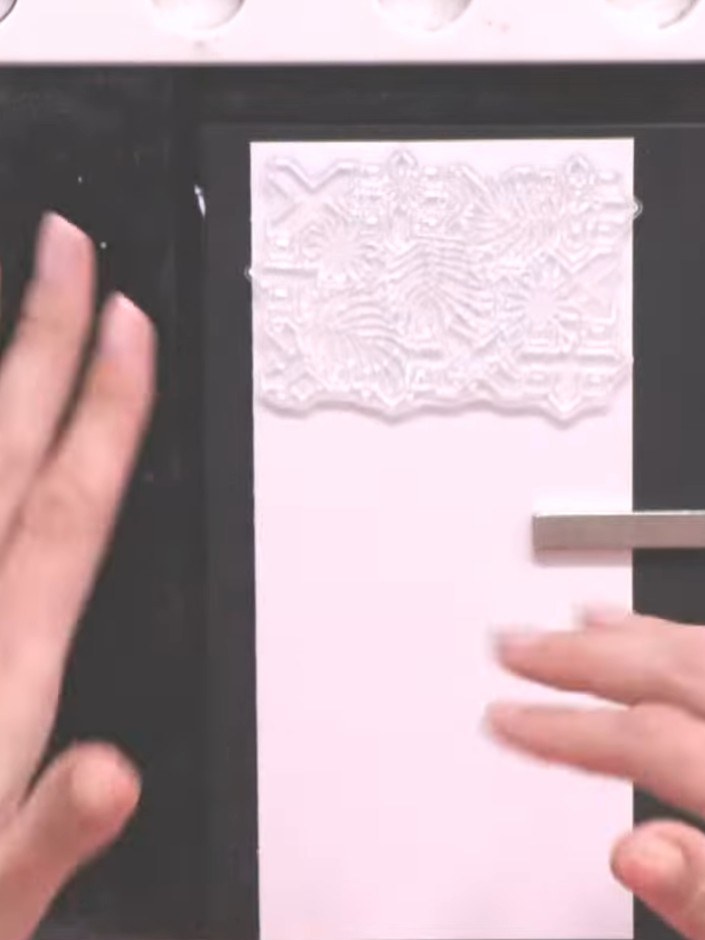
Stamp the same abstract tile design at the bottom of the white card panel using the Midnight hybrid ink, spacing it evenly below the first stamped image.
▶ watch this step (25:30)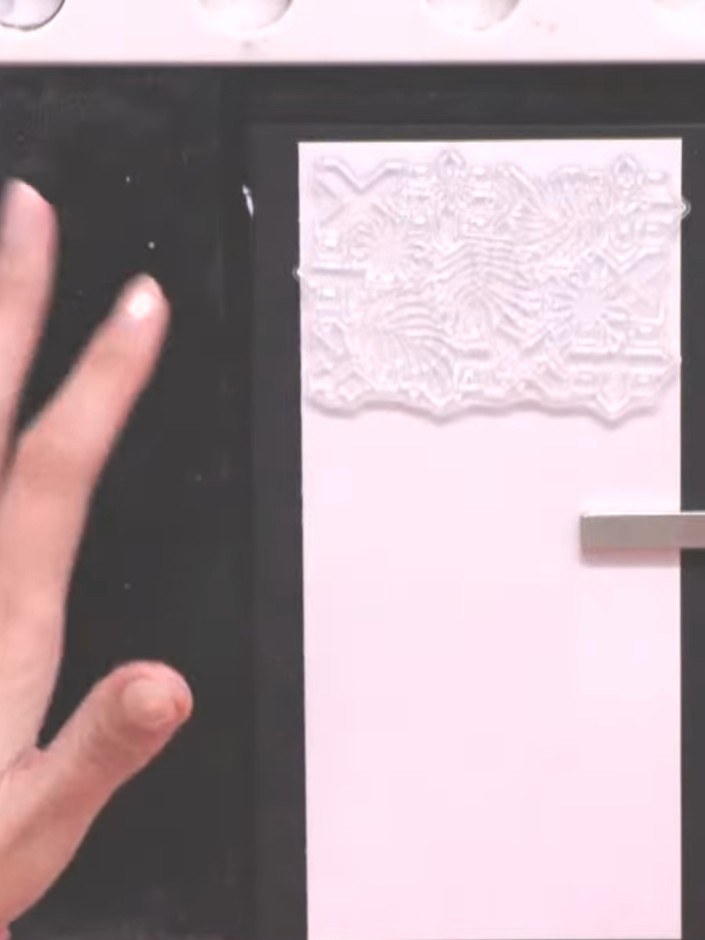
Stamp the tile design once more in the centre of the card using Midnight ink to create three evenly spaced panels.
▶ watch this step (25:45)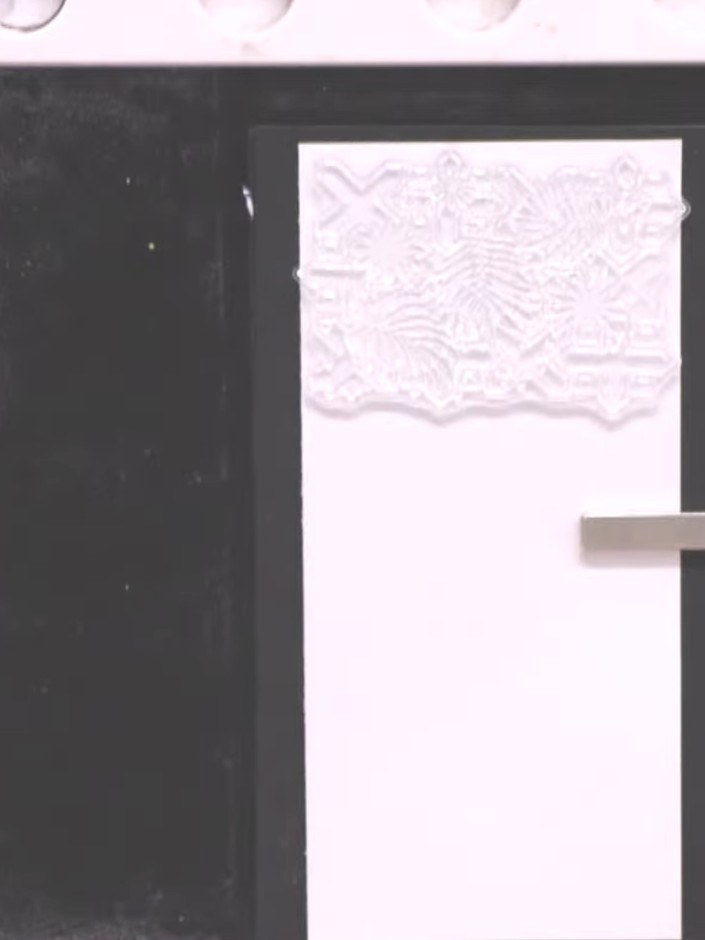
Dust the wet stamped images generously with gold embossing powder, ensuring all the detail is covered. Tap off any excess powder.
▶ watch this step (26:00)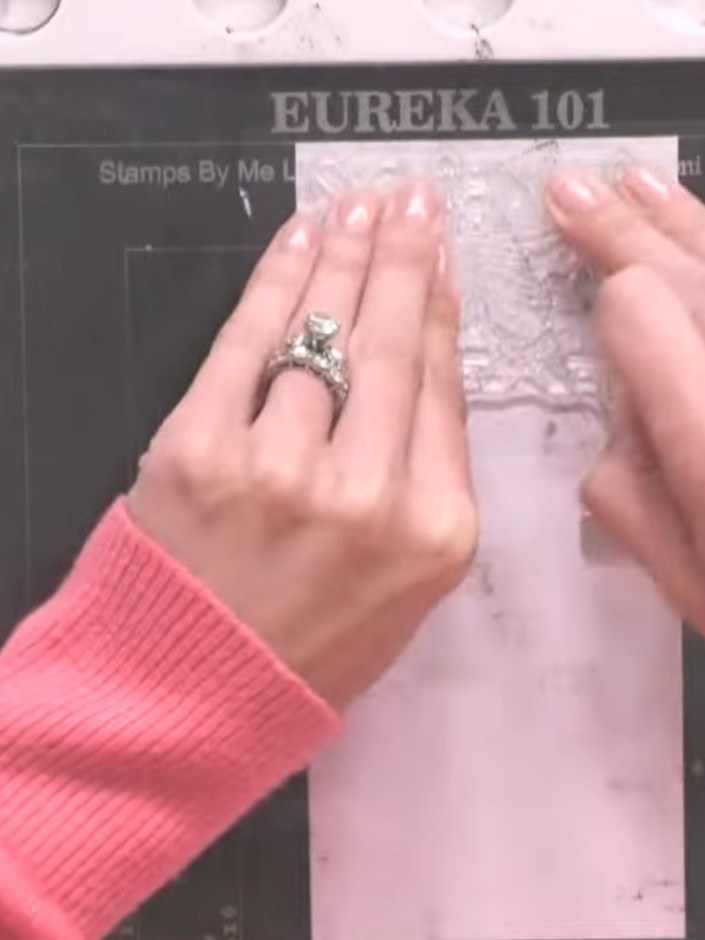
Tap off any excess embossing powder from the white card back into the pot to avoid waste and ensure a clean finish.
▶ watch this step (26:15)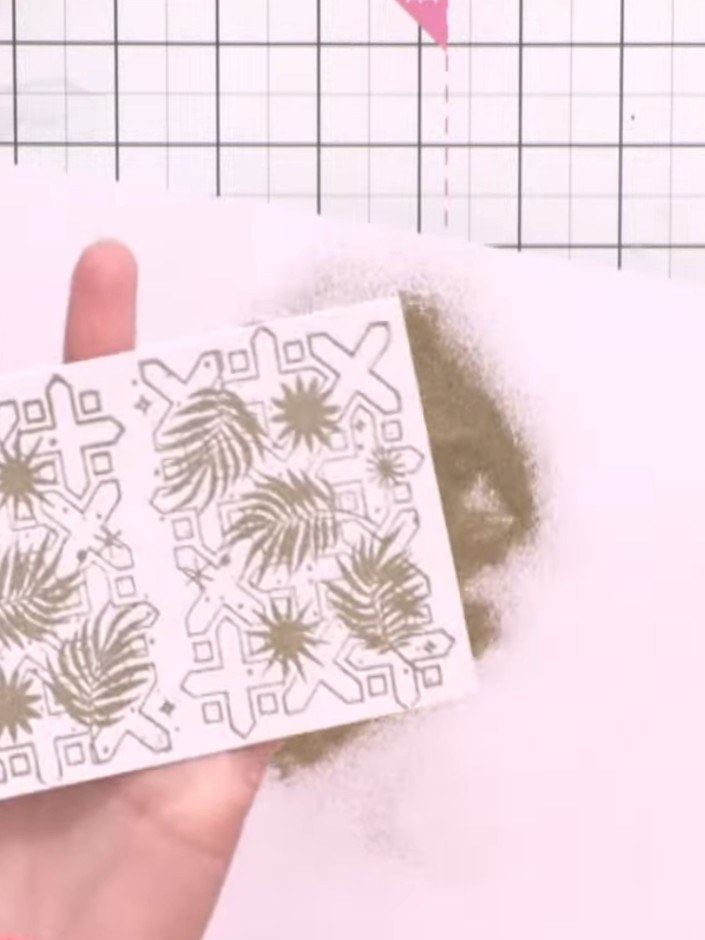
Heat set the embossing powder with a heat gun, moving it across the card until the powder melts and becomes shiny and metallic.
▶ watch this step (30:45)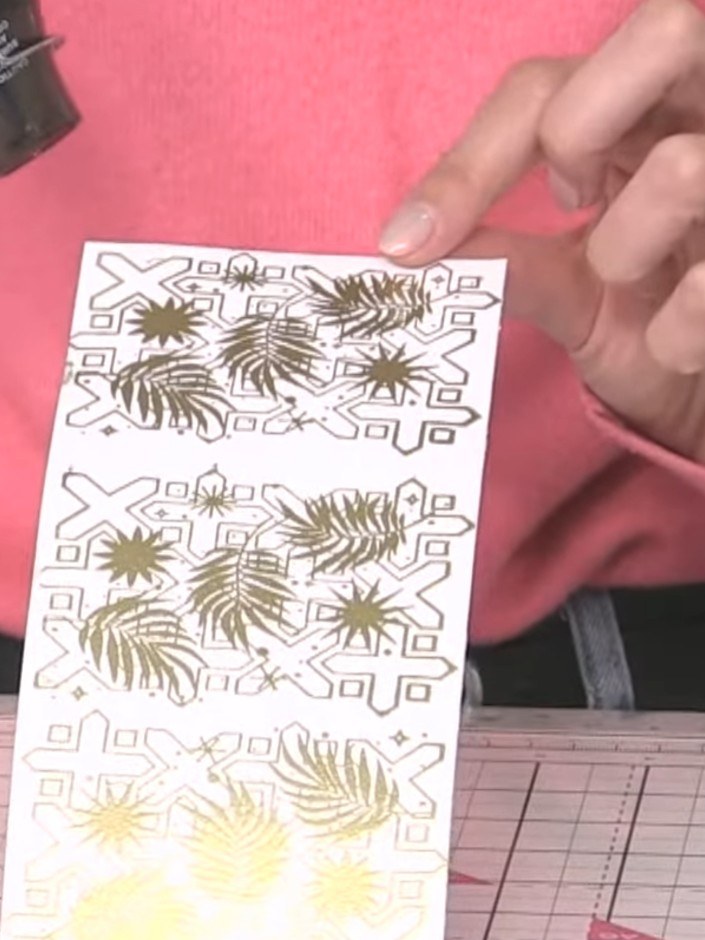
Squeeze teal ink onto a ceramic mat and spray it with water to create a puddle.
▶ watch this step (33:00)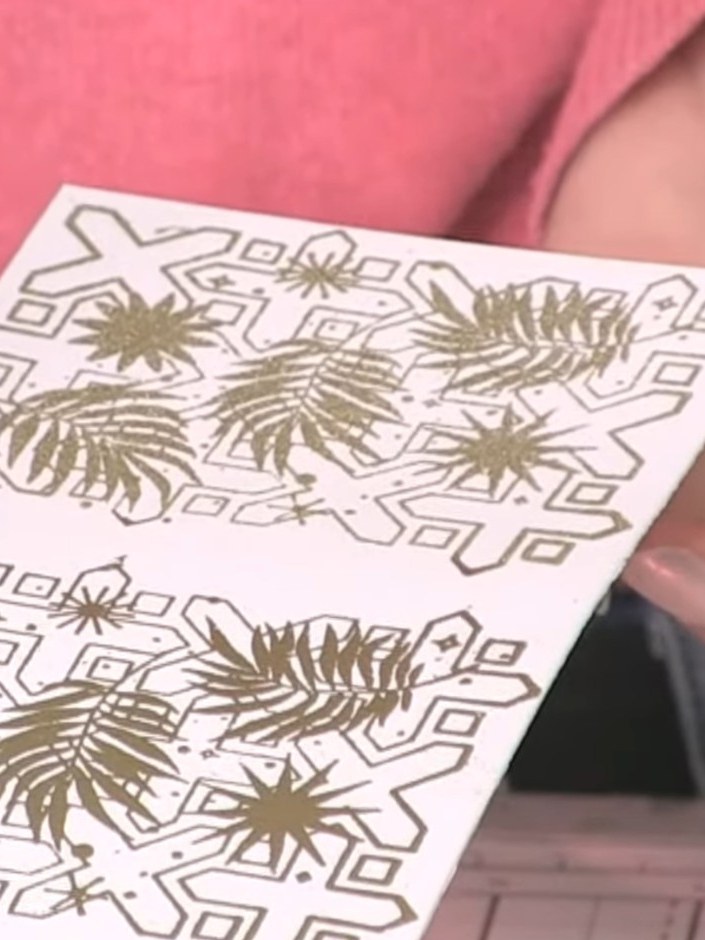
Dip the edge of your embossed card into the teal watercolour puddle, allowing the colour to run and blend across the embossed areas.
▶ watch this step (33:15)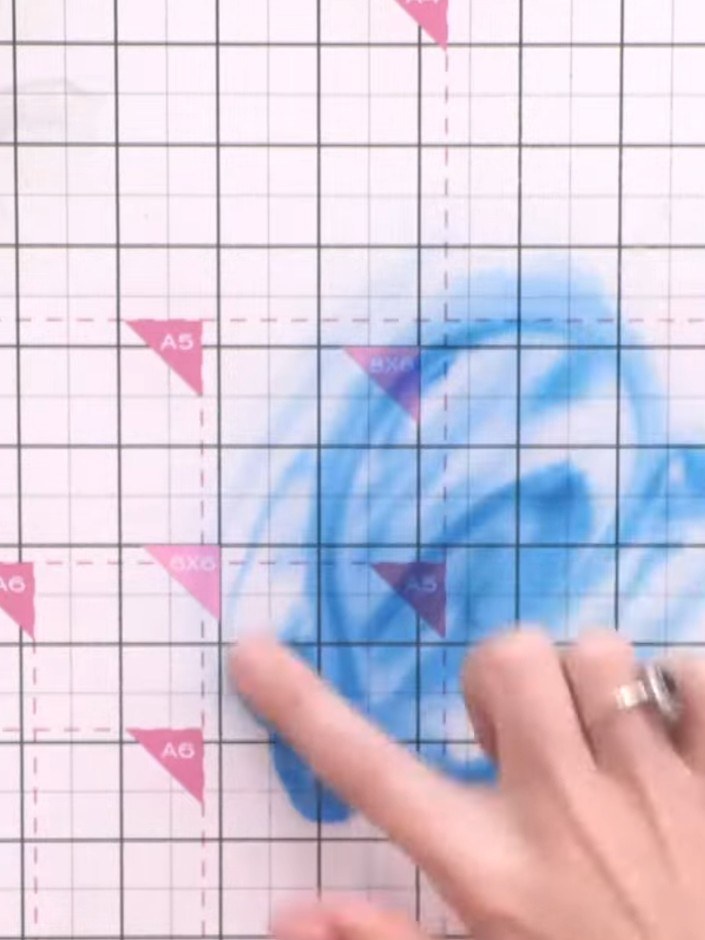
Apply pink ink to another area of the card using the same blending technique. Leave some white space between the coloured areas for contrast and light.
▶ watch this step (33:45)
Allow the watercoloured card to dry completely before using it as a background or cutting it into individual panels for your projects.
▶ watch this step (34:30)Written up from the show itself. See every guide from our shows · free how-to guides · watch live on My Telly