Give your friends €10 off their first order!
Refer a FRIEND








A project from our live show ONE DAY SPECIAL - Join Toni for her brand new release - Broadcast 23rd August 24 · 23/08/2024 · watch it from 37:00
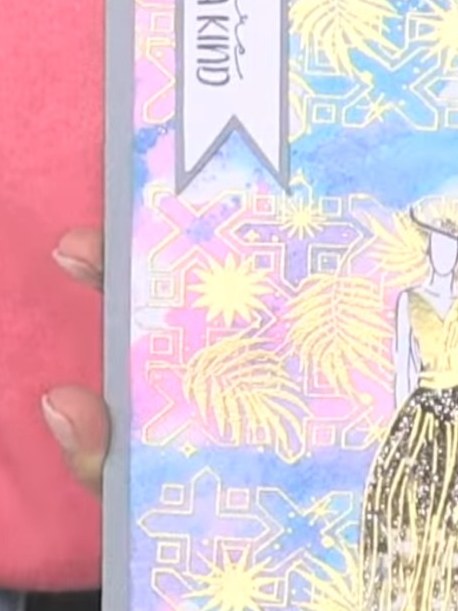
Create an elegant layered card featuring a glamorous gown design with sparkling dimension. A black stamped dress silhouette is enhanced with a cut-out overlay made from patterned paper, embossed in gold for a luxurious finish. This sophisticated card combines stamping, heat embossing, and layering techniques to create a stunning dimensional effect perfect for special occasions.
 A5 Stamp - Lamination - One of a Kind - 240424ESEE IT
 Stamps By Me - Premium Hybrid Ink - Midnight - 121022NSEE IT
 Stamps By Me - Premium Pigment Ink Pure White - Cotton - 121022MSEE IT
 Stamps By Me - White Blank Cards & Envelopes 6 X 8 - 240323FSEE IT
 Stamps By Me - Grey Blank Cards & Envelopes 6 X 8 - 240323JSEE IT
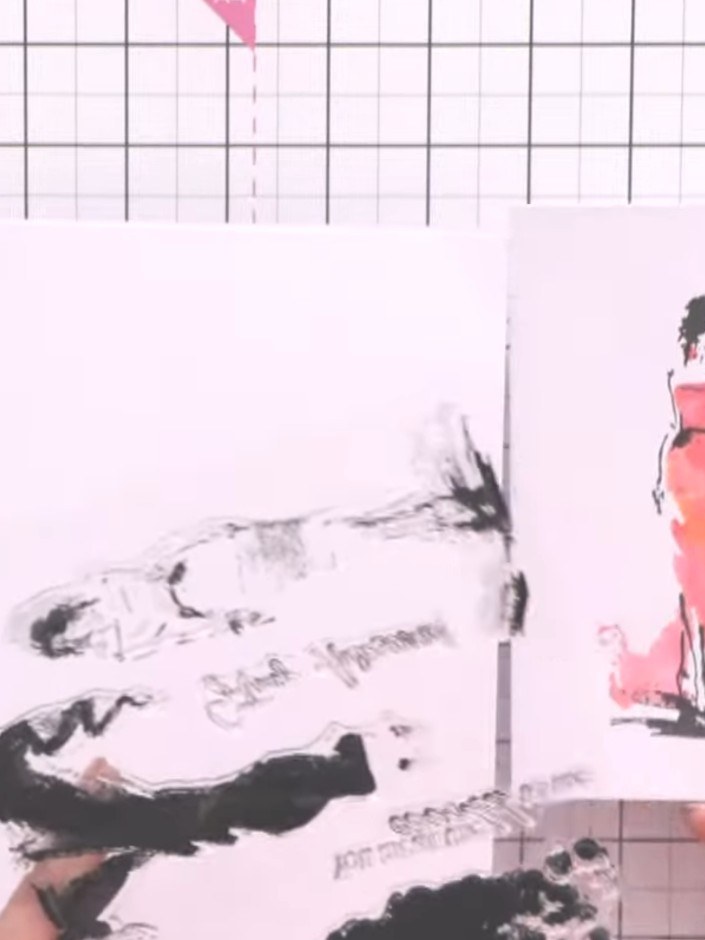
Stamp the lamination gown outline from the One of a Kind stamp set in black ink onto white card stock. Position the stamp carefully to create a clear silhouette of the dress.
▶ watch this step (37:15)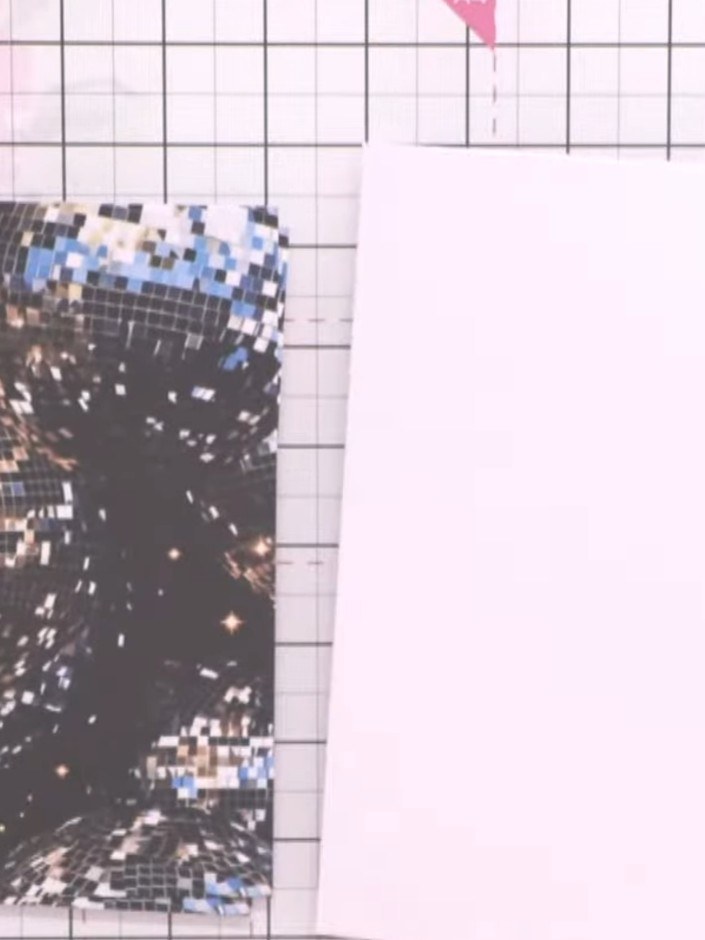
Stamp the gown design onto patterned paper using sticky ink or VersaFine ink. This will allow you to add foil or glitter to the stamped image.
▶ watch this step (37:45)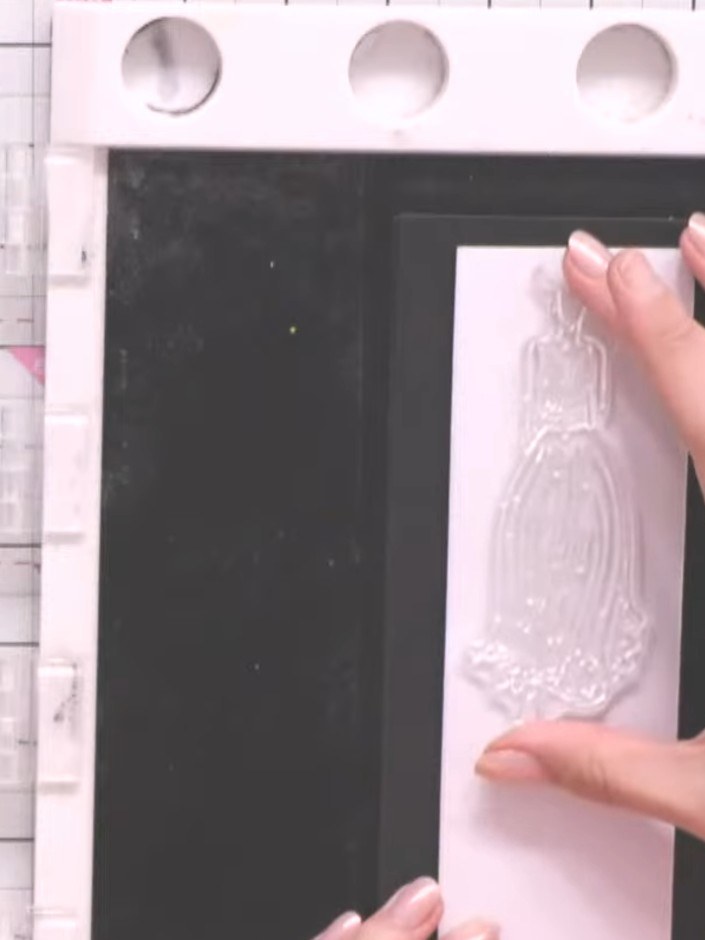
Dust the stamped gown image on the patterned paper with gold embossing powder, ensuring even coverage over the design.
▶ watch this step (38:00)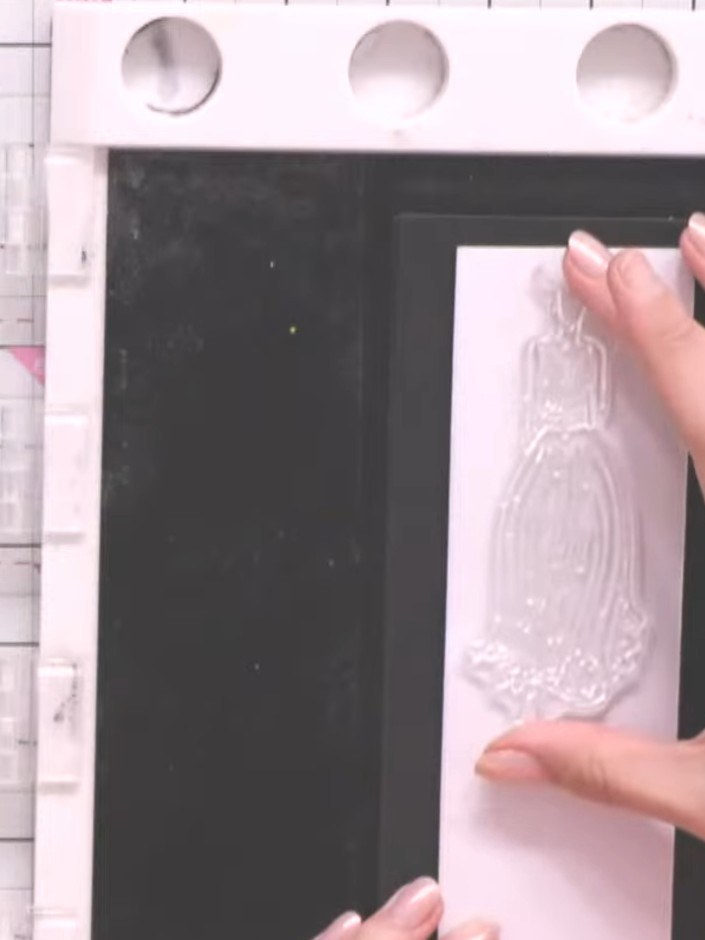
Heat set the gold embossing powder with a heat gun, moving it over the stamped image until the powder melts and becomes shiny and metallic.
▶ watch this step (38:15)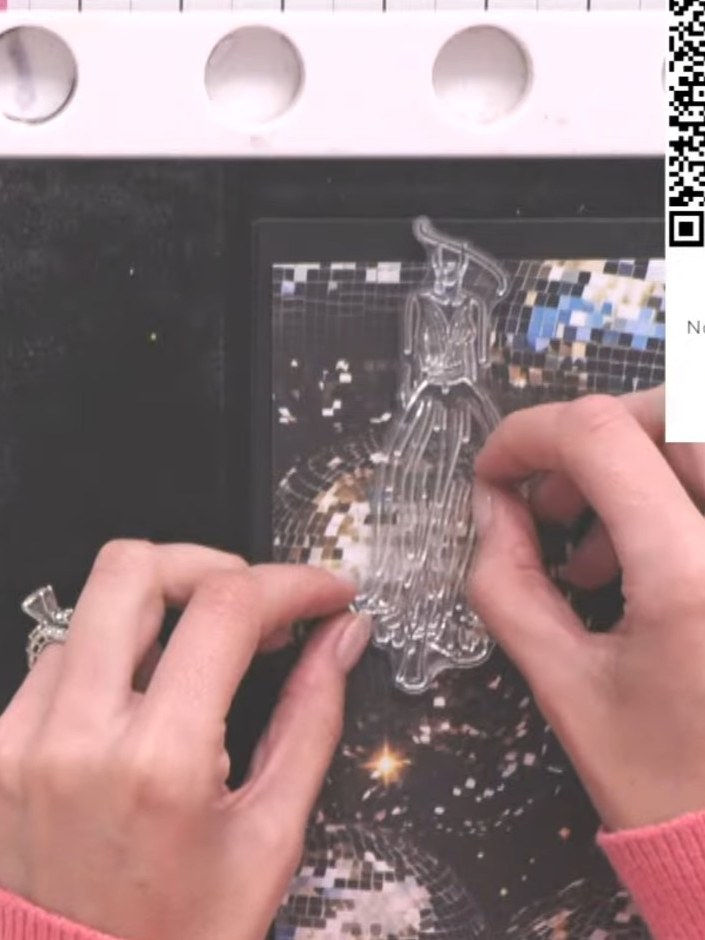
Using scissors, carefully cut around the dress portion of the embossed gown, removing the head, arms, feet and hat.
▶ watch this step (39:00)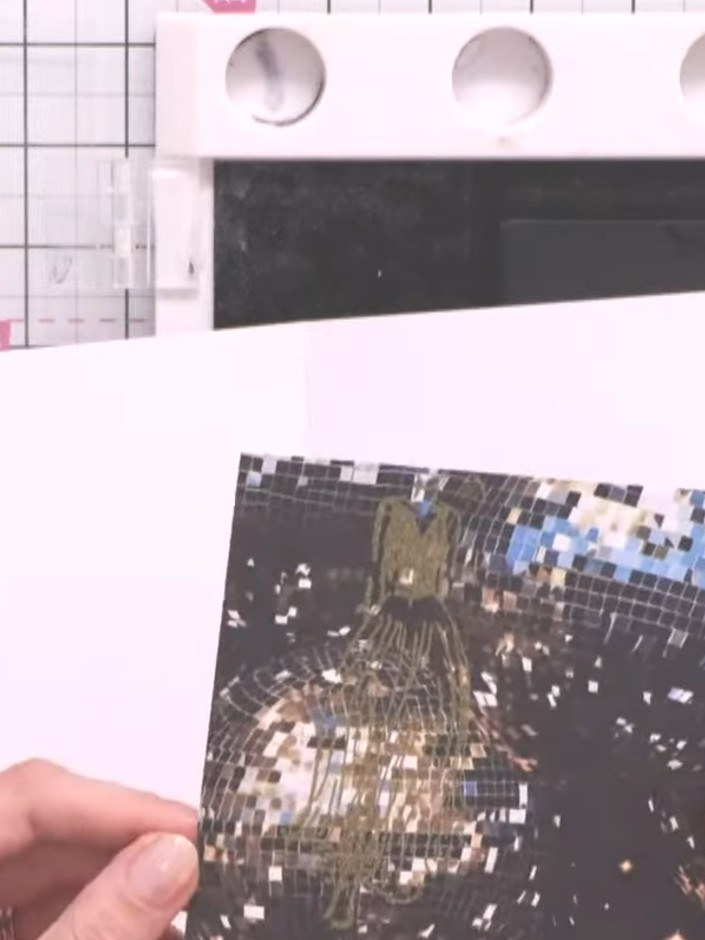
Adhere the dress layer to the card using foam pads or DIY dimensional pads made from layered paper scraps to create dimension and lift.
▶ watch this step (40:00)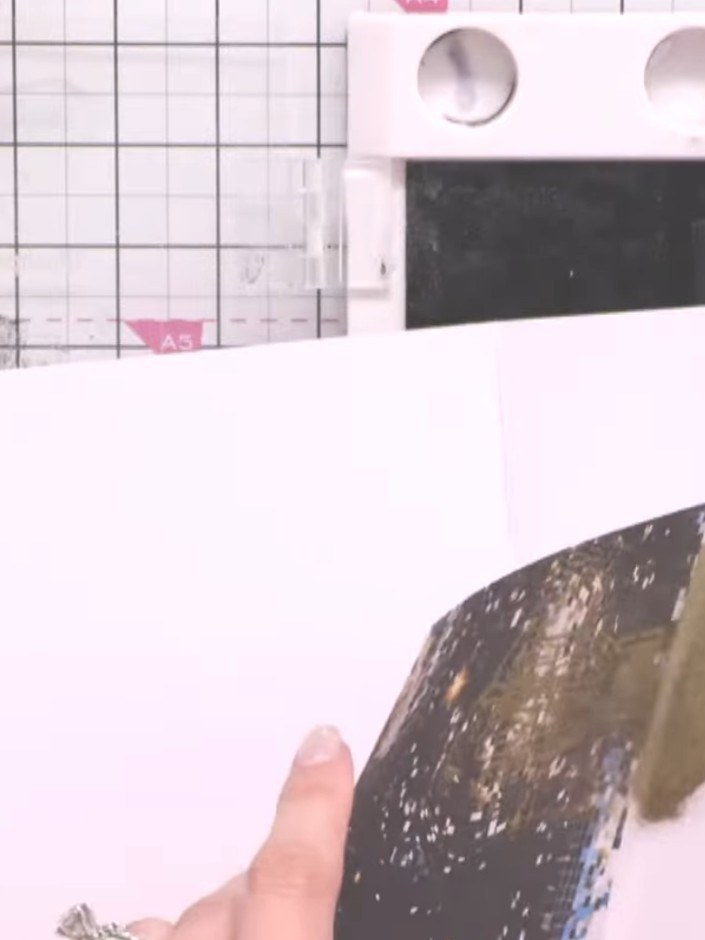
Trim a sentiment from the stamp set and mount it onto grey card stock using adhesive.
▶ watch this step (40:15)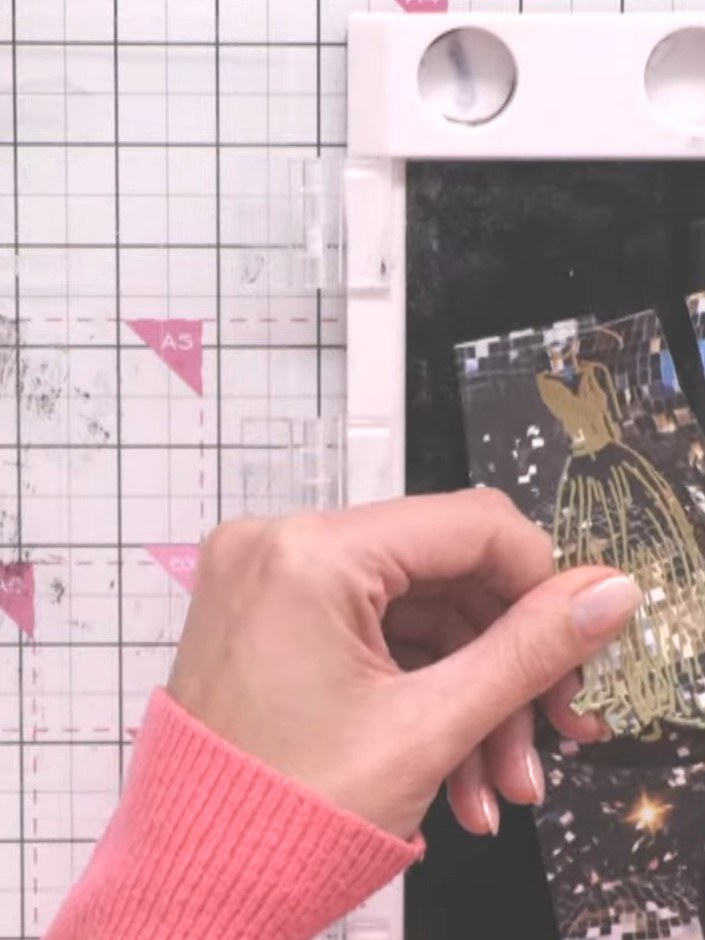
Adhere the sentiment banner to the card using foam pads, positioning it across the black image panel.
▶ watch this step (40:45)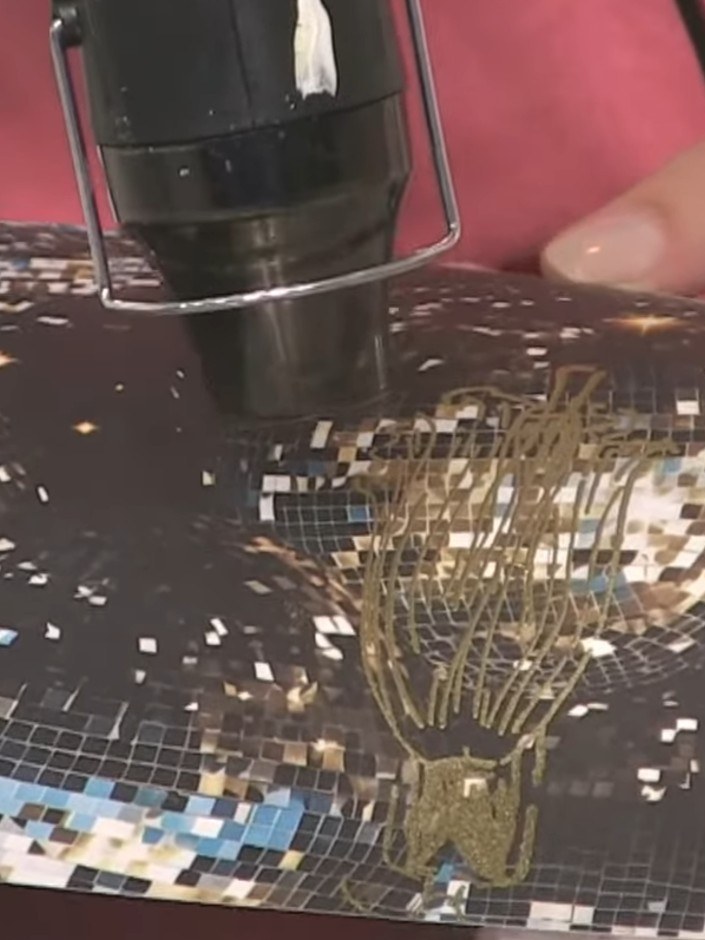
Apply gold glitter glue along the dress lines and details to enhance the sparkle effect. Work carefully to follow the contours of the gown design.
▶ watch this step (41:00)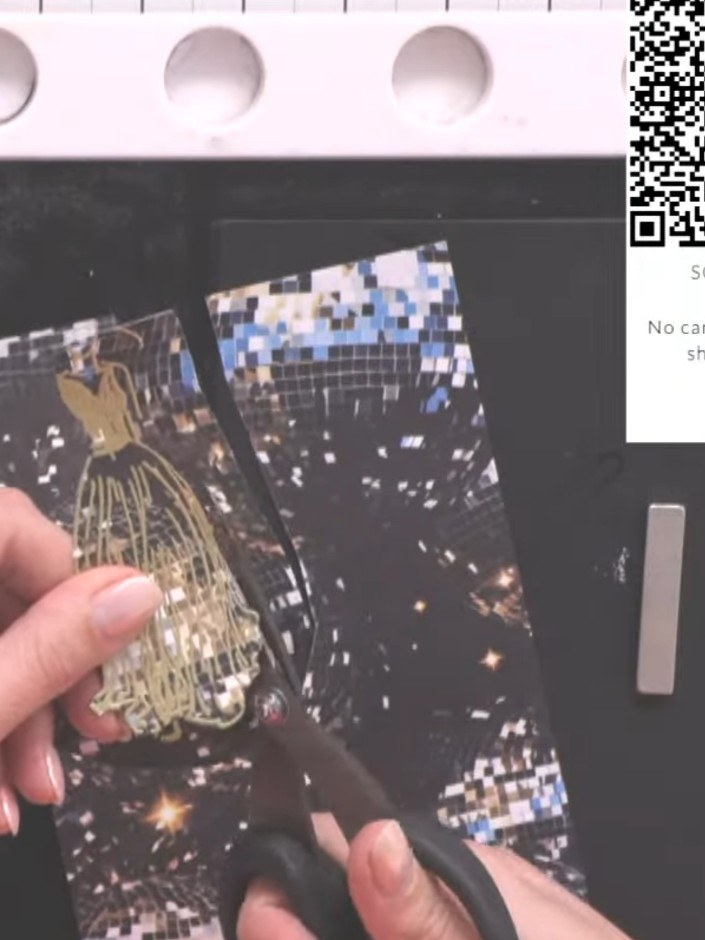
Mount the completed design onto a grey card blank. Trim the right edge if desired to create a slimline card format.
▶ watch this step (41:30)Written up from the show itself. See every guide from our shows · free how-to guides · watch live on My Telly