Give your friends €10 off their first order!
Refer a FRIEND








A project from our live show HSN AUGUST PRODUCT PREVIEW - Join me for my Sneak Peek - Broadcast 8th August 24 · 08/08/2024 · watch it from 25:30
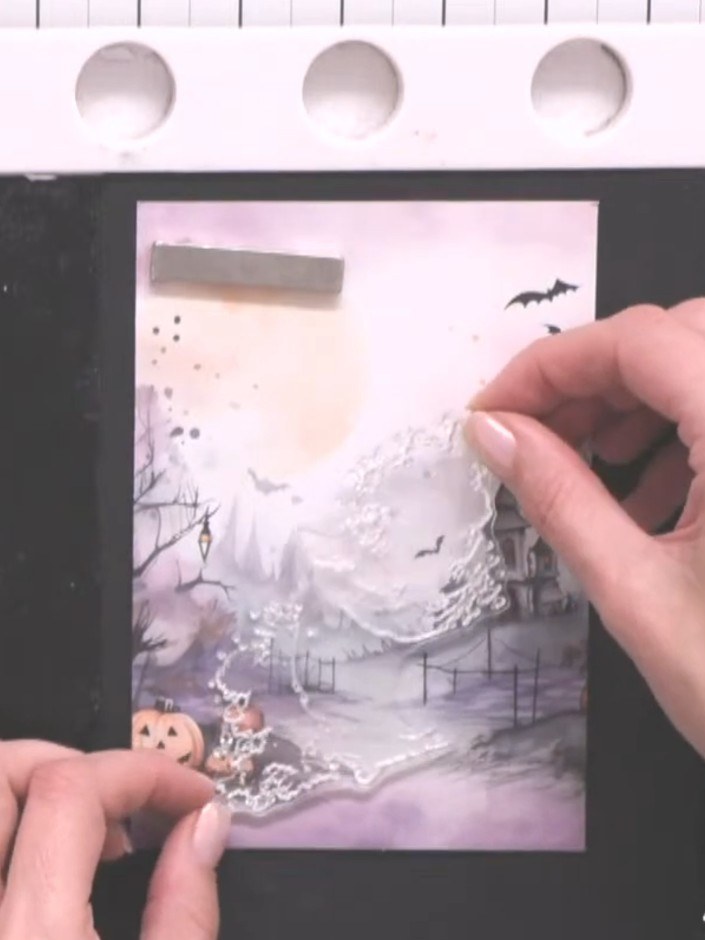
Create a spooky watercolour witch card using innovative two-part lamination stamps. The atmospheric design features a golden-silhouetted witch floating against a smoky purple and grey background, complete with flying bats and a haunted house scene. This project demonstrates the unique technique of building up layers with lamination stamps to achieve a beautiful watercolour effect.
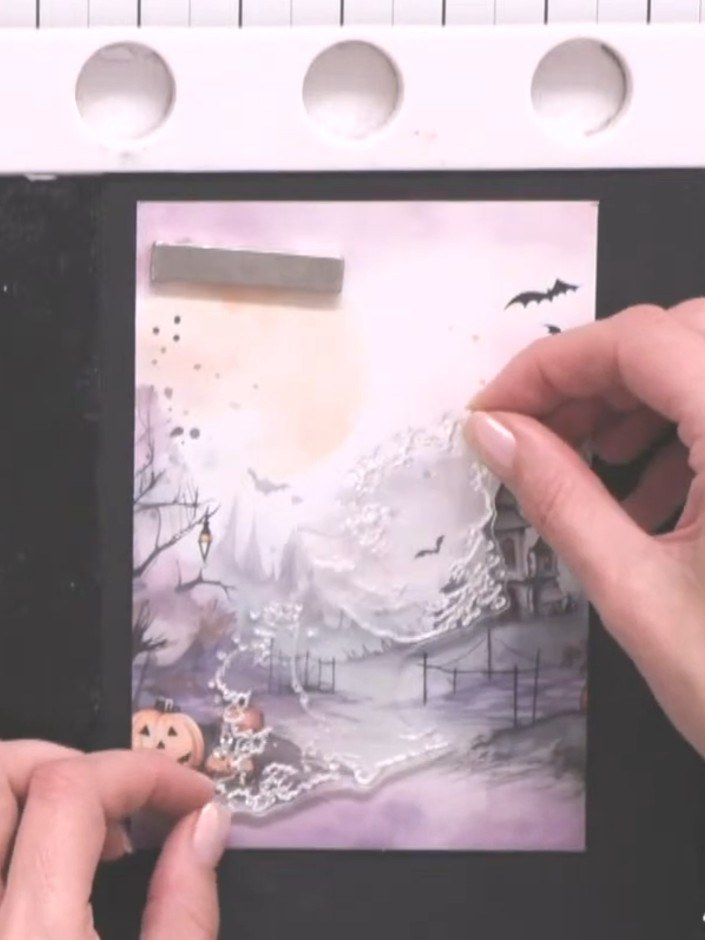
Select a piece of patterned paper from the Creepy Chronicles pad. Position it on your black card base to create the background for your card.
▶ watch this step (27:45)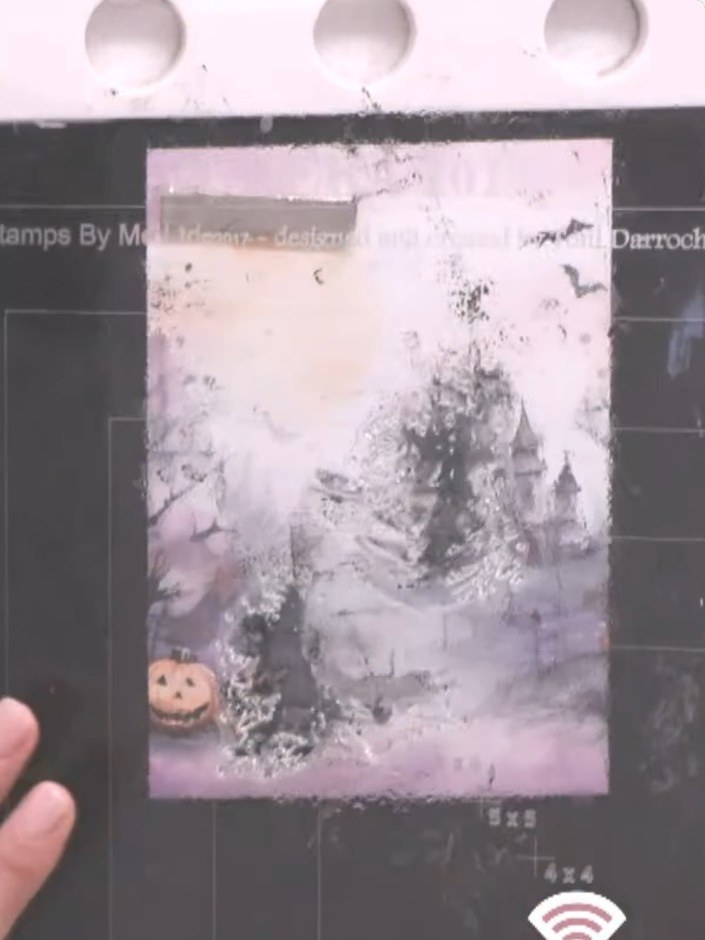
Ink up the coloured background portion of the witch stamp using oxide ink. Focus on the watercolour wash area of the stamp design.
▶ watch this step (28:15)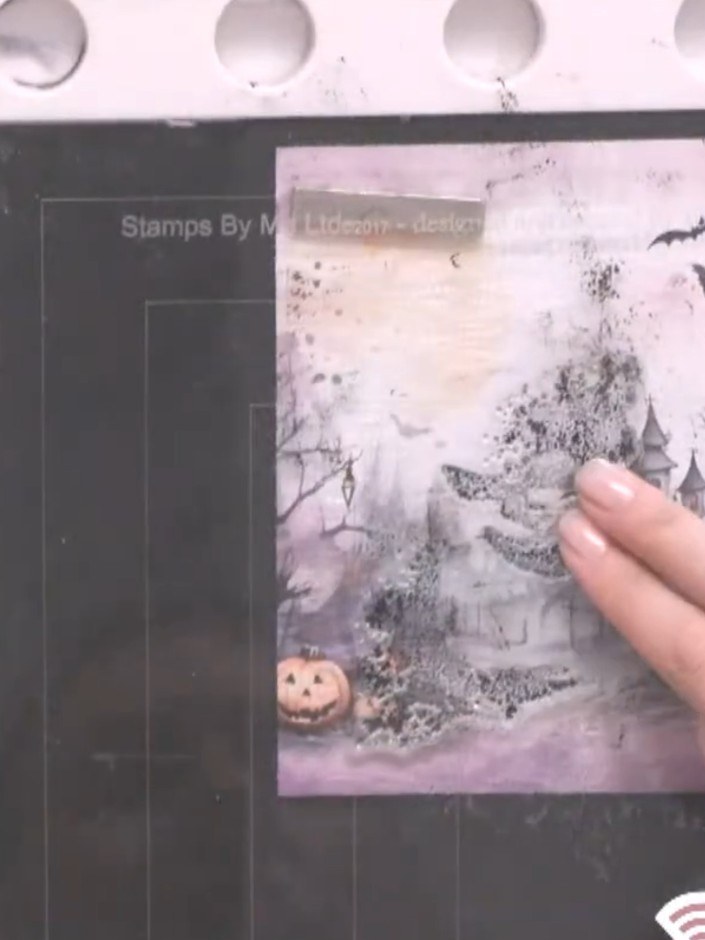
Spray the inked stamp three times with water to create a watercolour effect.
▶ watch this step (29:00)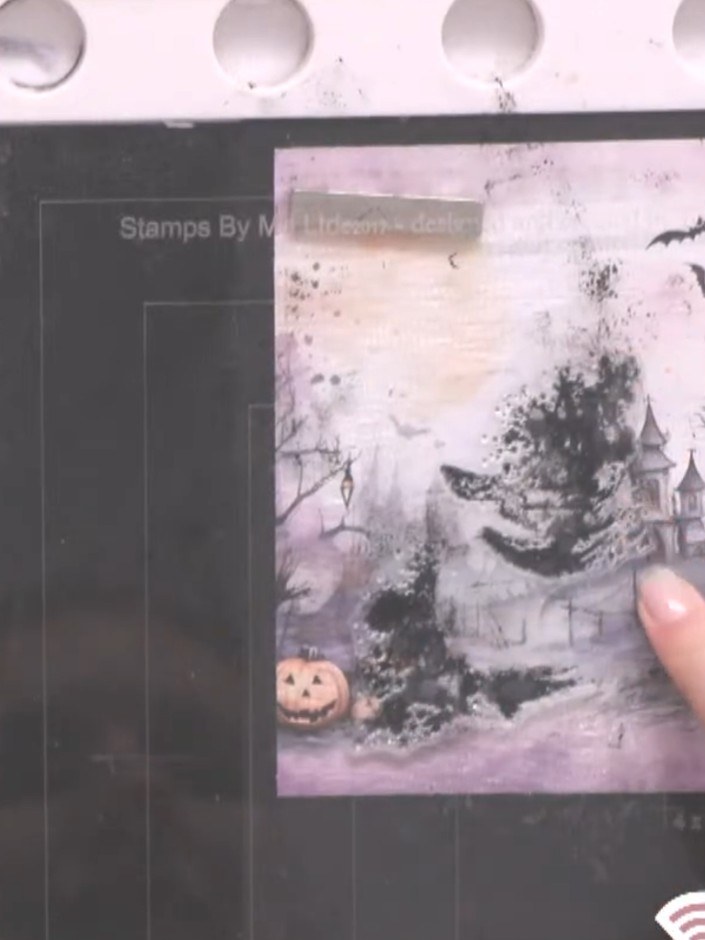
Stamp the background wash image onto your paper to create a soft, smoky effect behind your scene. The wash creates a lovely atmospheric background for the witch design.
▶ watch this step (29:30)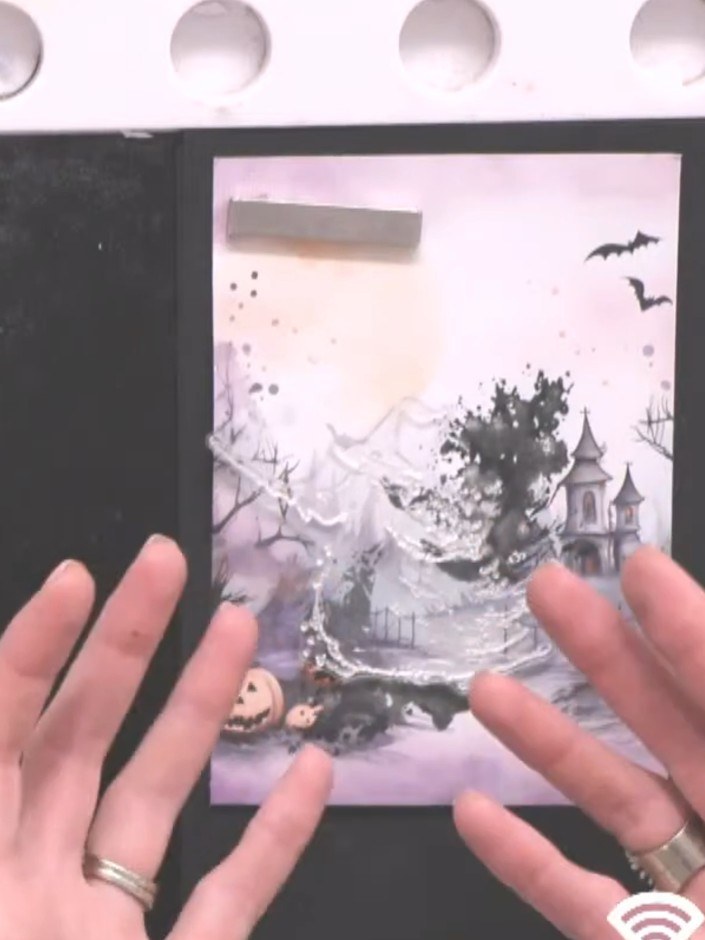
Before stamping, use an antistatic bag to remove excess ink from the stamp. This prevents unwanted specks and ensures a clean impression on your card.
▶ watch this step (32:00)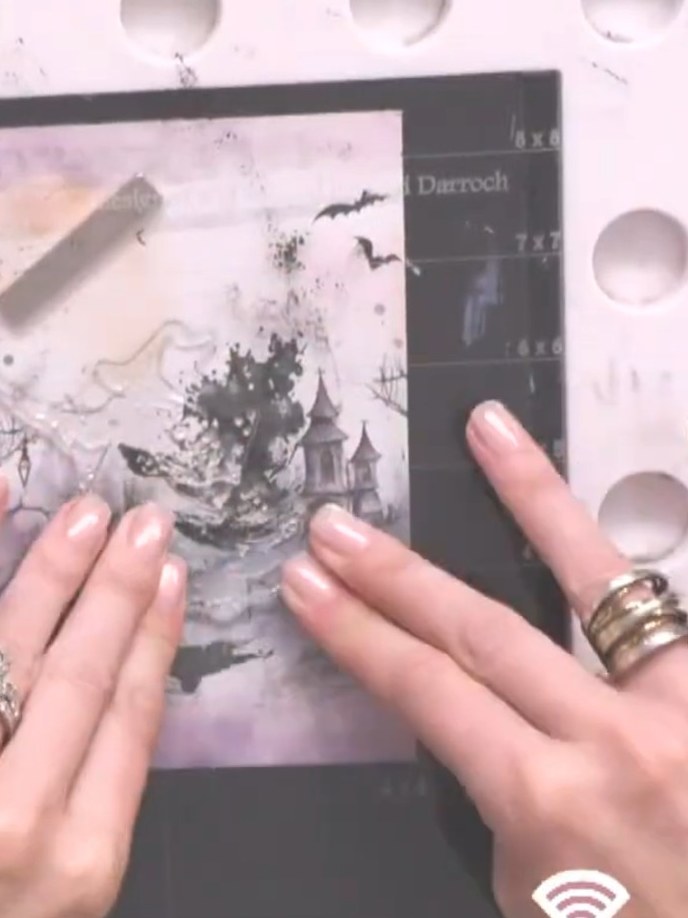
Position the detailed witch stamp carefully over the dried watercolour background, using the packet image as a visual guide. Press down firmly to stamp the black witch silhouette onto the card, ensuring it aligns with the background elements.
▶ watch this step (32:15)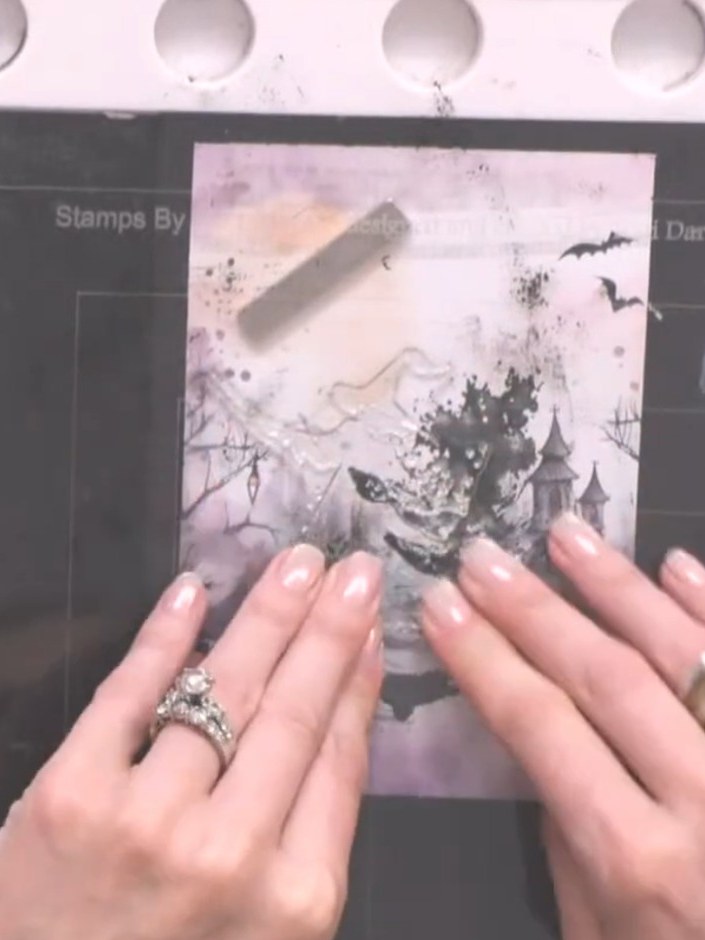
Sprinkle gold embossing powder over the wet stamped image on your card. Ensure the powder covers all the inked areas completely.
▶ watch this step (33:00)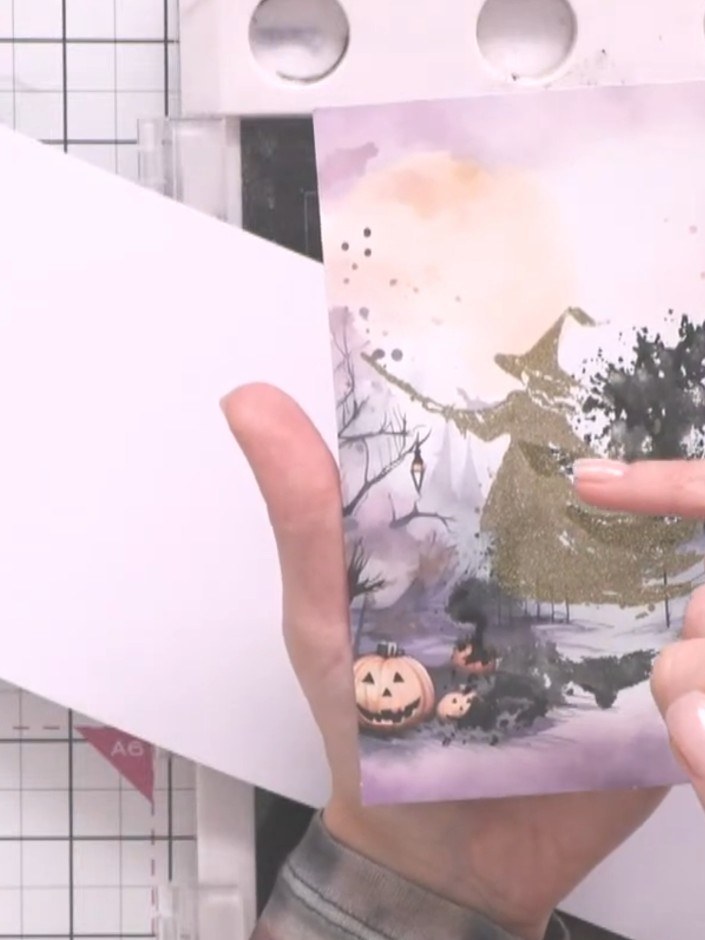
Heat set the embossing powder with a heat gun, holding it over the gold embossed areas until the powder melts and becomes shiny.
▶ watch this step (35:00)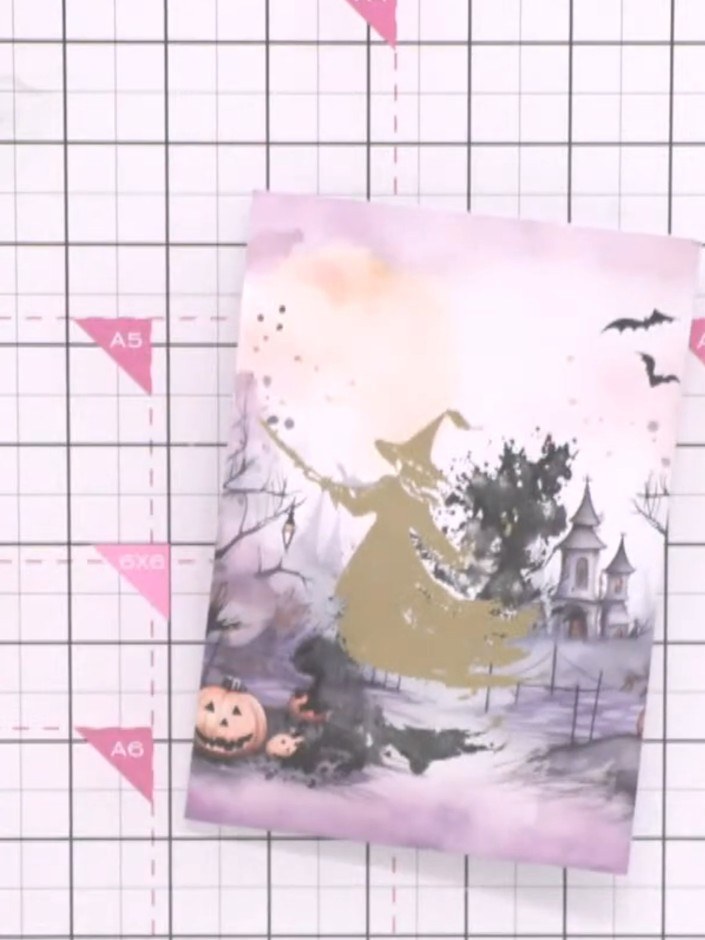
Stamp a sentiment below the witch using black ink to complete your Halloween card.
▶ watch this step (36:00)Written up from the show itself. See every guide from our shows · free how-to guides · watch live on My Telly