Give your friends €10 off their first order!
Refer a FRIEND








A project from our live show HSN AUGUST PRODUCT PREVIEW - Join me for my Sneak Peek - Broadcast 8th August 24 · 08/08/2024 · watch it from 39:00
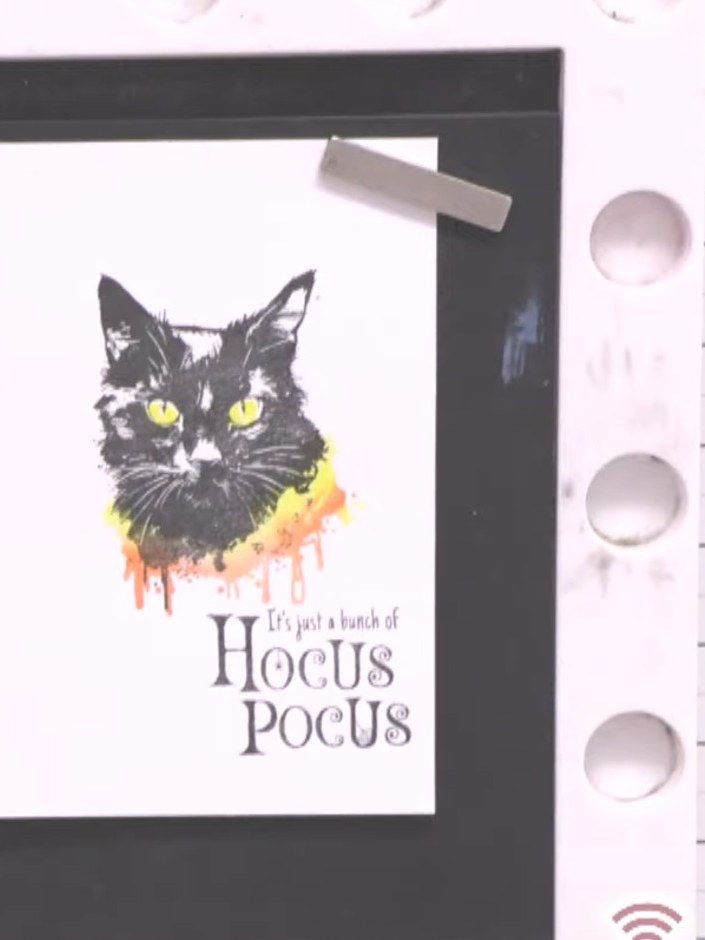
Create a striking Halloween card featuring a black cat with bright yellow-green eyes and orange flame accents. The design uses 'It's just a bunch of Hocus Pocus' sentiment text in an elegant font. This project demonstrates the lamination stamping technique, which allows you to add custom coloured details to pre-designed stamps without requiring traditional colouring skills.
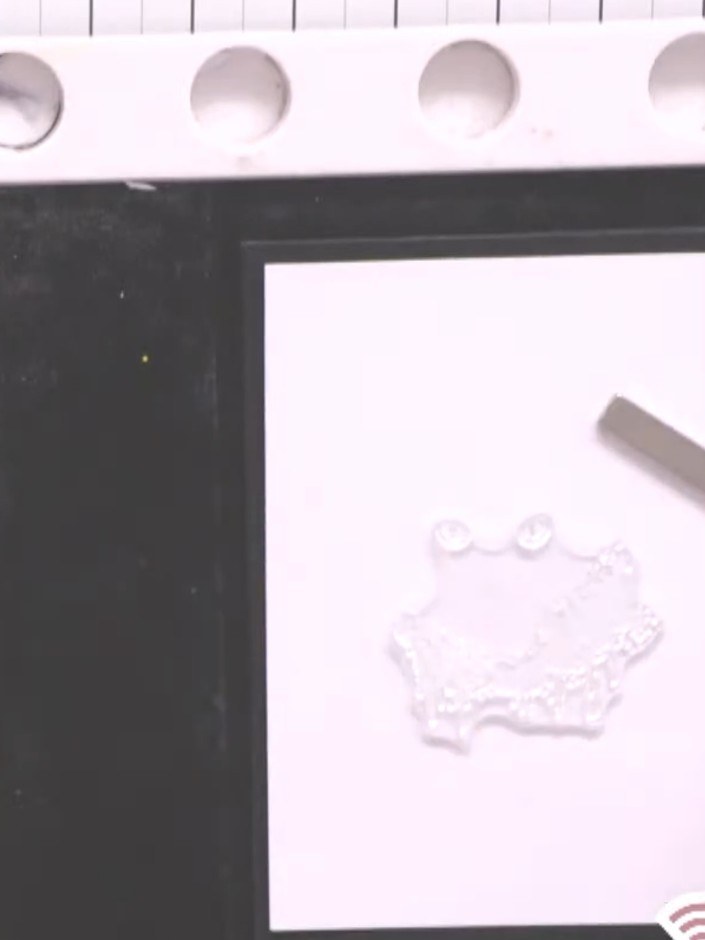
Select a piece of white card stock to use as your base card. Place it on your craft mat ready for the next steps.
▶ watch this step (40:00)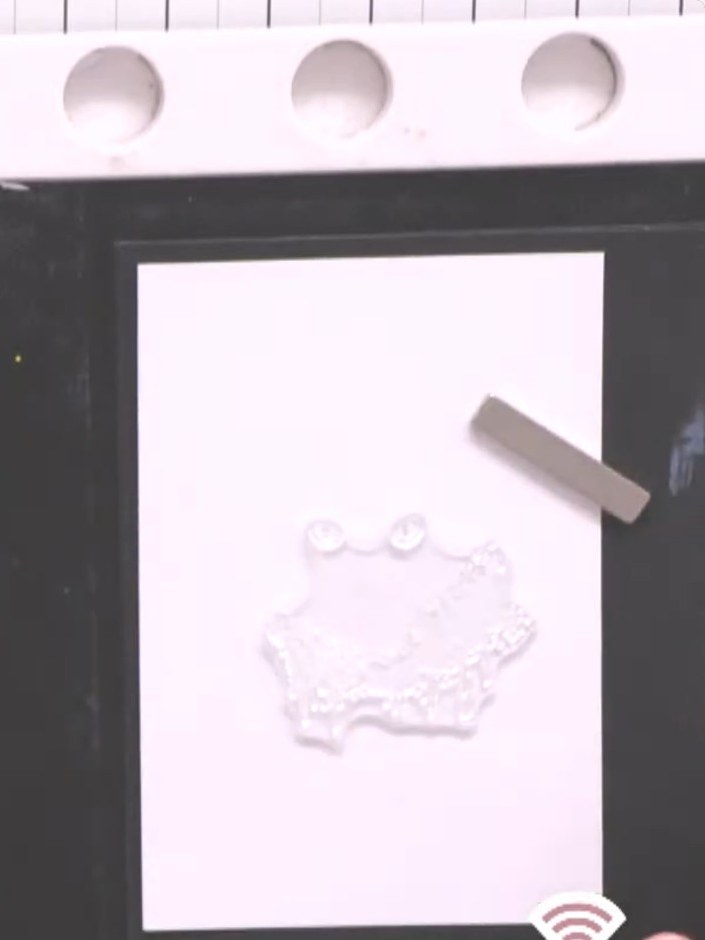
Ink up just the eyes portion of the cat stamp with yellow ink, carefully applying the ink only to the coloured eye area of the stamp.
▶ watch this step (40:15)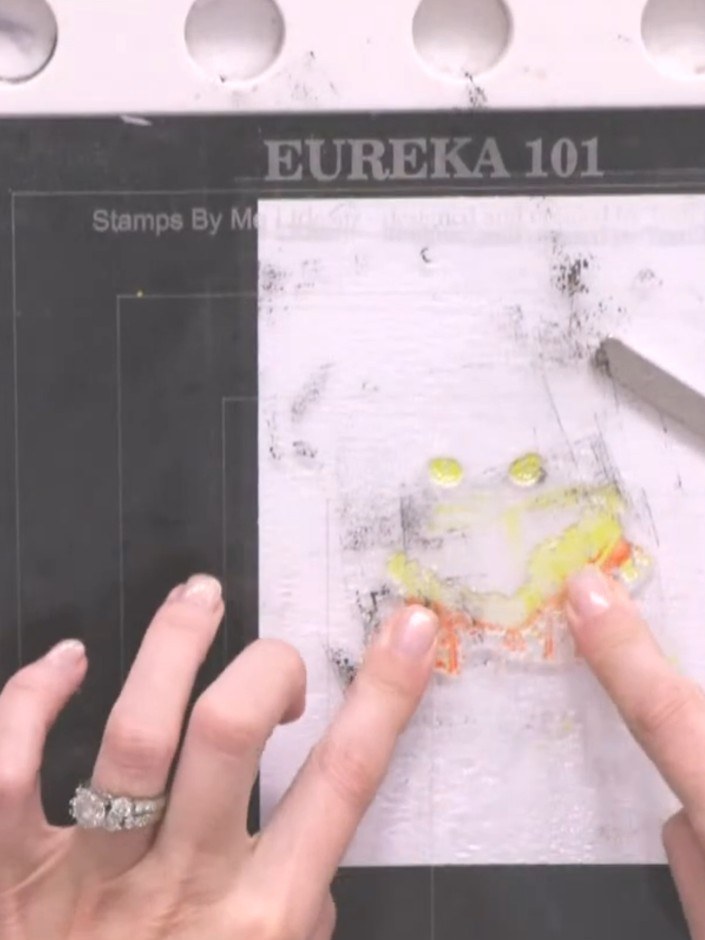
Spray the inked stamp with water three times to create a watercolour effect.
▶ watch this step (40:30)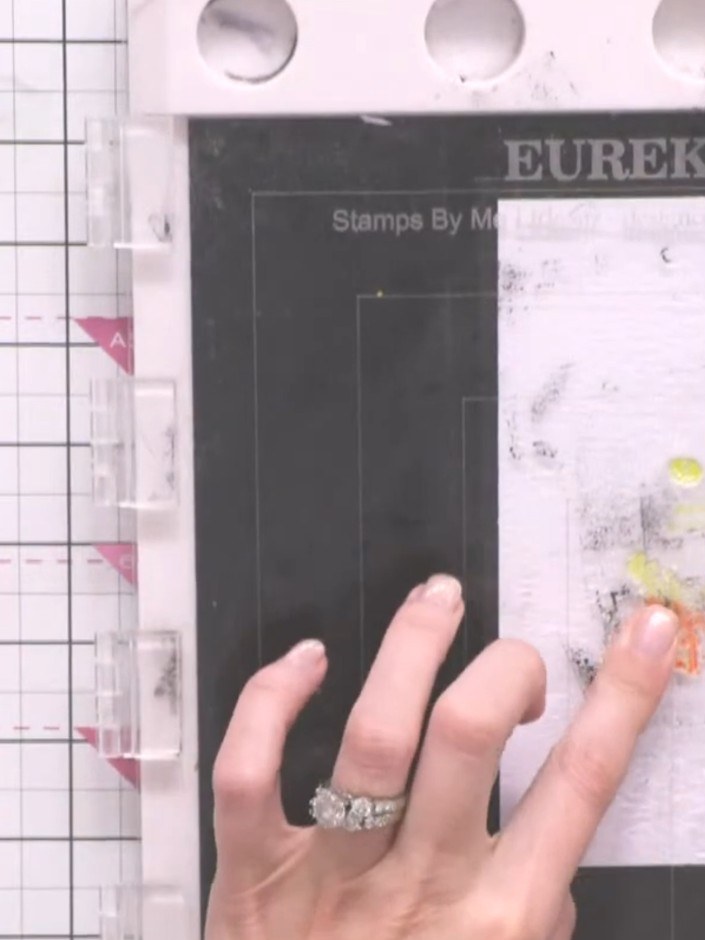
Stamp the coloured layer onto your white card using the stamp positioner. Press down firmly to transfer the yellow and orange colours from the cat's eyes onto the card.
▶ watch this step (41:00)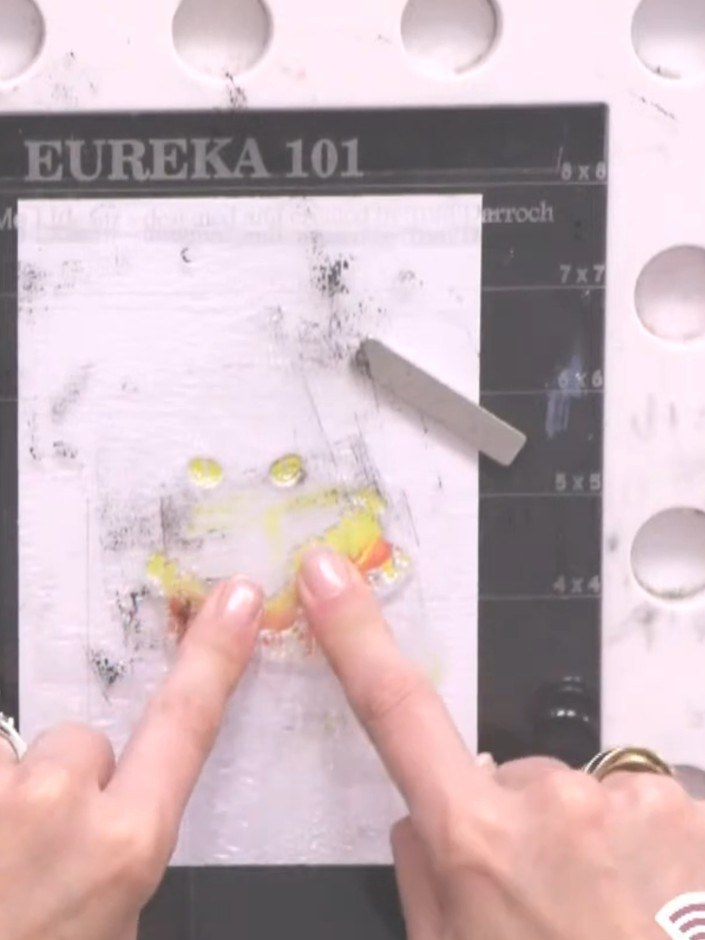
Ink up the detailed cat stamp with black ink using your stamp pad or applicator.
▶ watch this step (41:30)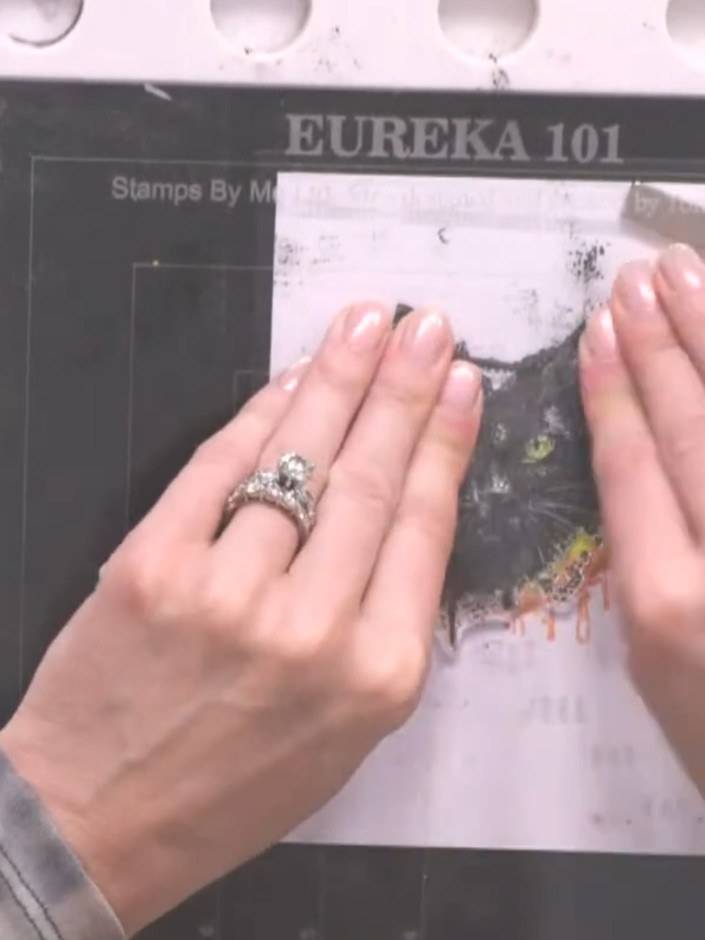
Stamp the detailed black cat layer on top of the coloured base layer, carefully aligning the eyes and body to ensure the yellow eyes show through. Press firmly to get a clear impression of all the details.
▶ watch this step (42:00)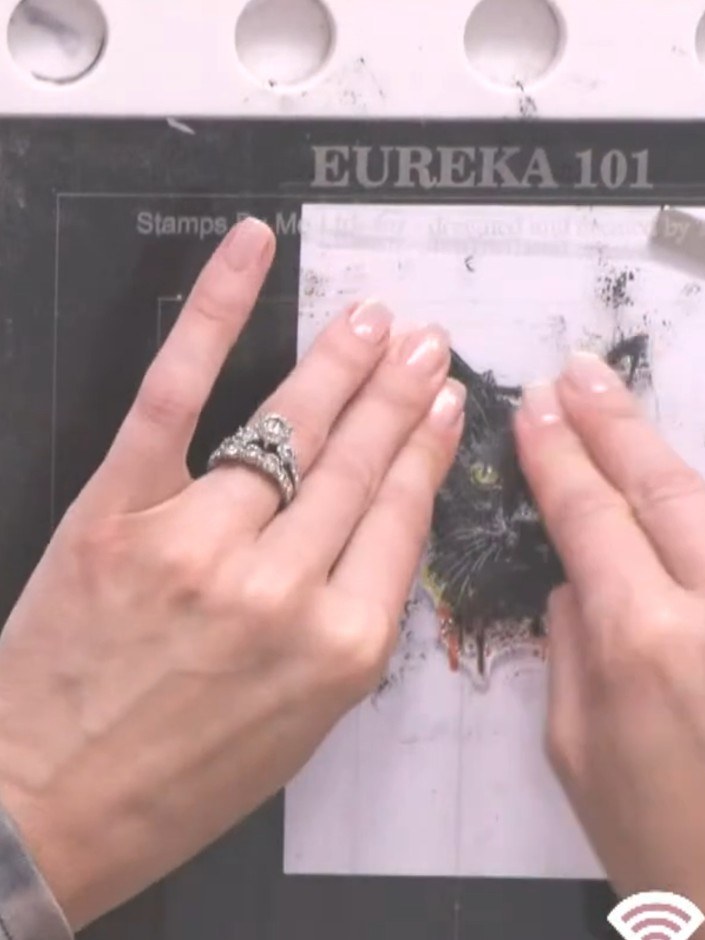
Ink up the stamp a second time and stamp over the first impression to achieve a deeper, richer black coverage. Press firmly to ensure all details are fully saturated with ink.
▶ watch this step (42:30)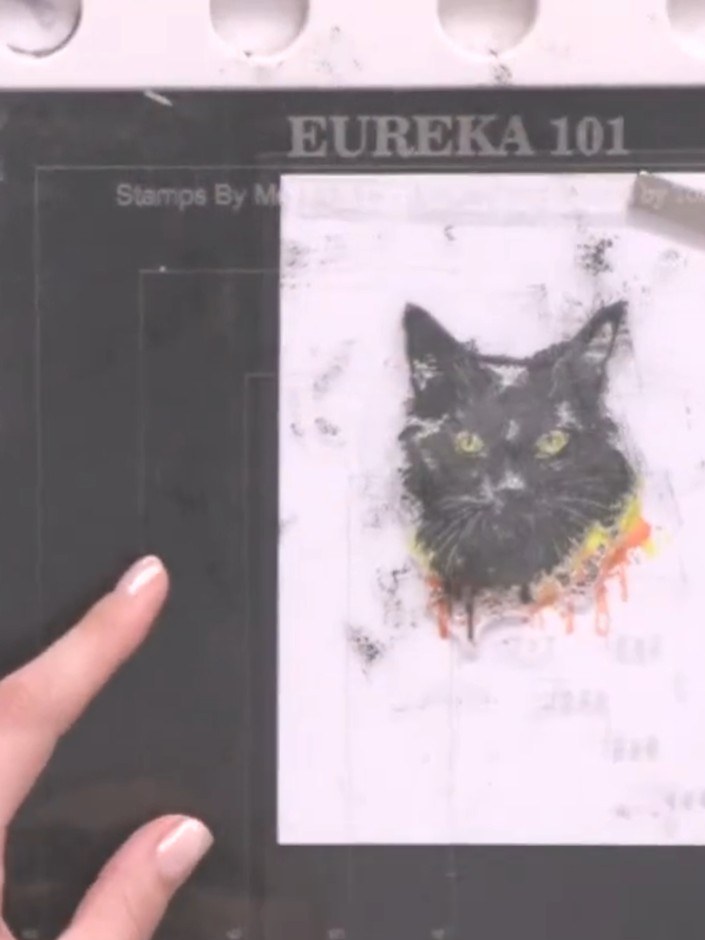
Stamp a sentiment such as 'Hocus Pocus' below the cat image using black ink. Position the sentiment stamp centrally beneath the cat and press firmly to ensure a clear impression.
▶ watch this step (43:00)Written up from the show itself. See every guide from our shows · free how-to guides · watch live on My Telly