Give your friends €10 off their first order!
Refer a FRIEND








A project from our live show HSN AUGUST PRODUCT PREVIEW - Join me for my Sneak Peek - Broadcast 8th August 24 · 08/08/2024 · watch it from 54:30
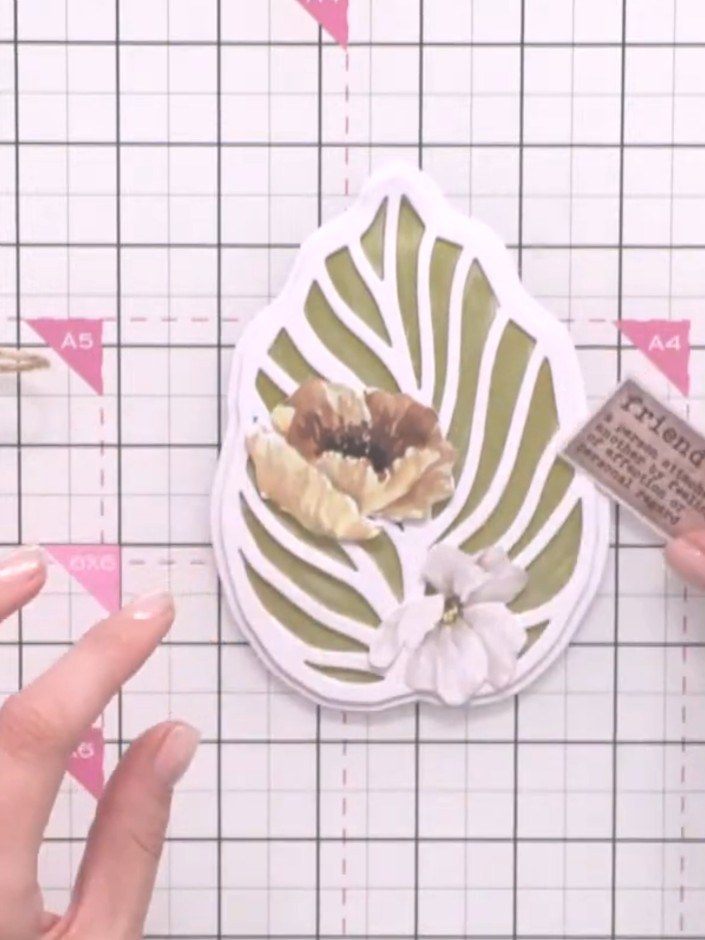
Create an elegant three-dimensional leaf-shaped card featuring beautiful painted gold details. This autumn-inspired design uses die-cutting and layering techniques to build up a dimensional leaf motif with a stained-glass window effect. The card opens like a traditional greeting card and showcases warm gold tones against green striped leaves with decorative embellishments.
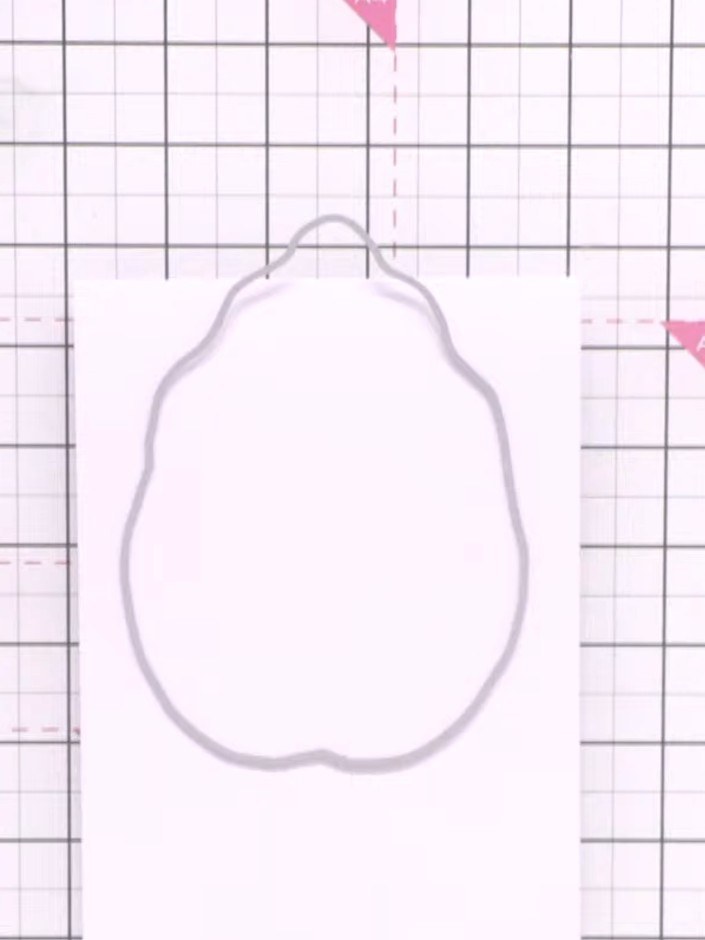
Take a top-folded card blank and position the leaf die so it hangs just over the fold edge at the top, protecting the hinge.
▶ watch this step (55:00)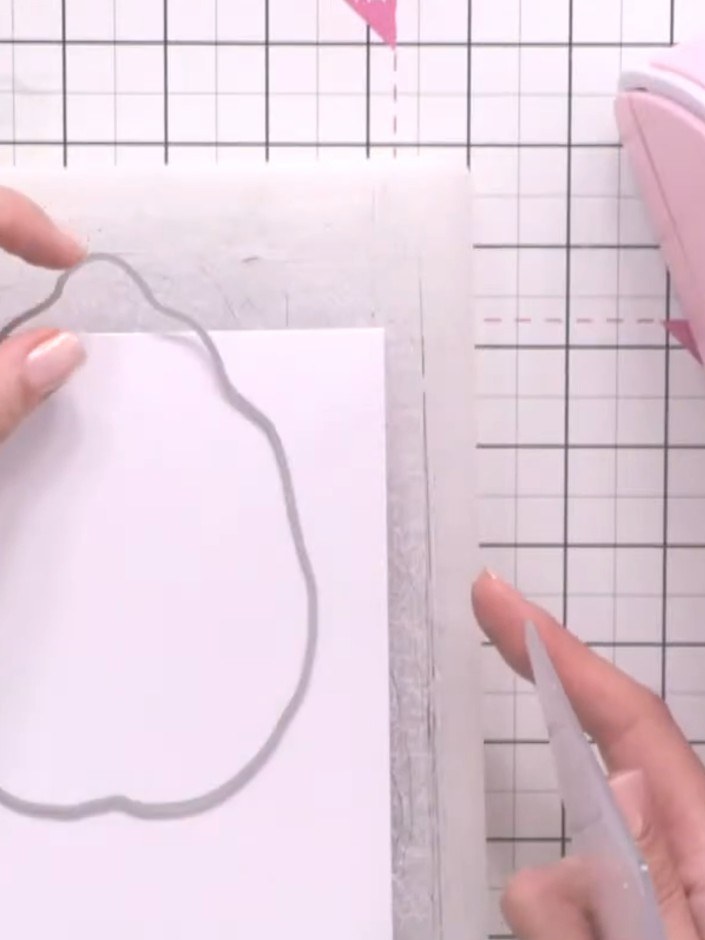
Run the card and die through your die-cutting machine to cut the leaf shape while keeping the hinge intact at the top.
▶ watch this step (55:30)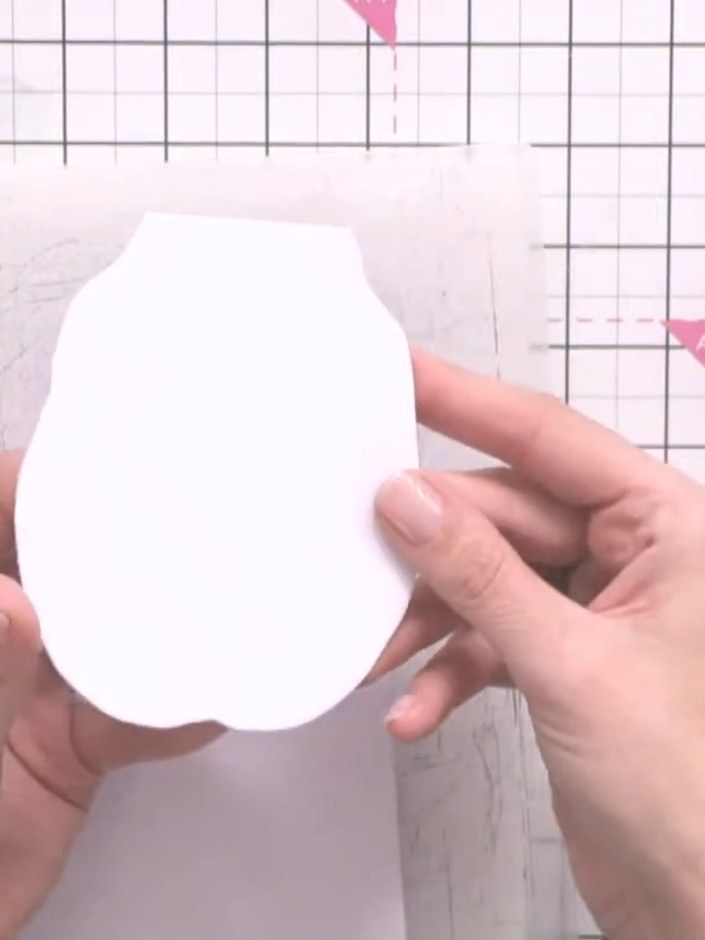
Cut a second complete leaf shape from white card stock using the same die.
▶ watch this step (56:00)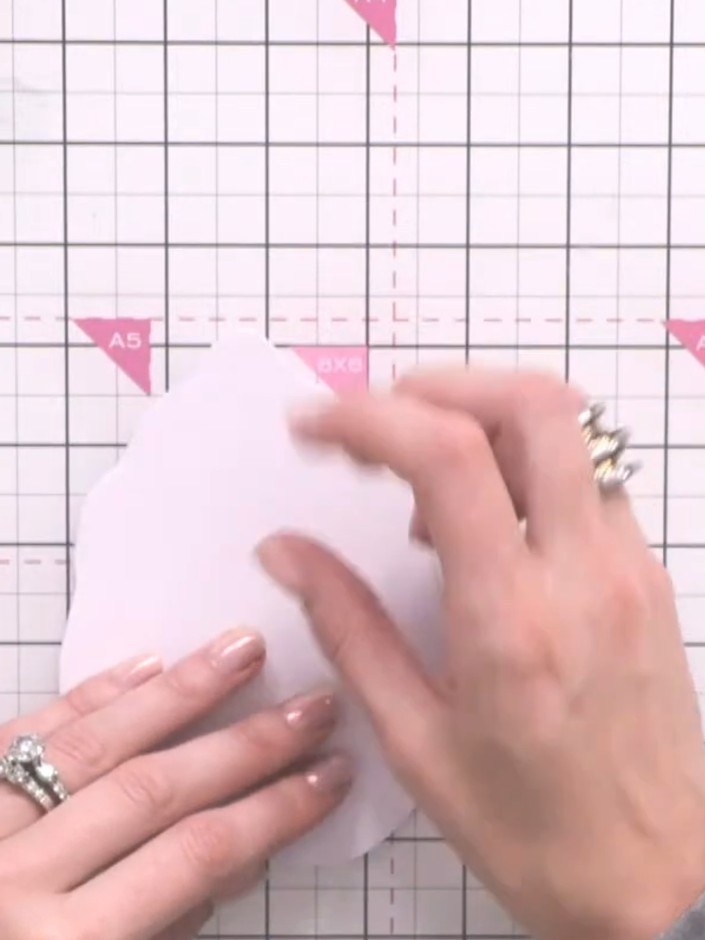
Glue the complete white leaf shape directly on top of the hinged card front to create the full leaf outline. Ensure the white leaf is centred and aligned with the pink base beneath.
▶ watch this step (57:00)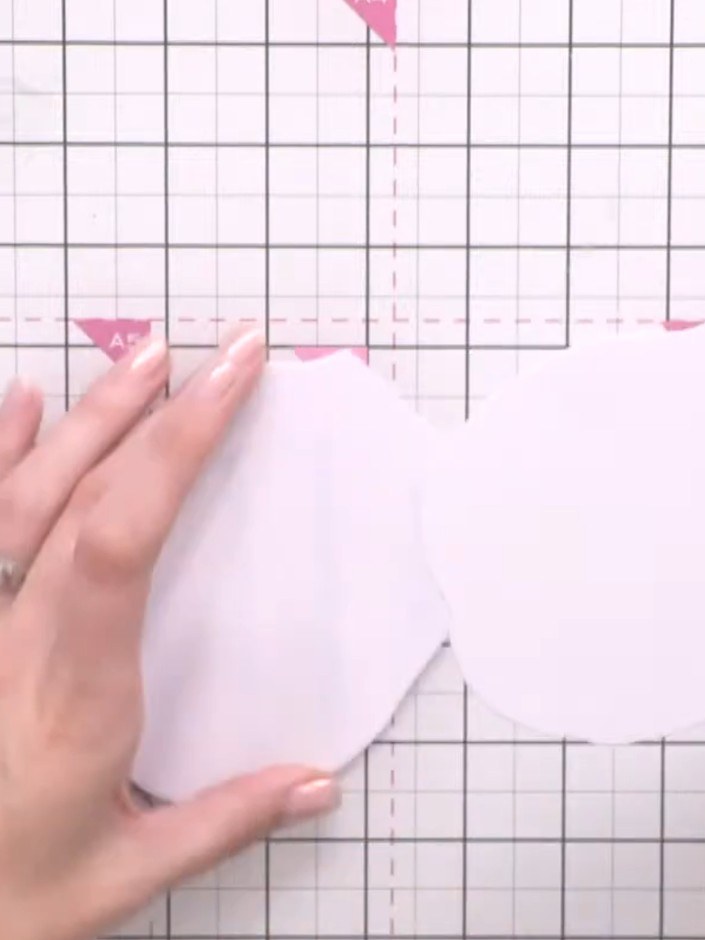
Cut two or three additional leaf shapes from white card stock. Layer and glue them together to create a thick, dimensional embellishment.
▶ watch this step (57:30)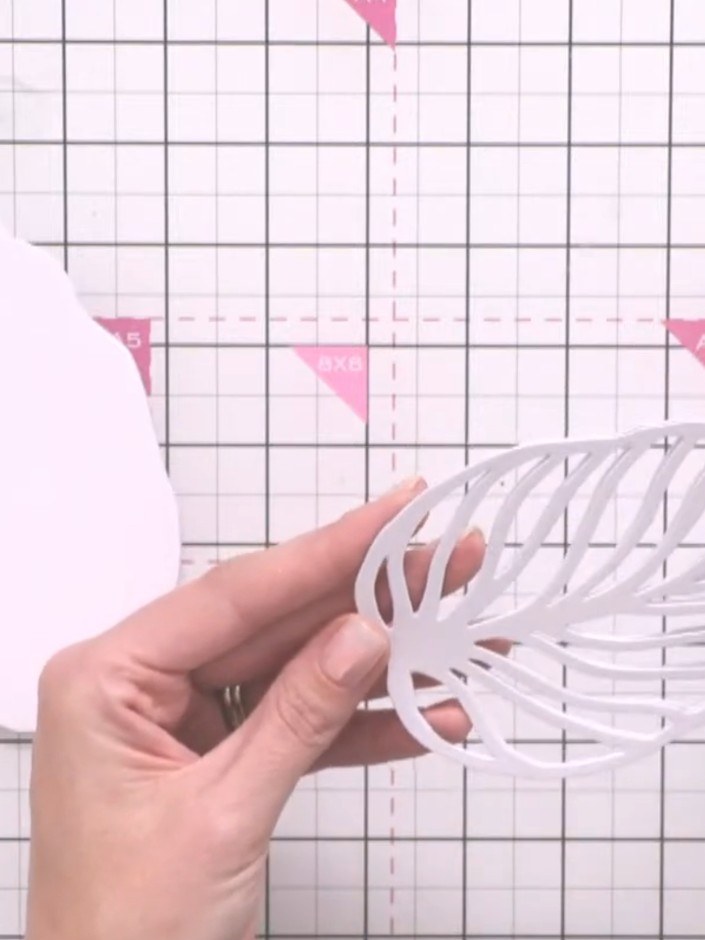
Glue the white die-cut leaf embellishment on top of the pink circular card base, positioning it centrally for added dimension.
▶ watch this step (58:30)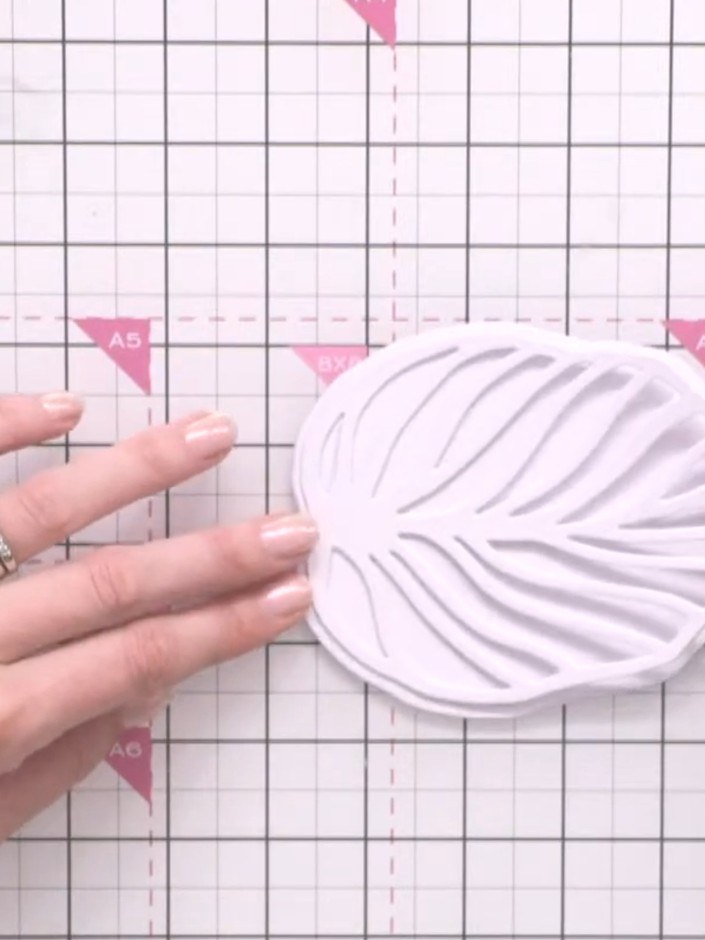
Paint gold paint into the gaps between the leaf layers using a brush. Work carefully to fill the recessed areas of the die-cut design. Allow the paint to settle into the details of the leaf pattern.
▶ watch this step (59:00)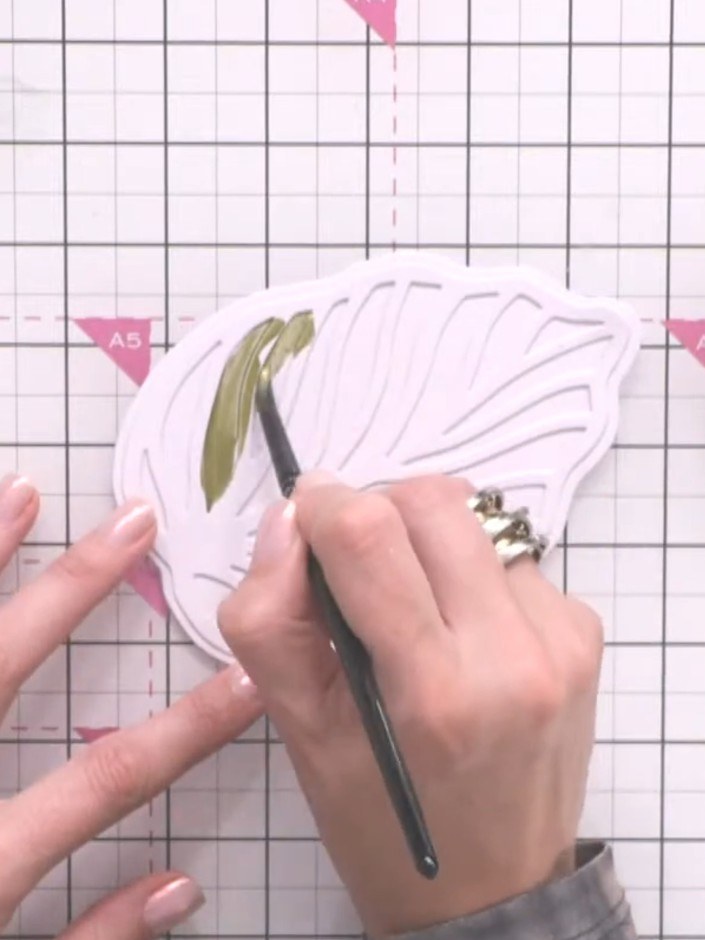
Use a heat gun to dry the gold paint on the leaf design. Hold the heat gun over the painted areas until the paint is completely dry.
▶ watch this step (1:00:15)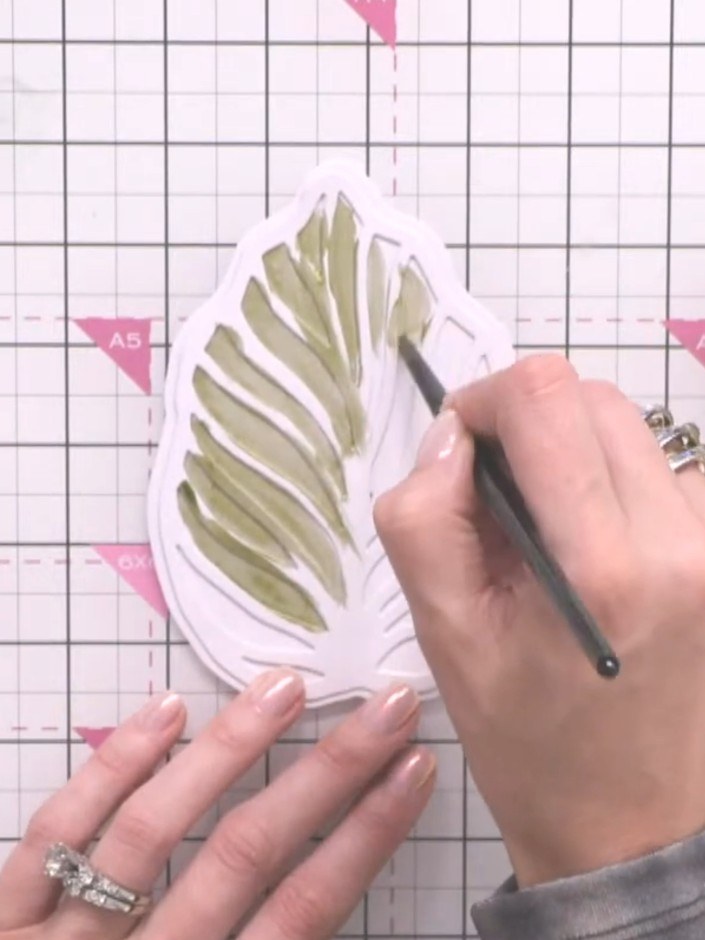
Glue another complete leaf shape on top to hide the painted gaps and create a neat finish.
▶ watch this step (1:00:30)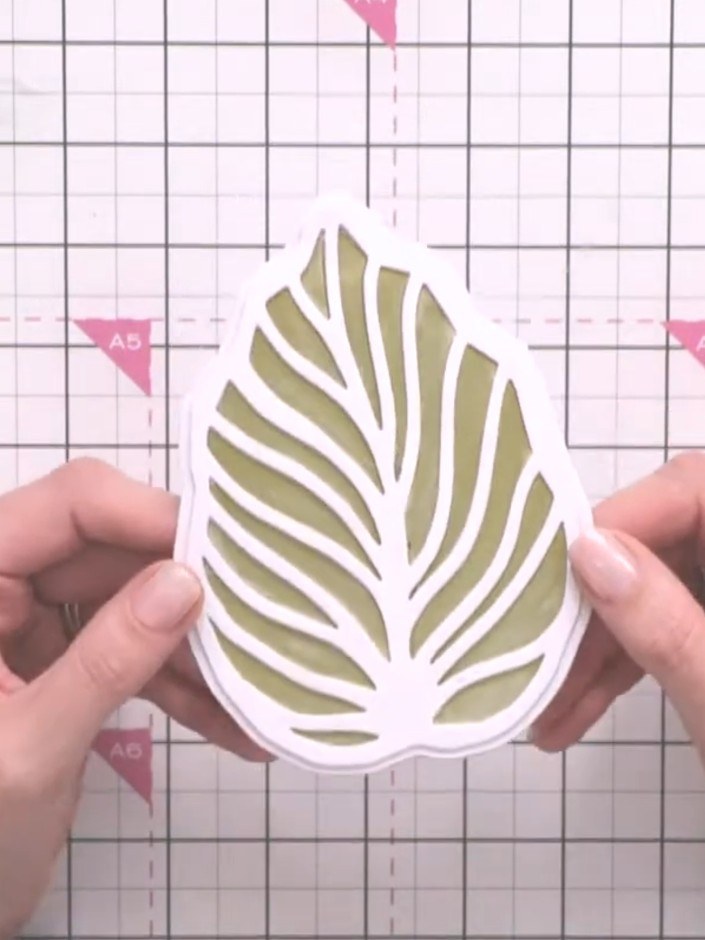
Fussy cut flowers from the paper pad. Glue them to the card front as embellishments to complete your gold leaf shaped card.
▶ watch this step (1:03:00)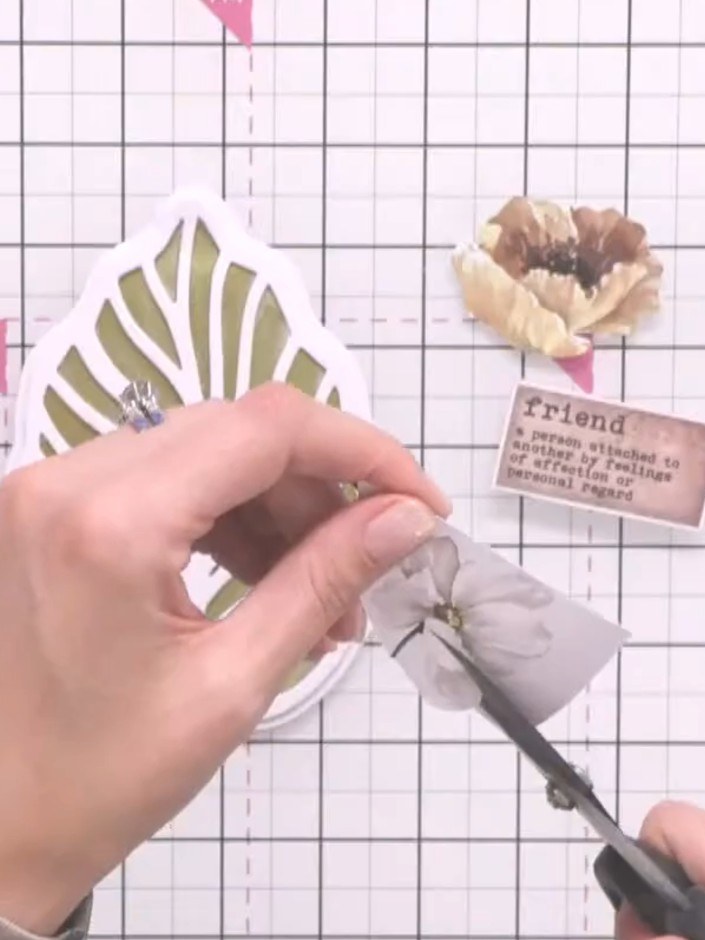
Attach a sentiment label to your card. Position it near the top of the card, above the floral wreath design.
▶ watch this step (1:04:00)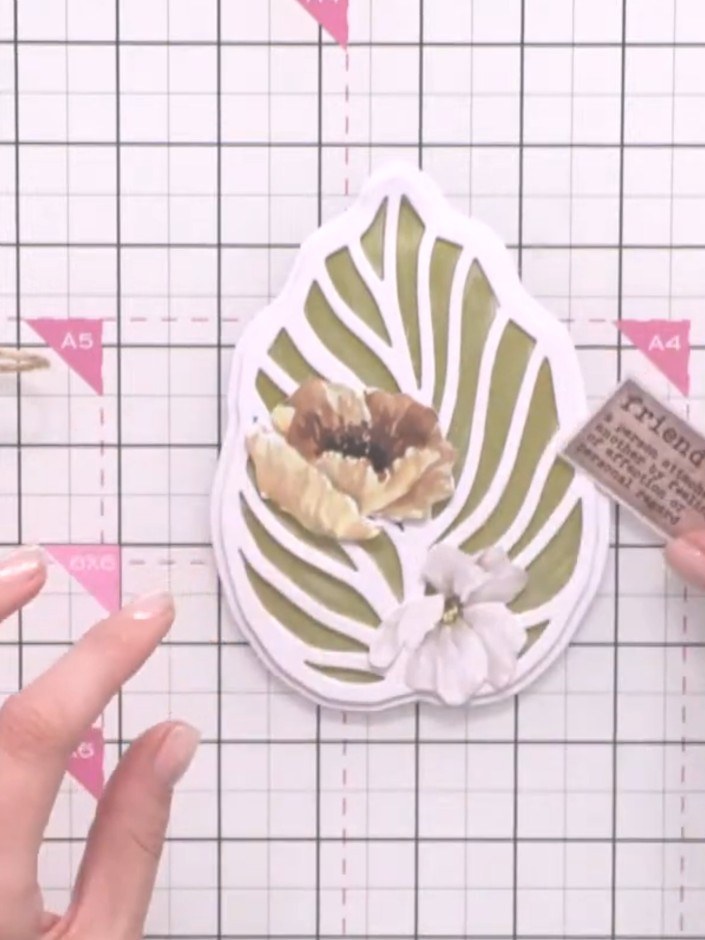
Add sparkle to the flower centres using glitter or sparkly glue. Position the sentiment tag on the card as desired, securing it with the twine.
▶ watch this step (1:05:00)Written up from the show itself. See every guide from our shows · free how-to guides · watch live on My Telly