Give your friends €10 off their first order!
Refer a FRIEND








Prices change straight away. Every language is our own translation, not Google.
A project from our live show HOBBYMAKER TV - Join Toni for her brand new launch - Broadcast 9th December 2025 · 09/12/2025
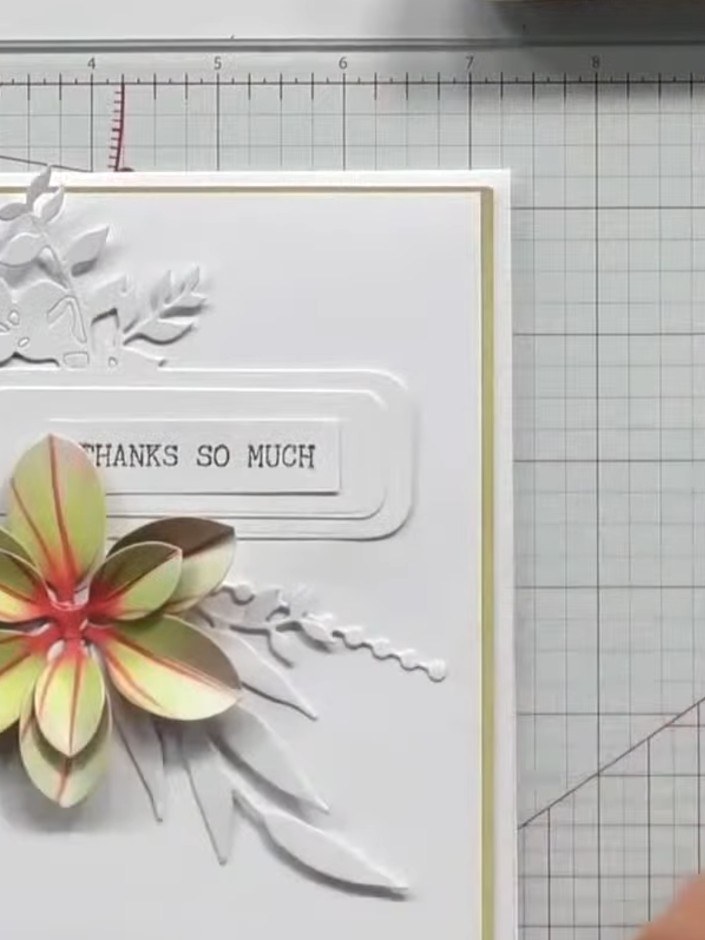
Create a sophisticated layered card using only foliage die-cuts, without any flowers. This elegant design features various leaf and branch elements in black, white, cream and gold tones, arranged over an embossed background with a central sentiment. The main techniques include die-cutting foliage shapes, layering dimensional elements, and combining embossing with inky backgrounds for depth and texture.
 1
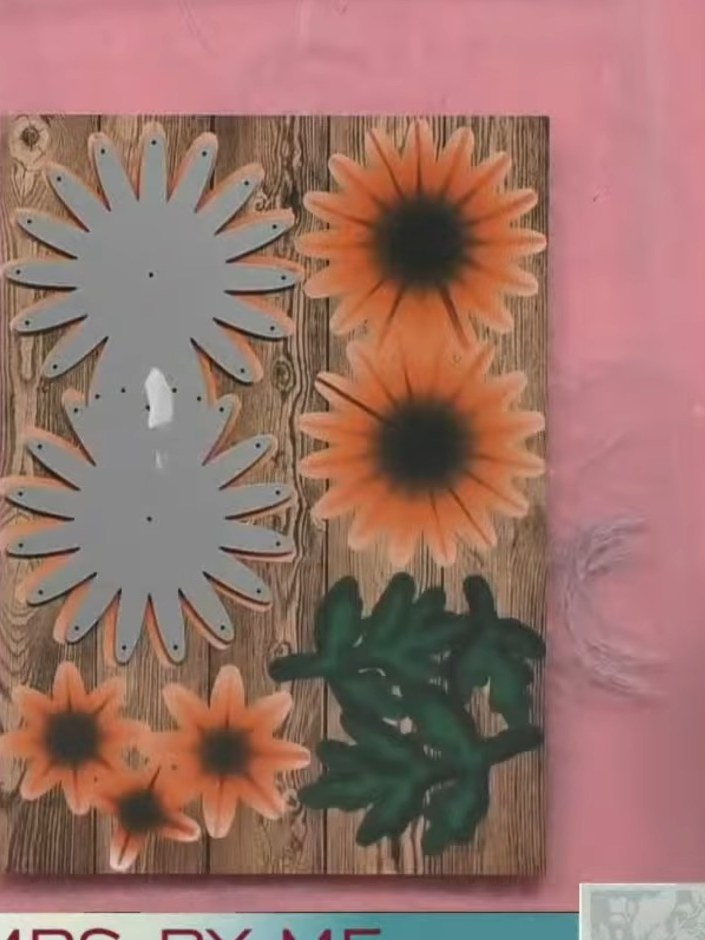
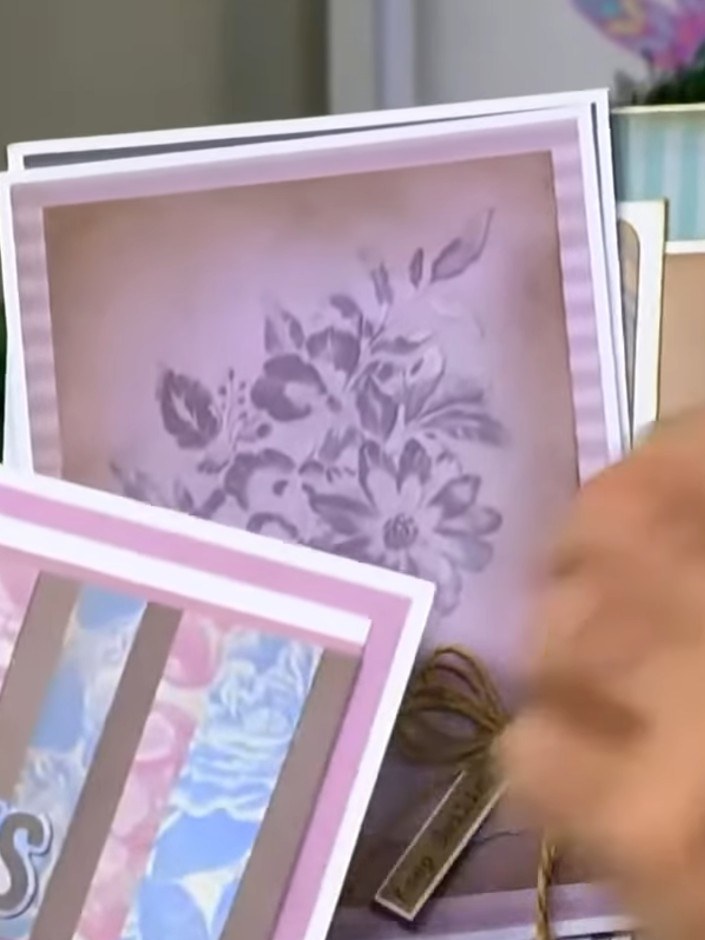
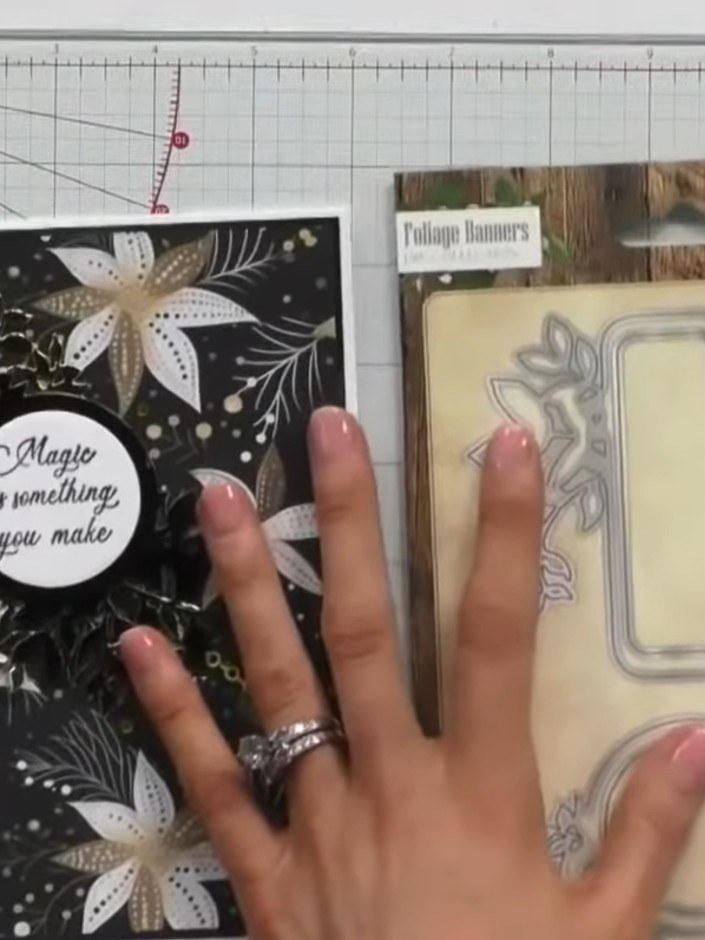
Take a white card blank and emboss it using the foliage dies as an embossing folder. Place the die between the card and your embossing plates, then run through your die-cutting machine to create a textured background.
 2
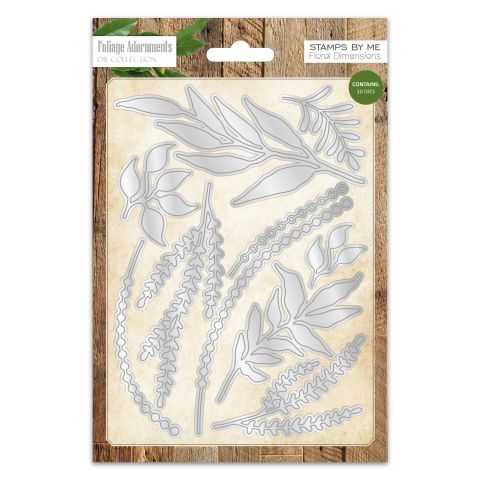
Cut various foliage pieces from the Foliage Adornments die set, including extended leaves, bubble effects, and spiral designs. Use white, cream, and metallic gold cardstock to create dimension and variety in your foliage elements.
 3
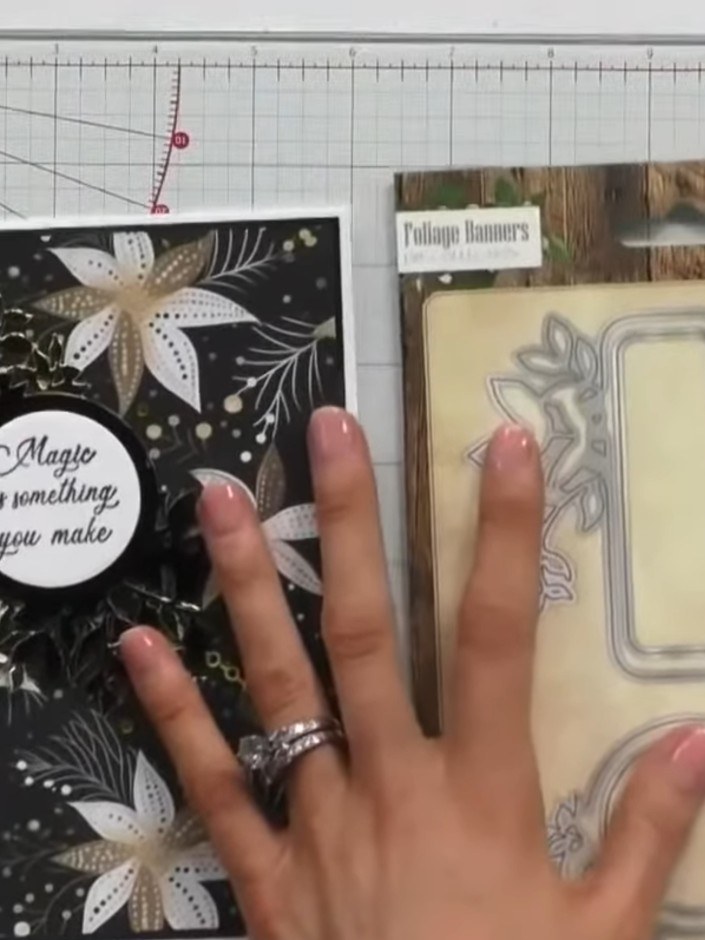
Arrange the black and gold foliage die-cut pieces on the embossed black card base, positioning them around the central sentiment circle to create a balanced floral wreath design.
 4
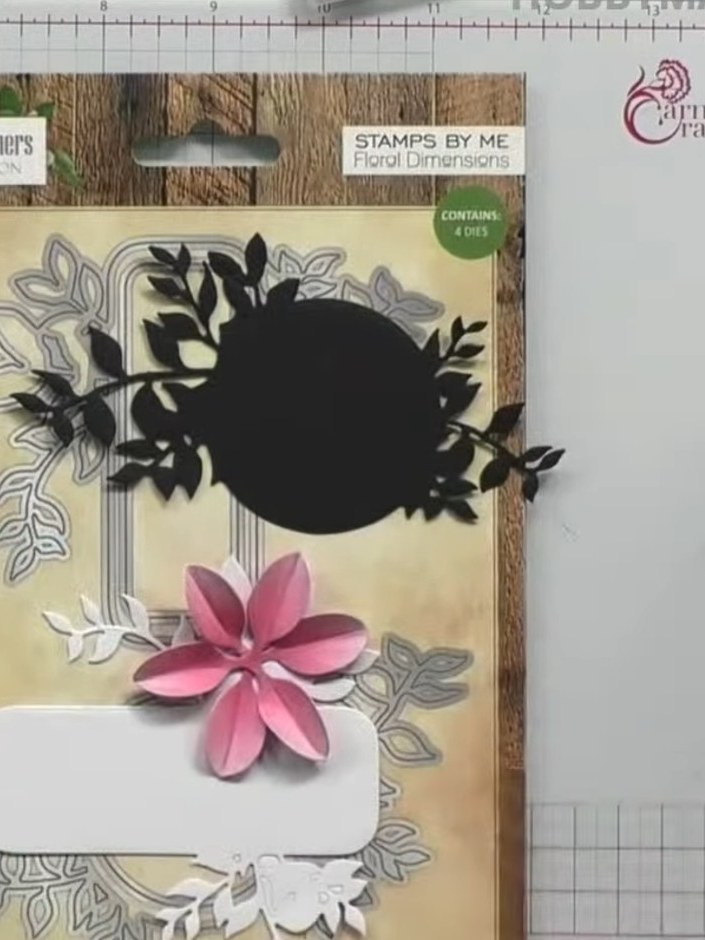
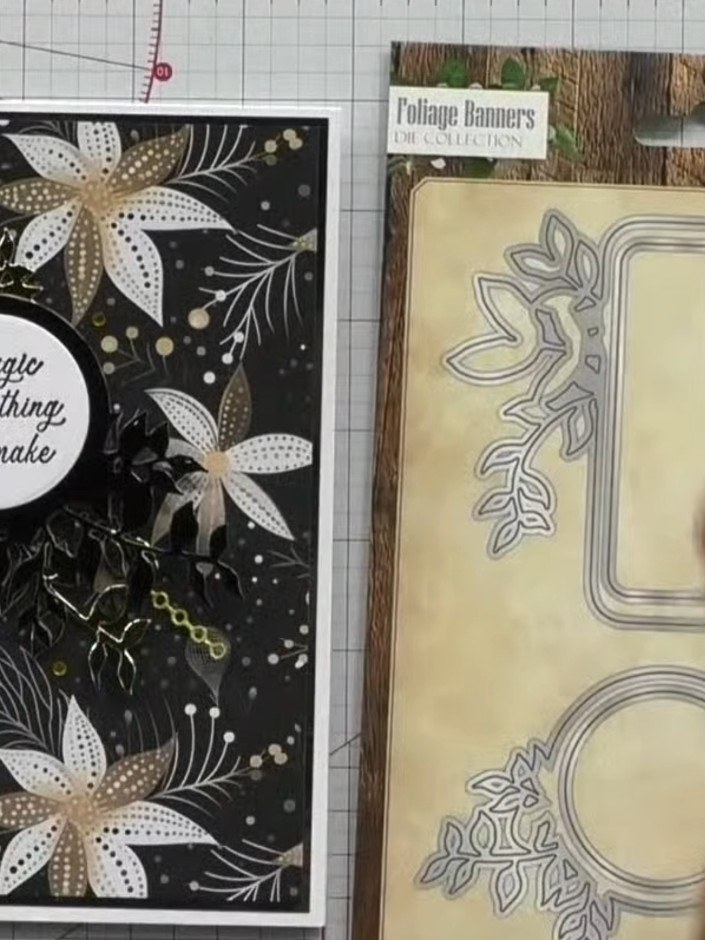
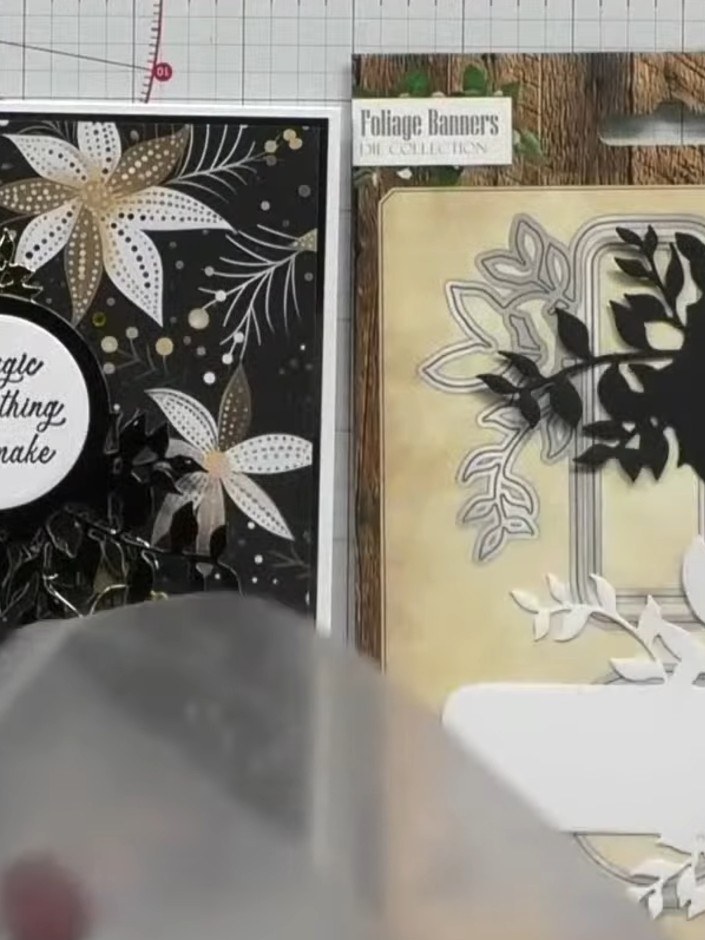
Die-cut the foliage elements from the Foliage Banners dies in different colours of cardstock. Cut the rectangular frame and circle frame with their foliage decorations, as well as additional leaf sprigs to layer and arrange on your card.
 5
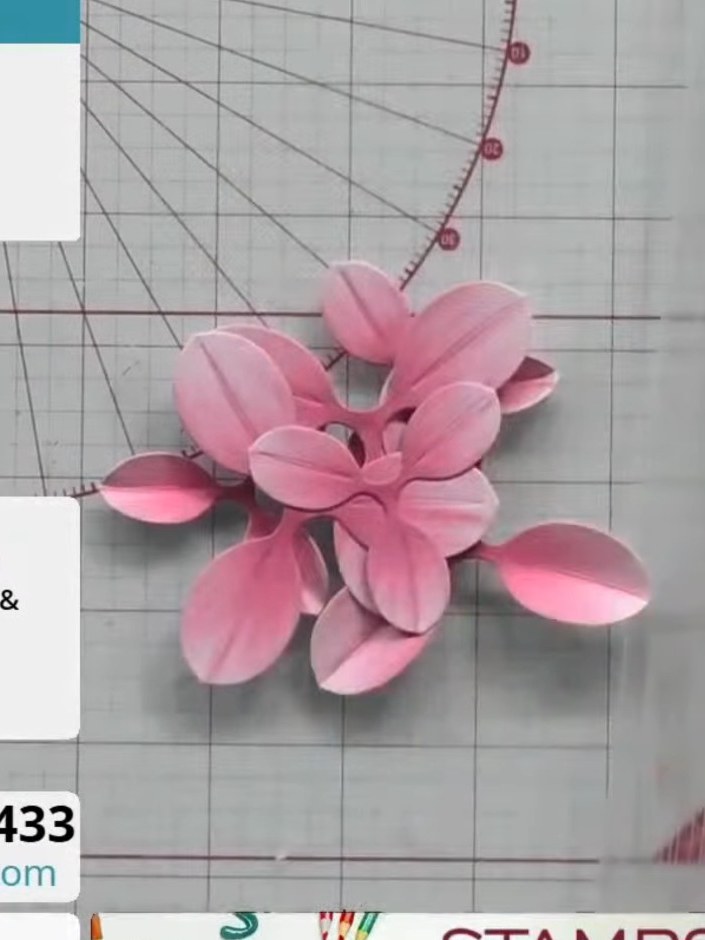
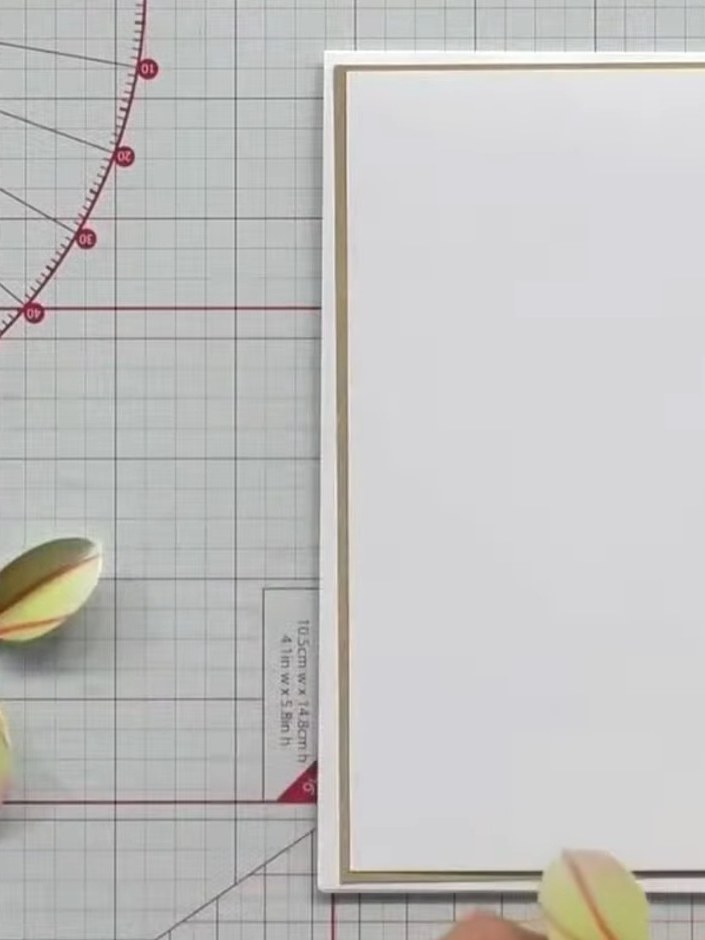
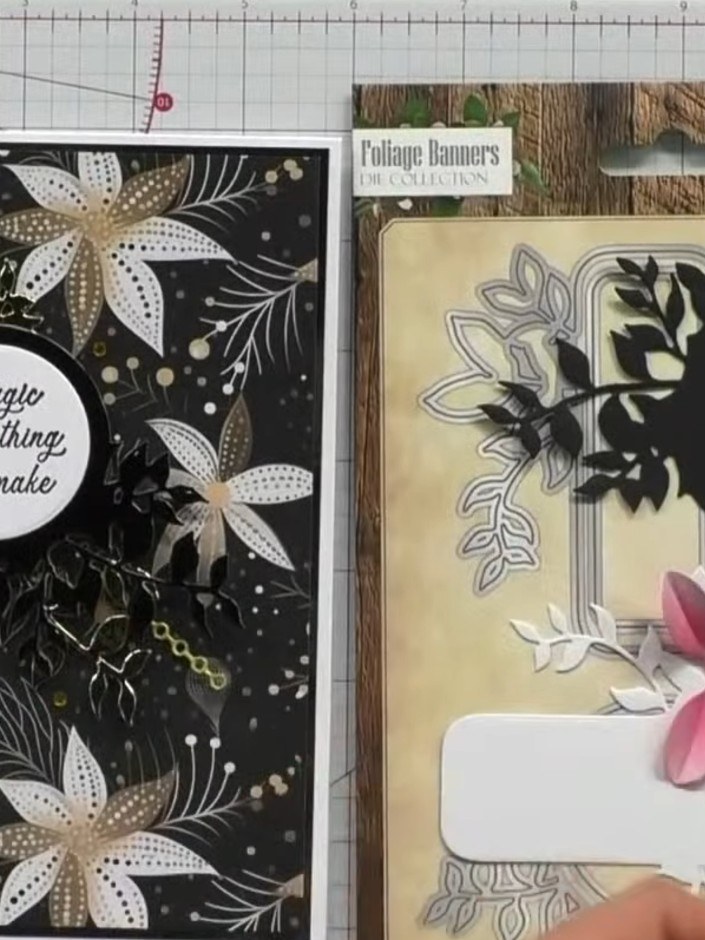
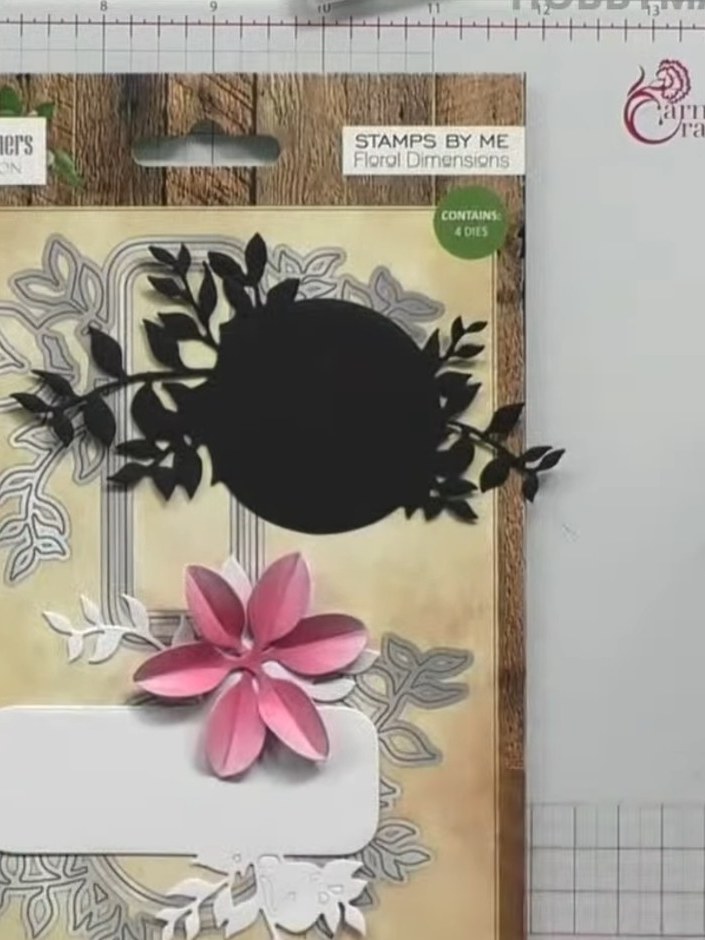
Glue the foliage pieces onto the card using dry clear glue. Layer the black and pink die-cut foliage elements over the stamped background, building up dimension. Position a white label panel at the bottom of the card.
 6
Optional: trim larger foliage pieces into smaller elements to create multiple design components. This allows you to use parts of the die-cut foliage separately for more flexible placement on your card.
Share your make with the Stamps By Me community - and keep this guide for next time.
Written up from the show itself. See every guide from our shows · free how-to guides · watch live on My Telly · the previous layout