Give your friends €10 off their first order!
Refer a FRIEND








A project from our live show CREATE AND CRAFT TV - Join Toni for her brand new SBM launch show 3 - broadcast 3rd Jan 2024 · 03/01/2024 · watch it from 17:00
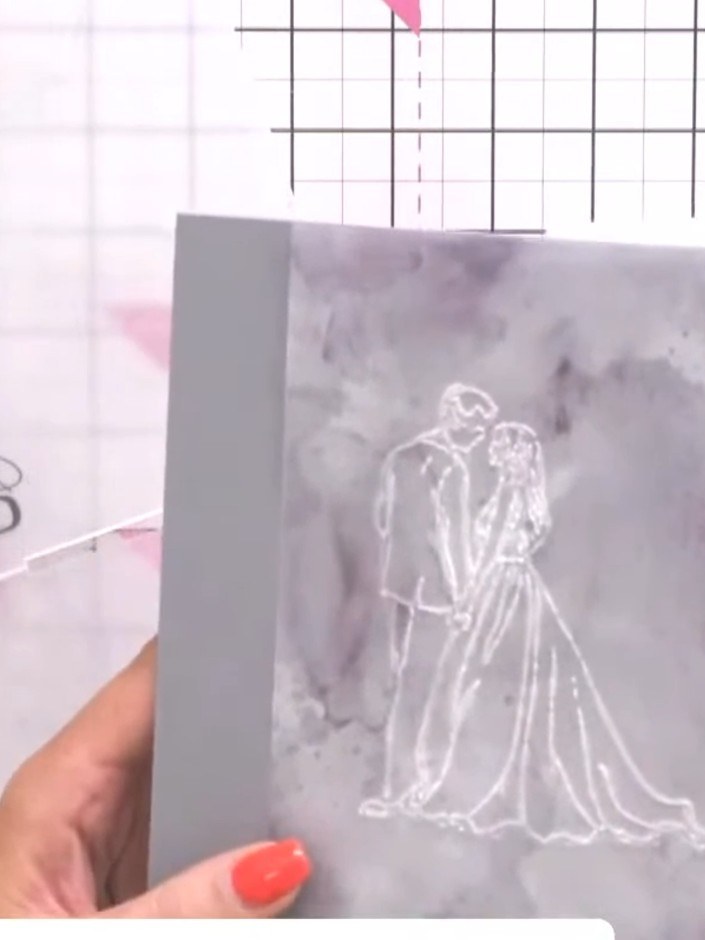
Create an elegant wedding card featuring a bride and groom design embossed on delicate vellum. The soft pink and white colour palette combined with the textured embossing creates a romantic, vintage parchment effect with beautifully torn edges. This project uses 3D embossing techniques on vellum to achieve a sophisticated, etiquette-rich finish perfect for wedding celebrations or anniversaries.
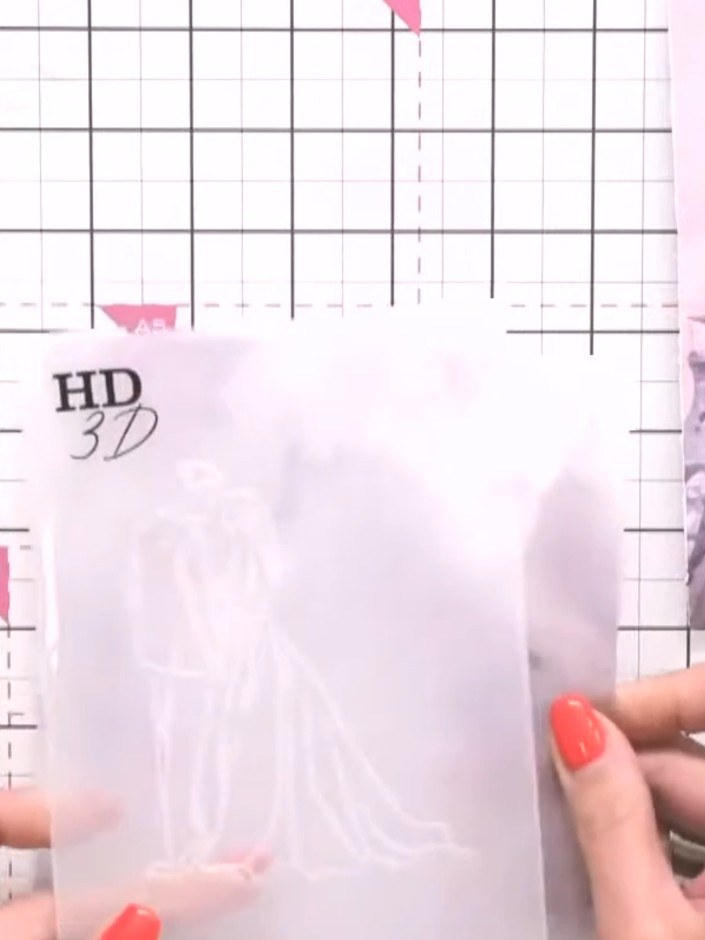
Place your vellum (plain or patterned) into the embossing folder. The vellum shown here has 'HD 3D' printed on it, indicating it's ready to be run through the embossing machine.
▶ watch this step (17:00)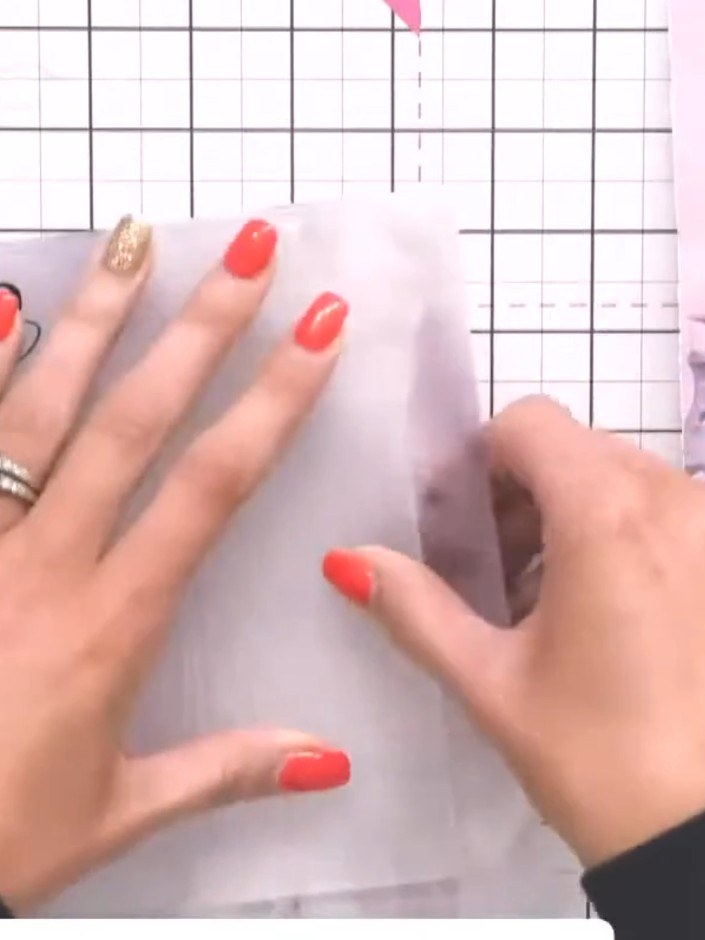
Place the vellum with the embossed Bride and Groom design between the plates of your embossing folder. Run the folder through your die-cutting machine to emboss the romantic design onto the vellum.
▶ watch this step (17:15)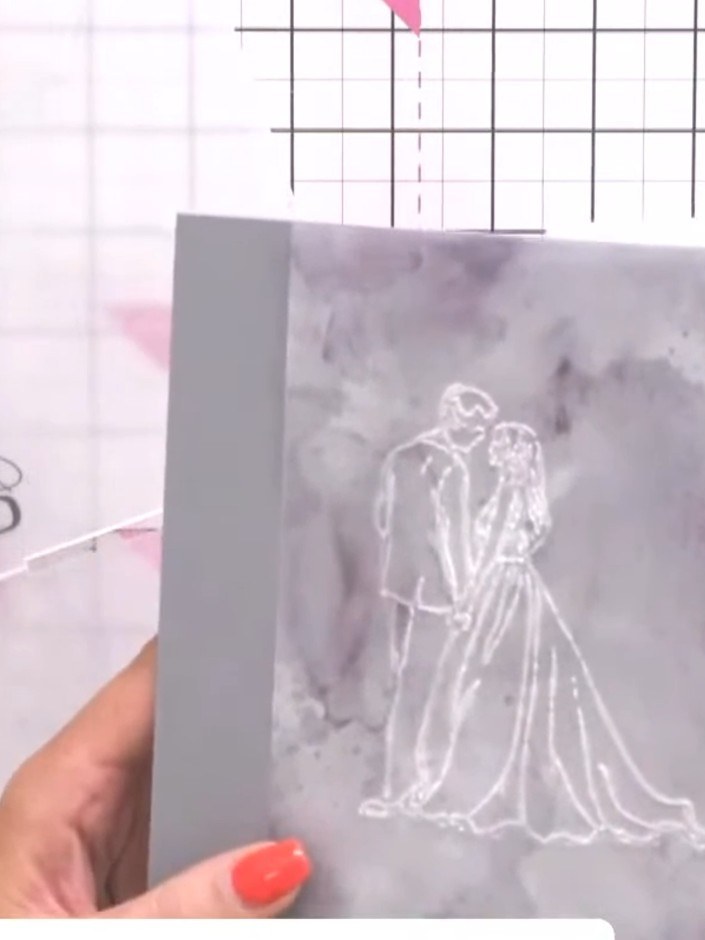
Tear down the sides of the embossed vellum piece to create a soft, organic edge. The vellum shows the bride and groom design embossed in white on the grey-toned translucent material.
▶ watch this step (20:45)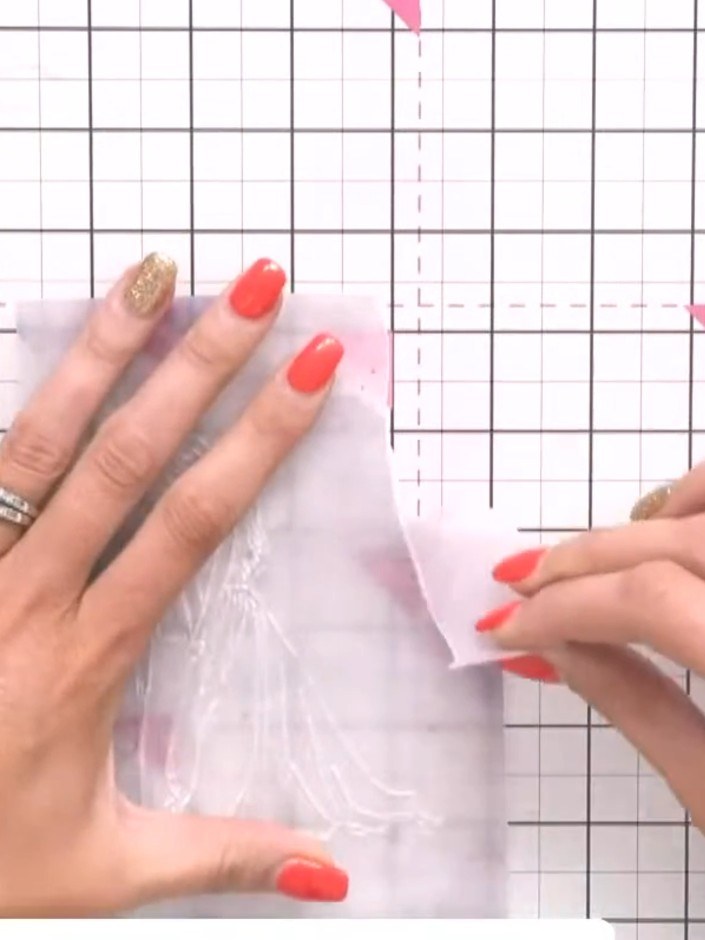
Use a tape runner to adhere the vellum piece to your card base. Apply the adhesive carefully, as wet glue will show through the vellum.
▶ watch this step (21:30)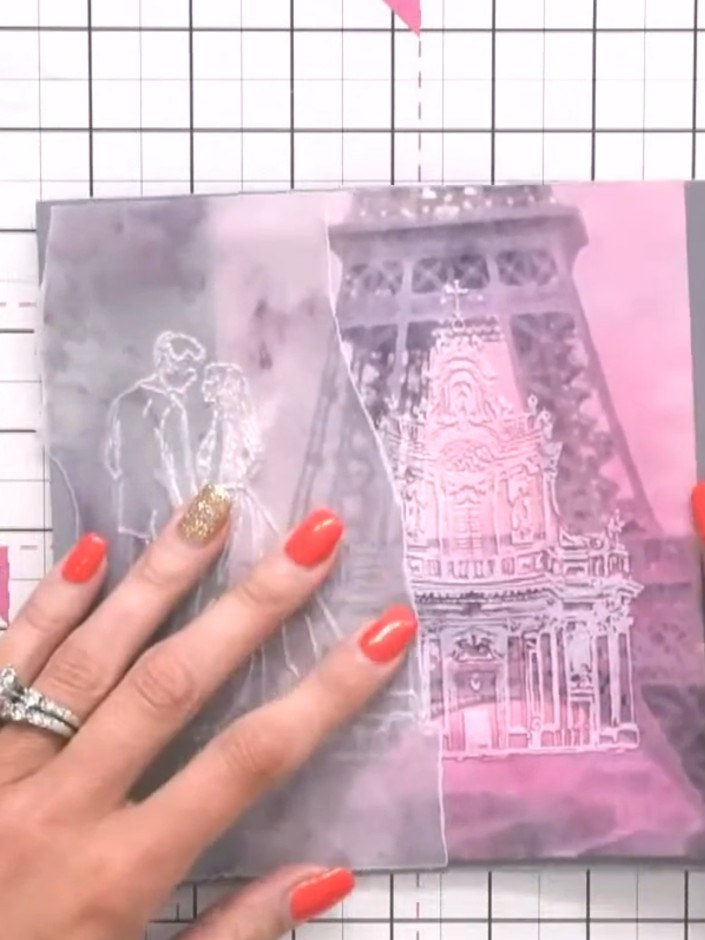
Layer the vellum piece with the bride and groom image onto your patterned paper background layer. Position it carefully to ensure the romantic scene is centred over the architectural building design.
▶ watch this step (22:00)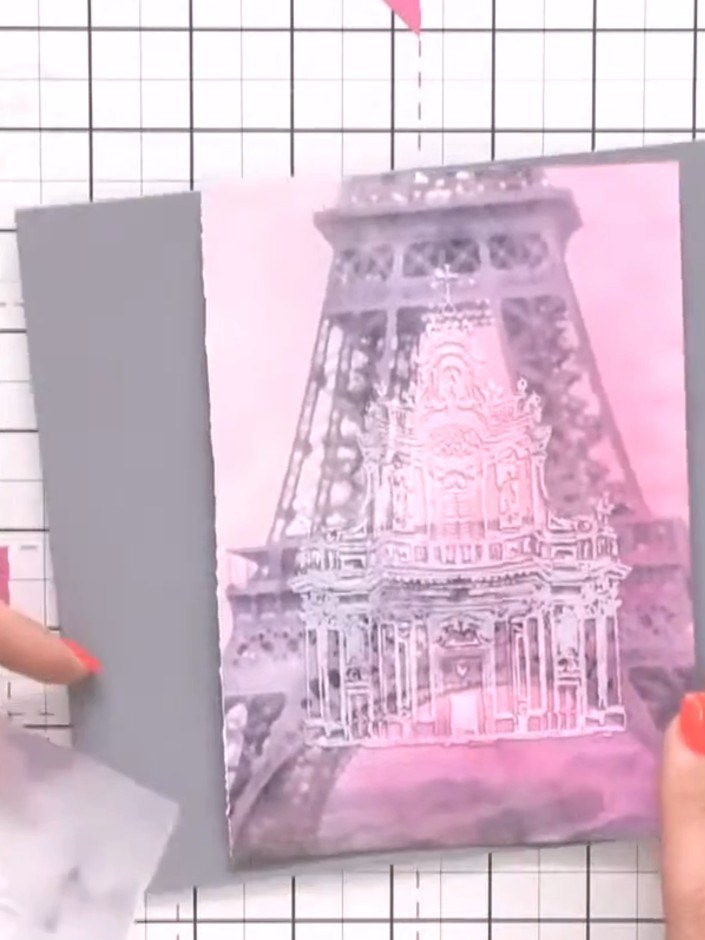
Add your chosen sentiment or message inside the card using a white piece of cardstock or vellum.
▶ watch this step (22:15)Written up from the show itself. See every guide from our shows · free how-to guides · watch live on My Telly