Give your friends €10 off their first order!
Refer a FRIEND








A project from our live show CREATE AND CRAFT TV - Join Toni for her brand new SBM launch show 3 - broadcast 3rd Jan 2024 · 03/01/2024 · watch it from 53:00
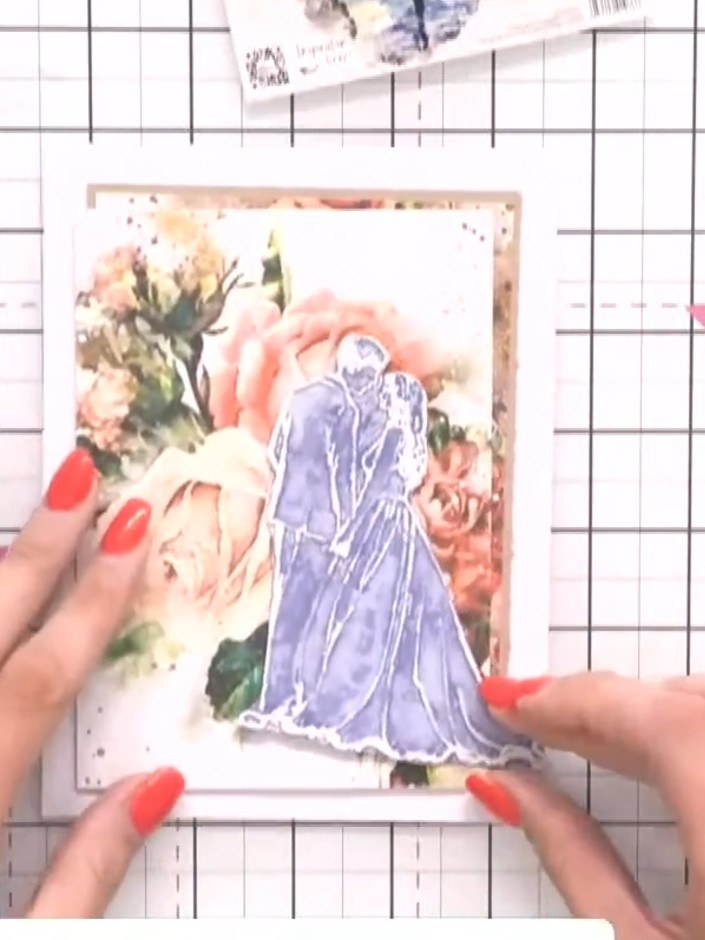
Create an elegant wedding card featuring a bride and groom embossed design layered over a decorative mount with beautiful seasonal scenery. The card combines romantic imagery with an autumnal landscape background in soft, muted tones. This project uses embossing folders and layering techniques to create a dimensional card that tells a story through its scenic backdrop.
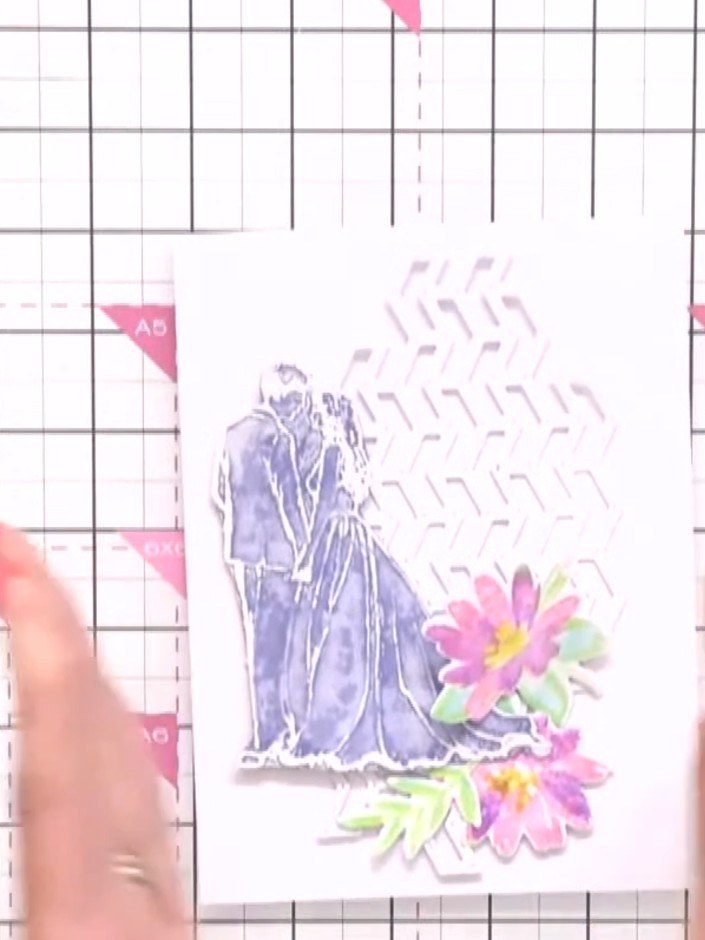
Select a Changing Seasons mount with your preferred seasonal background design. The mount features a decorative pattern and will form the backdrop for your card.
▶ watch this step (53:30)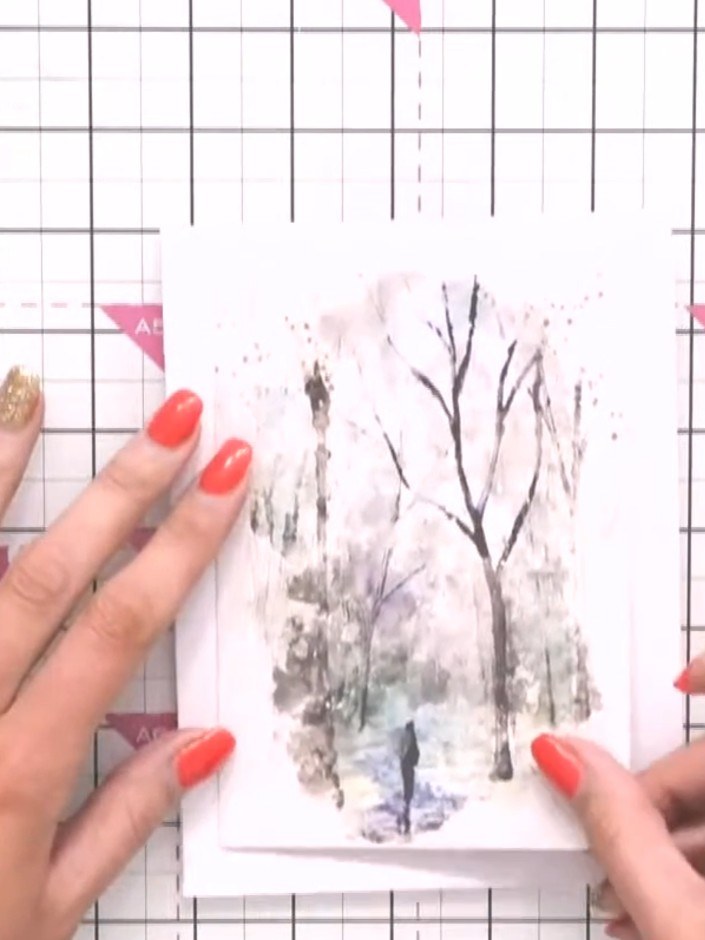
Select your chosen winter scene design from the Stamps By Me collection and emboss it onto white card stock using the embossing folder. Run it through your die-cutting machine to create the raised embossed design.
▶ watch this step (54:00)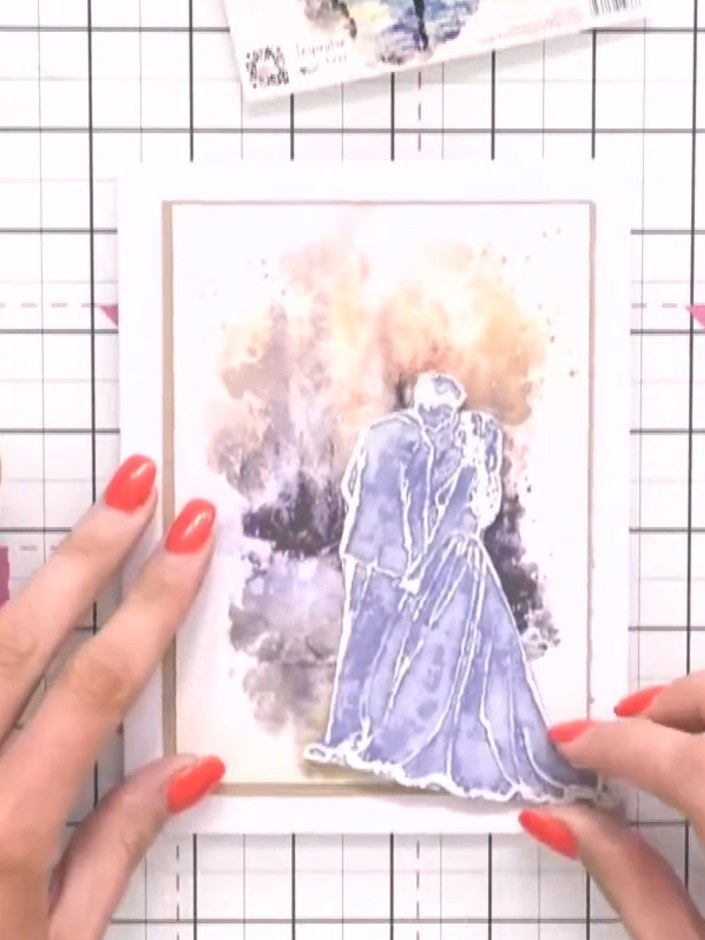
Adhere the embossed Bride and Groom piece onto the centre of the mount background. Position it carefully to create a balanced composition with the watercolour scene.
▶ watch this step (54:30)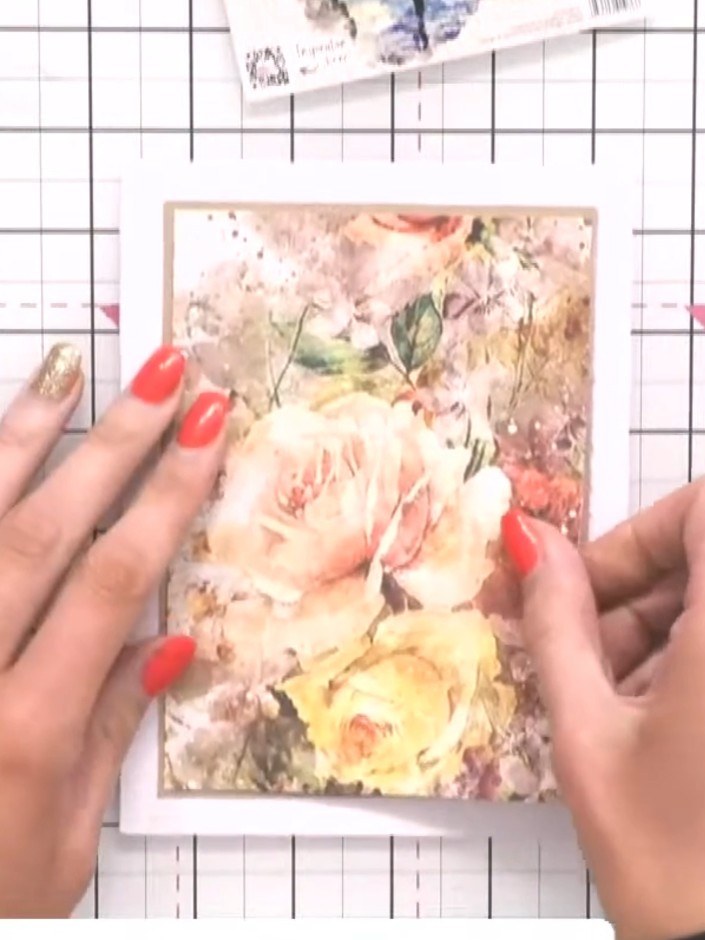
Position the mounted image panel onto your card base and smooth it down firmly to secure it in place.
▶ watch this step (55:00)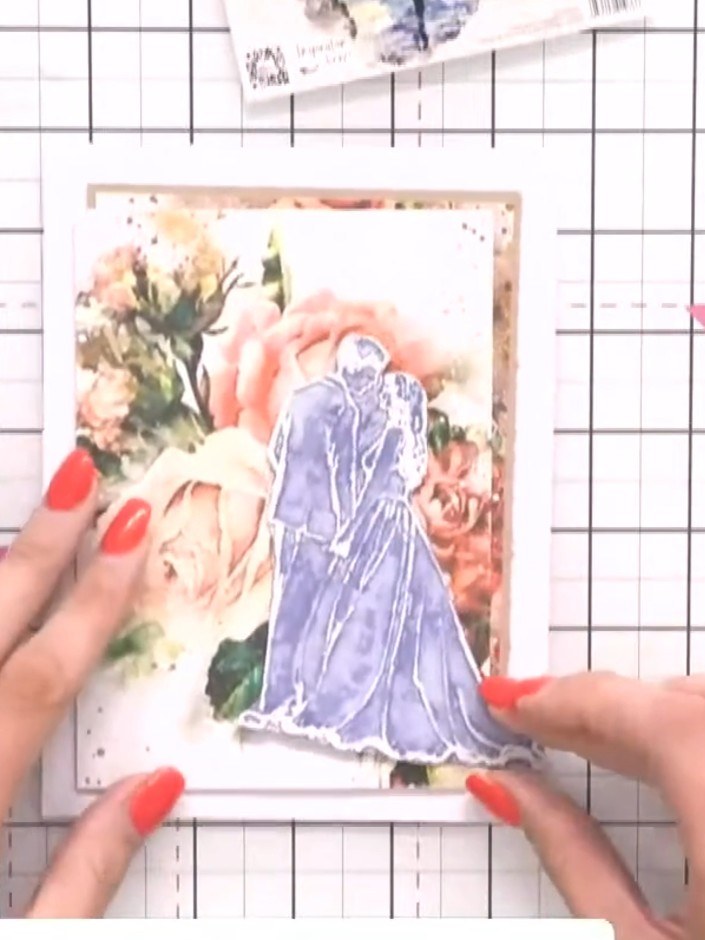
Add a sentiment to complete your card. Choose an appropriate message such as 'You have totally got this' and attach it to the front of the card.
▶ watch this step (55:30)Written up from the show itself. See every guide from our shows · free how-to guides · watch live on My Telly