Give your friends €10 off their first order!
Refer a FRIEND








A project from our live show CREATE AND CRAFT TV - Join Carley Duff for the brand new SBM launch show 4 - broadcast 26th Oct 23 · 26/10/2023 · watch it from 42:45
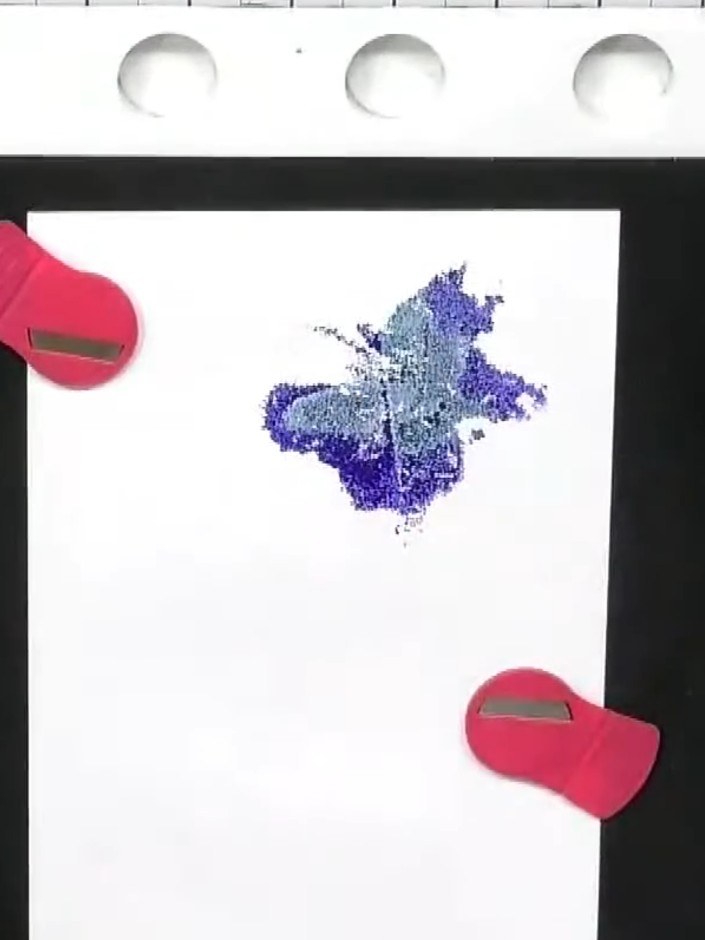
Create a stunning handmade card featuring a layered lamination stamp scene with a custom watercolour splodge background. This project combines vibrant watercolour techniques in blues, oranges, and greens with dimensional stamping to build a beautiful focal image. Add sentiment stamps and decorative elements to complete your eye-catching greeting card.
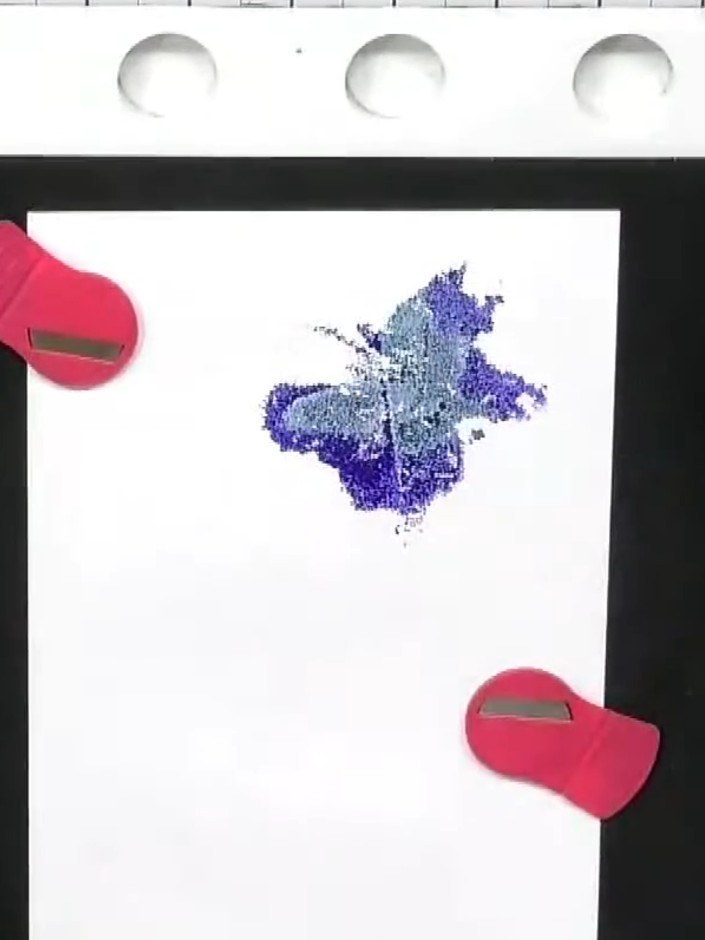
Select your lamination stamp set and identify the different components. These typically include a colour stamp (for the main image), a silhouette stamp (for the solid outline), and an outline stamp (for fine details).
▶ watch this step (43:00)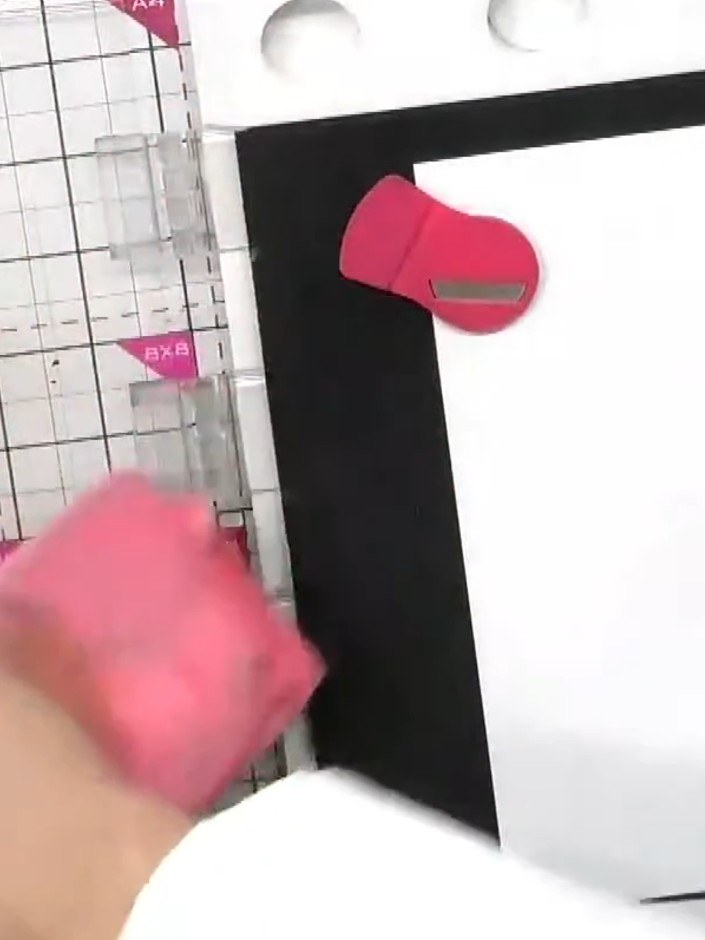
Select your base card colour. Choose your watercolour inks or neon paints - pink and purple work well for this design.
▶ watch this step (43:15)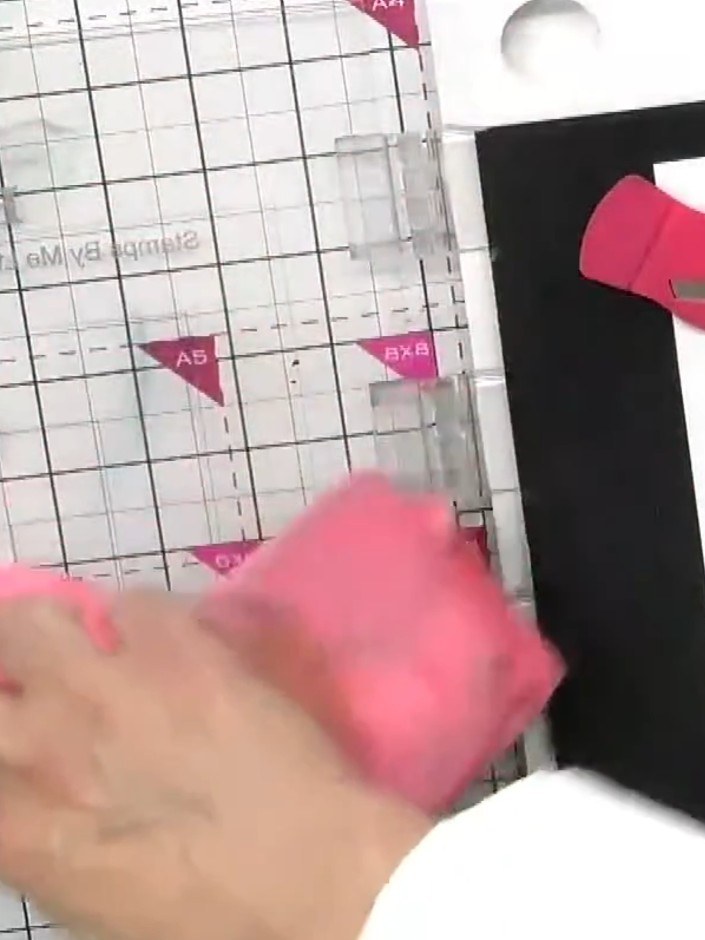
Apply the splodge or splat stamp to your white card base using watercolour inks in purple and blue tones. Press the stamp firmly onto the card to create a textured, abstract background effect.
▶ watch this step (43:30)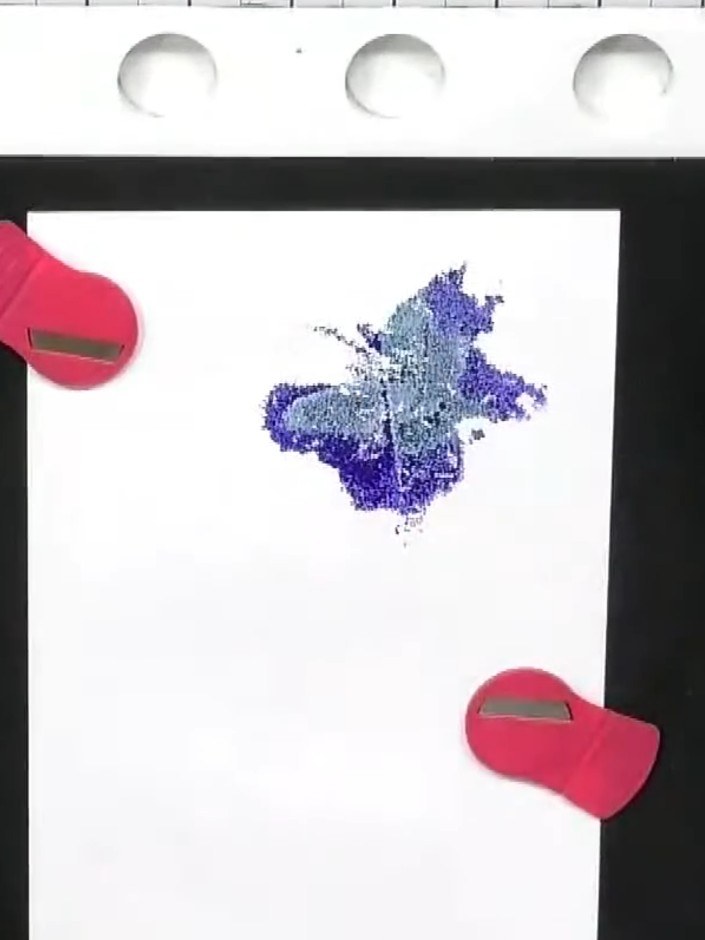
Rotate the stamp and apply it again in a different position on the white card to extend the blue and purple watercolour background coverage.
▶ watch this step (43:45)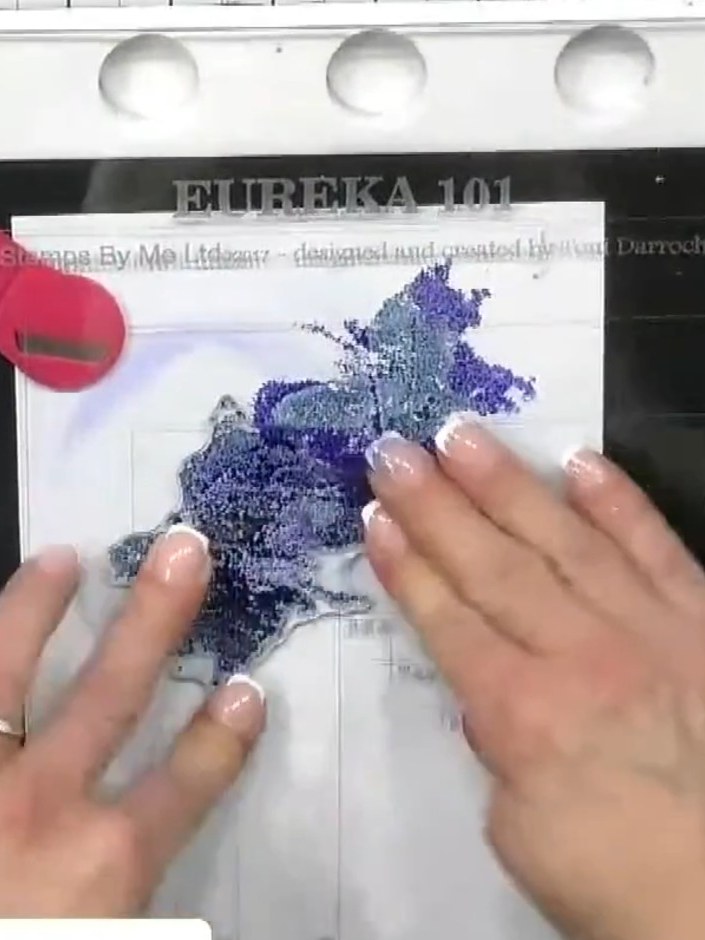
Use a wet brush to soften and blend the watercolour around the edges of the splodge, working outwards to create a softer, diffused effect. This creates a focal point with the darker colour in the centre fading to lighter tones at the edges.
▶ watch this step (44:00)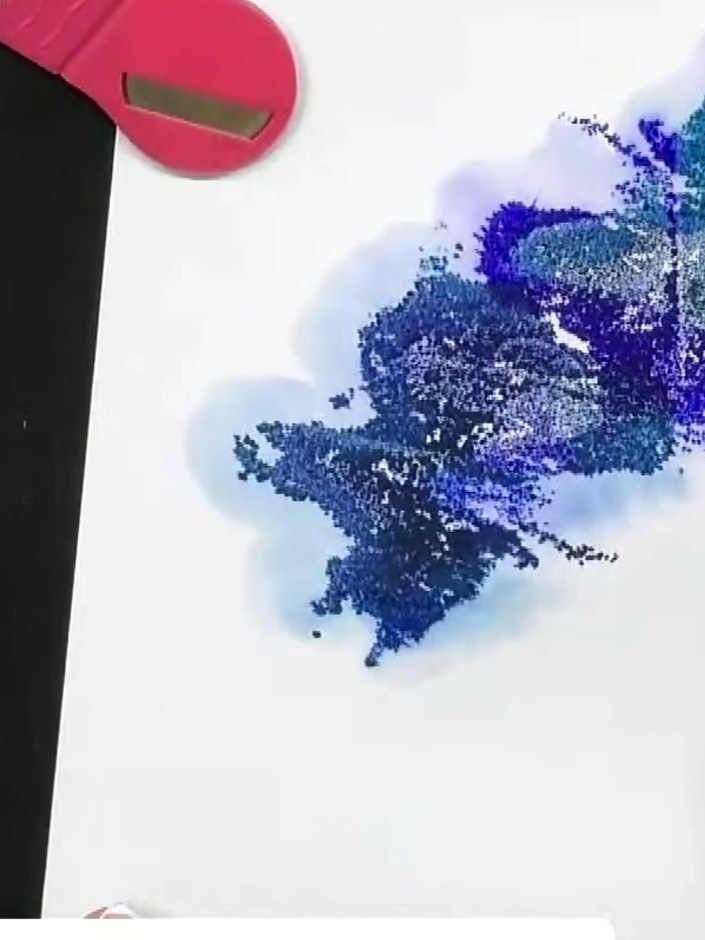
Allow the inky background to dry completely before moving on to the next step. You can use a heat tool to speed up the drying process if needed.
▶ watch this step (44:15)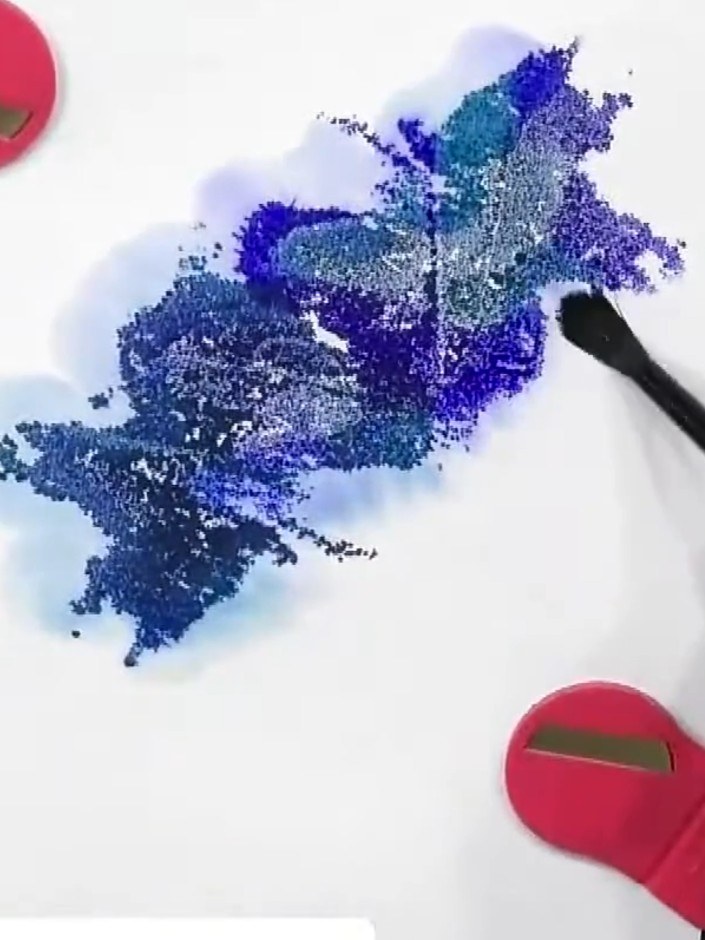
Stamp the main scene (such as a sailing boat) on top of the dried watercolour background using the colour stamp. Position the stamp carefully to create your focal point over the splodged background.
▶ watch this step (44:30)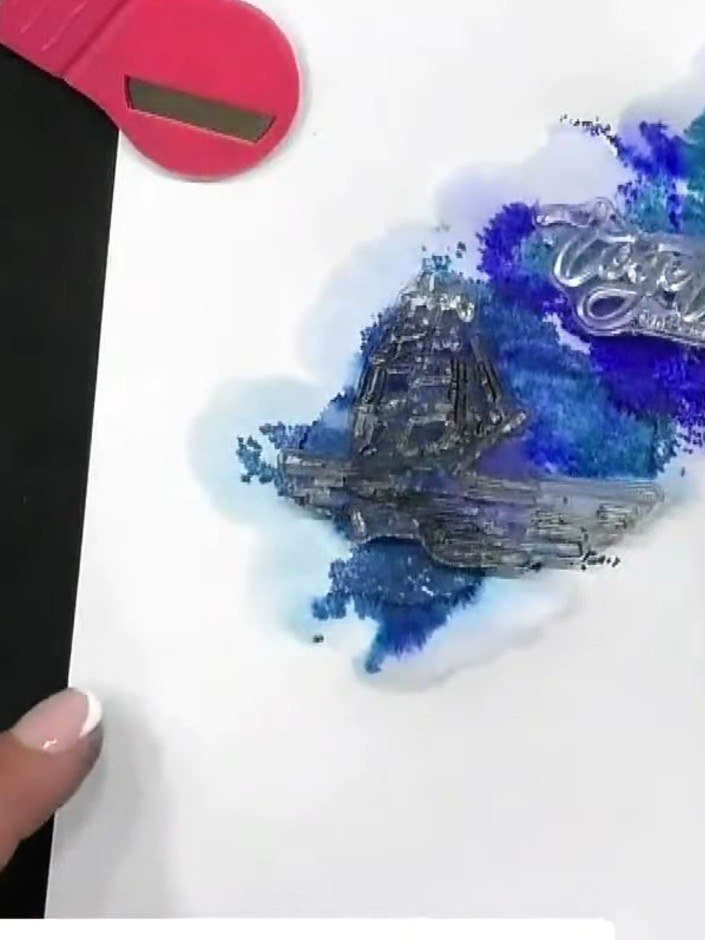
Use a white gel pen to add highlights and details to your stamped image, such as moonlight on the water or stars in the sky.
▶ watch this step (45:00)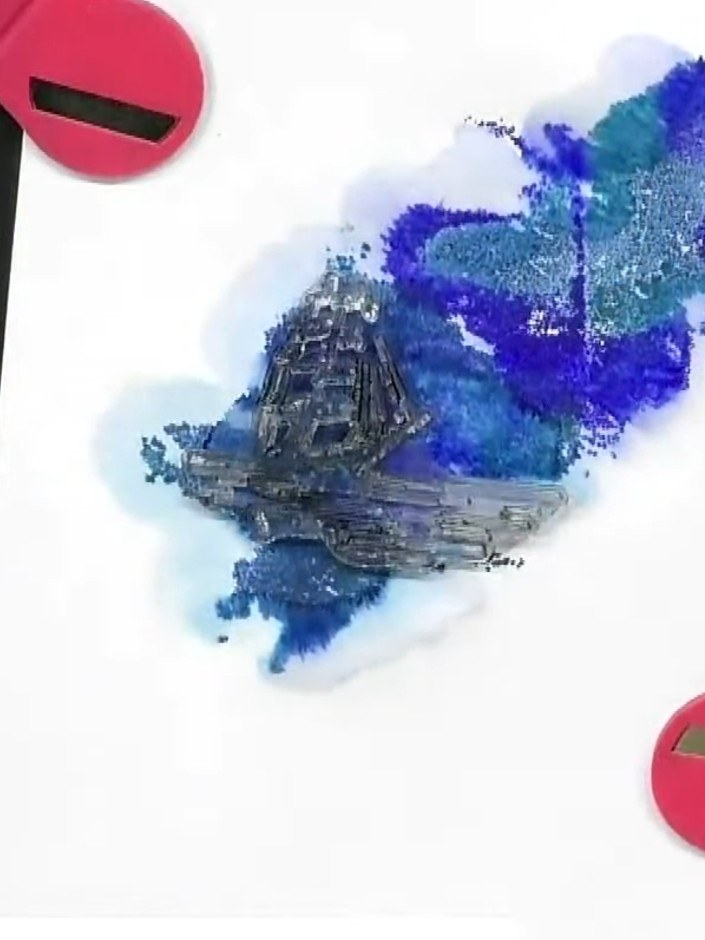
Add finishing touches to your card using confetti or embellishments. Use your Eureka work station to help position the elements precisely on the card.
▶ watch this step (45:15)Written up from the show itself. See every guide from our shows · free how-to guides · watch live on My Telly