Give your friends €10 off their first order!
Refer a FRIEND








A project from our live show CREATE AND CRAFT TV - Join Carley Duff for the brand new SBM launch show 4 - broadcast 26th Oct 23 · 26/10/2023 · watch it from 49:00
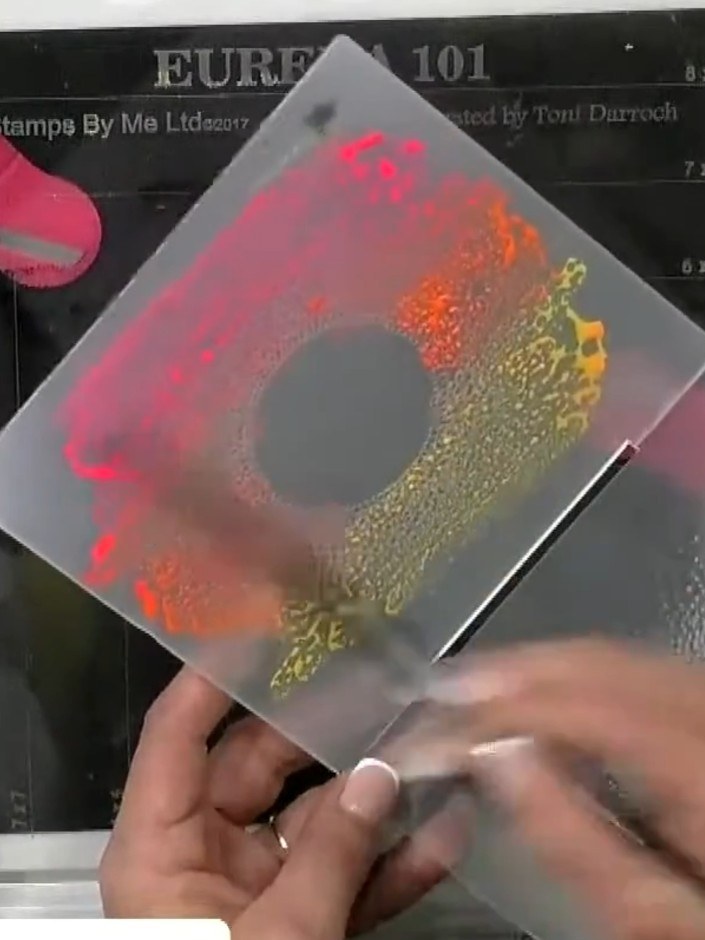
Create a stunning neon watercolour background with a vibrant sunset gradient effect. This technique uses an embossing folder to blend bright pink, orange and yellow tones directly onto white card, producing a beautifully textured and colourful base for your cardmaking projects. The embossed pattern adds depth whilst the neon watercolours create eye-catching, contemporary colour blends.
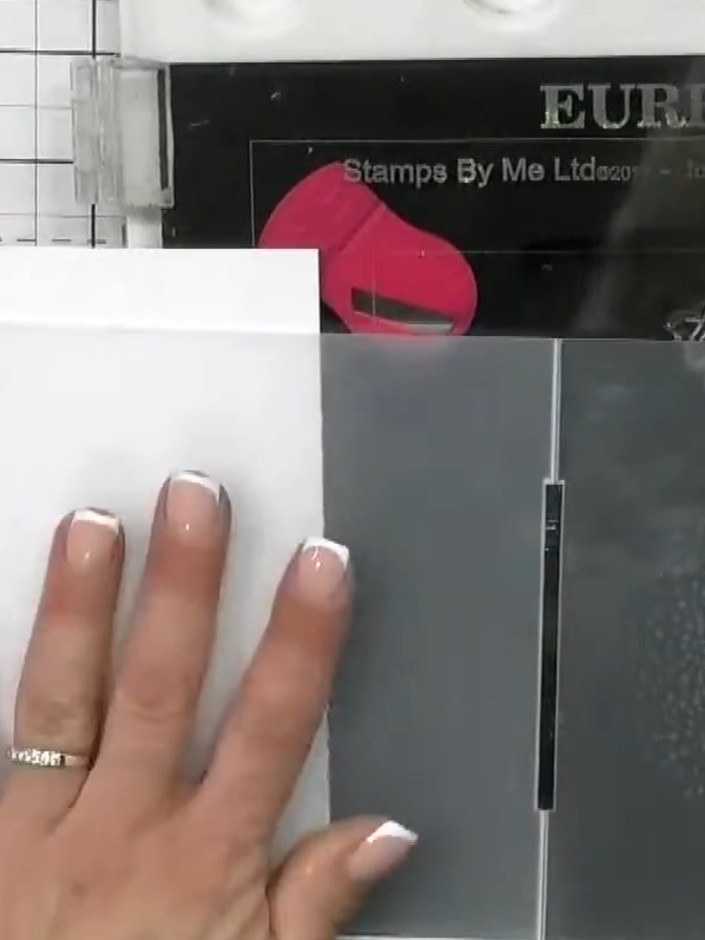
Select your embossing folder from the Eureka 101 collection. Prepare your neon watercolour paints in pink and other bright colours for the technique.
▶ watch this step (49:00)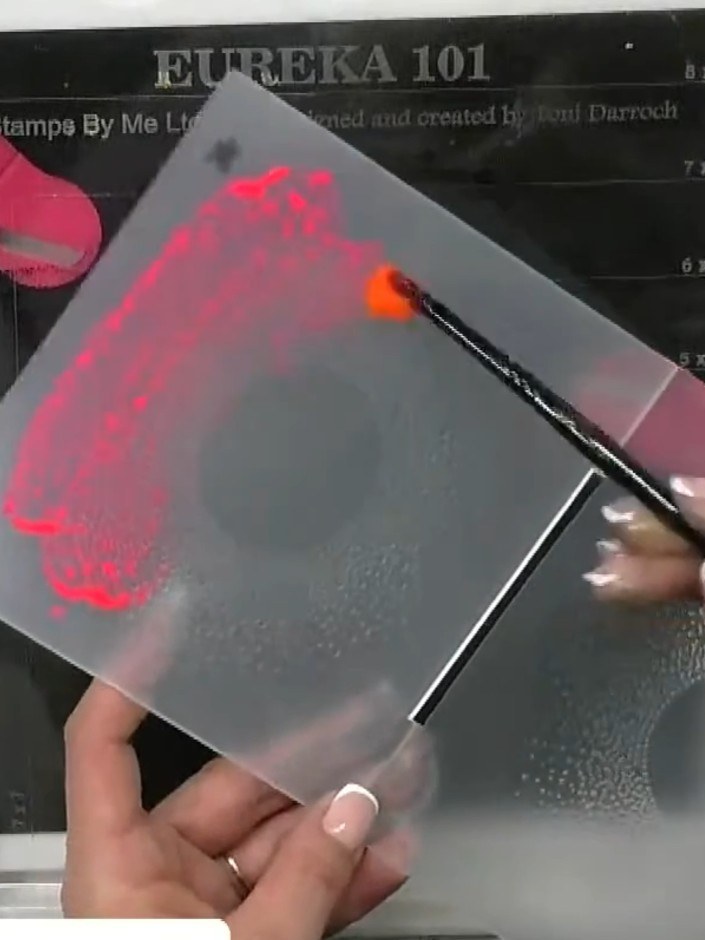
Apply neon orange watercolour paint to one section of the embossing folder's raised areas using a brush. Work in a straight line across the textured surface.
▶ watch this step (49:15)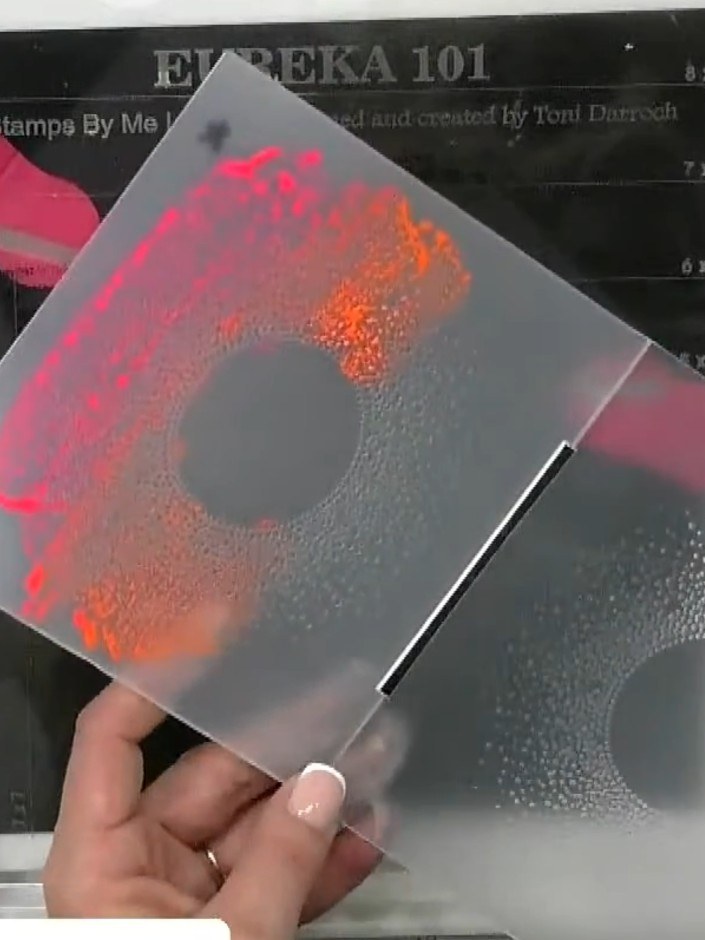
Run your card stock through the die-cutting machine with the painted embossing folder to transfer the blended neon colours onto the white card. The embossing folder should be positioned with the painted side against the card stock.
▶ watch this step (49:45)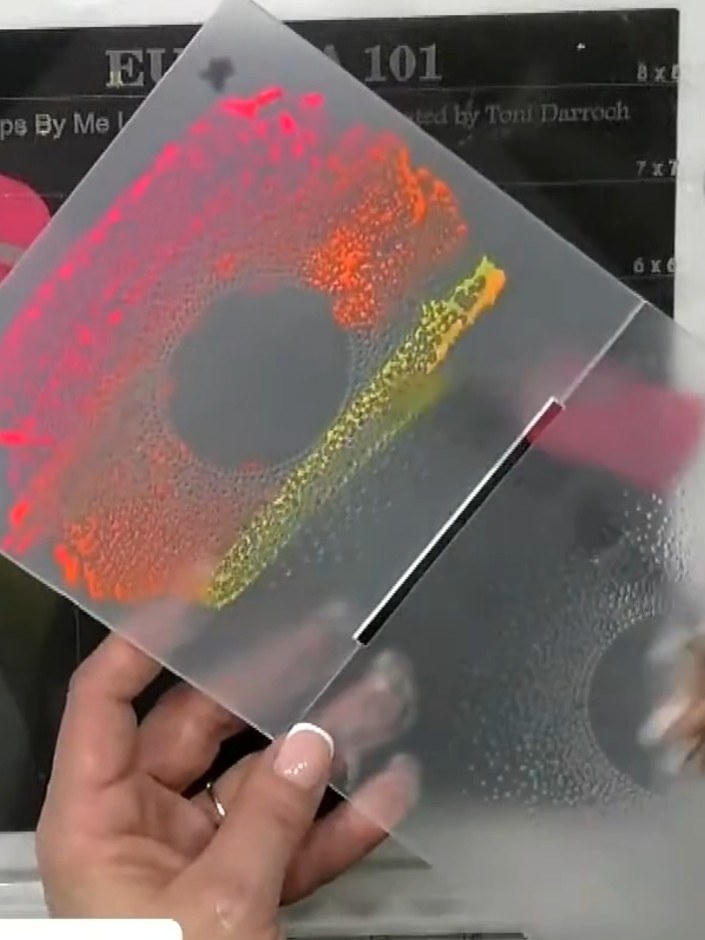
Lightly dry the embossed card with the watercolour effect using a heat tool or allow to air dry naturally to set the colours.
▶ watch this step (50:00)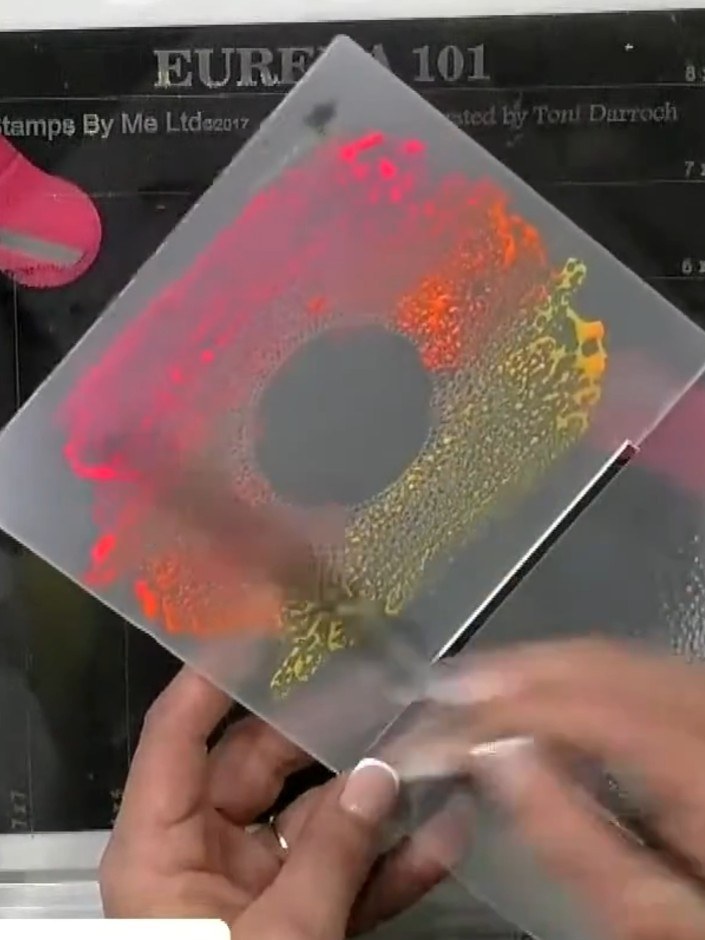
View the finished sunset gradient effect on your embossed card. The neon pink, orange and yellow inks create a vibrant, blended background that transitions smoothly across the embossed design.
▶ watch this step (50:15)Written up from the show itself. See every guide from our shows · free how-to guides · watch live on My Telly