Give your friends €10 off their first order!
Refer a FRIEND








A project from our live show CREATE AND CRAFT TV - Join Carley Duff for the brand new SBM launch show 4 - broadcast 26th Oct 23 · 26/10/2023 · watch it from 52:00
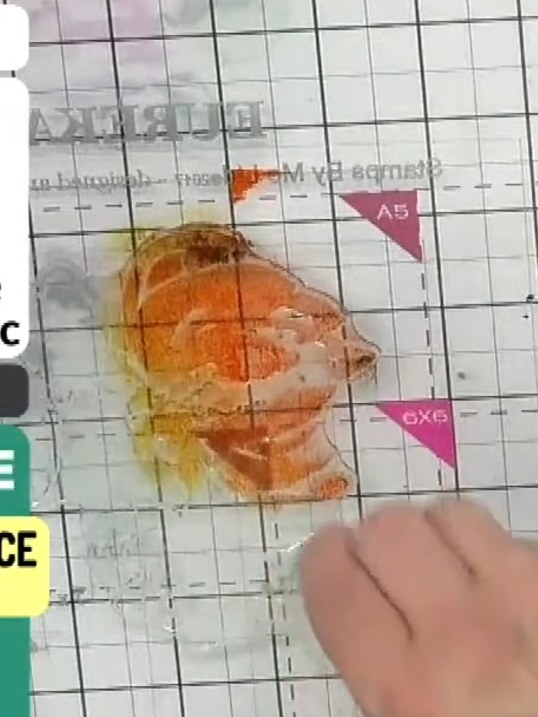
Create a beautiful layered floral card featuring vibrant watercoloured flowers in orange, yellow and green tones. Using lamination stamps, you'll build up depth and dimension by selectively applying different ink colours to create a stunning multi-layered botanical design. This technique combines stamping with watercolour effects to produce a professional-looking handmade card.
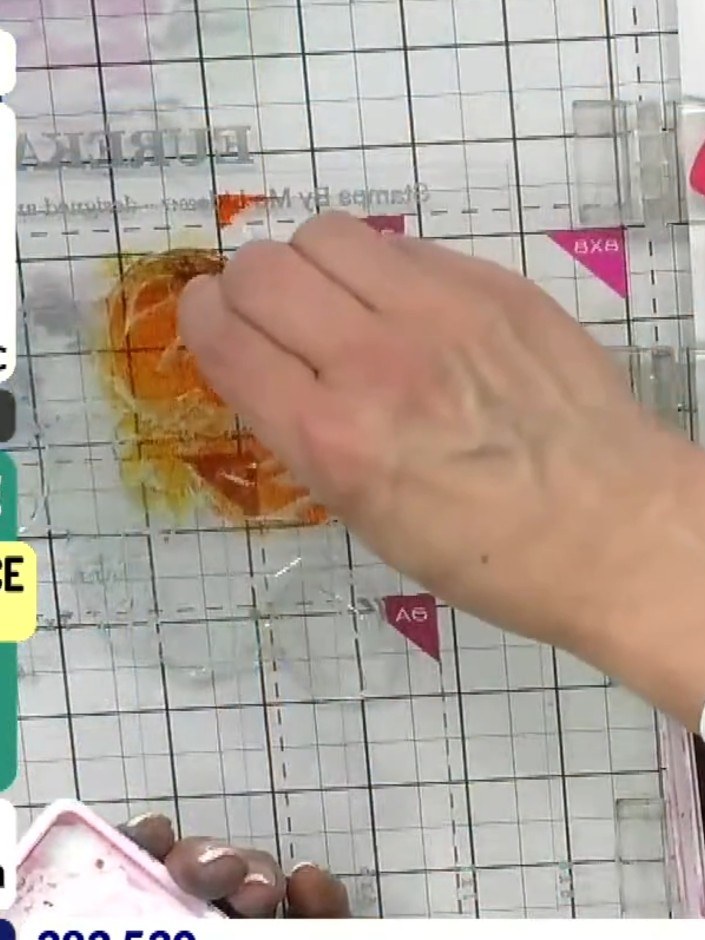
Prepare a black card base. Select your lamination flower stamp set from the collection, choosing from designs such as 'Choose Happy' or 'With Love'.
▶ watch this step (52:15)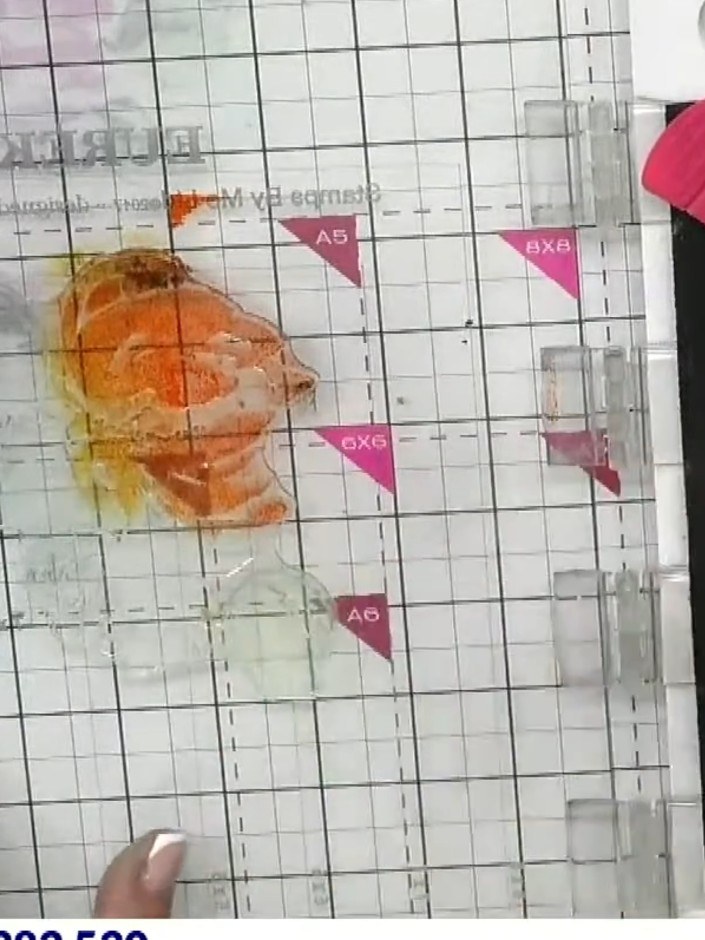
Apply watercolour paint to specific parts of the colour stamp. Use pink for the petals and green for the leaves, applying the colours directly to the stamp surface.
▶ watch this step (52:30)
Stamp the colour layer onto your white card base using the orange ink. Position the stamp carefully to create the base flower and foliage design.
▶ watch this step (52:45)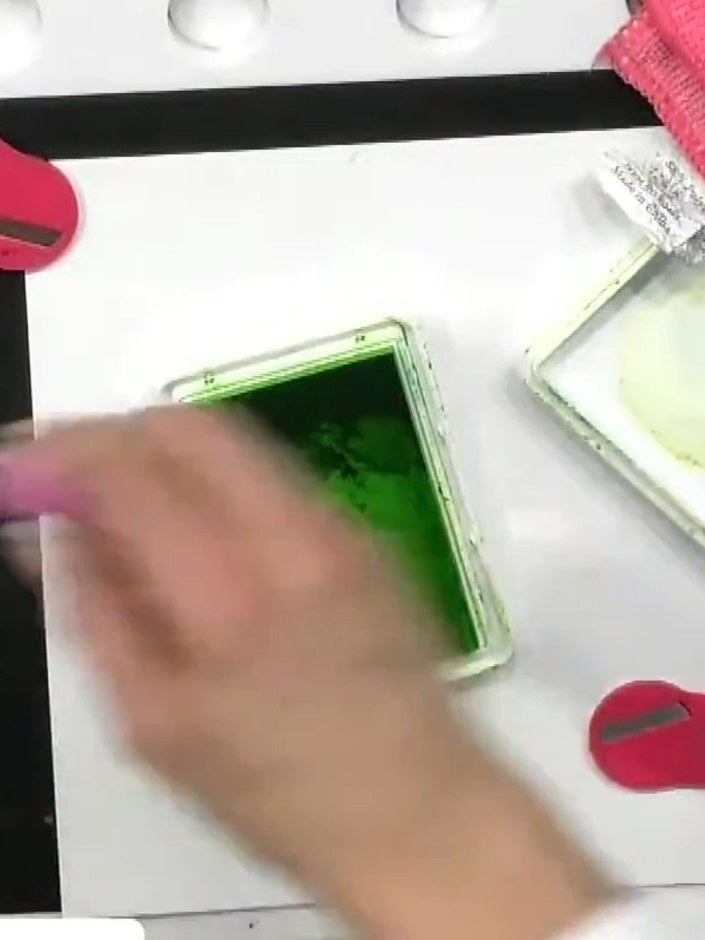
Apply a darker green watercolour to the edges and around the leaves to add definition and shadow. Use the green ink to create depth and dimension on the leaf elements.
▶ watch this step (53:00)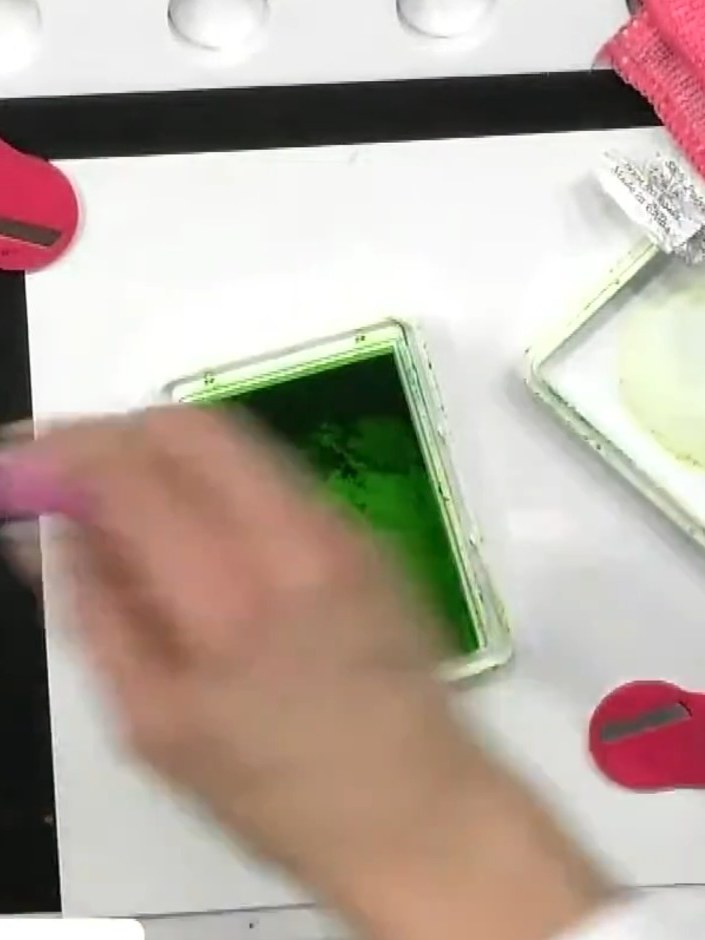
Apply the darker green ink over the same foliage area using the stamp to build up depth and create layered tones in the greenery.
▶ watch this step (53:15)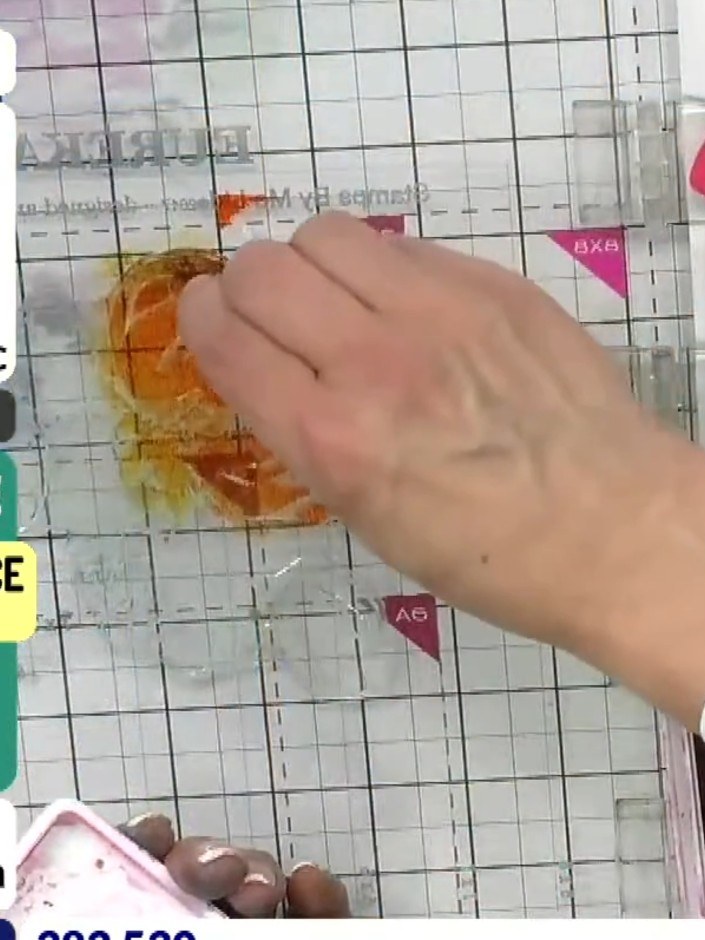
Add black or dark ink to the centre of the stamped flower using an ink pad or dauber. This creates depth and contrast in the flower design.
▶ watch this step (53:30)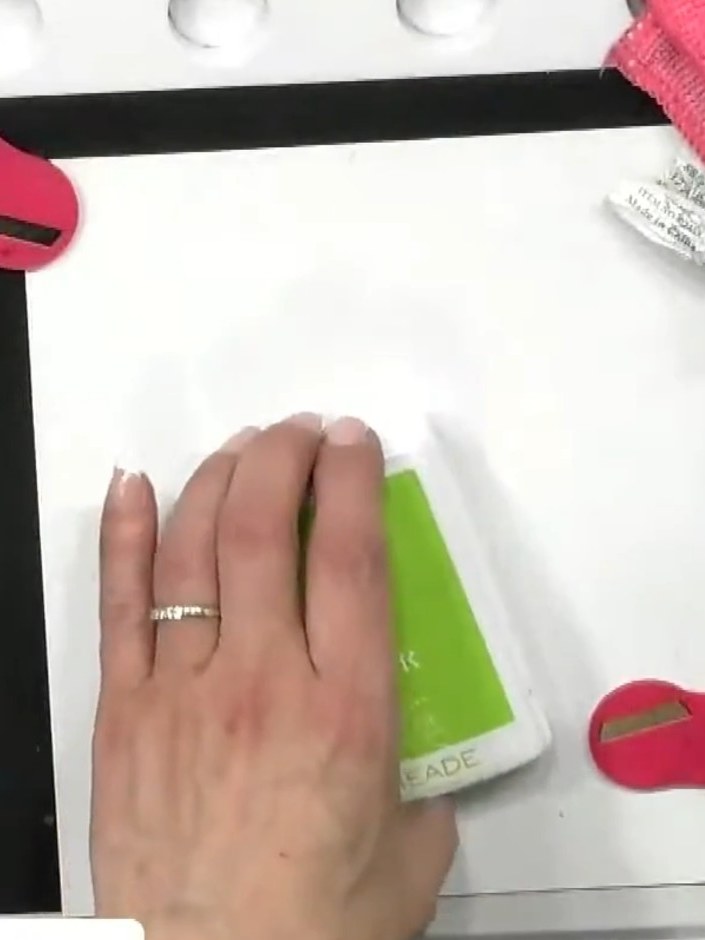
Wipe your stamp clean using stamp cleaner between colour applications. This ensures colours remain vibrant and don't mix unintentionally on subsequent stamping.
▶ watch this step (53:45)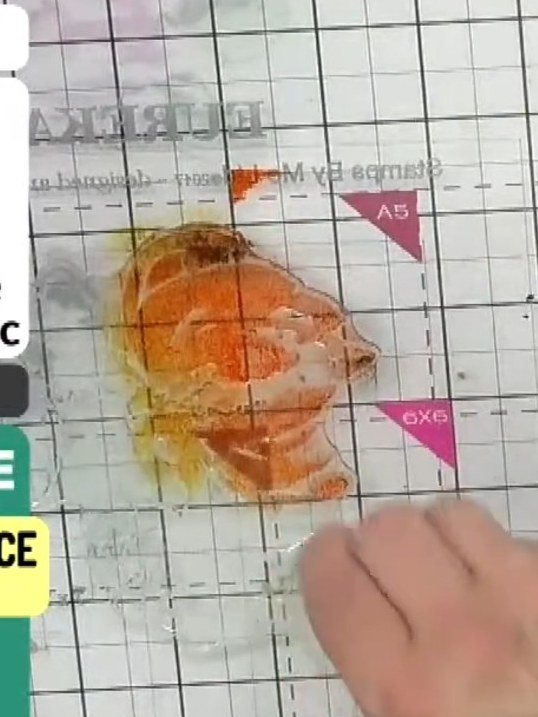
View the finished layered flower card. The selective application of green watercolour creates depth and dimension, with darker green tones adding realistic shading to the petals.
▶ watch this step (54:00)Written up from the show itself. See every guide from our shows · free how-to guides · watch live on My Telly