Give your friends €10 off their first order!
Refer a FRIEND








A project from our live show CREATE AND CRAFT TV - Join Carley Duff for the brand new SBM launch show 3 - broadcast 26th Oct 23 · 26/10/2023 · watch it from 26:00
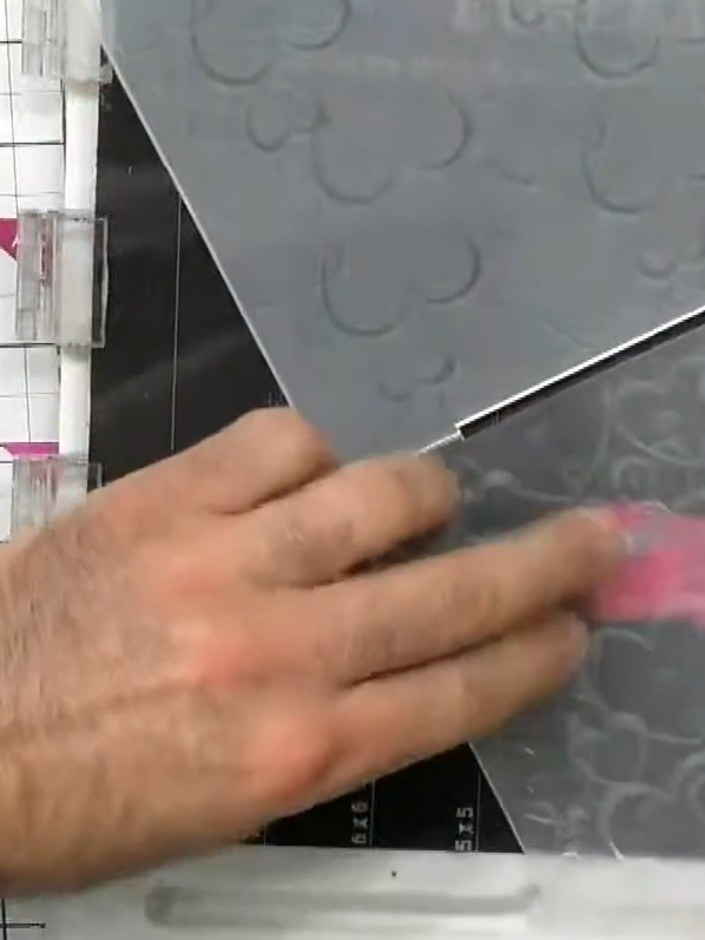
Create an elegant card featuring silver embossed hearts with a decorative twine pattern. This sophisticated design uses embossing folders to create a raised, ornate effect on metallic card stock, perfect for weddings, anniversaries or Valentine's Day. The layered composition combines the shimmering embossed panel with complementary card layers for a luxurious finish.
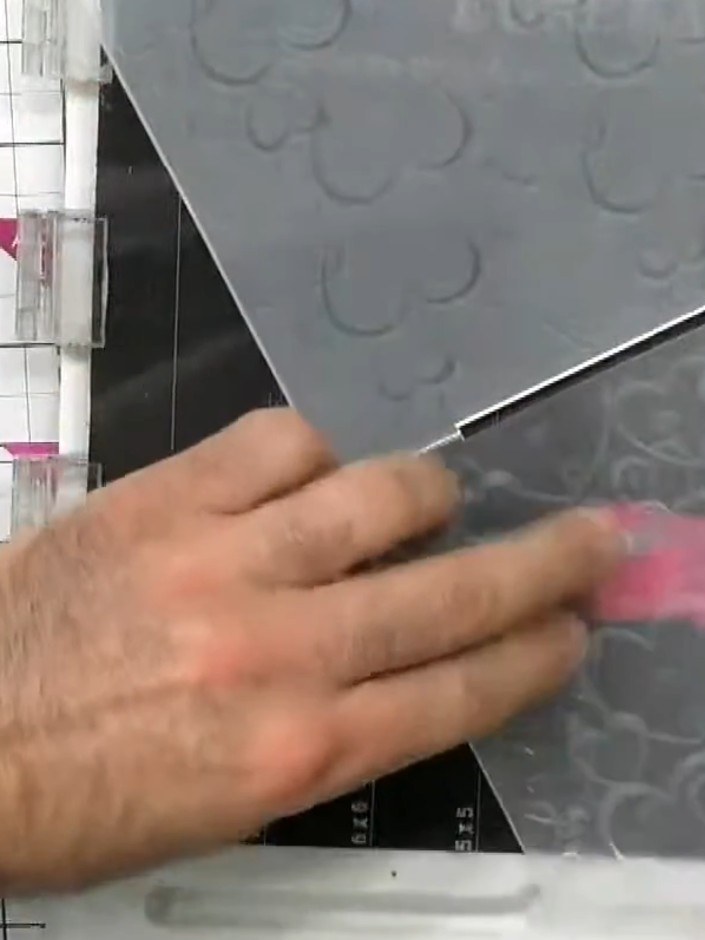
Place your silver card stock into the embossing folder, ensuring the most raised part of the folder is positioned as the base.
▶ watch this step (26:00)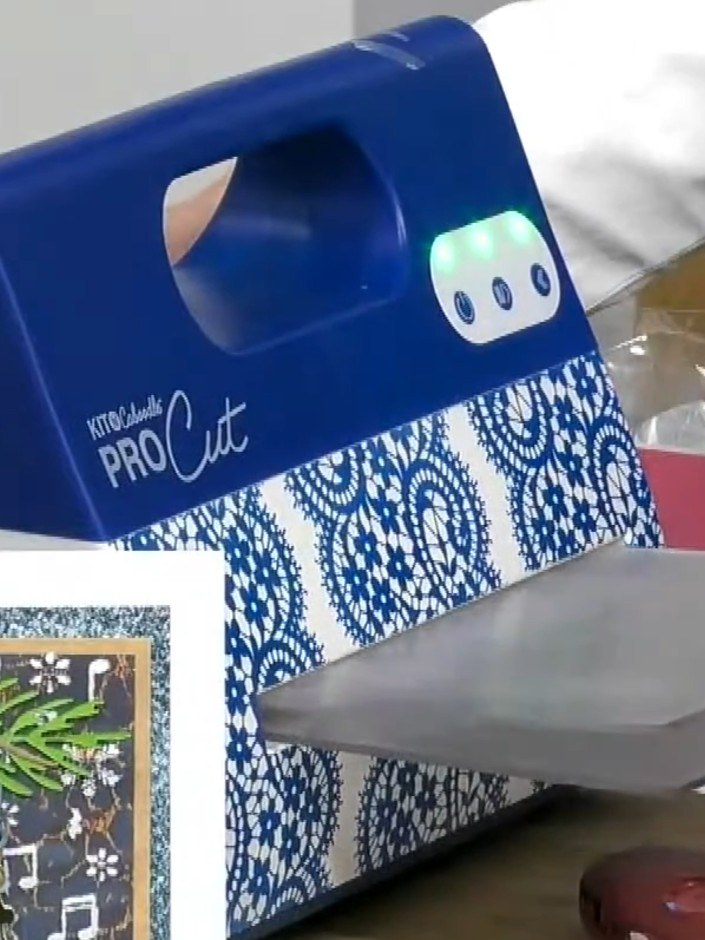
Place the embossing folder with your card inside into the die-cutting machine. Run the folder through the machine to create the embossed hearts and decorative twine pattern on your card.
▶ watch this step (26:15)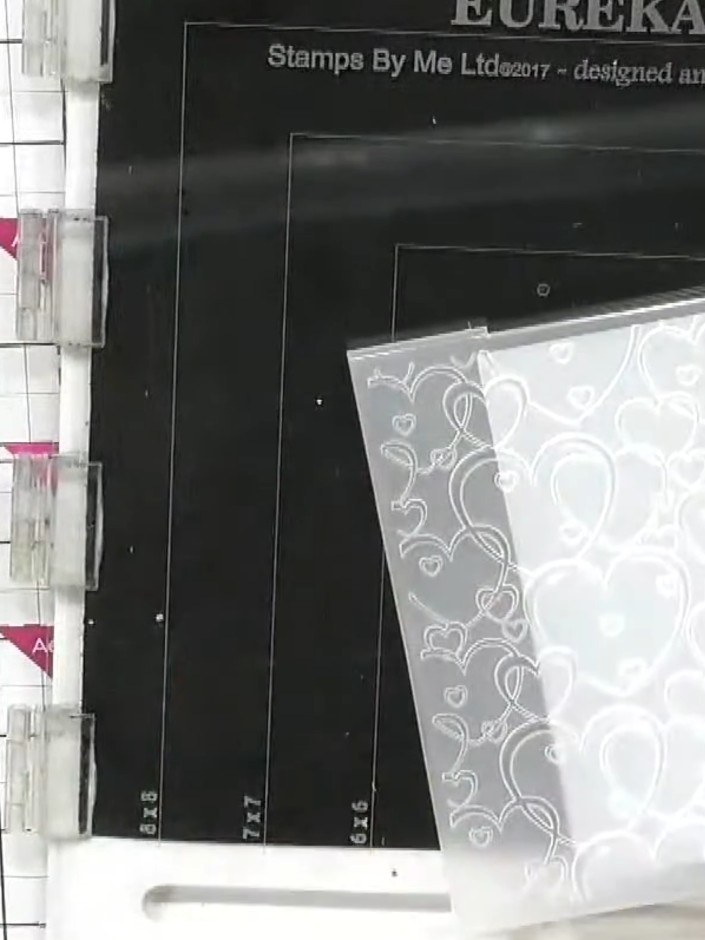
When using one-sided specialist card, ensure the metallic or decorative side faces upward in the embossing folder to avoid debossing the surface instead of embossing it.
▶ watch this step (26:45)Written up from the show itself. See every guide from our shows · free how-to guides · watch live on My Telly