Give your friends €10 off their first order!
Refer a FRIEND








A project from our live show CREATE AND CRAFT TV - Join Toni for her brand new launch - broadcast 25th Oct 23 · 25/10/2023 · watch it from 26:30
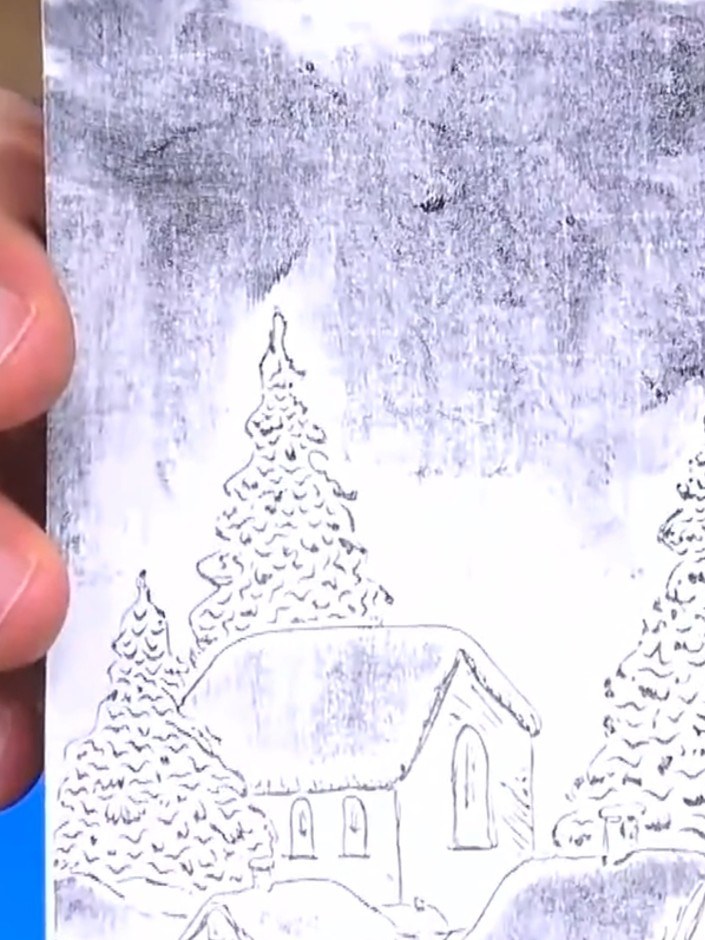
Create a striking winter village card featuring a charming embossed scene in black ink. Using an embossing folder, you'll achieve a beautiful dimensional letterpress effect that showcases a cottage nestled amongst trees. This elegant technique works wonderfully on white card stock, creating a sophisticated monochrome design perfect for the festive season.
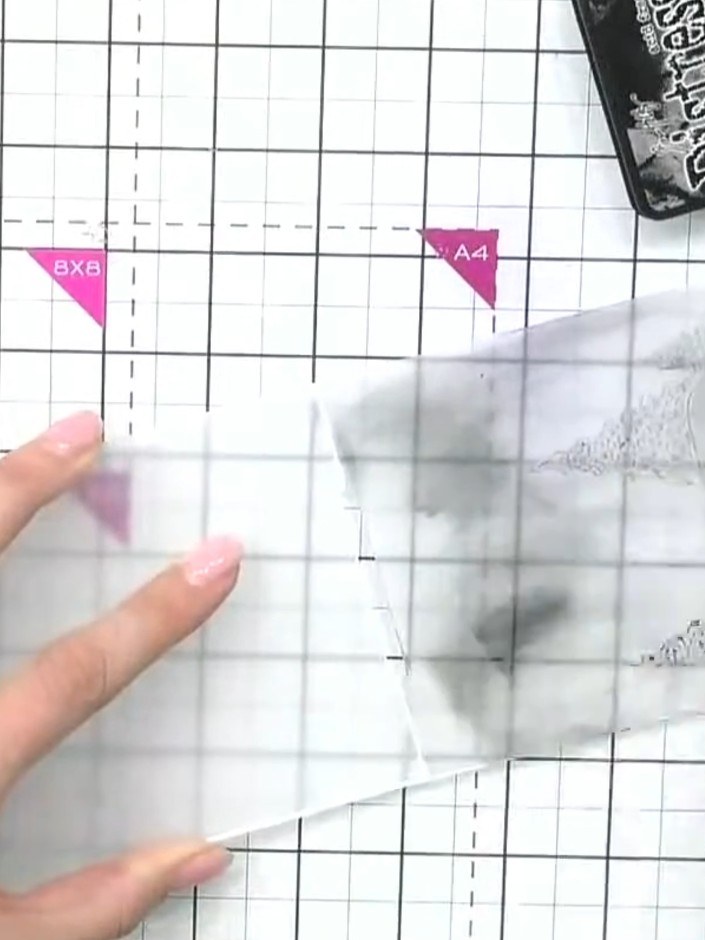
Ink up both sides of the winter village embossing folder using the black Distress Ink pad. Apply the ink evenly across the entire surface of both the top and bottom of the folder.
▶ watch this step (26:30)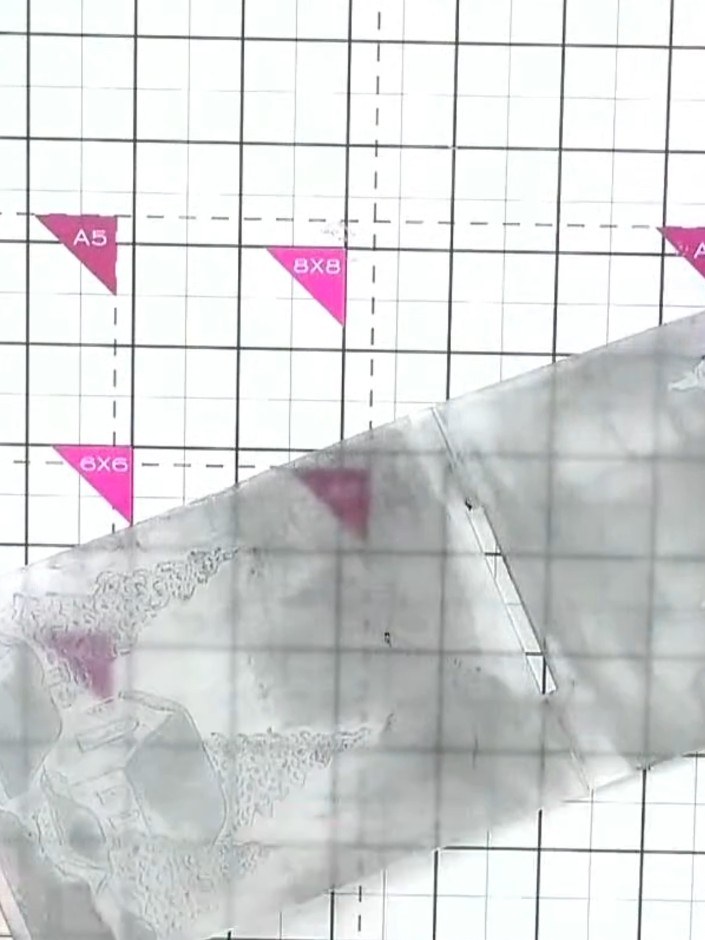
Place your white card stock into the embossing folder, ensuring it is positioned centrally within the folder.
▶ watch this step (27:00)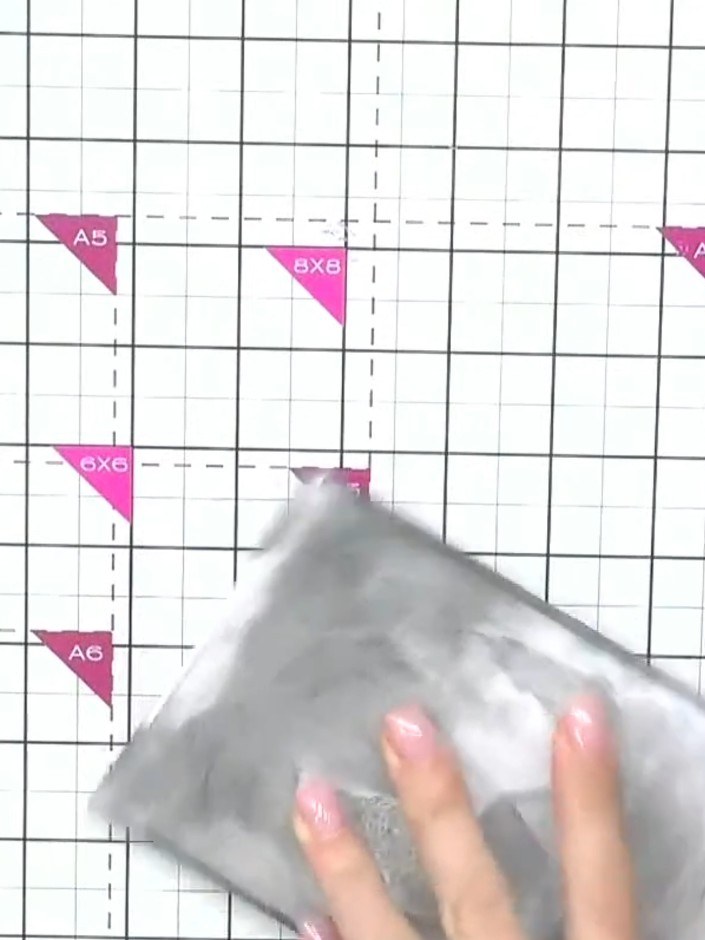
Place your embossing folder with the card inside onto the cutting mat. Run the card through your die-cutting machine to emboss the design onto the card.
▶ watch this step (27:15)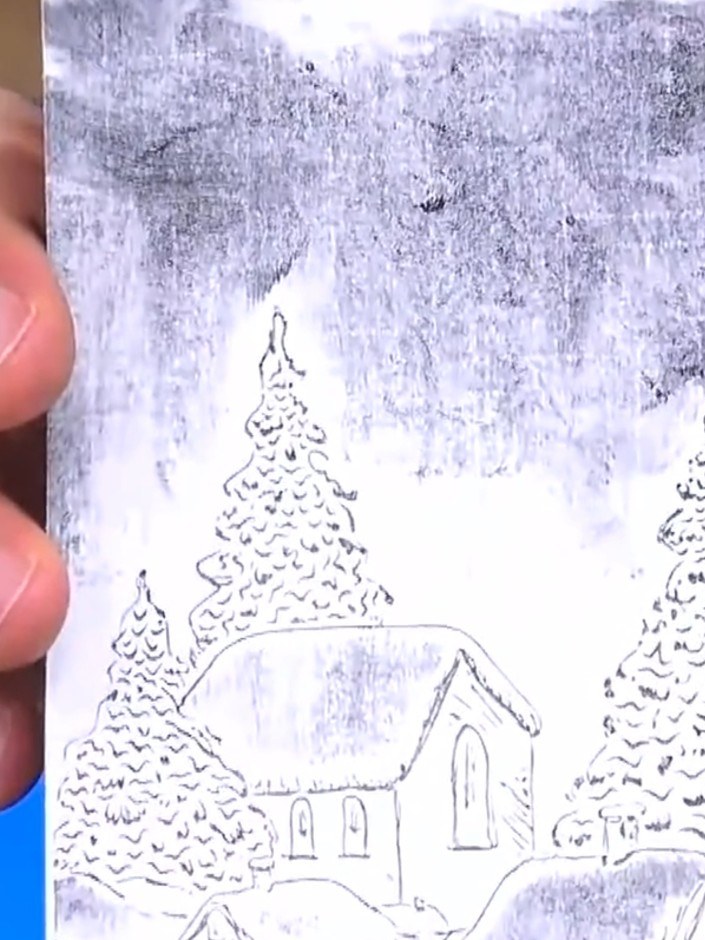
Remove the card from the embossing folder and examine both sides. Check the debossed side (where the design is recessed) and the embossed side (where the design is raised).
▶ watch this step (28:00)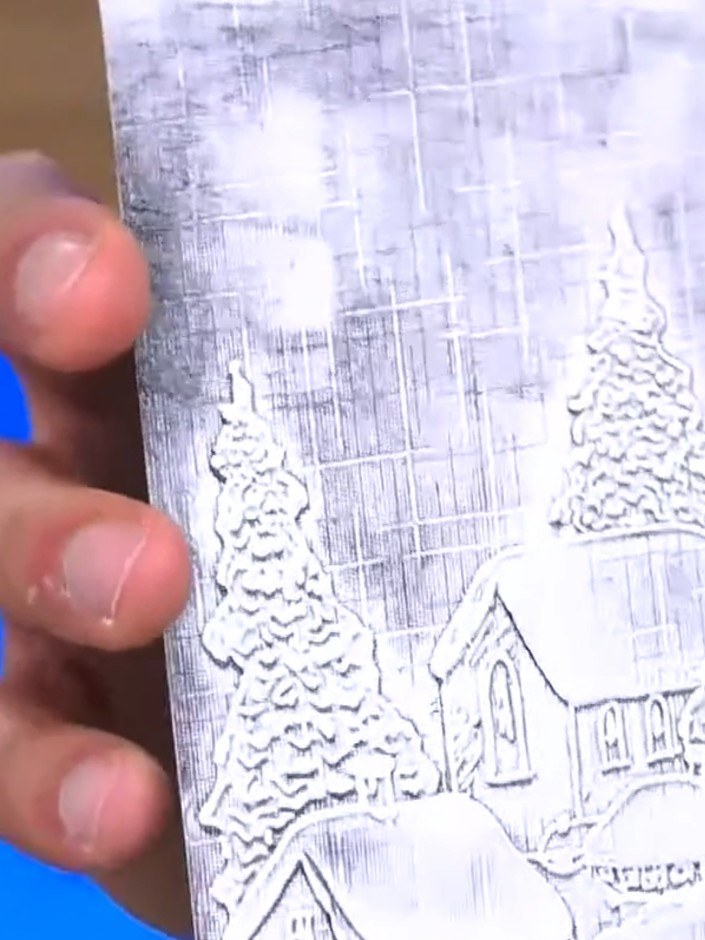
If the black impression is not dark enough, re-ink the embossing folder and run the card through the machine again, carefully lining it up with the previous embossing.
▶ watch this step (28:30)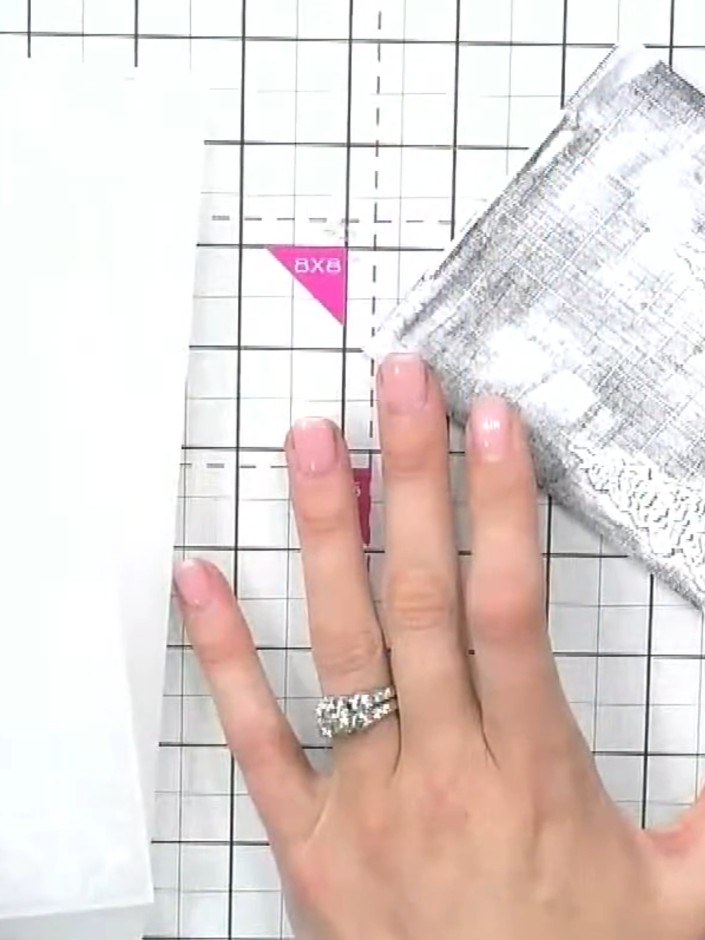
Mount your finished embossed panel onto a card blank using adhesive. Alternatively, you can use the embossed panel as your card base.
▶ watch this step (29:00)Written up from the show itself. See every guide from our shows · free how-to guides · watch live on My Telly
