Give your friends €10 off their first order!
Refer a FRIEND








A project from our live show CREATE AND CRAFT TV - Join Toni for her brand new launch - broadcast 25th Oct 23 · 25/10/2023 · watch it from 46:00
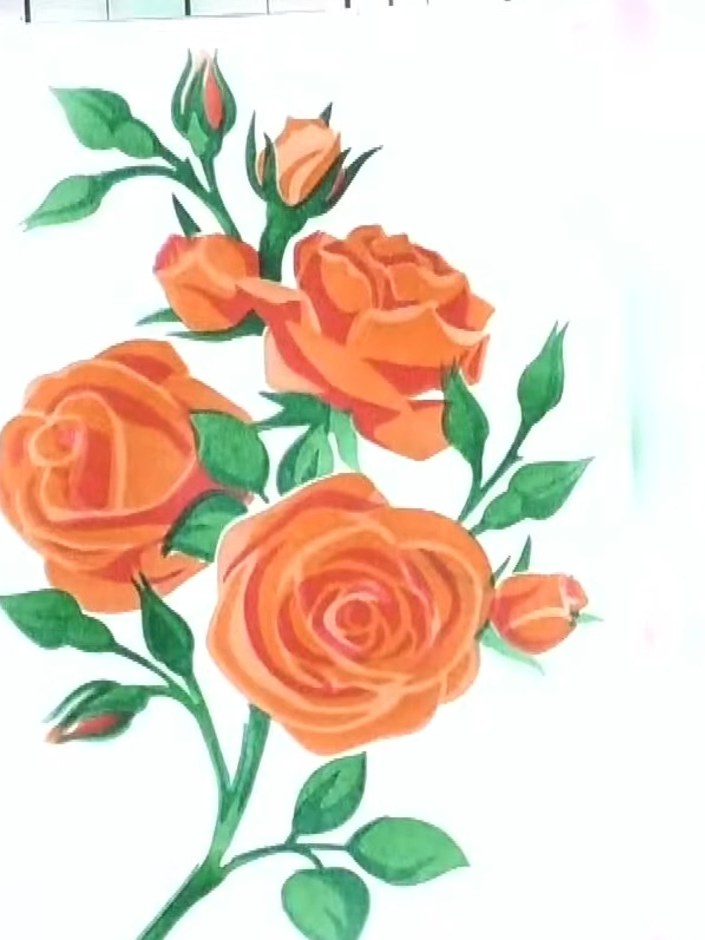
Create a beautiful three-dimensional rose spray featuring coral-orange blooms with lush green leaves and stems. Using a layering stencil system with numbered guides, you'll build up colour and depth through multiple ink applications. The coordinating dies allow you to precisely cut out your finished floral design for stunning cards and papercrafts.
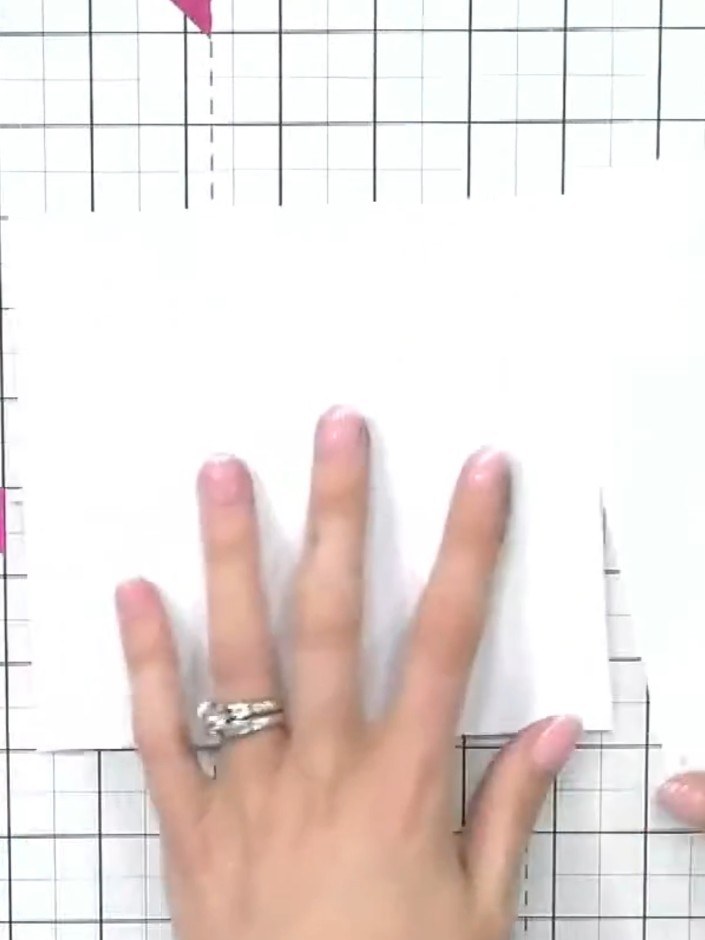
Prepare your white card stock and position the rose branch layering stencil system on top. Use the four corner hearts to align the stencil, securing it with magnets or holding it firmly in place.
▶ watch this step (46:00)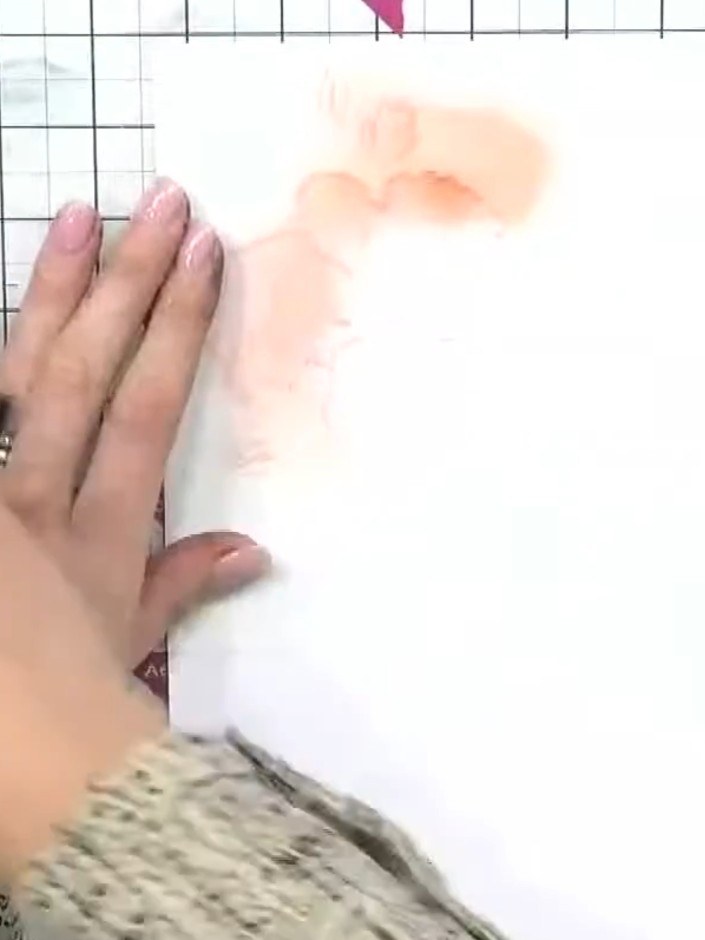
Select your first ink colour (orange) and use a brush to apply ink through stencil number one, following the numbered system on the stencil.
▶ watch this step (46:30)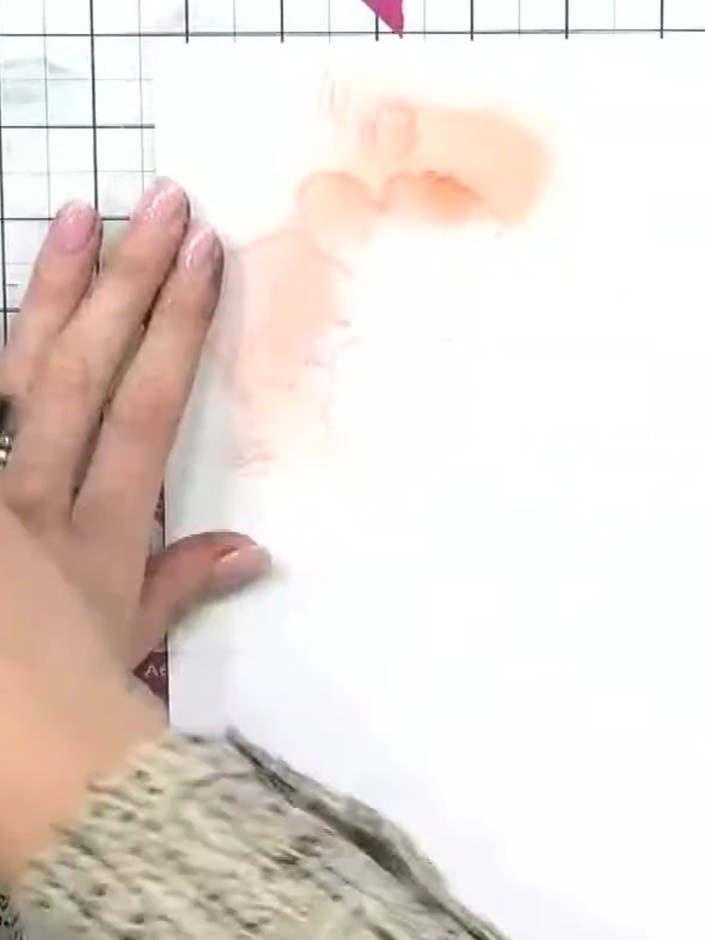
Position stencil number two over your first layer, lining up the four corner hearts to ensure proper alignment.
▶ watch this step (47:00)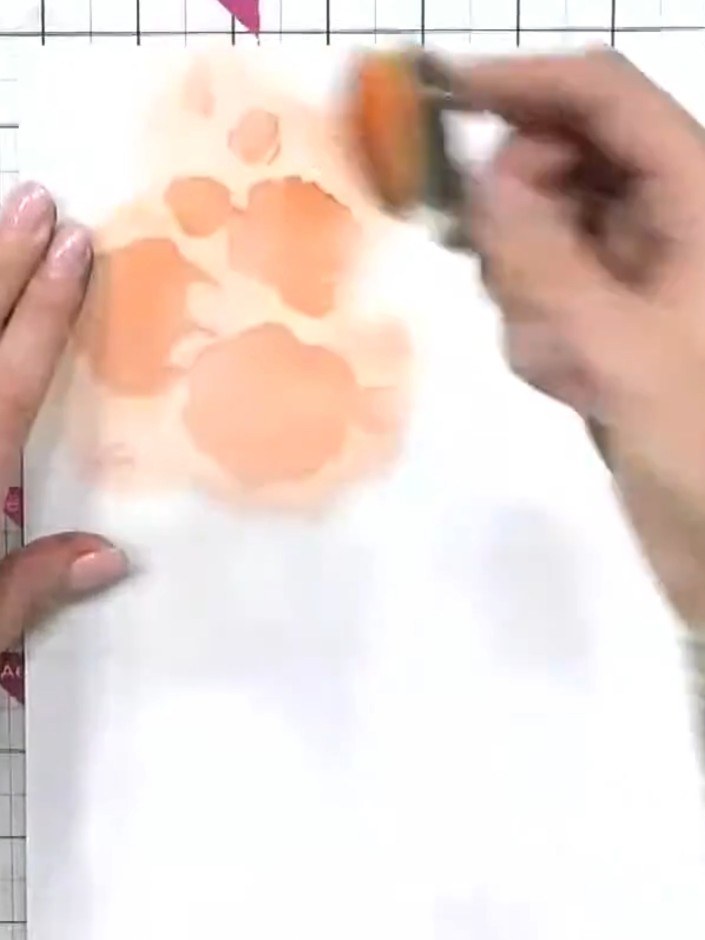
Position stencil number two over your card and apply the second ink colour (orange or a complementary shade) using a blending brush. Build up the colour gradually, working through the stencil openings to create the second layer of your rose design.
▶ watch this step (47:30)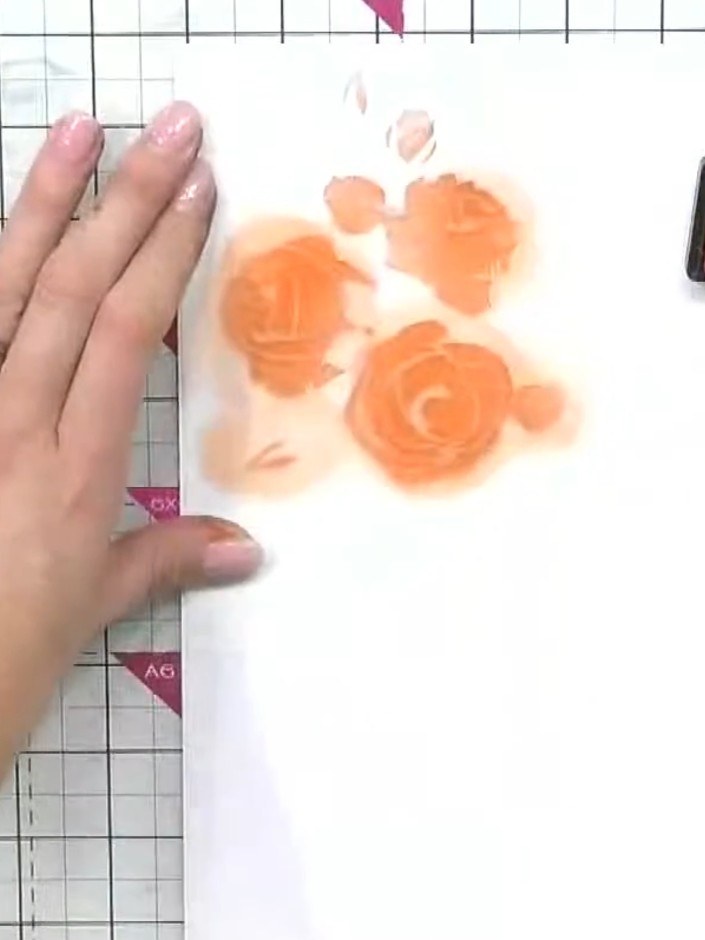
Position stencil number three over your design and apply pink ink using a blending tool to add variety and depth to the flower petals.
▶ watch this step (48:00)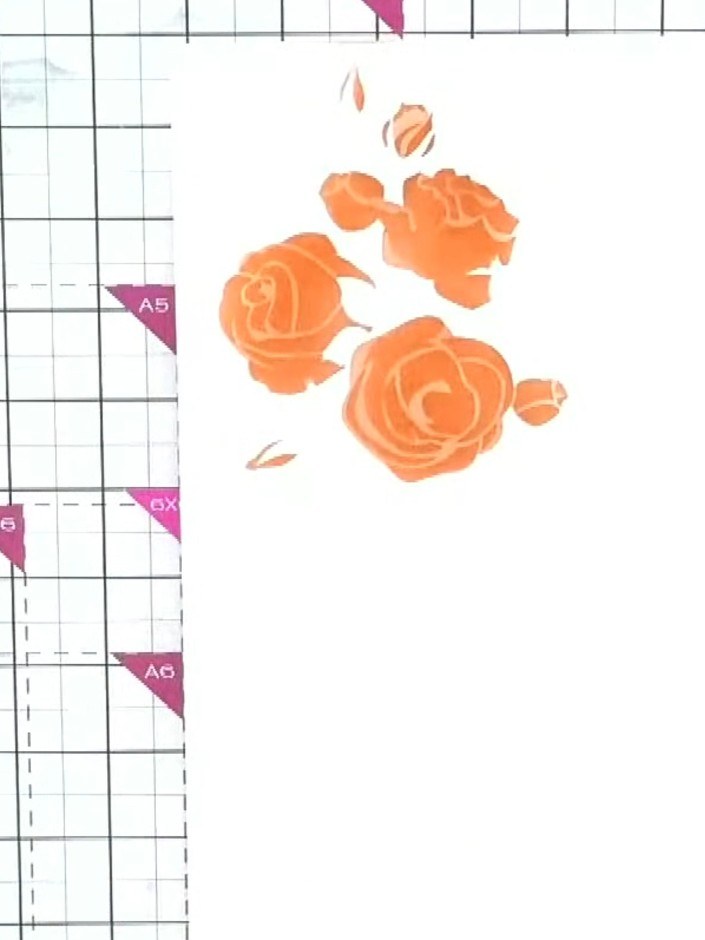
Position stencil layer four over your design and apply the next ink colour using a blending tool. Build up the colour gradually to add dimension to the rose design.
▶ watch this step (48:30)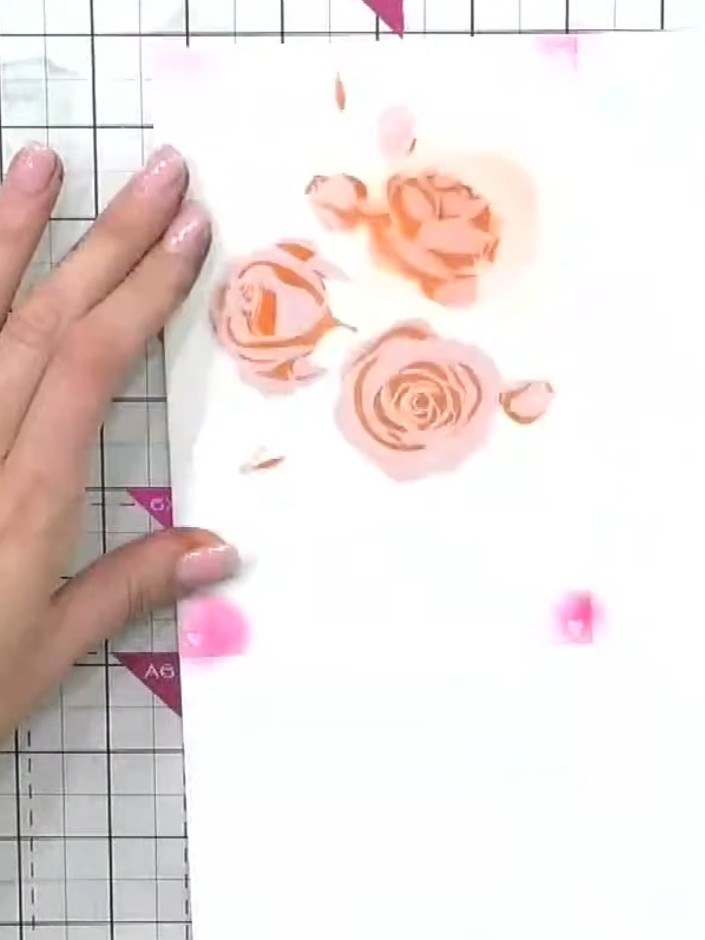
Apply stencil number five using green ink to add foliage details to your layered rose design. Position the stencil carefully and blend the ink through to complete the flower.
▶ watch this step (49:00)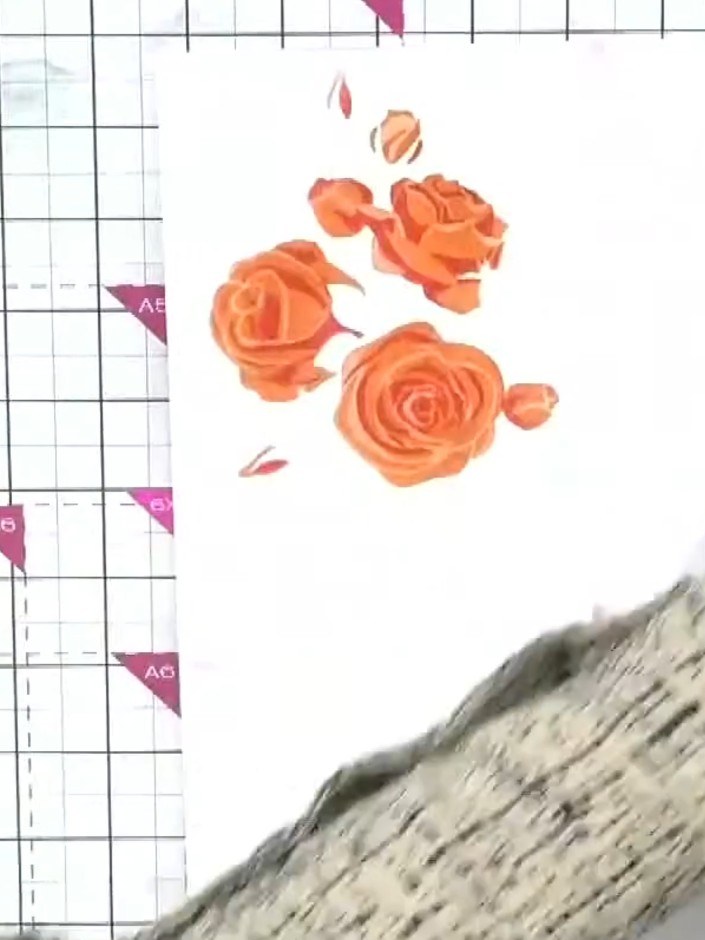
Once the stencilled layers are complete, use the coordinating rose dies to cut out the flower shapes. This creates a finished focal piece with beautifully layered orange roses.
▶ watch this step (49:30)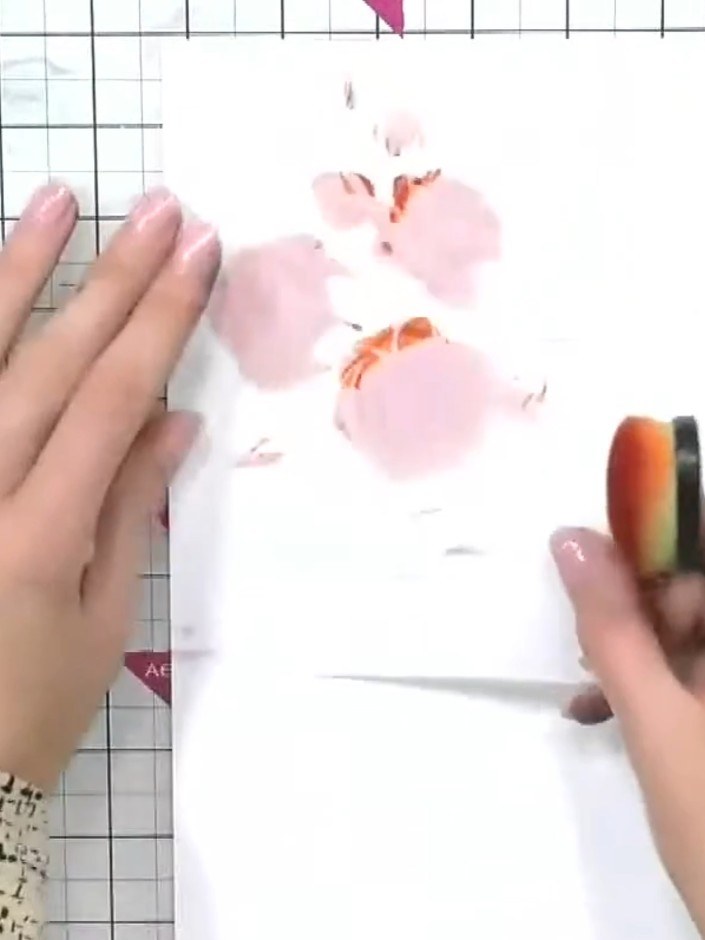
Mount your finished rose onto a card base. Add a sentiment stamp through the centre of the rose if desired to complete your card.
▶ watch this step (50:00)Written up from the show itself. See every guide from our shows · free how-to guides · watch live on My Telly
