Give your friends €10 off their first order!
Refer a FRIEND








A project from our live show CREATE AND CRAFT TV - Join Toni for her brand new launch show 2 - broadcast 23rd Oct 23 · 23/10/2023 · watch it from 19:30
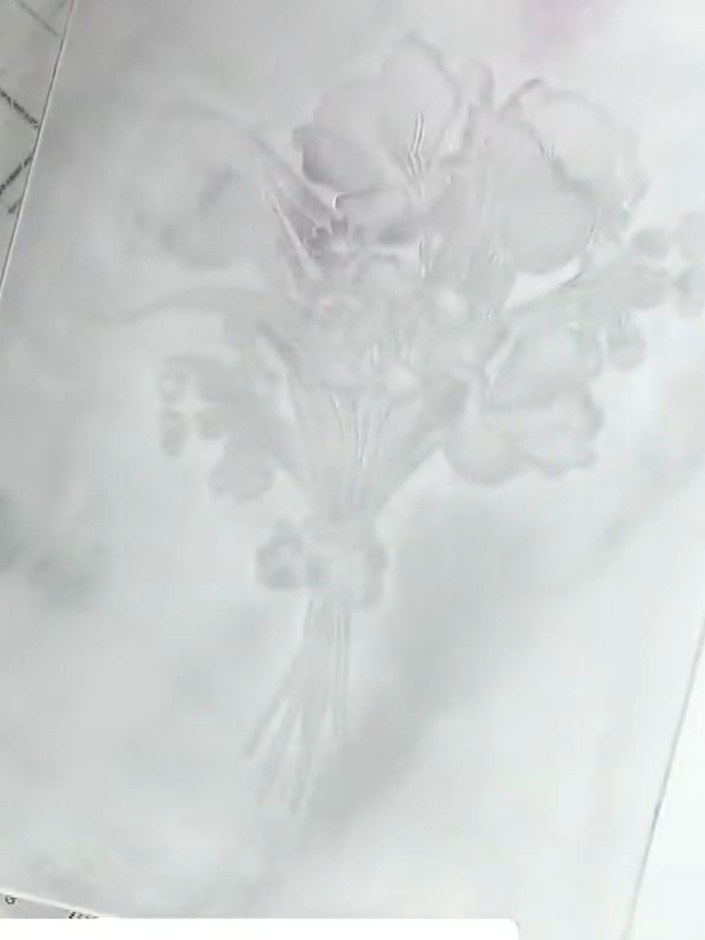
Create a striking card by embossing a design with white ink onto coloured cardstock, then adding edge details with coordinating ink pads. This technique produces a sophisticated look with raised and debossed elements that catch the light beautifully. The finished piece features an elegant white embossed design on a rich blue background, creating a stunning contrast.
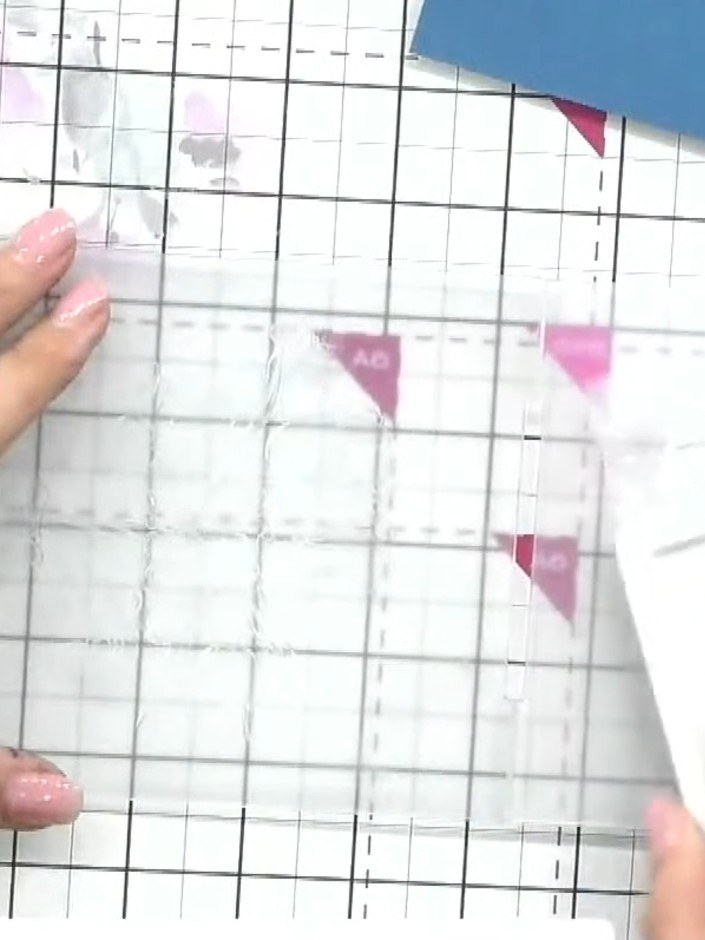
Gather your embossing folder, white ink pad, and coloured cardstock. Place the embossing folder on your craft mat ready to use.
▶ watch this step (19:45)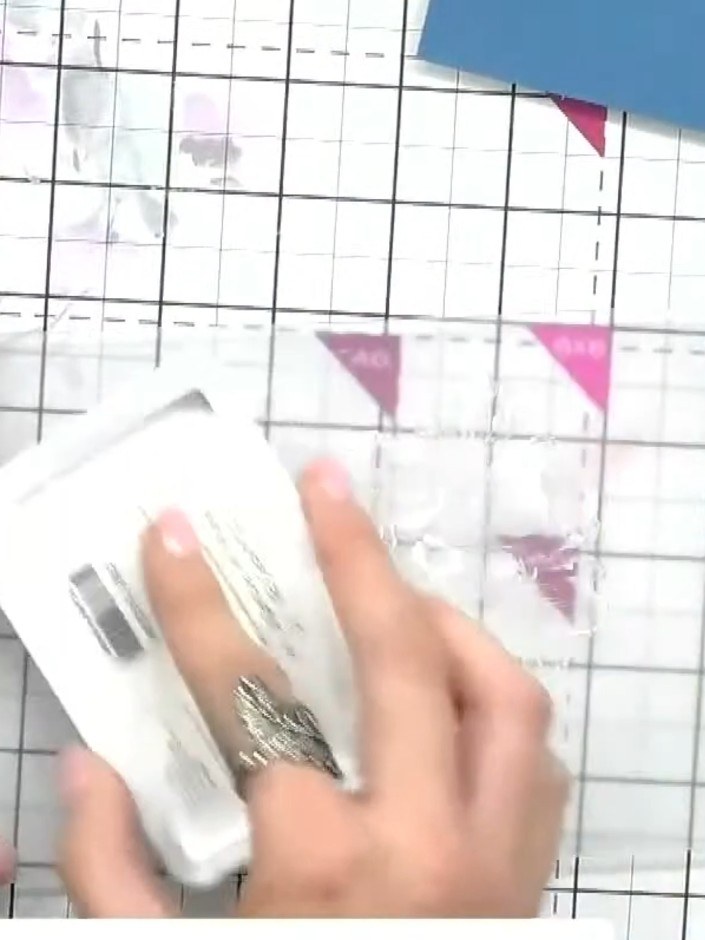
Ink up both sides of your embossing folder using the white ink pad, ensuring full coverage on all surfaces.
▶ watch this step (20:00)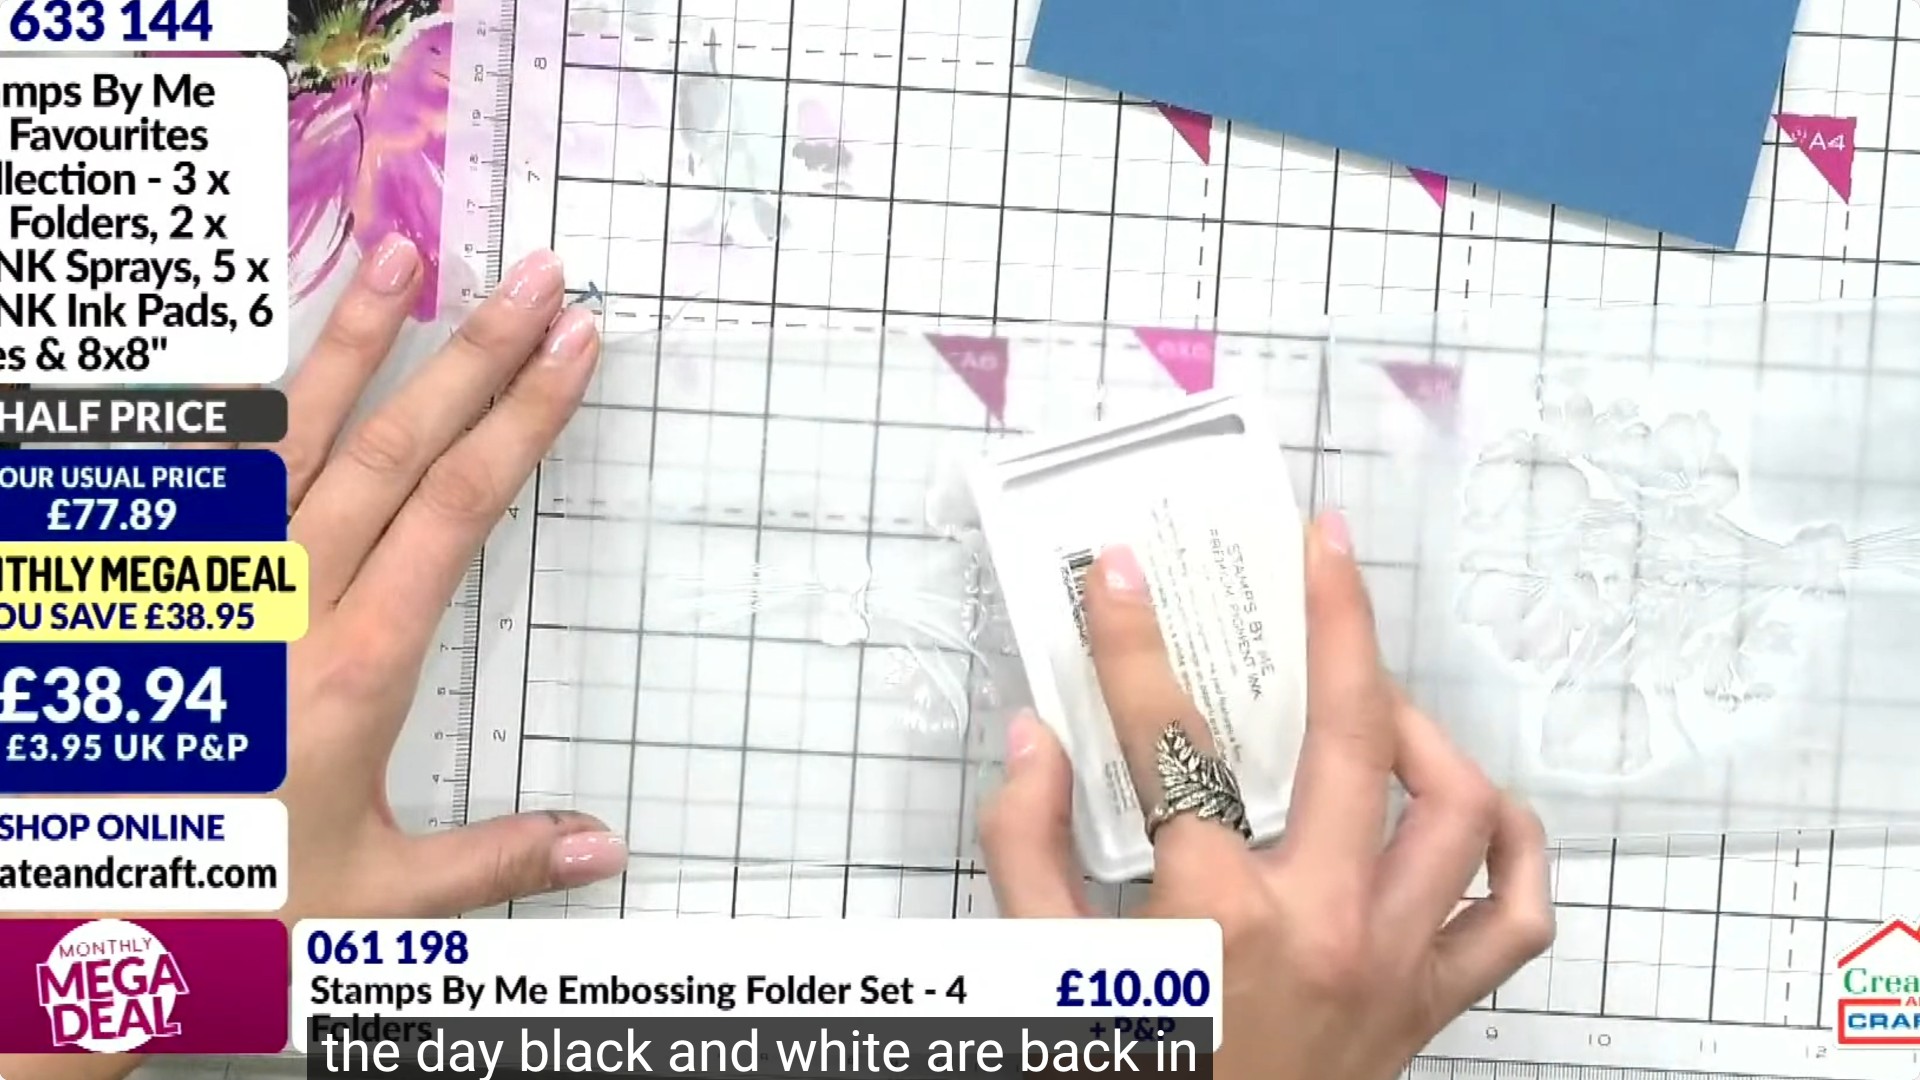
Place your coloured cardstock into the embossing folder, ensuring it is positioned correctly before closing the folder.
▶ watch this step (20:15)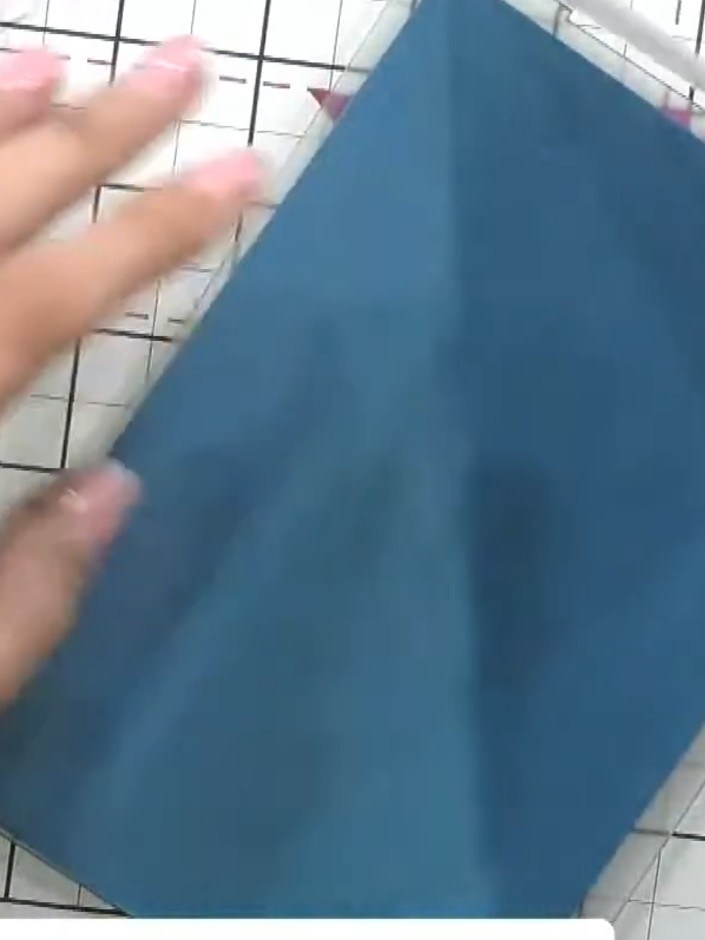
Place your blue cardstock inside the embossing folder and run it through your embossing machine to create the raised and debossed design.
▶ watch this step (20:30)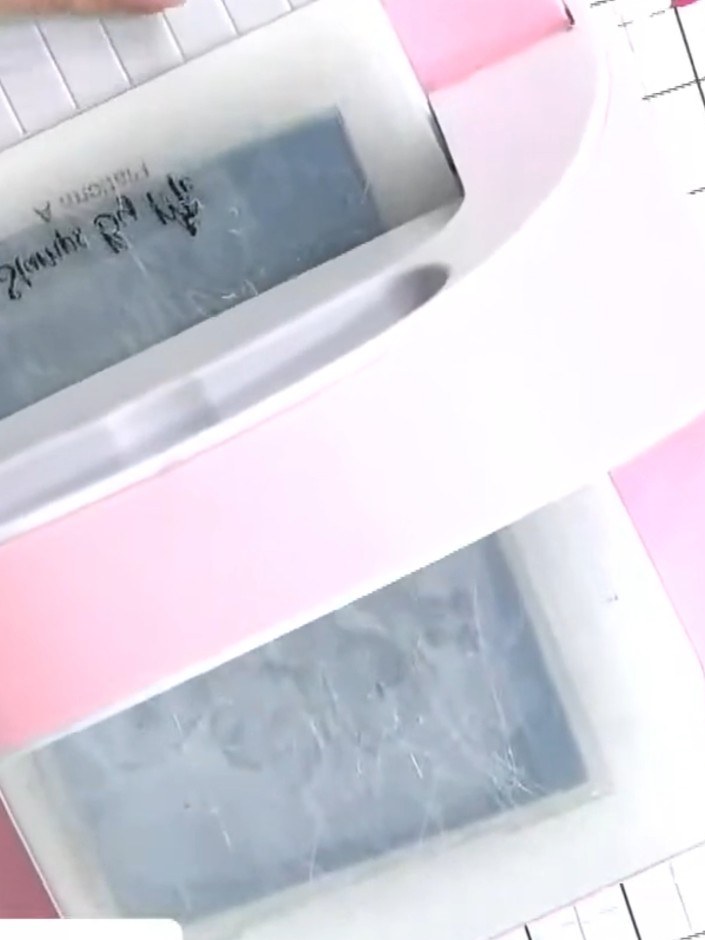
Remove the cardstock from the embossing folder and inspect the embossed result. Check both the raised side and the debossed side to ensure the pattern has transferred clearly.
▶ watch this step (21:00)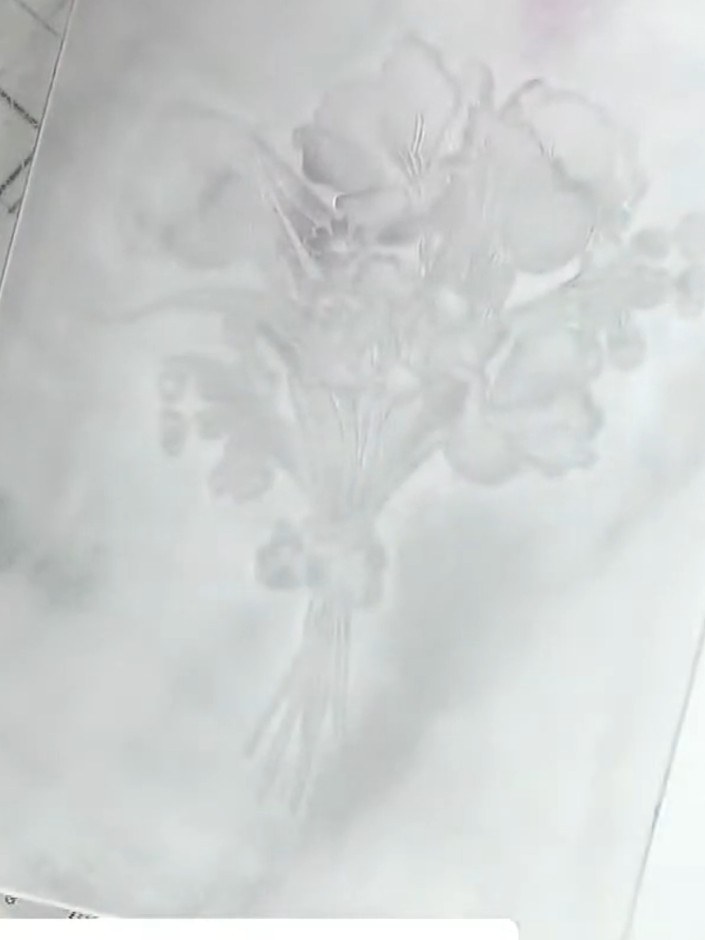
Optional: Use a coordinating ink pad to swipe around the edges of the debossed areas for added definition and depth to your design.
▶ watch this step (21:30)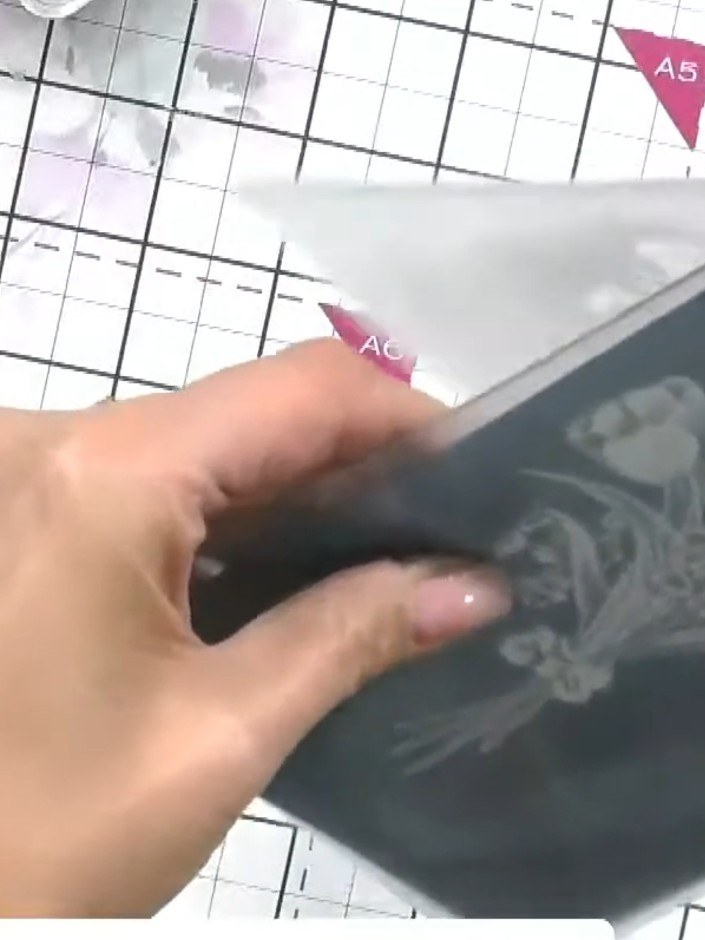
Allow the embossed card to dry completely in the die-cutting machine or on a flat surface before using or embellishing further.
▶ watch this step (22:00)Written up from the show itself. See every guide from our shows · free how-to guides · watch live on My Telly