Give your friends €10 off their first order!
Refer a FRIEND








A project from our live show CREATE AND CRAFT TV - Join Toni for her brand new launch show 2 - broadcast 23rd Oct 23 · 23/10/2023 · watch it from 28:00
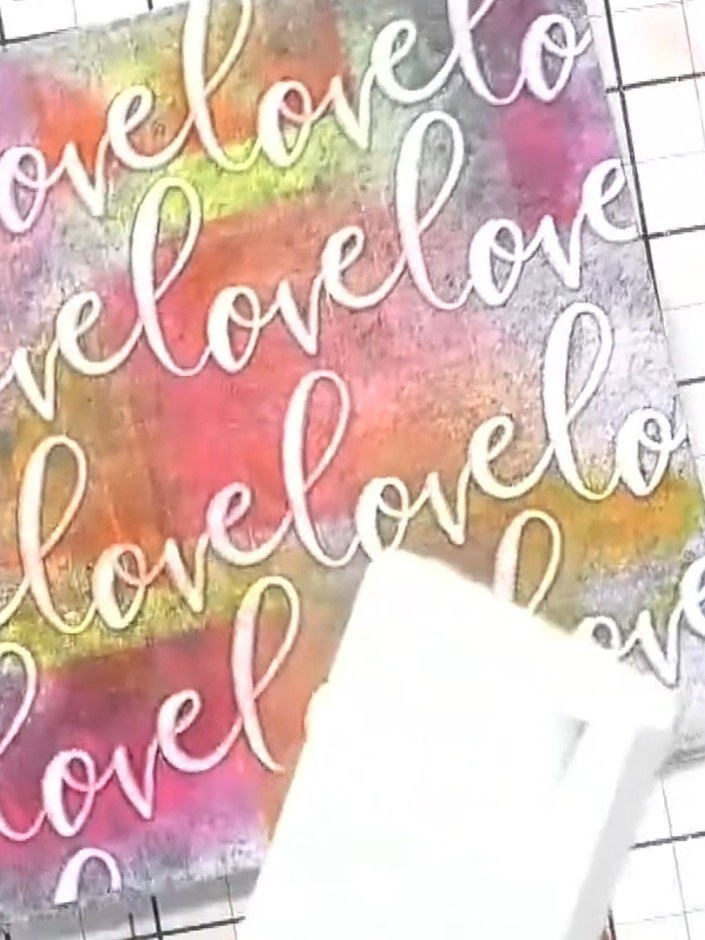
Create a vibrant greeting card featuring a colourful rainbow background with an embossed 'lovelove' sentiment. Using ink pads and mica sprays, you'll build up layers of pink, orange, yellow, green and purple tones, then add a bold black embossed word pattern highlighted with white ink to make the text stand out beautifully against the busy, artistic background.
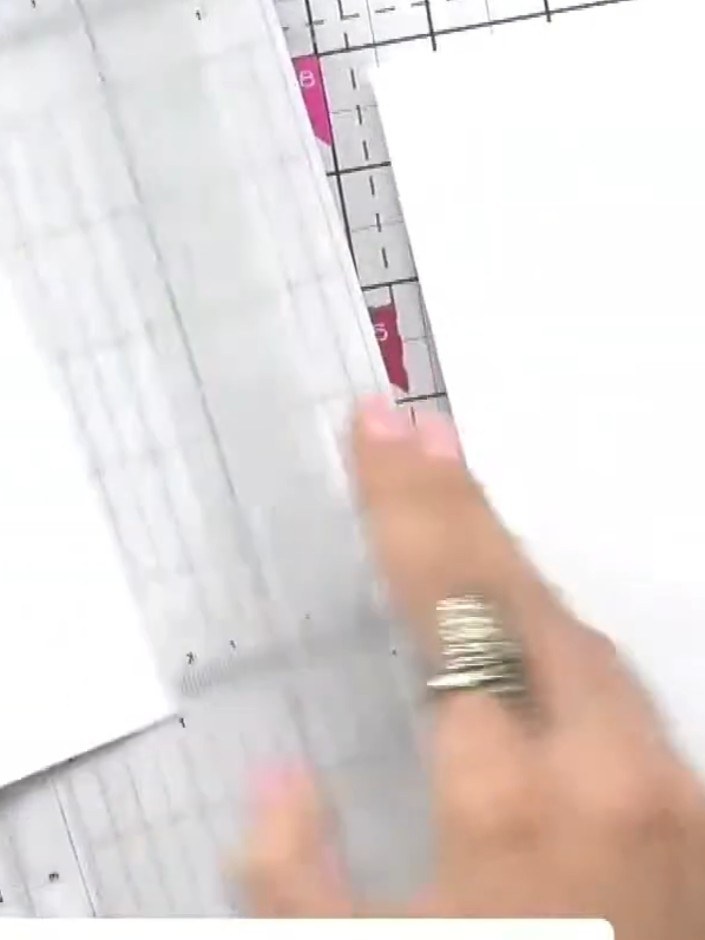
Cut a square of white cardstock to your desired size for the card base.
▶ watch this step (28:15)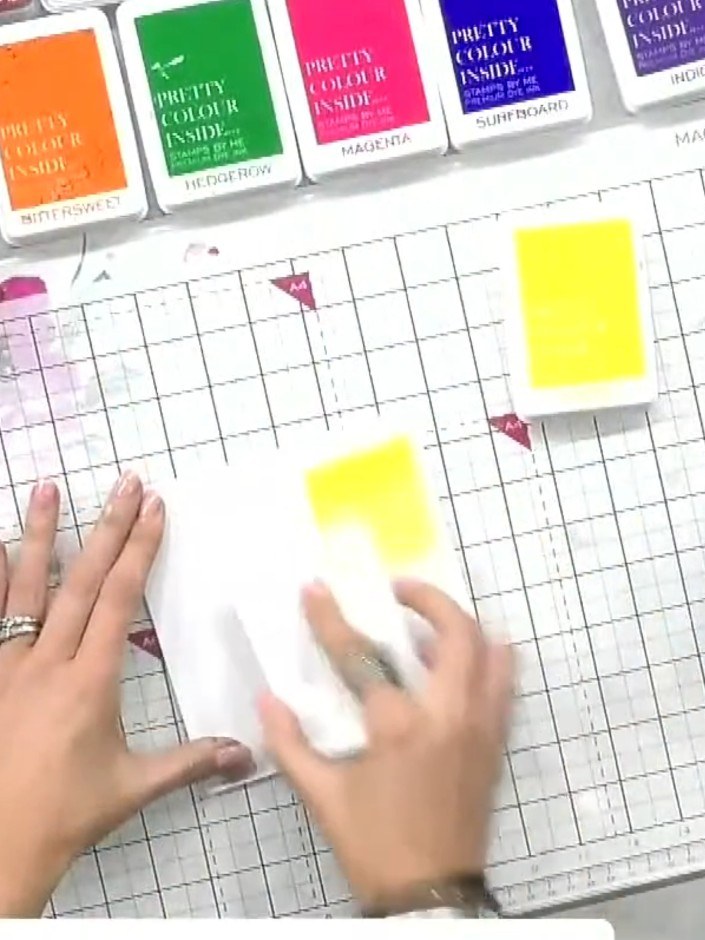
Using various coloured ink pads (yellow, orange, purple, blue), dab spots of colour randomly across the white cardstock base. Build up the colours by pressing the ink pads directly onto the card.
▶ watch this step (28:30)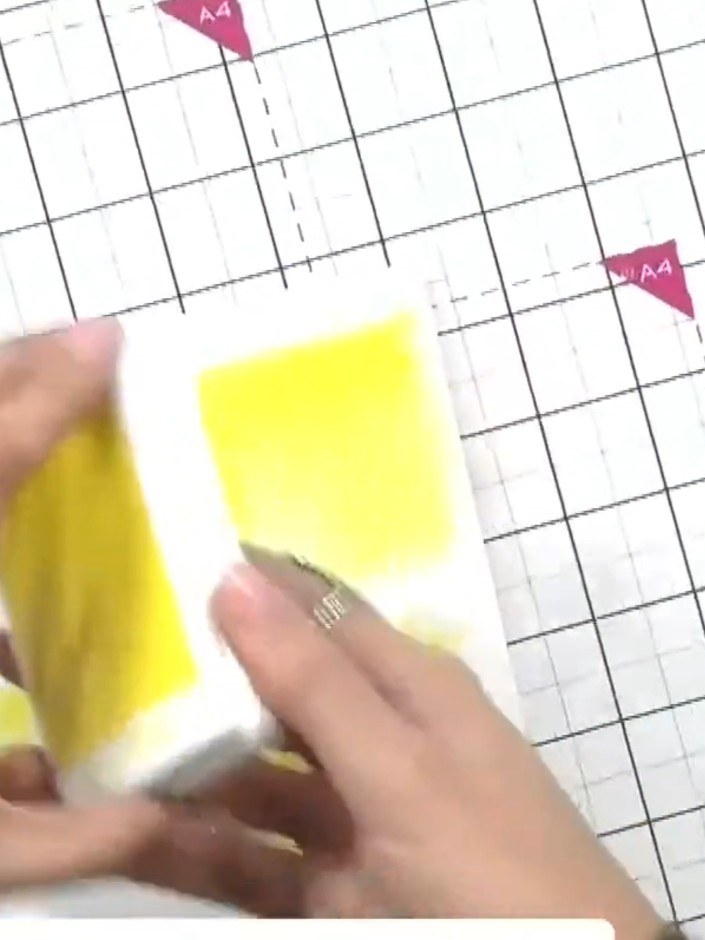
Working over a spray box, apply yellow mica spray over the coloured ink pads to create a shimmering effect and blend the colours together.
▶ watch this step (29:00)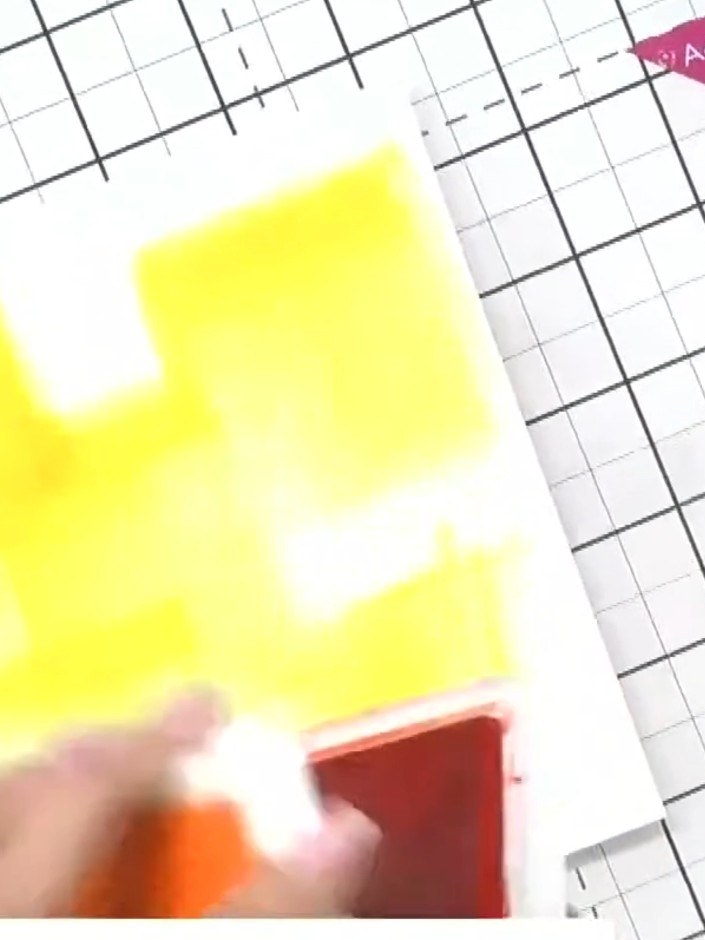
Allow the sprayed background to dry completely. The yellow and orange inks should be fully dry before proceeding to the next step.
▶ watch this step (29:30)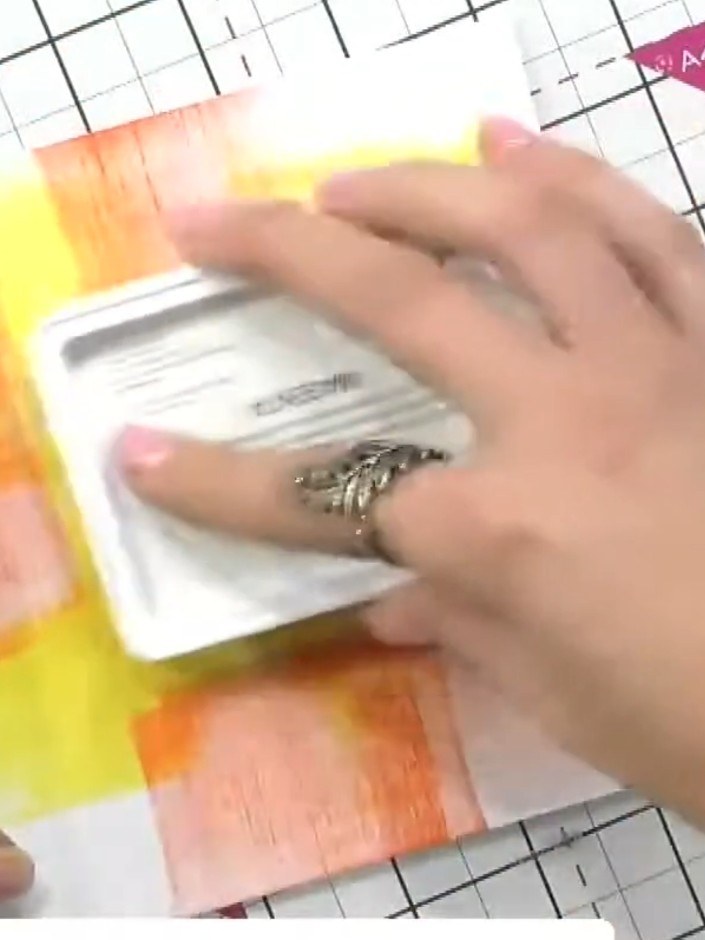
Ink both sides of your chosen embossing folder with black ink pad. For this project, use the 'love' sentiment folder from the set. Ensure both the top and bottom surfaces of the folder are evenly covered with ink.
▶ watch this step (30:00)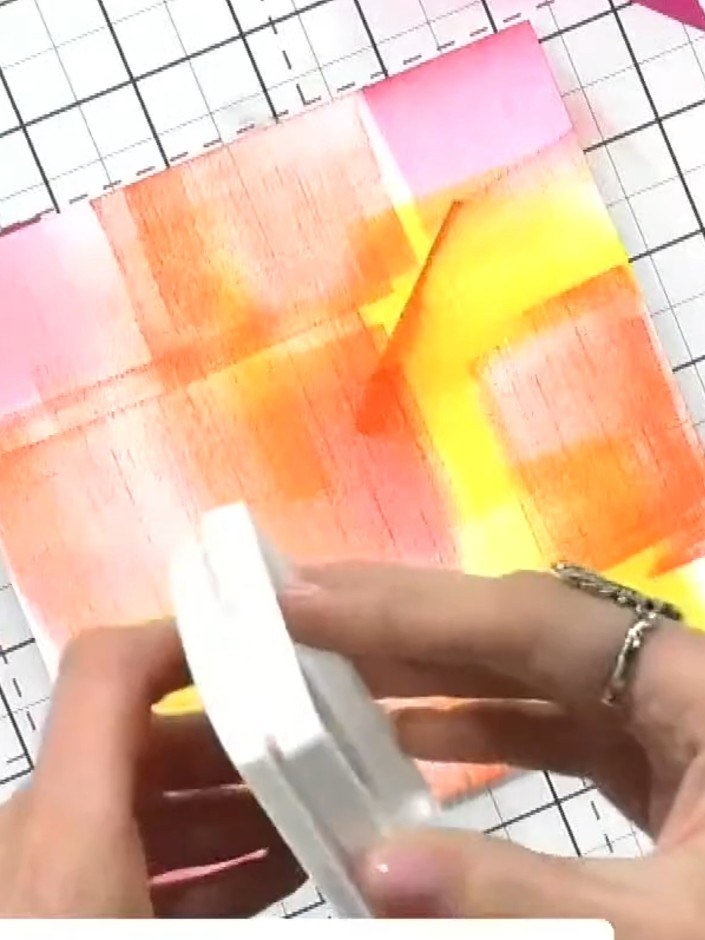
Place the dried, sprayed cardstock into the inked embossing folder, ensuring it is positioned centrally within the folder.
▶ watch this step (30:15)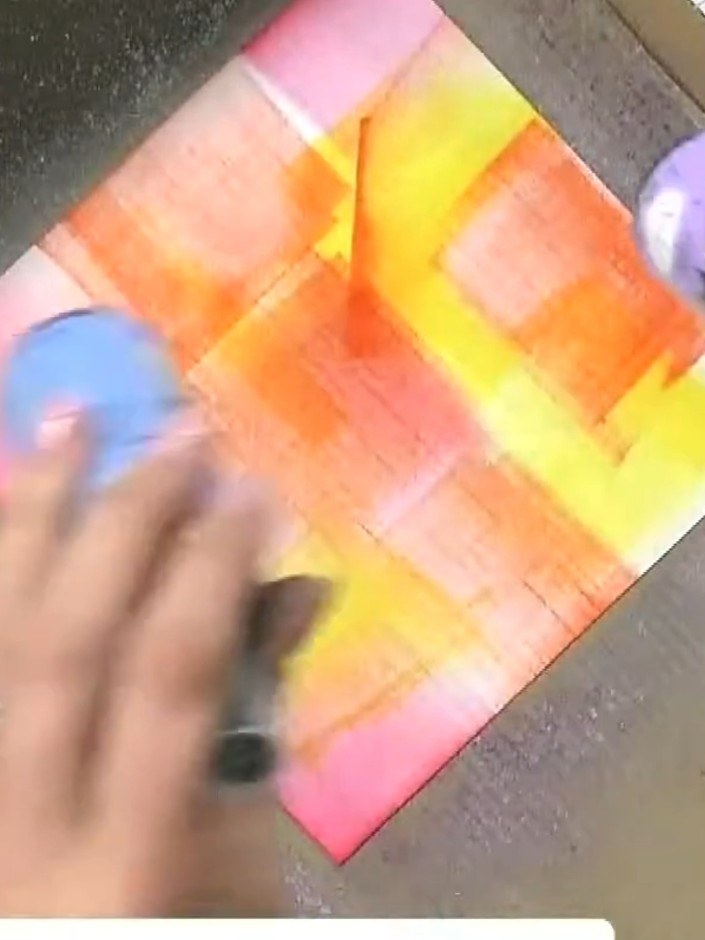
Place your inked card with the sentiment stamp on top into the embossing folder. Run through your embossing machine to emboss the sentiment onto the colourful background.
▶ watch this step (30:30)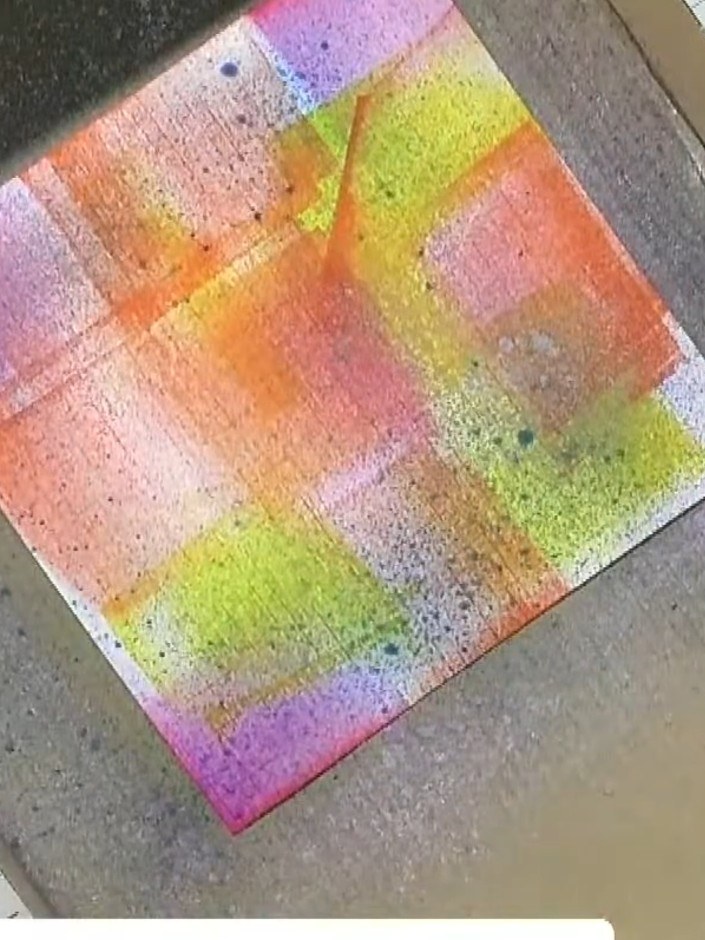
Using a white ink pad, tap or swipe over the embossed words to highlight them and make them stand out against the coloured background.
▶ watch this step (31:00)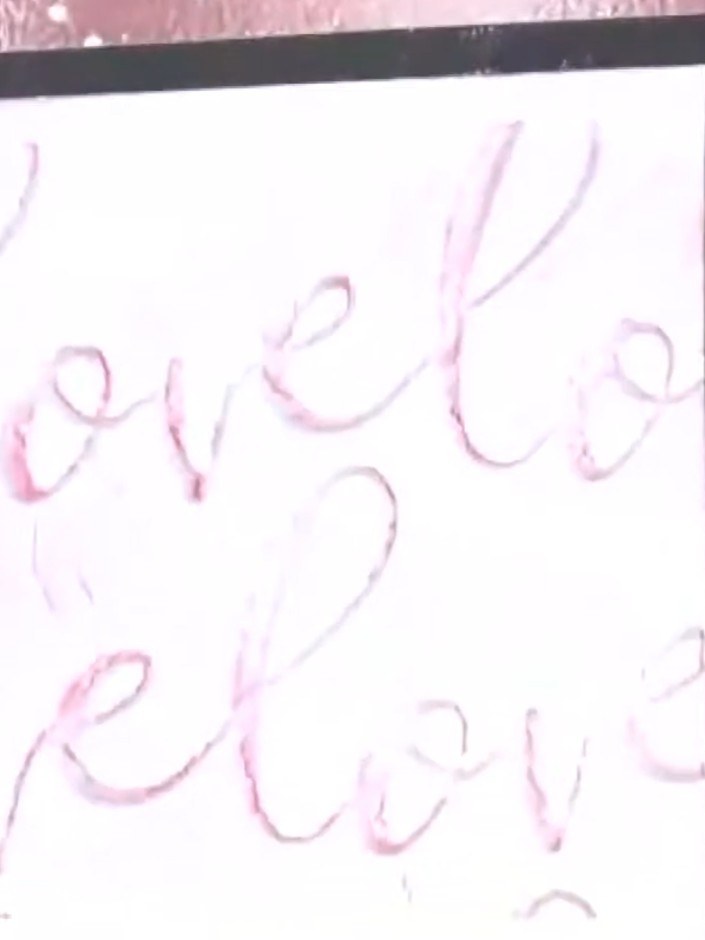
Add embellishments such as die-cut elements or sentiment tags to complete your card. Position them on the inky spray background to enhance your design.
▶ watch this step (31:30)Written up from the show itself. See every guide from our shows · free how-to guides · watch live on My Telly