Give your friends €10 off their first order!
Refer a FRIEND








A project from our live show CREATE AND CRAFT TV - Join Toni for her brand new launch show 3 - broadcast 17th Oct 23 · 17/10/2023 · watch it from 18:00
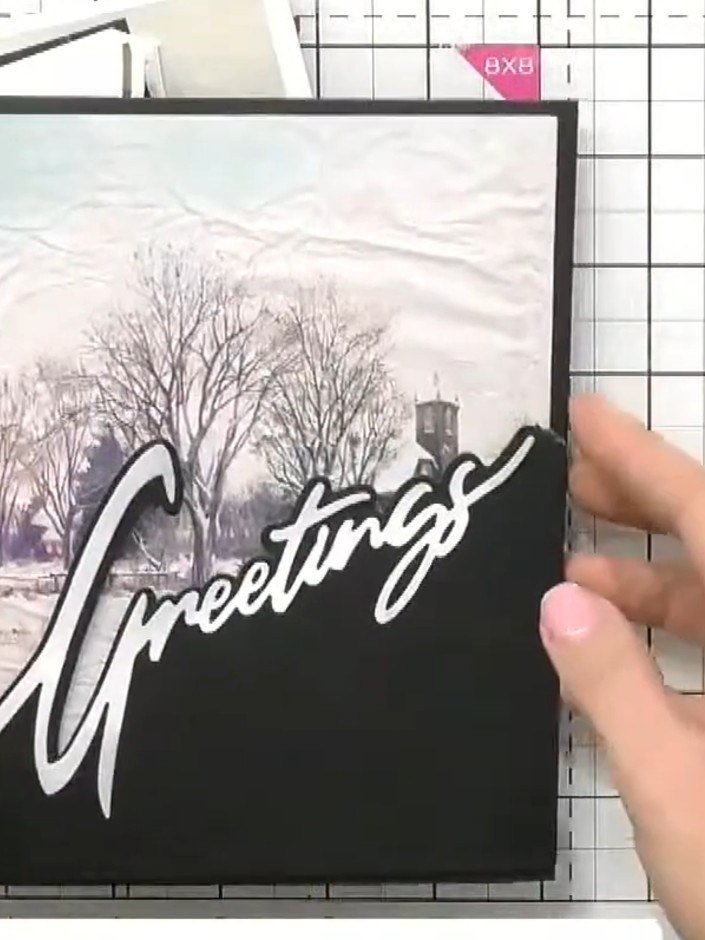
Make a stunning winter scene card with a diagonal snow drift word die flowing from corner to corner. The design features a painted snowy landscape with evergreen trees and elegant script text, creating a sophisticated festive greeting. Use die-cutting, stamping and optional 3D layering techniques to build depth and visual interest.
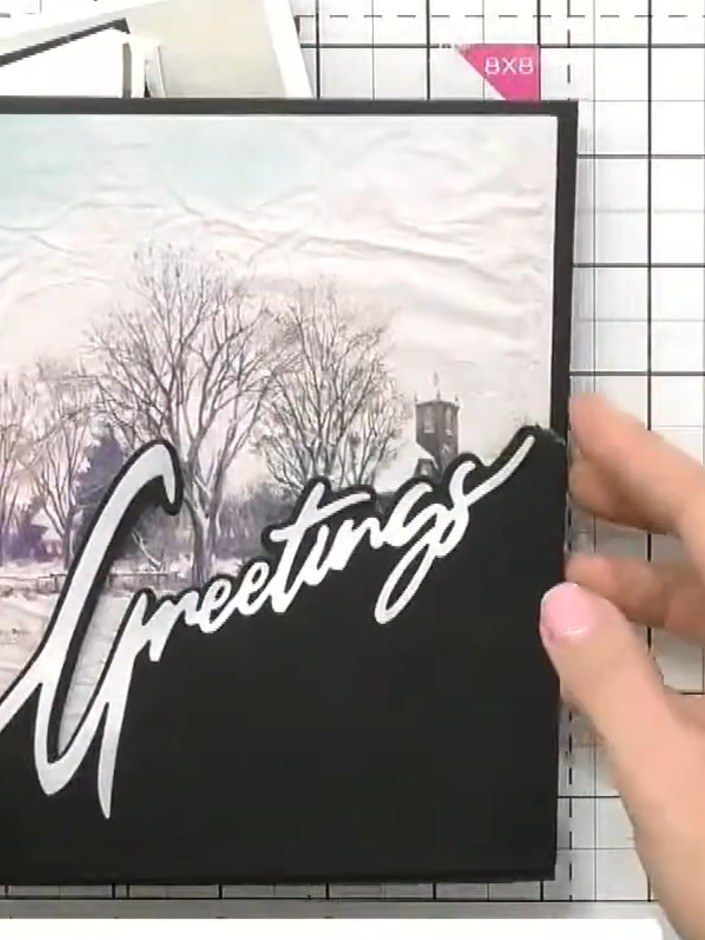
Select a snow drift word die (such as 'Greetings') and position it diagonally across your card from one corner towards the opposite corner. The word should run from the bottom left to the top right of your mounted winter scene.
▶ watch this step (18:00)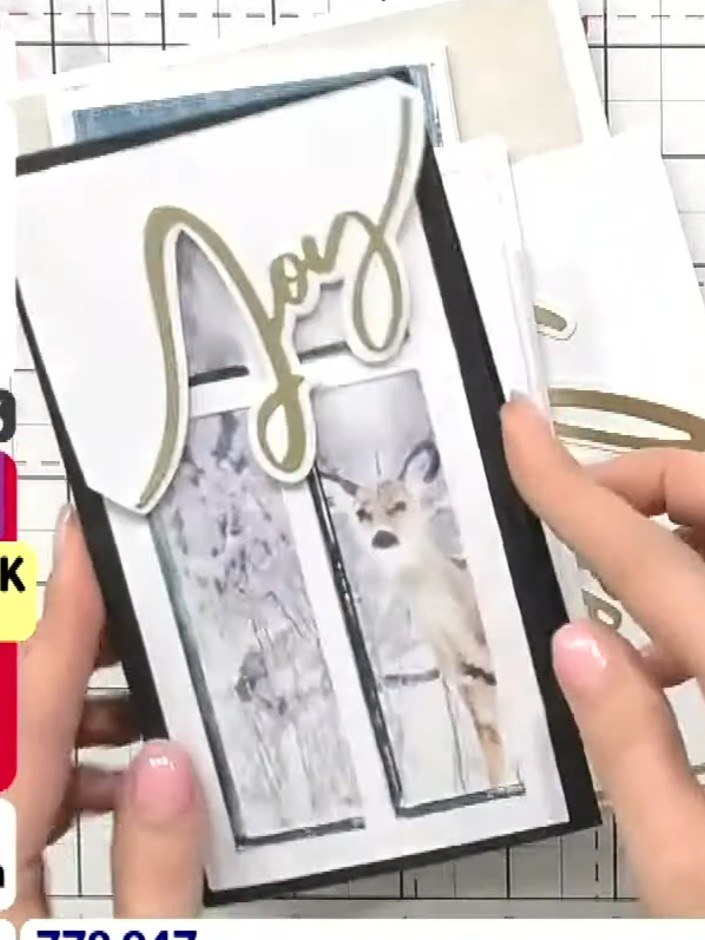
Run the die through your cutting machine to cut out the word shape from your card base. The die cuts out decorative word sentiments that can be layered onto your festive cards.
▶ watch this step (18:15)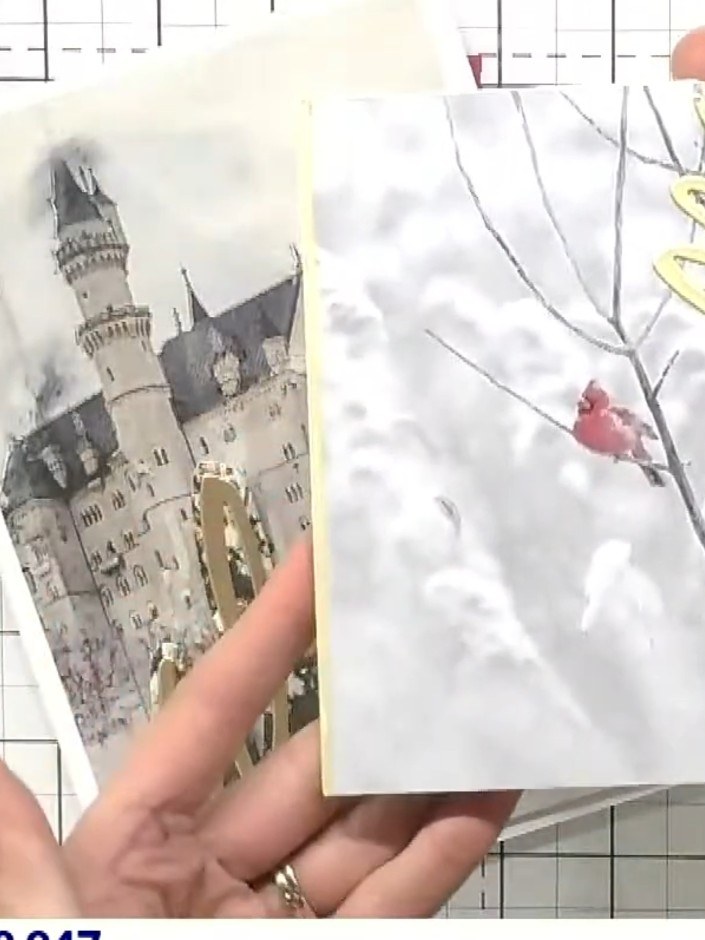
Layer one of the painted mount toppers on top of your card using 3D foam pads to create dimension. Position the topper carefully to ensure even spacing around the edges.
▶ watch this step (18:30)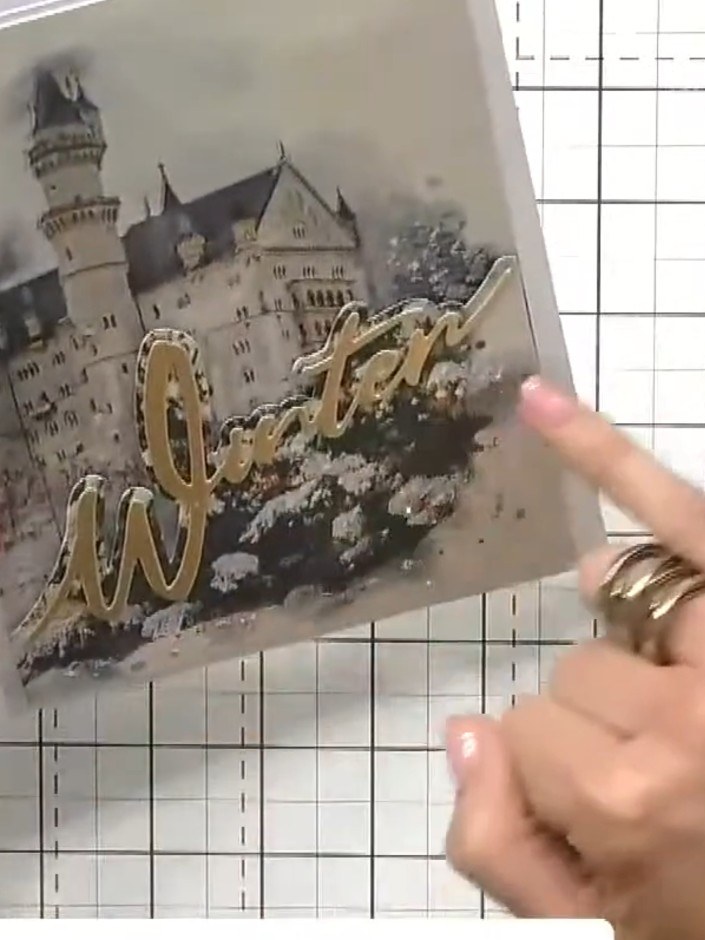
Adhere the layered topper to the card front, positioning it to complement the corner-to-corner 'Winter' word placement. Ensure the castle image and gold sentiment are centred and aligned with the diagonal design.
▶ watch this step (18:45)Written up from the show itself. See every guide from our shows · free how-to guides · watch live on My Telly
