Give your friends €10 off their first order!
Refer a FRIEND








A project from our live show CREATE AND CRAFT TV - Join Toni for her brand new launch show 3 - broadcast 17th Oct 23 · 17/10/2023 · watch it from 9:45
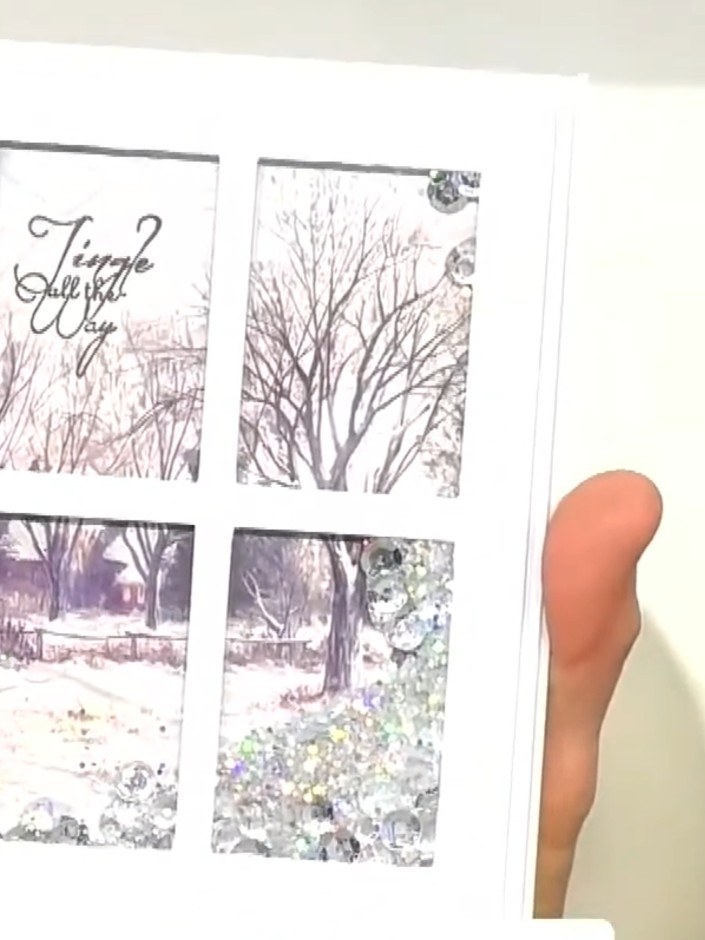
Create a charming shaker card featuring a rustic window frame die-cut with acetate panels. The design showcases a vintage bicycle with yellow flowers against a cottage window backdrop, with pink glitter embellishments adding sparkle to the frame. This project combines die-cutting, stamping and shaker card techniques to create an interactive greeting card perfect for any occasion.
 Christmas Window Die - Beautiful View - 060323ASEE IT
 Christmas Window Die - Look & See - 060323DSEE IT
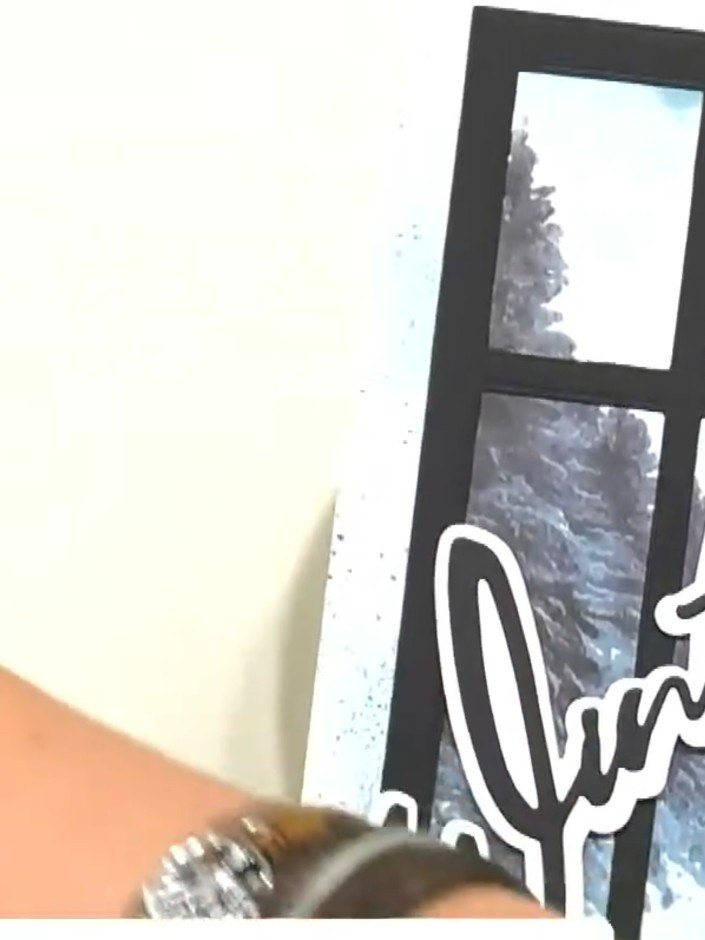
Cut out a window die from your white card base using the Christmas Window Die. The die creates a frame with four rectangular apertures that will showcase your painted mount scenes.
▶ watch this step (9:45)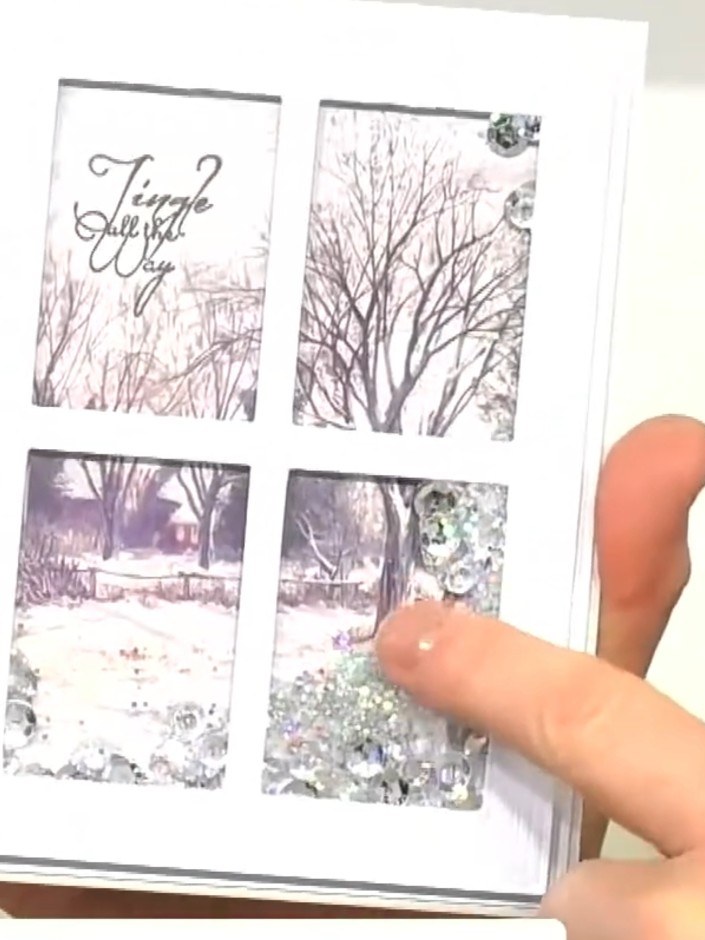
Adhere a piece of acetate behind the window opening on your card front to create a shaker chamber. Ensure the acetate covers the entire window area securely.
▶ watch this step (10:00)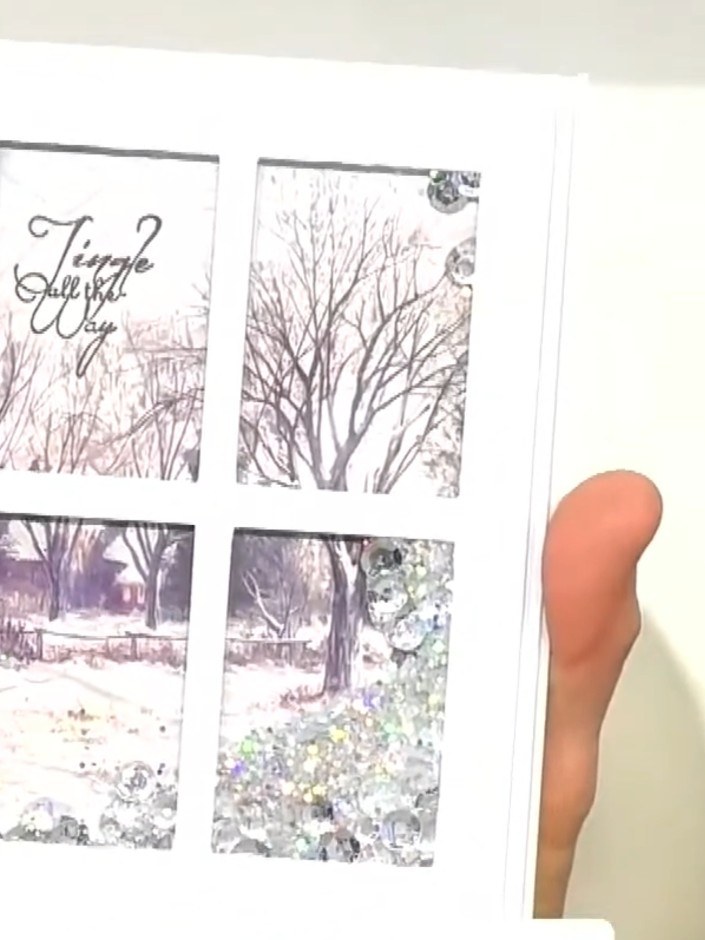
Add sparkly embellishments or sequins into the shaker chamber between the card base and the acetate window panel to create movement and dimension.
▶ watch this step (10:05)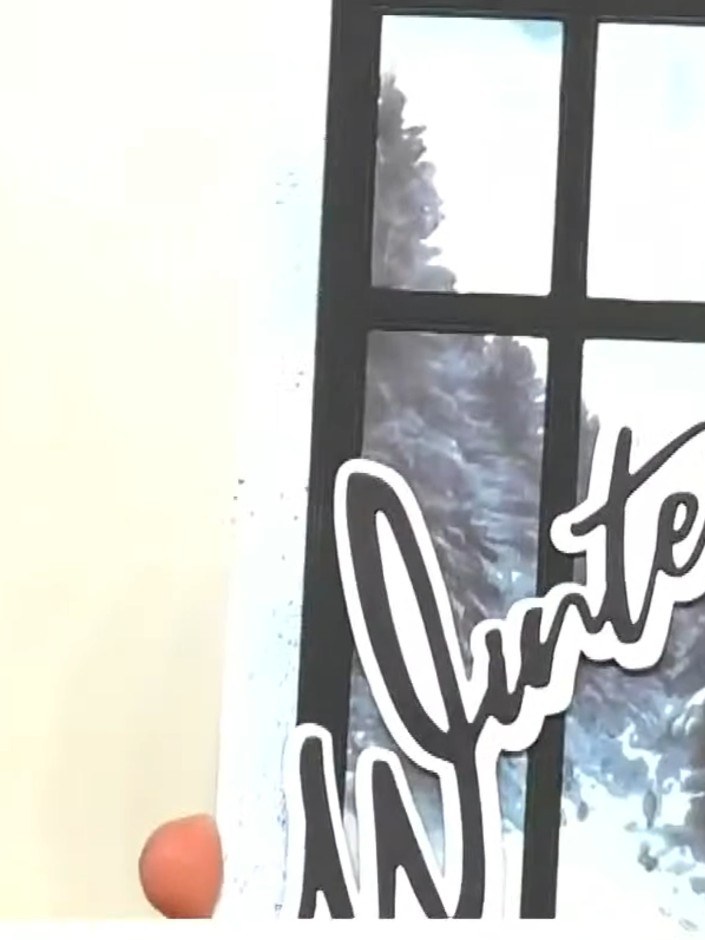
Seal the back of the shaker card by adhering another layer of card over the acetate window to contain the shaker contents. This creates a complete enclosure for the sequins or embellishments inside.
▶ watch this step (10:10)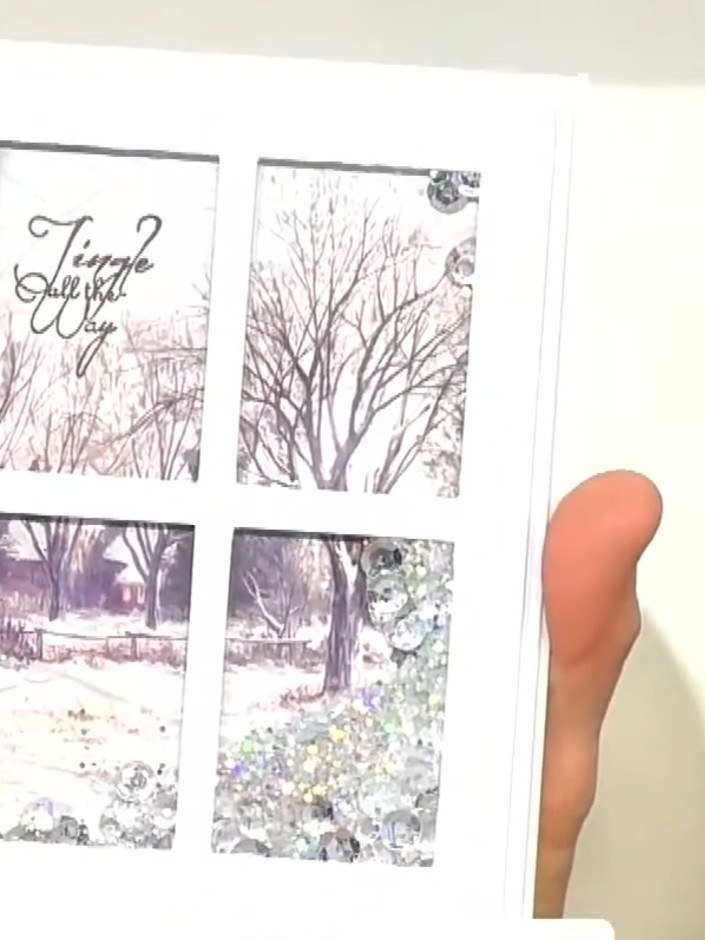
Display the finished shaker card to show the window frame design with the sparkle elements that move freely behind the acetate window.
▶ watch this step (10:15)Written up from the show itself. See every guide from our shows · free how-to guides · watch live on My Telly