Give your friends €10 off their first order!
Refer a FRIEND








A project from our live show HOBBYMAKER TV - Join us for the latest show - Broadcast 1 p.m. (UK) 8th June 2026 · 08/06/2026 · watch it from 40:15
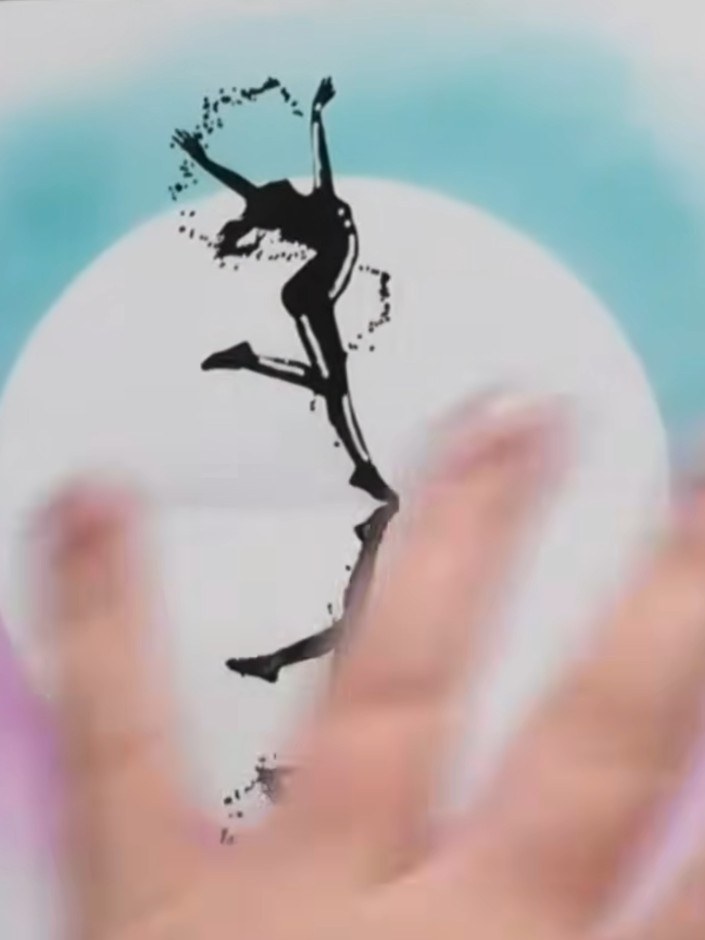
Create a striking silhouette card featuring a dancer in two poses - one upright and one reflected below - stamped in black ink on a circular gradient background. The design uses a beautiful blue-to-pink ombre effect with the reflection technique enhanced by a purple floor line and white gel pen highlights for a dynamic, modern look. This contemporary card combines stamping and ink blending techniques to produce an eye-catching piece perfect for celebrating friendship and movement.
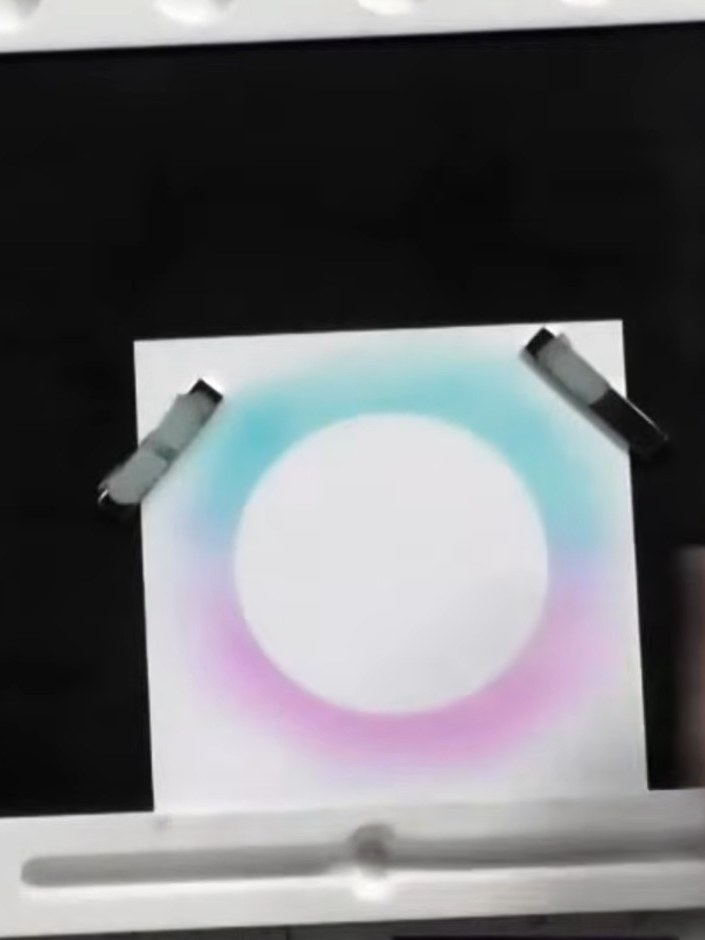
Select a background stamp featuring a circle design and stamp it onto white card. The example shows a gradient circle in blue and purple tones. Secure the stamped card to a black card mat with masking tape at the corners.
▶ watch this step (40:30)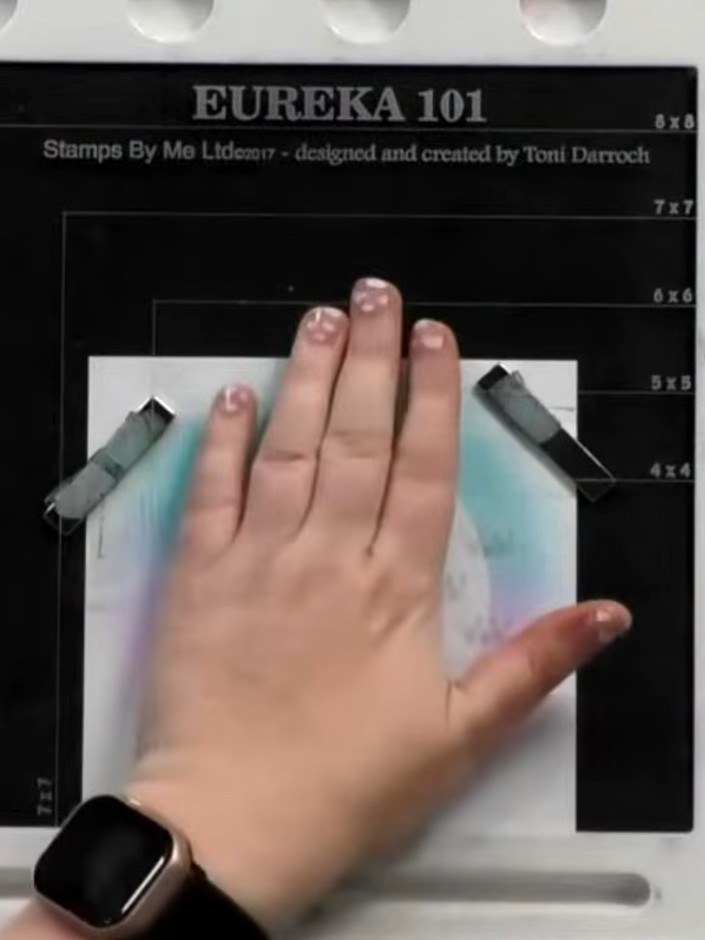
Position the reflection dancer stamp in the centre of the blended background panel. Use your hand to hold it firmly in place on the stamping platform.
▶ watch this step (40:45)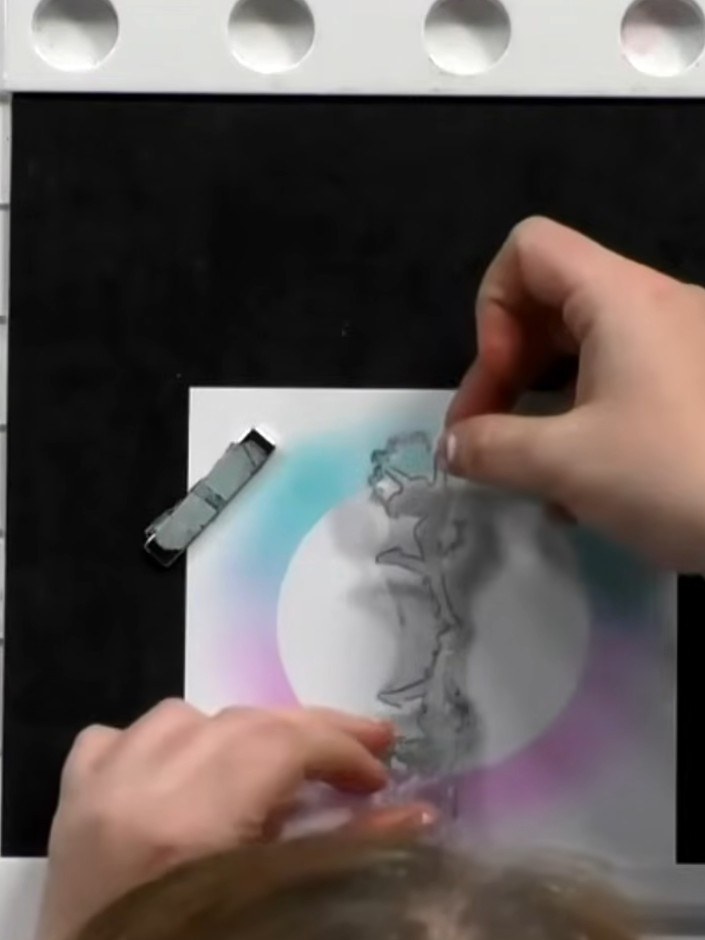
Apply black ink fully over the top dancer stamp image to create a solid silhouette effect. Use your ink applicator to cover the entire stamped design completely.
▶ watch this step (41:00)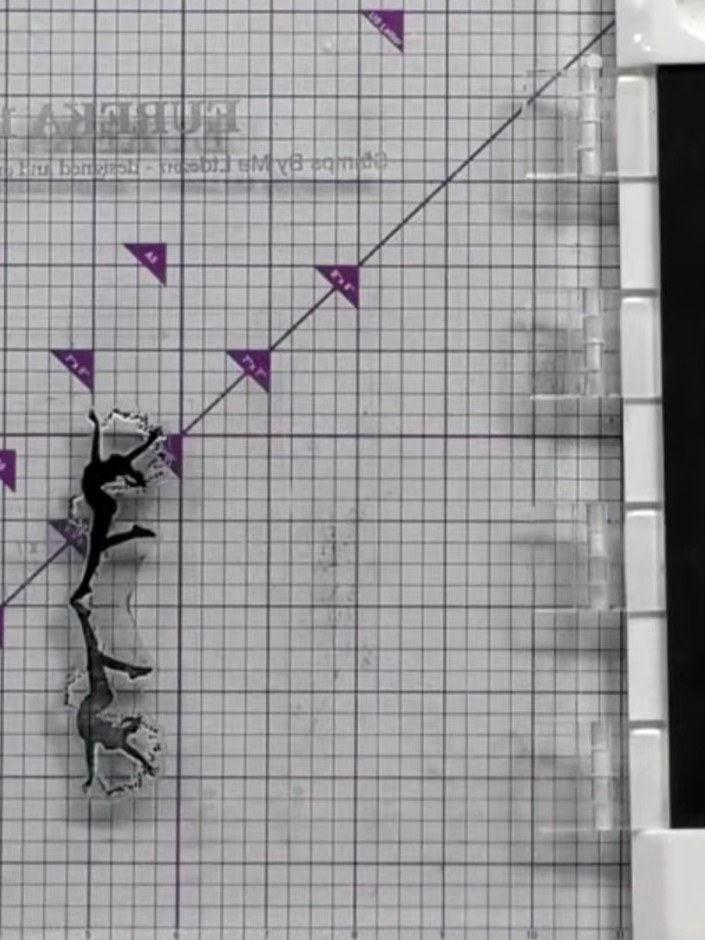
Flip the stamp over and stamp the reflected dancer image below the first dancer, creating a mirror effect. Position it carefully to align with the circular gradient background.
▶ watch this step (41:45)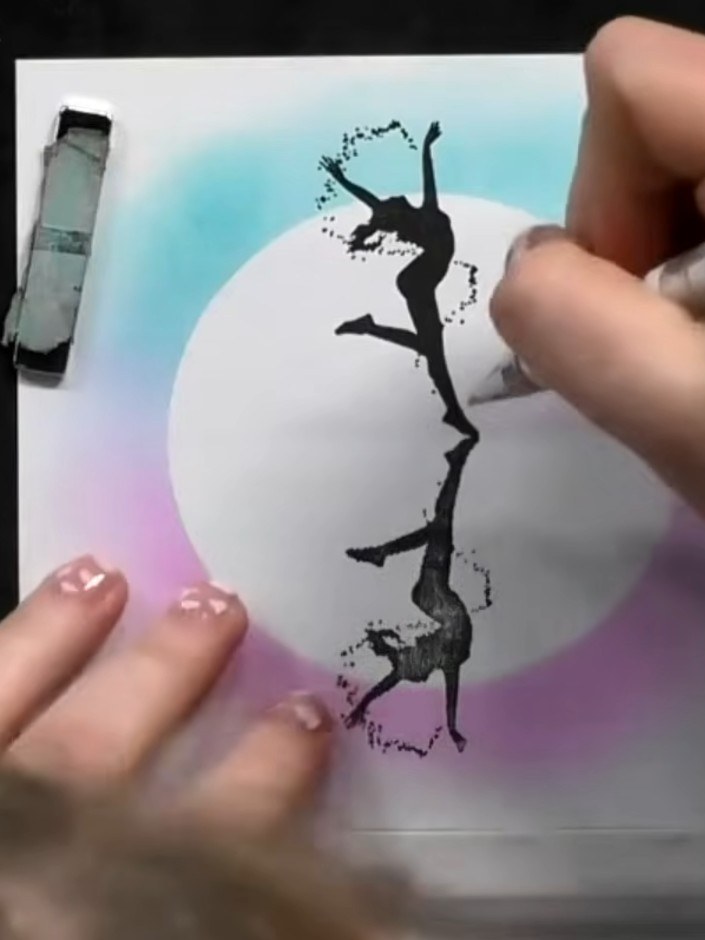
Using a white brush pen or white ink with a brush, add a faux floor line across the centre of the card between the two dancer silhouettes.
▶ watch this step (42:00)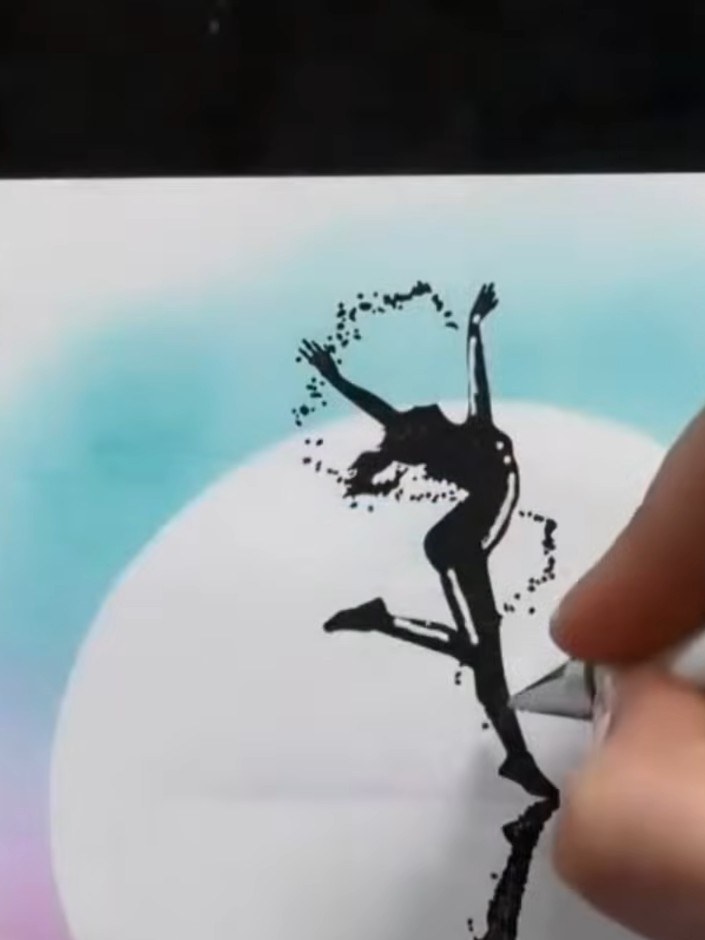
Allow the stamped silhouette image and ink blended background to dry completely before proceeding to the next step.
▶ watch this step (42:30)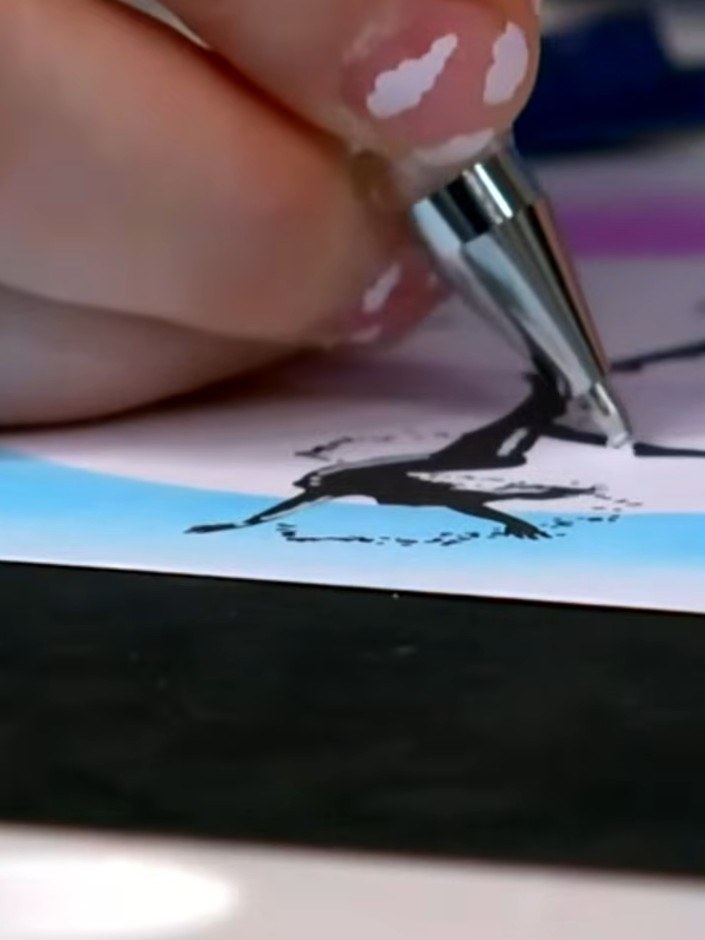
Using a white gel pen, add highlight details to the silhouettes such as shine marks and movement lines to enhance the dancing figures and create dimension.
▶ watch this step (42:45)Written up from the show itself. See every guide from our shows · free how-to guides · watch live on My Telly