Give your friends €10 off their first order!
Refer a FRIEND








A project from our live show HOBBYMAKER TV - Join us for the latest show - Broadcast 1 p.m. (UK) 8th June 2026 · 08/06/2026 · watch it from 33:00
Create an elegant envelope embellishment using rubon transfers featuring delicate autumn leaves in warm orange, rust and green tones. This simple technique allows you to apply beautiful botanical designs directly onto your envelope, transforming a plain surface into a sophisticated, coordinated piece. The rubon transfer method gives a professional finish that perfectly complements handmade cards and stationery.
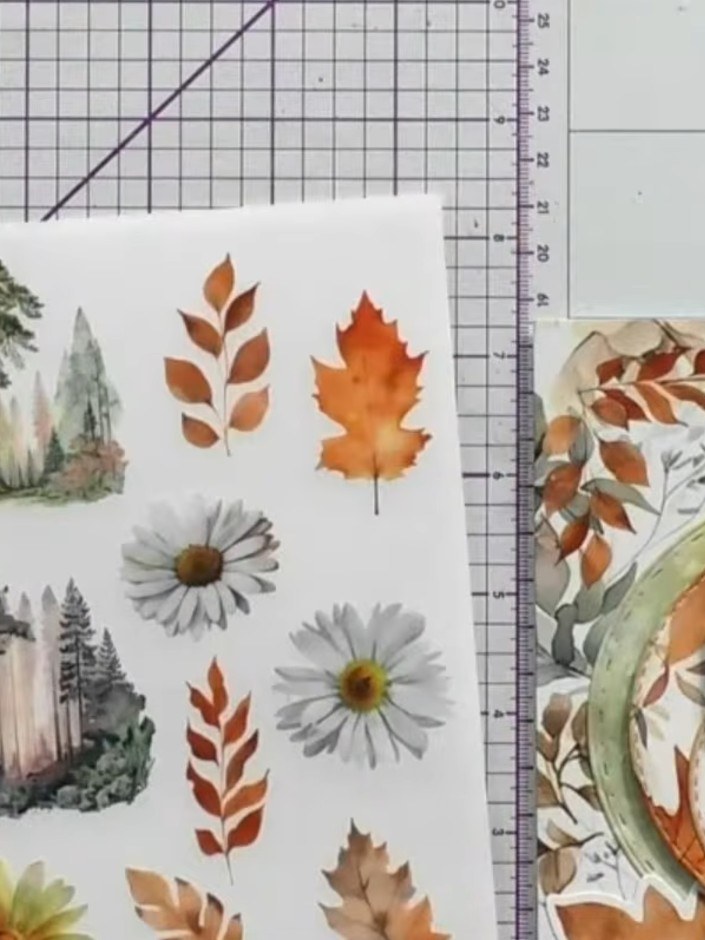
Select a leaf rubon transfer from the Stamps By Me kit. Remove it from the packaging.
▶ watch this step (33:15)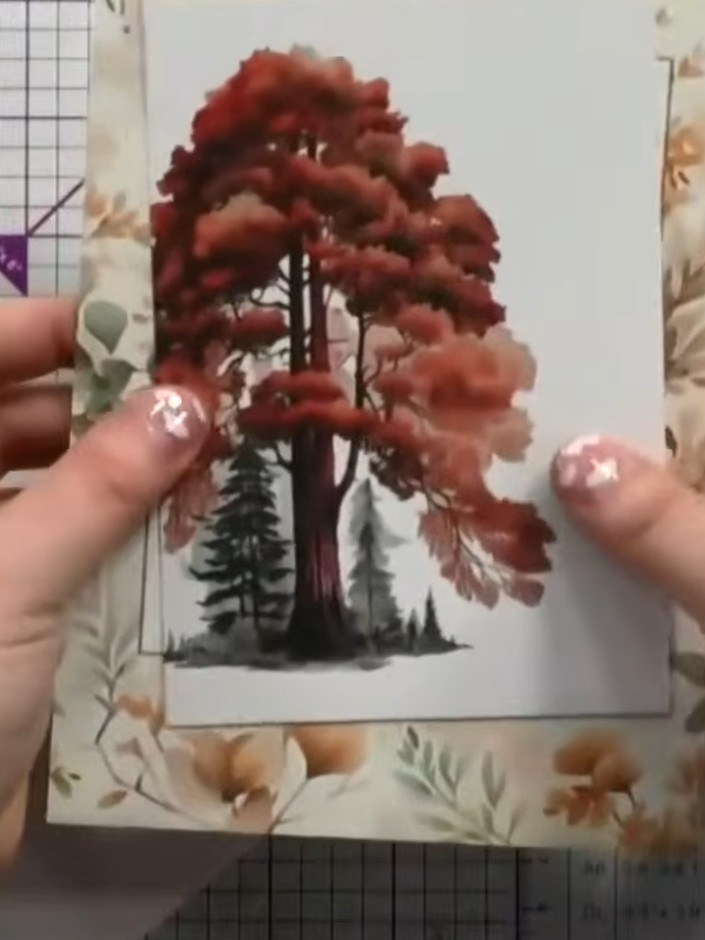
Carefully snip away the leaf design from the rubon transfer sheet using scissors. Keep the bag away from the design to avoid damage. Store the remaining rubons safely for future use.
▶ watch this step (33:30)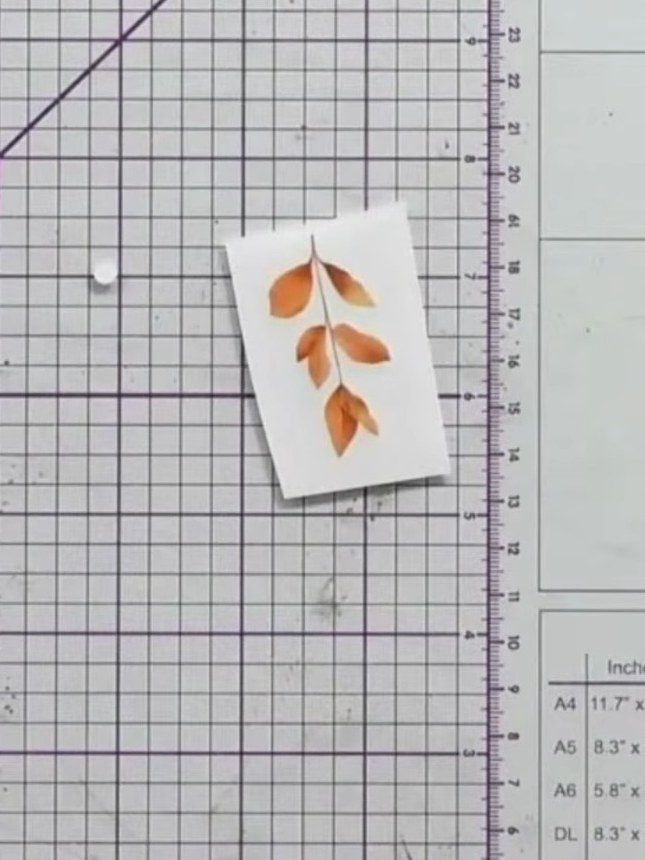
Position the leaf motif on the front of your envelope where you wish it to appear.
▶ watch this step (33:45)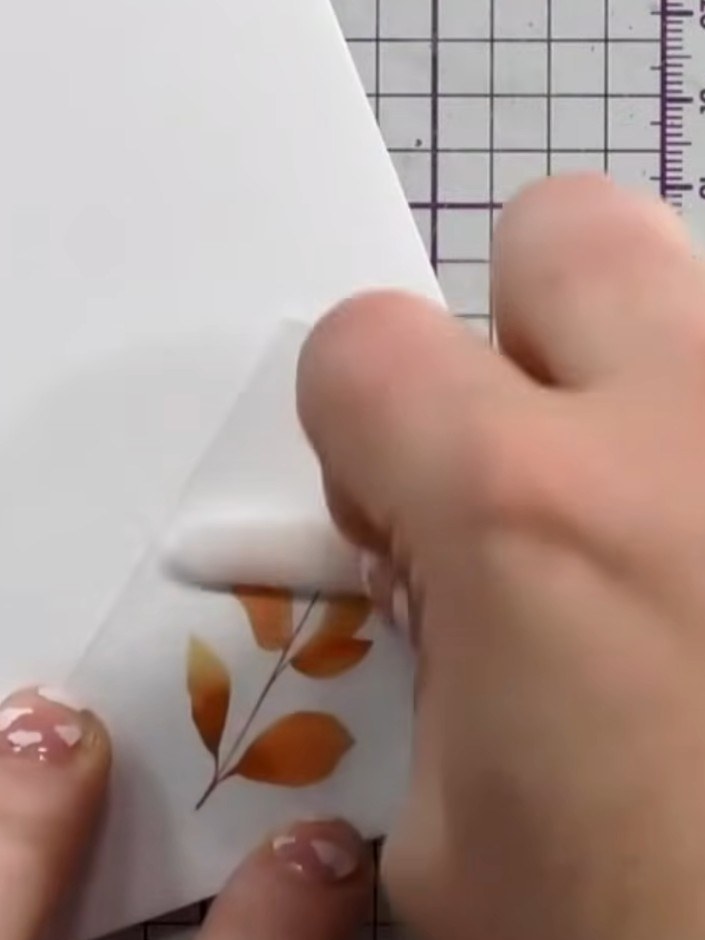
Using a bone folder, lolly stick or ballpoint pen, rub firmly over the rubon transfer to apply the autumn leaf design to the envelope. Apply even pressure across the entire design to ensure good adhesion.
▶ watch this step (34:00)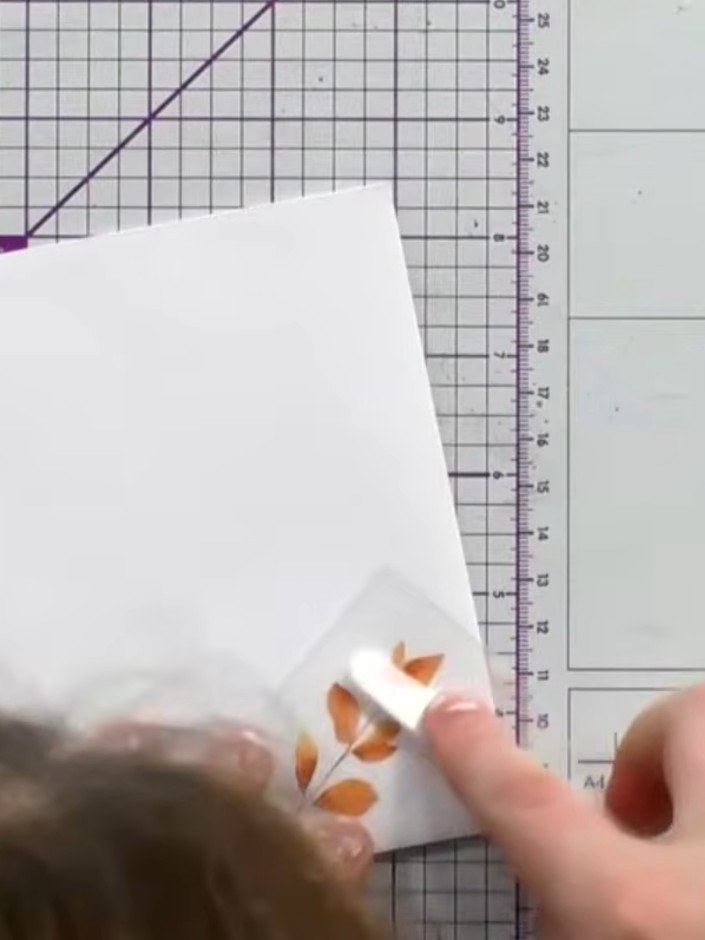
Press down firmly over the transfer with a bone folder or similar tool to ensure it adheres fully to the envelope. Work across the entire design to secure all areas.
▶ watch this step (34:15)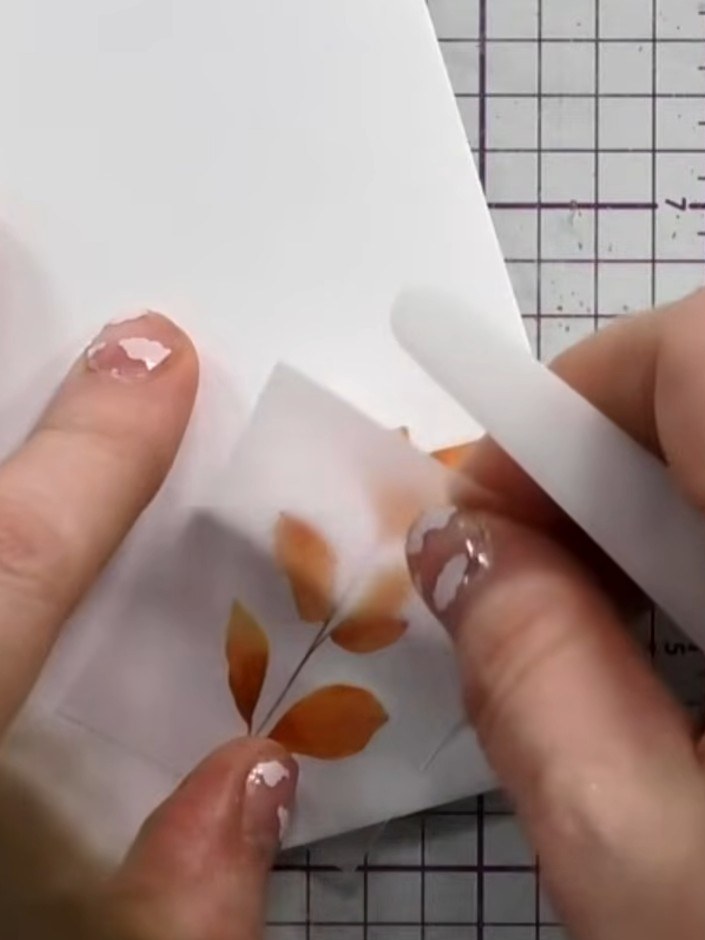
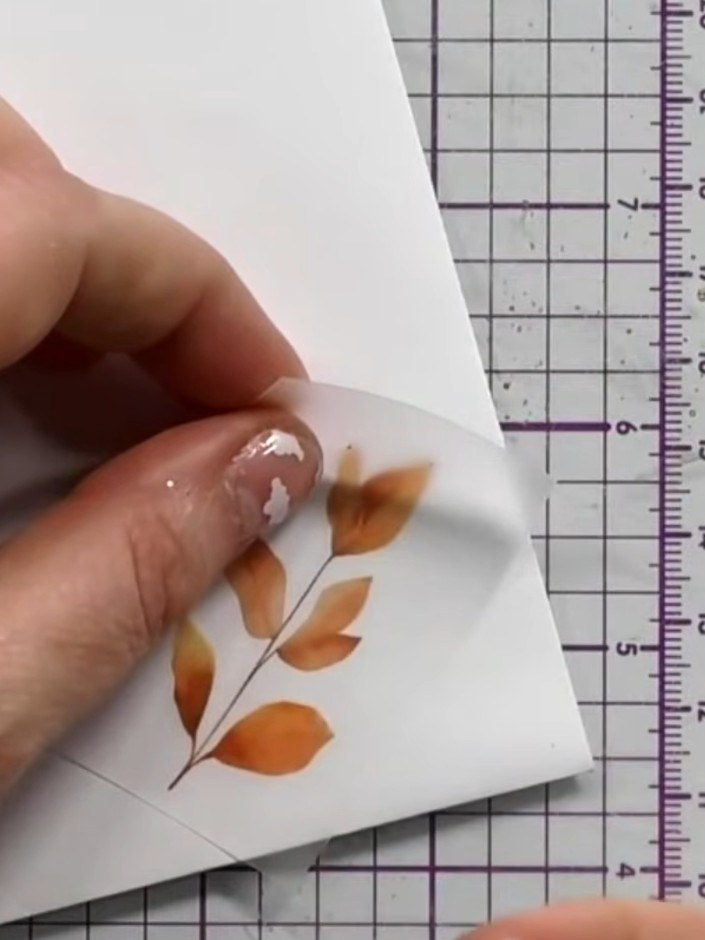
Carefully peel away the rubon backing sheet from the vellum to reveal the transferred orange leaf design on your envelope.
▶ watch this step (34:30)
If any part of the transfer didn't adhere properly, reposition the backing paper over the design and rub again to ensure complete adhesion.
▶ watch this step (34:45)Written up from the show itself. See every guide from our shows · free how-to guides · watch live on My Telly