Give your friends €10 off their first order!
Refer a FRIEND








A project from our live show HOBBYMAKER TV - Join us for the latest show - Broadcast 4 p.m. (UK) 7th May 2026 · 07/05/2026 · watch it from 4:30
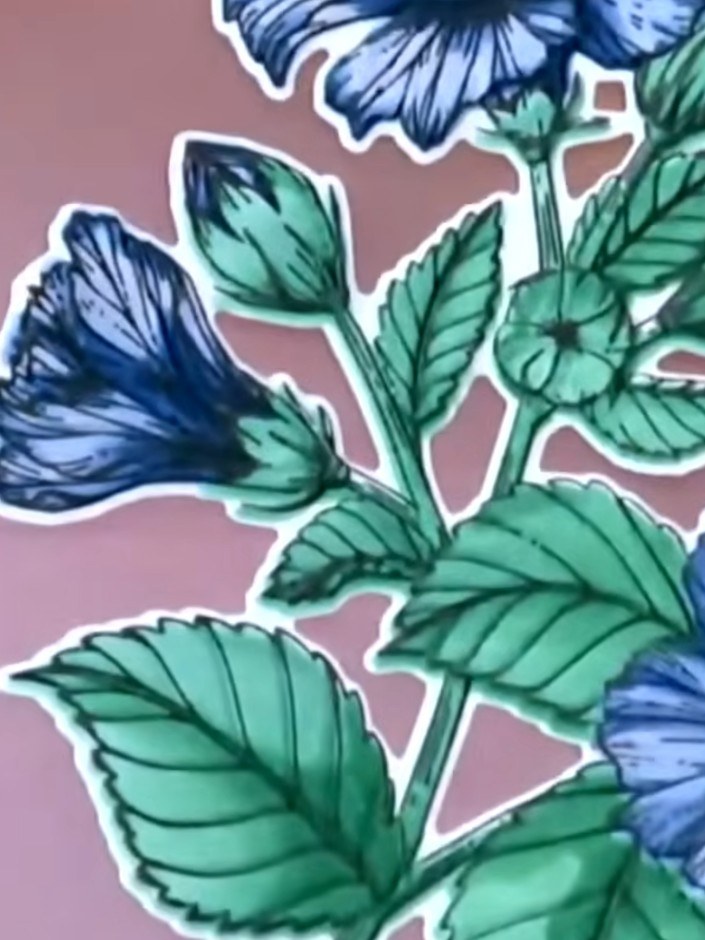
Create a stunning layered floral card featuring beautiful blue hibiscus flowers with green foliage on a dimensional design. This project combines stencilling, stamping, die-cutting and embossing techniques using the Quattrad system to achieve a luxurious raised effect with intricate petal detail. The finished card has a professional, shop-bought appearance with impressive depth and texture.
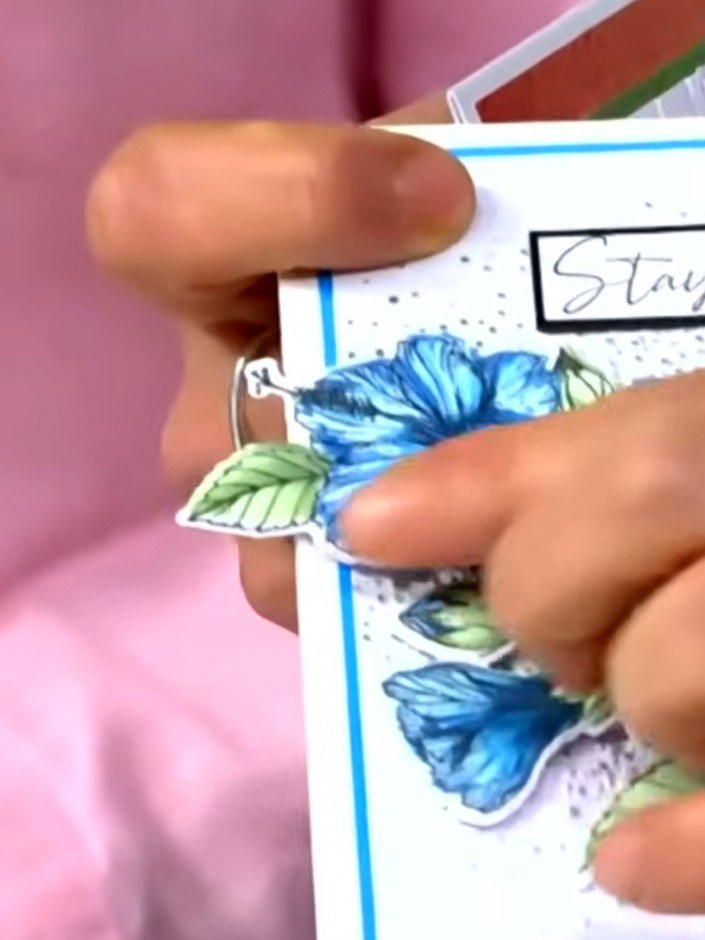
Select the hibiscus stamp set and identify stencil one. Apply teal ink to the stencil using a light pressing motion to create a subtle base layer on your card.
▶ watch this step (6:45)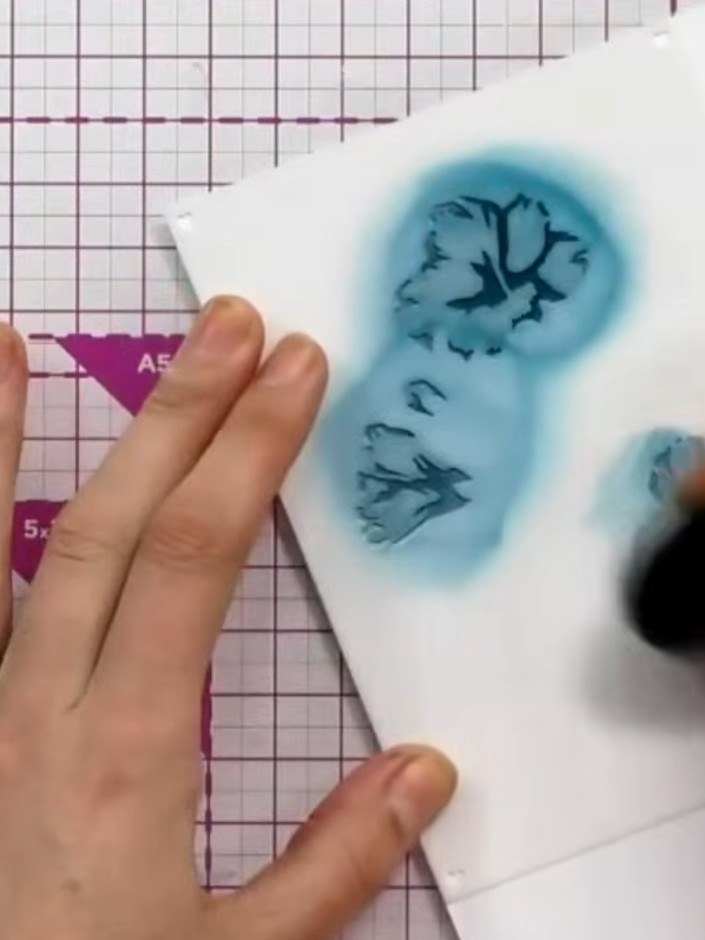
Apply the second stencil with the same teal ink, pressing slightly harder to build up the colour depth and create dimension on the hibiscus flowers.
▶ watch this step (9:15)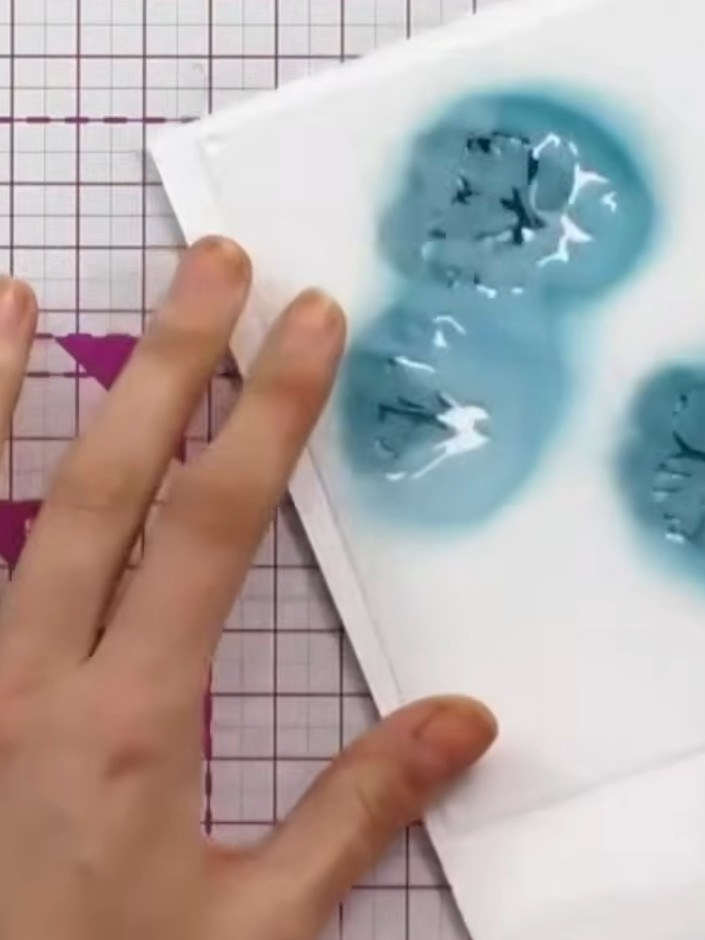
Continue applying the remaining stencils (three through six) in sequence, using the numbered guides on the back of the set. Blend each layer with blue ink, building up the detail and depth of the hibiscus flower design.
▶ watch this step (9:30)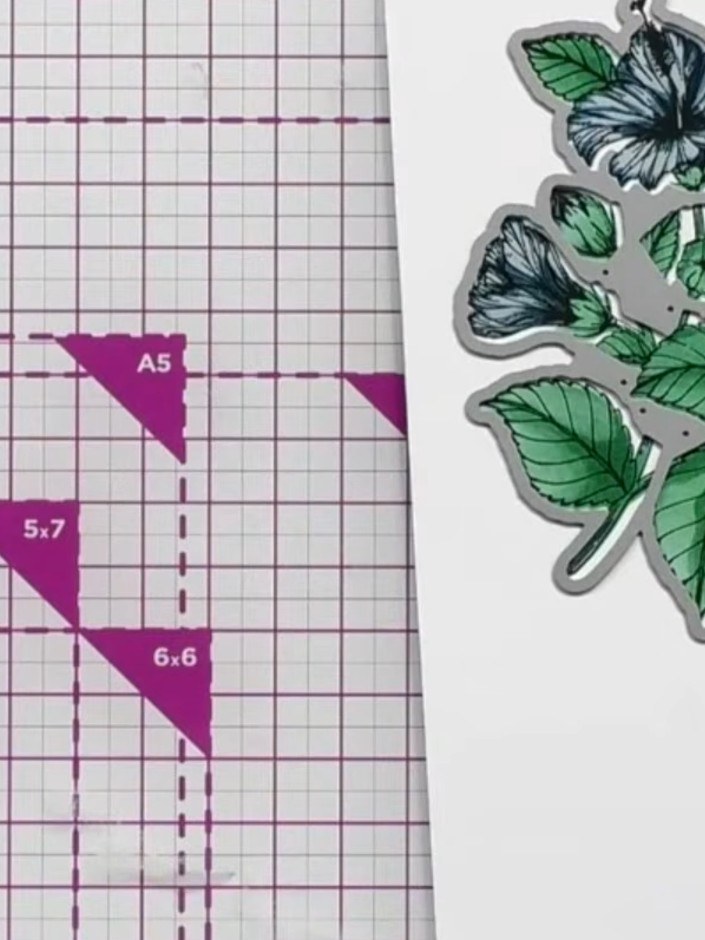
Die-cut the stamped hibiscus design using your craft knife. Carefully remove all the interior cut-out pieces from the design.
▶ watch this step (16:15)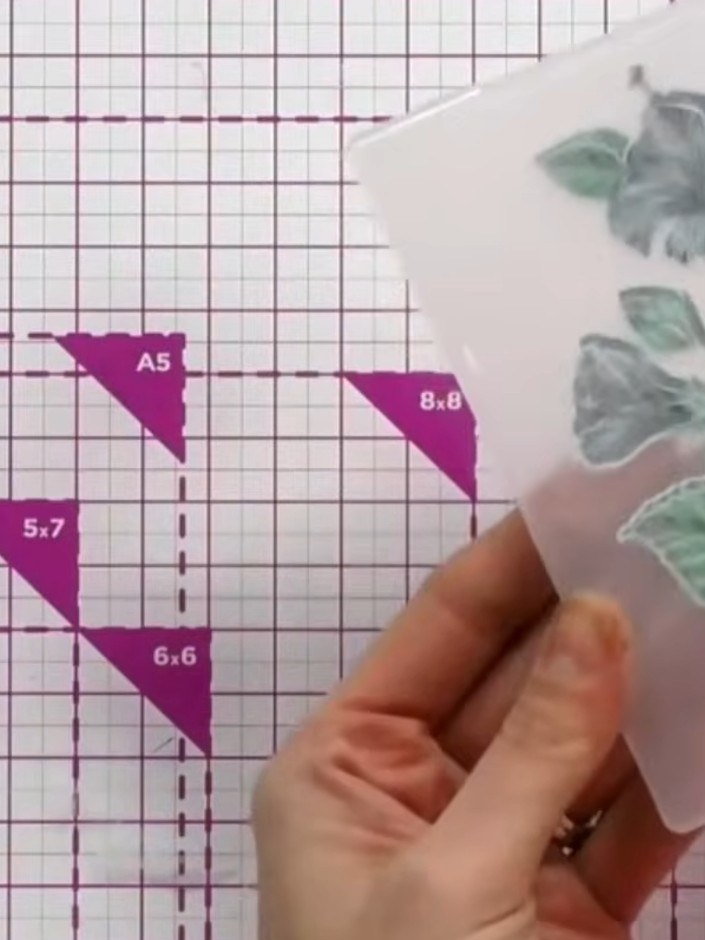
Line up the die-cut floral image with the embossing folder, matching the design to the raised embossed pattern.
▶ watch this step (18:15)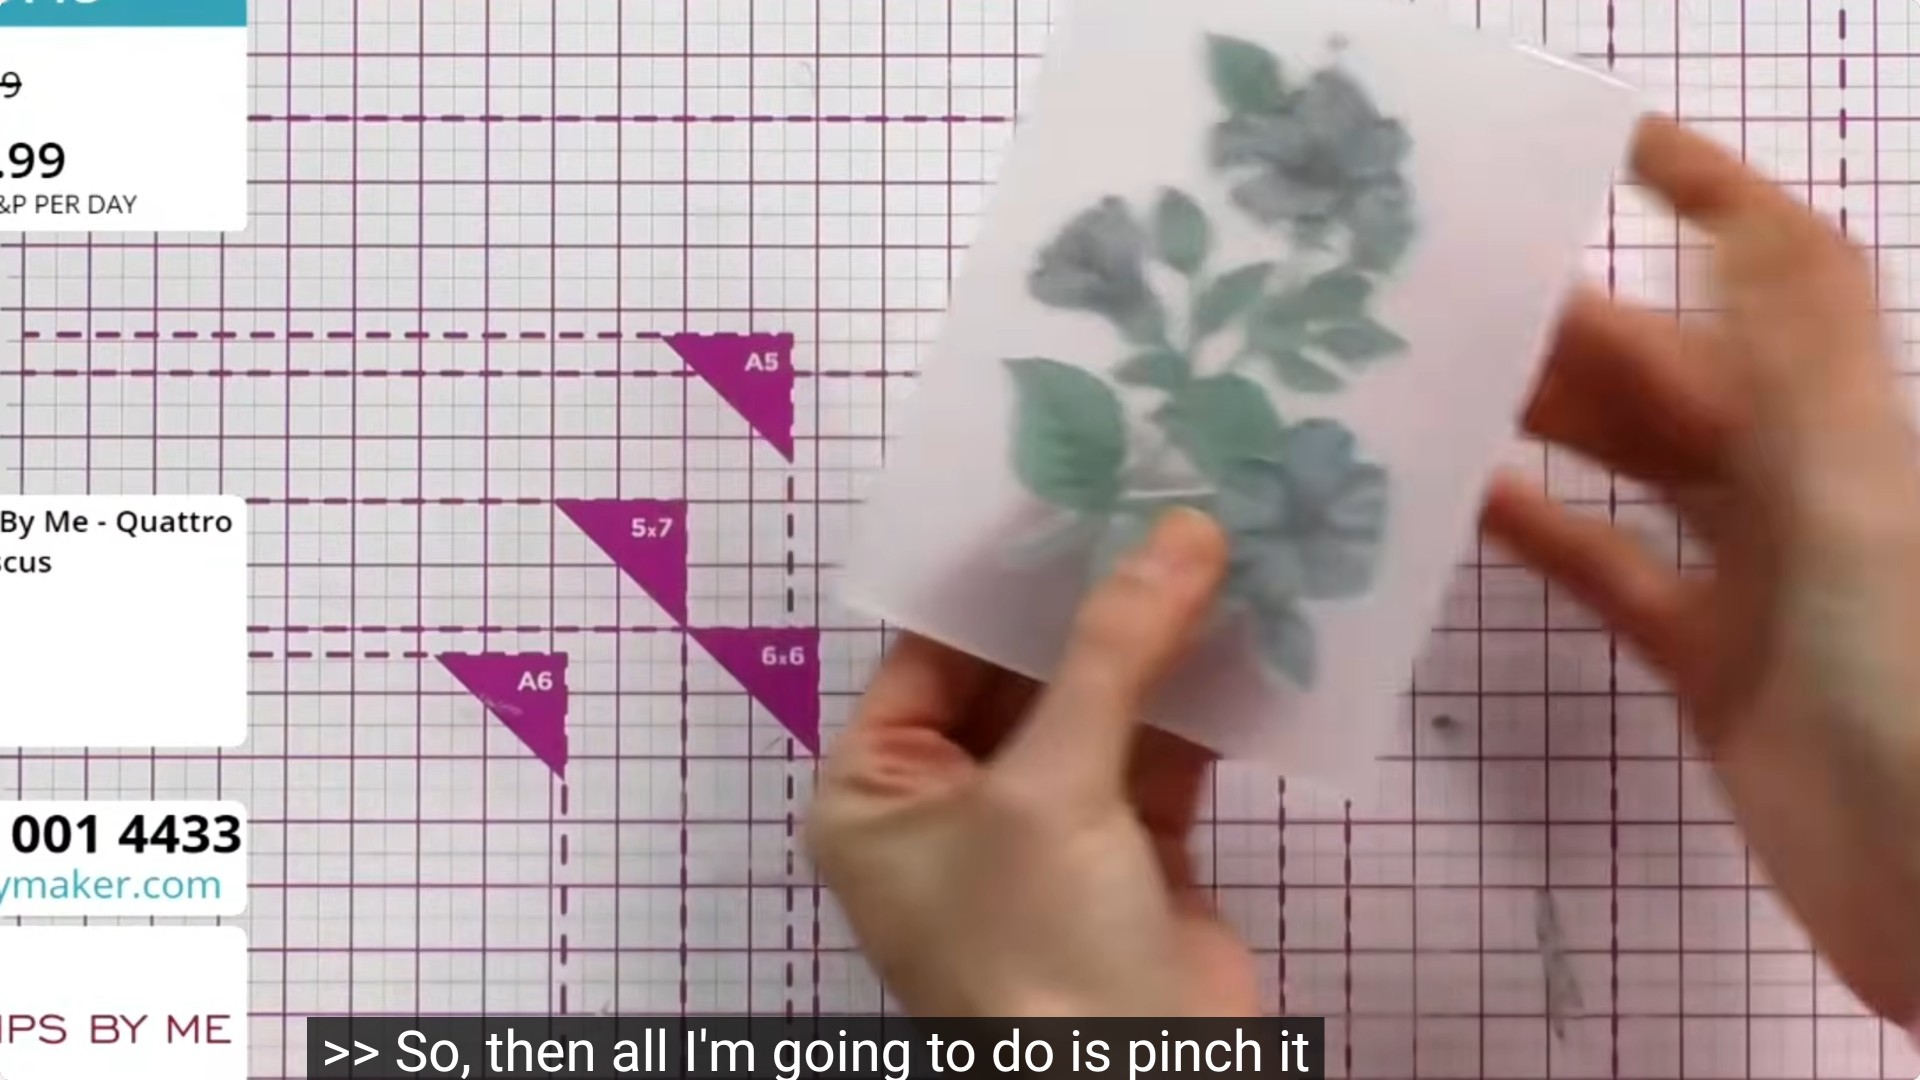
Place the layered hibiscus image into your embossing machine and run it through to create dimension and texture on the floral design.
▶ watch this step (18:45)Written up from the show itself. See every guide from our shows · free how-to guides · watch live on My Telly