tap a picture to see it big · tap DONE as you go - this device remembers
Step 1 of 10
Spray the white card, cut to 6 3/4 x 4 3/4", liberally with water!
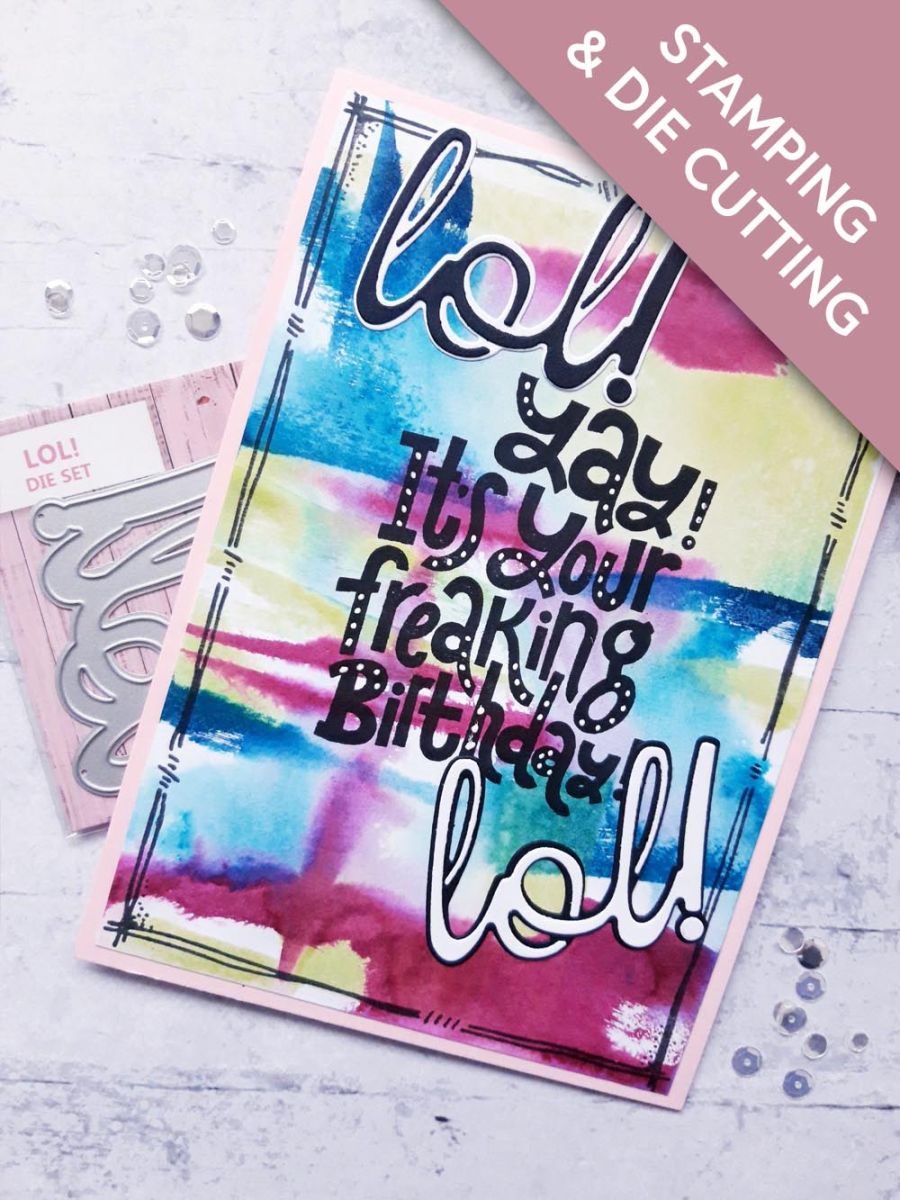
Randomly swipe the 3 Premium ink pads on to the wet card, then spritz again with water! Allow the ink to move freely, then mop up the excess with a paper towel, before blasting it dry with a heat tool. Repeat until you are happy with your arty background.
Step 2 of 10
Ink up the Dash Frame stamp, with the Midnight Hybrid ink and stamp on to your inky background.
Step 3 of 10
Ink up the sentiment from the Craft Stash Stamp Collection, with Midnight and stamp in the centre of your background. Such a fun sentiment!!
Step 4 of 10
Once dry, adhere your artwork on to your pink card blank.
Step 5 of 10
Using the LOL dies, die cut the detailed die from white card and the solid die from black card.
Step 6 of 10
Adhere the white die cut on top of the black die cut mat.
Step 7 of 10
Now do the opposite...die cut the detailed die out of black card and the solid die from white card.
Step 8 of 10
Adhere the black die cut on top of the white die cut mat.
Step 9 of 10
Adhere one of the die cut words to the top left, of the stamped sentiment and the other bottom right, at a jaunty angle!.
Step 10 of 10
To finish, use a white gel pen to add decorative dots to random areas of the stamped sentiment.
You made it!
Share your make with the Stamps By Me community - and keep this guide for next time.
Hello! I'm Toni's AI craft helper - I know the projects from Toni's shows, our guides and everything in the shop. Ask me anything, like "which dies go with this stamp set?" or "what do I need to start ink blending?"
An AI helper (not Toni herself), answering from Toni's shows and our shop - please check the product page before you buy.