Give your friends €10 off their first order!
Refer a FRIEND








A project from our live show MY PODCAST - Catch my latest updates broadcast 2nd February 2026 · 02/02/2026 · watch it from 15:30
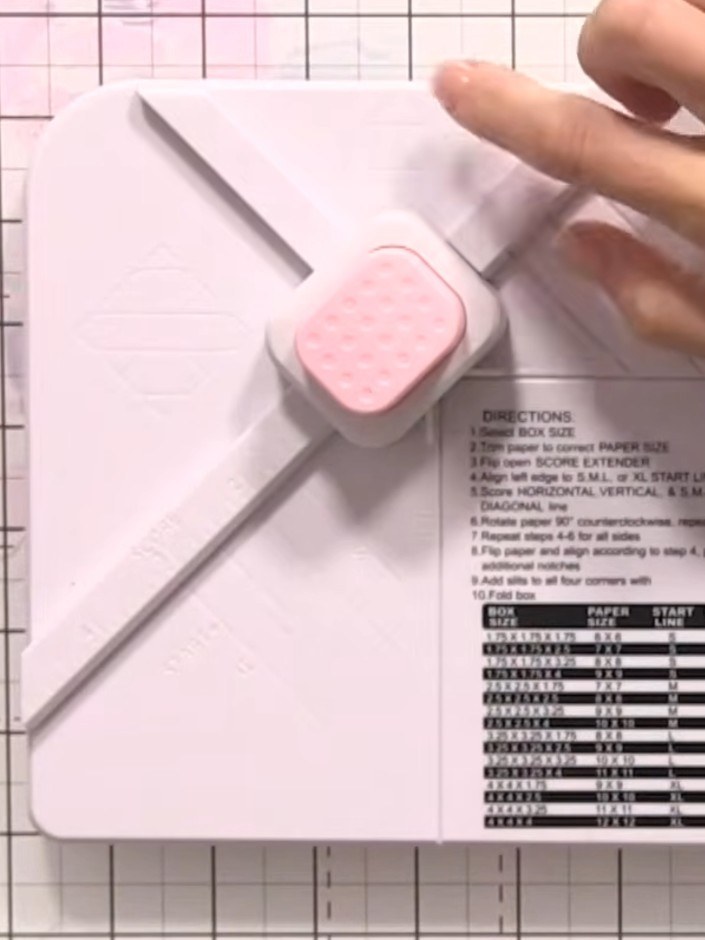
Create a beautiful A5-sized envelope with rounded corners using 12 by 12 inch decorative paper. This elegant envelope features a floral patterned flap in soft pinks, creams and browns, and can be lined with a coordinating smaller envelope for a luxury finish. The main techniques include scoring, folding and using a box and envelope maker board.
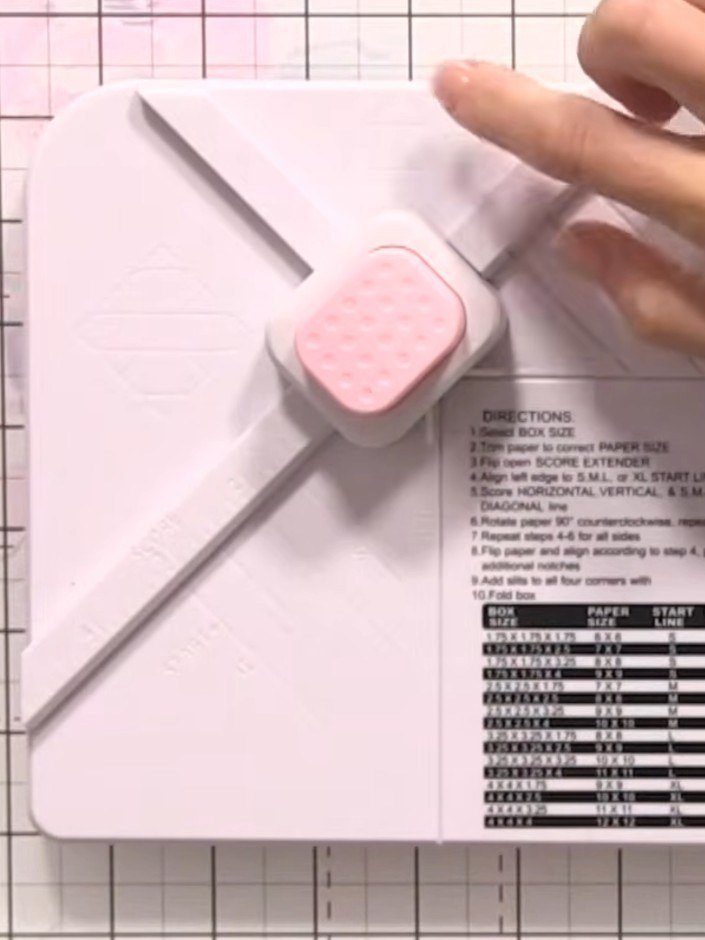
Cut your card stock to 10½ by 10½ inches using the box and envelope maker board as a guide.
▶ watch this step (16:30)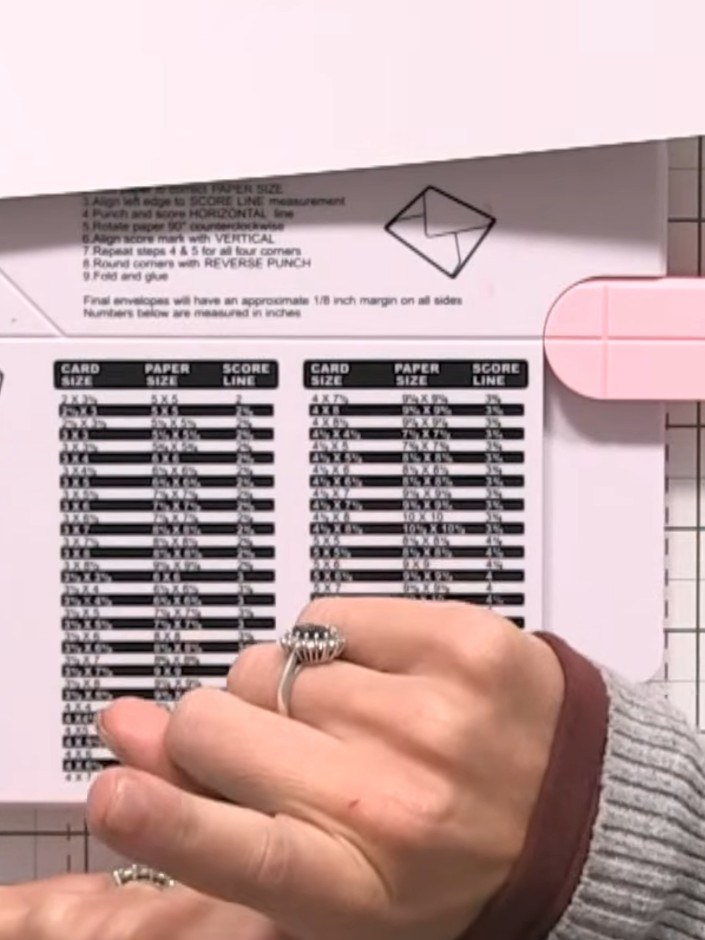
Place the card into the box board at the 4½ inch mark. Twist the board 90 degrees and score once across the paper using the score extender.
▶ watch this step (17:00)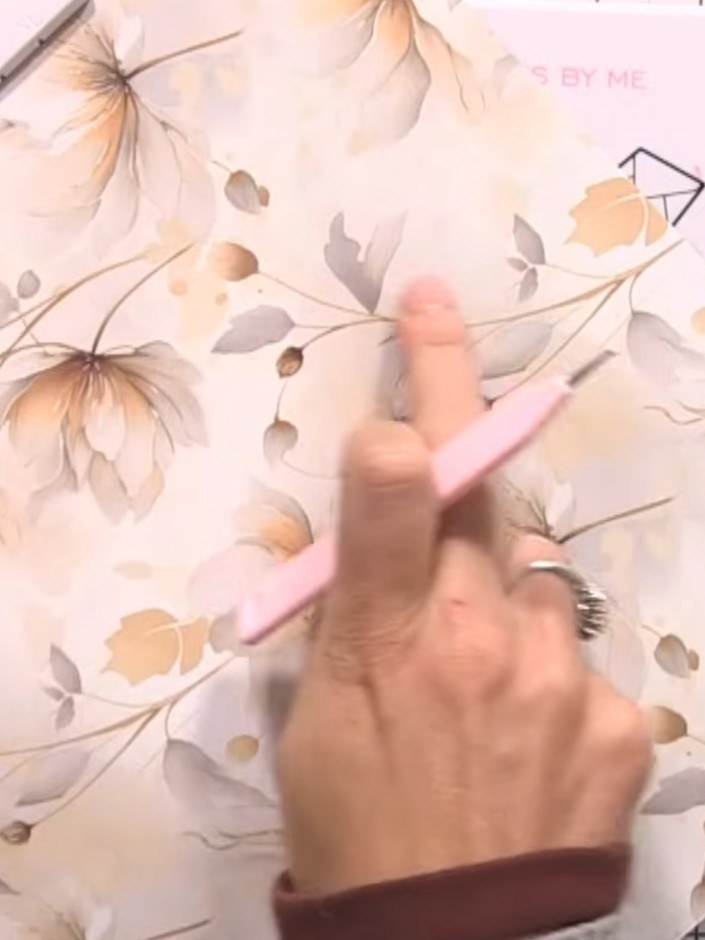
Rotate the card 90 degrees and line it up with the V-guide on the box board. Punch and score at 4 and a half inches.
▶ watch this step (19:00)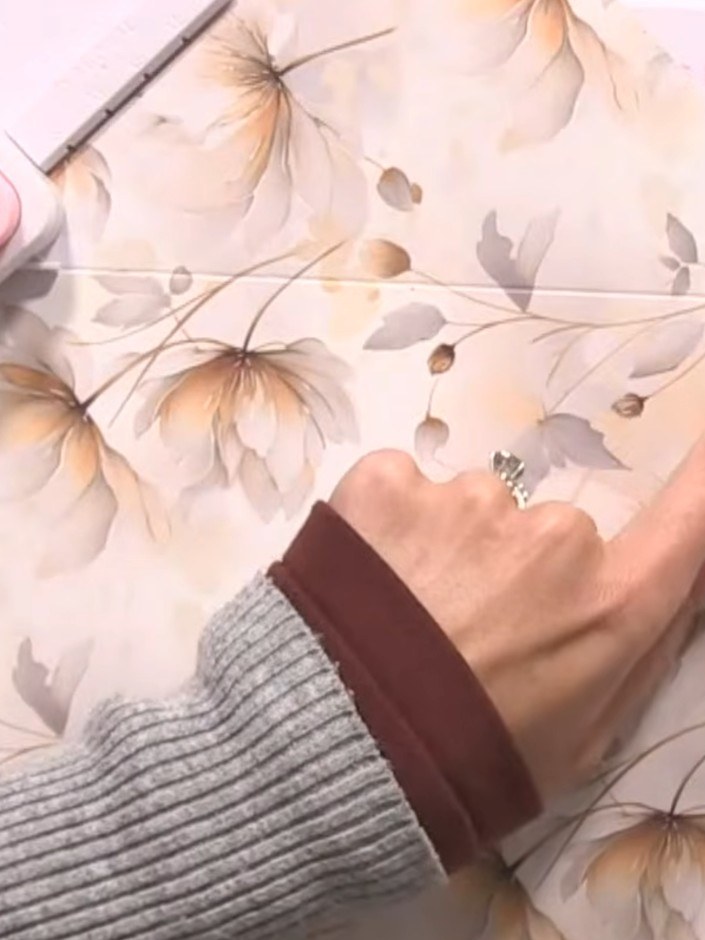
Rotate the paper again to the diagonal position. Using the box and envelope maker board, punch and score the third side following the same measurements as before.
▶ watch this step (19:30)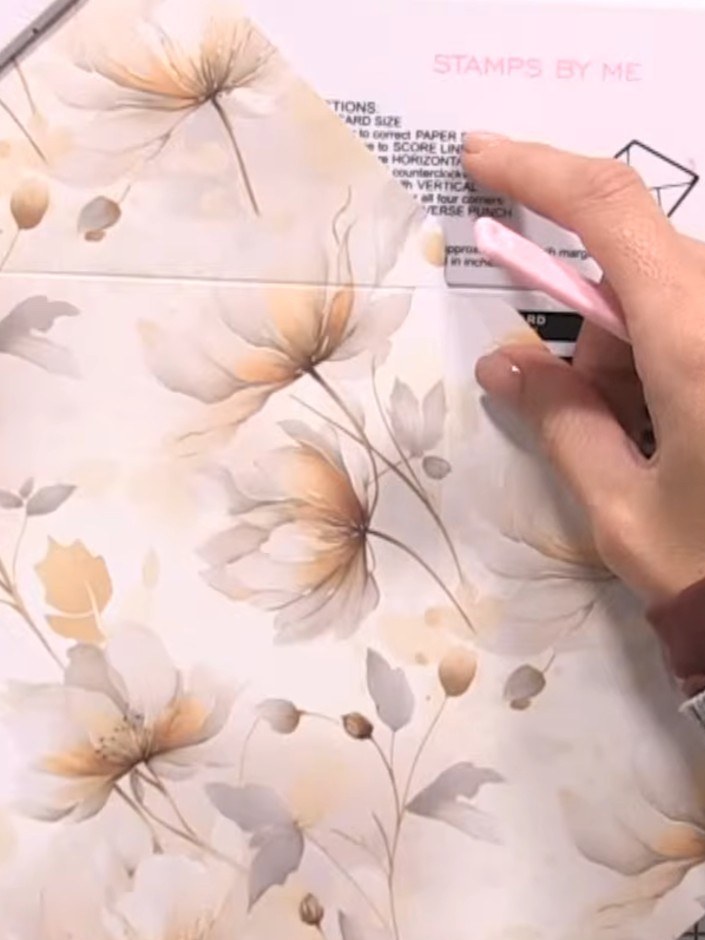
Rotate the paper once more. Use the box and envelope maker to punch and score the final line to complete the scoring for your envelope.
▶ watch this step (20:00)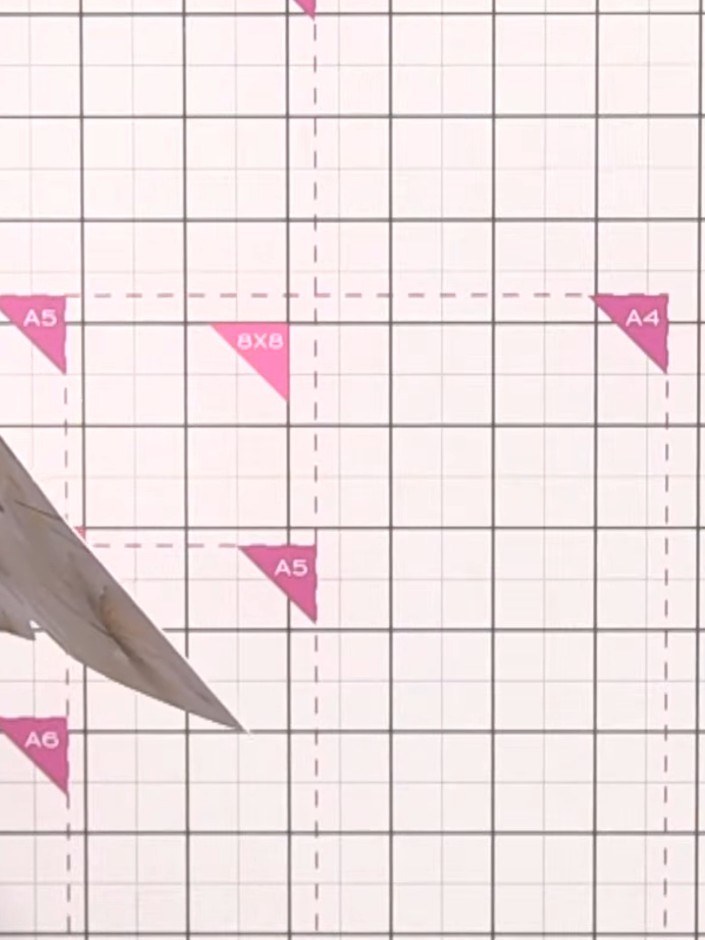
Fold the envelope together along the score lines. Apply glue to the side flaps and press them down firmly to secure the envelope structure.
▶ watch this step (20:30)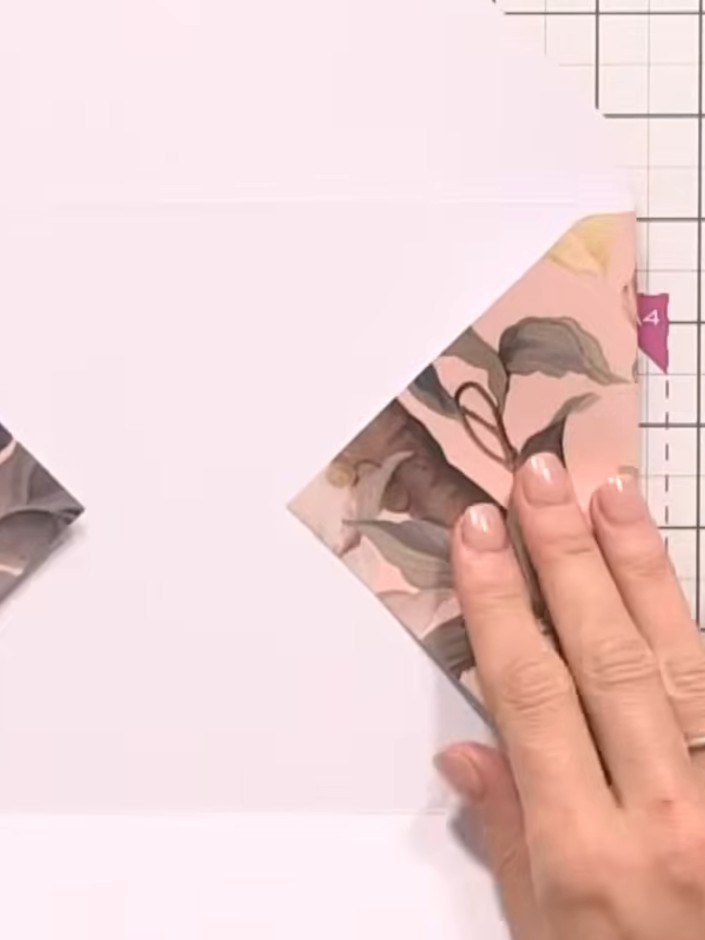
Use the corner punch tool to round off the corners of the envelope flap for a professional finish.
▶ watch this step (21:00)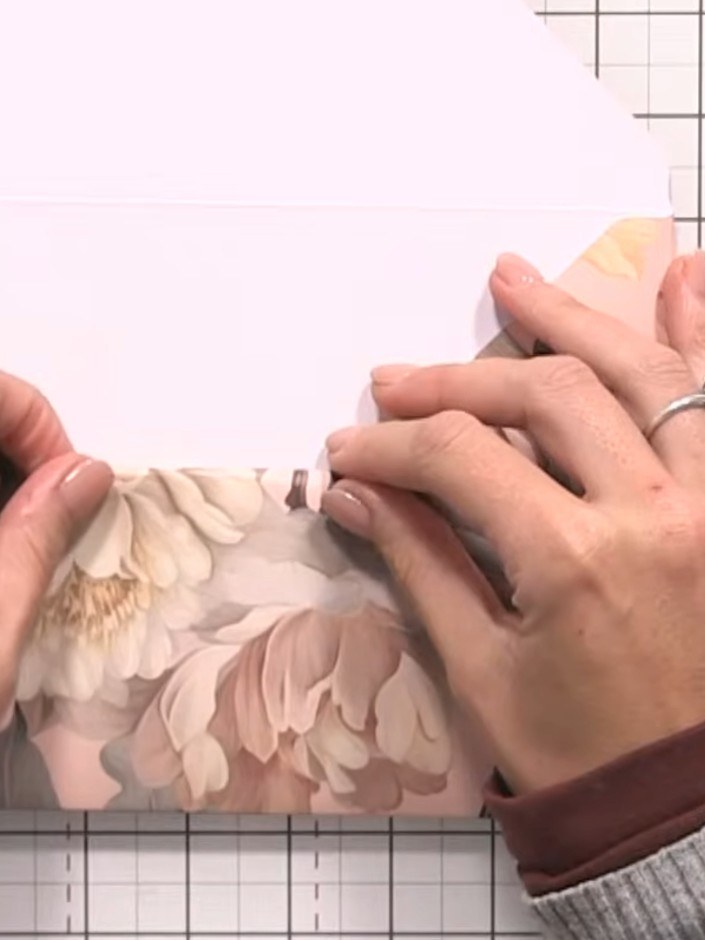
Tuck the top flap point inward and glue it down securely for a neat finish.
▶ watch this step (21:30)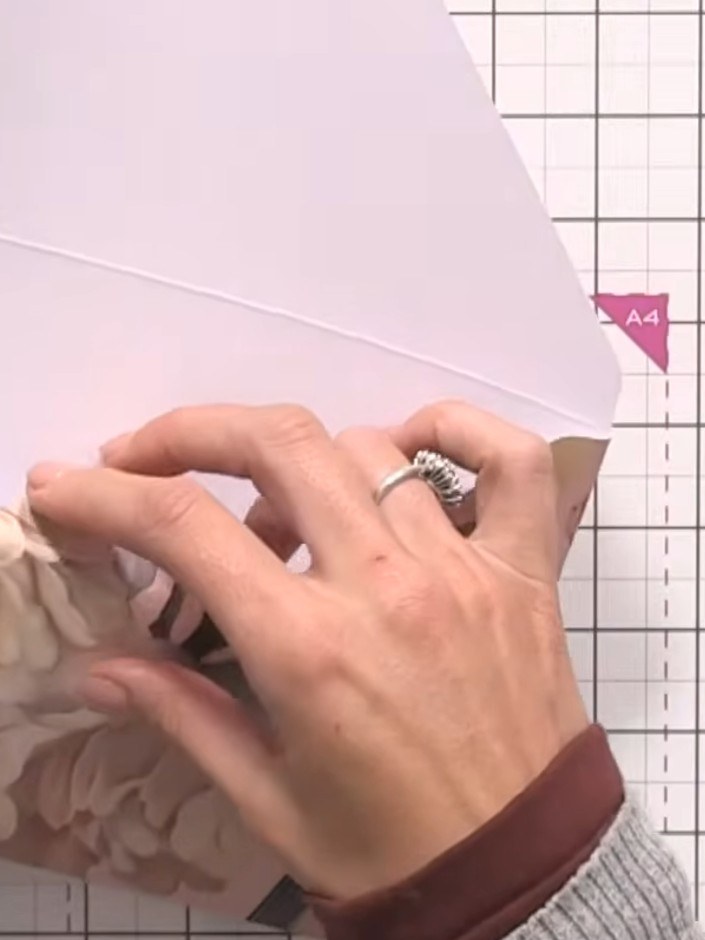
Score down the flap of the envelope to complete it. Use the box and envelope maker to create a crisp fold line across the top flap.
▶ watch this step (22:00)Written up from the show itself. See every guide from our shows · free how-to guides · watch live on My Telly