Give your friends €10 off their first order!
Refer a FRIEND








A project from our live show MY PODCAST - Catch my latest updates broadcast 2nd February 2026 · 02/02/2026 · watch it from 31:00
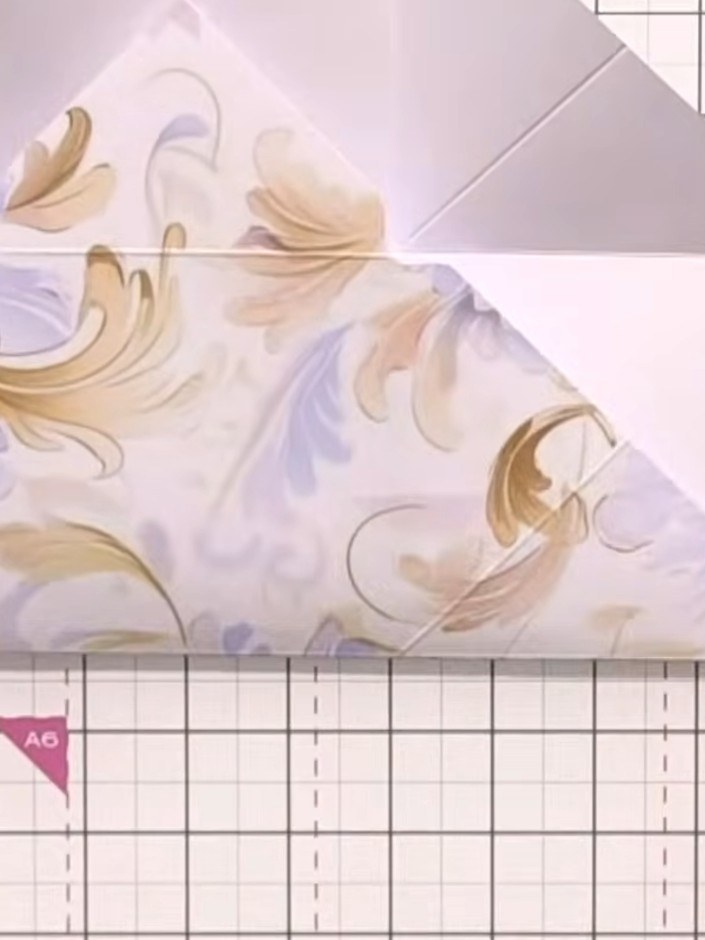
Create a practical 4 by 4 by 4 inch gift box from a single 12 by 12 inch sheet of decorative card stock featuring an elegant marbled design in soft purples, pinks and golds. Using the Stamps by Me Box and Envelope Maker scoring board, you'll construct a sturdy, glue-free box with an ingenious interlocking closure system. This versatile technique allows you to make perfectly sized boxes for gifts, storage or presentation.
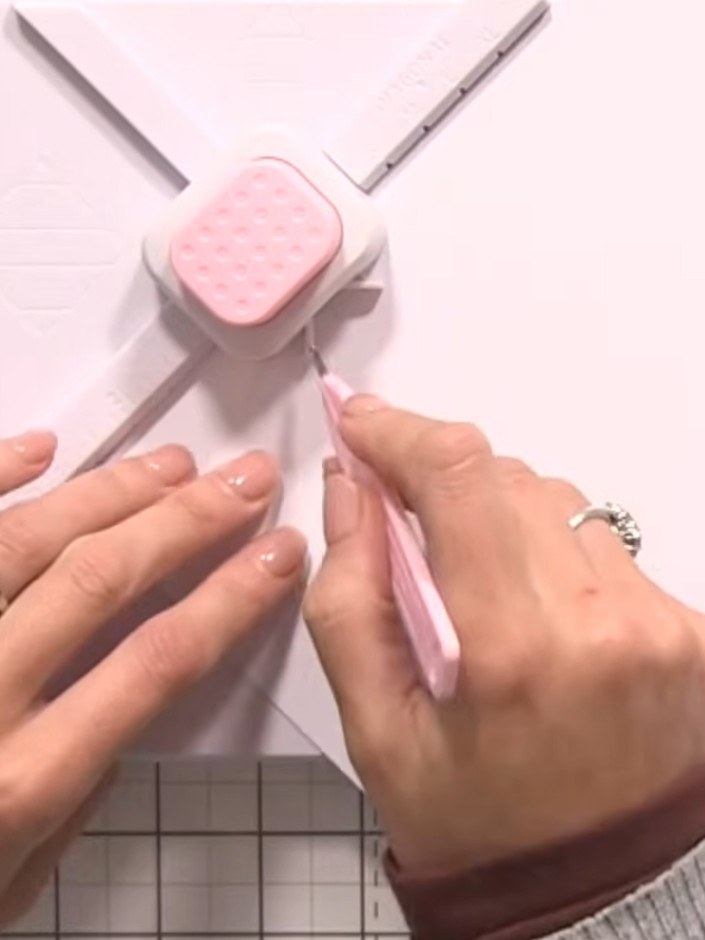
Place a 12 by 12 inch piece of card stock into the Stamps By Me Box and Envelope Maker. Position the paper at the XL start line for a 4 by 4 by 4 inch box.
▶ watch this step (31:30)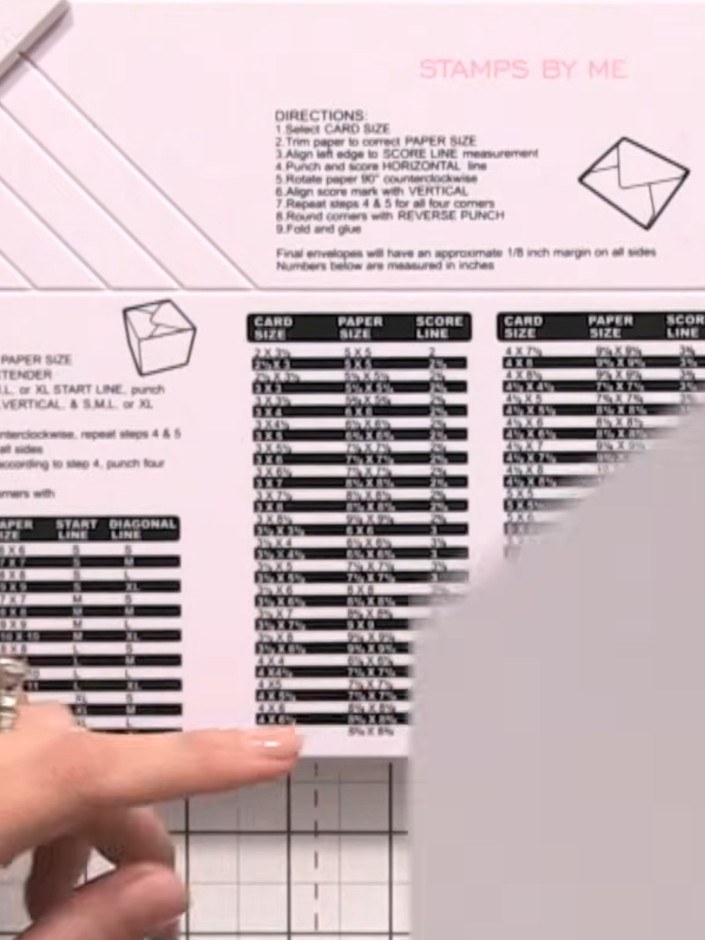
Place the card into the box board at the XL start line on the diagonal measurement chart. Punch and score down across the full length of the card.
▶ watch this step (31:45)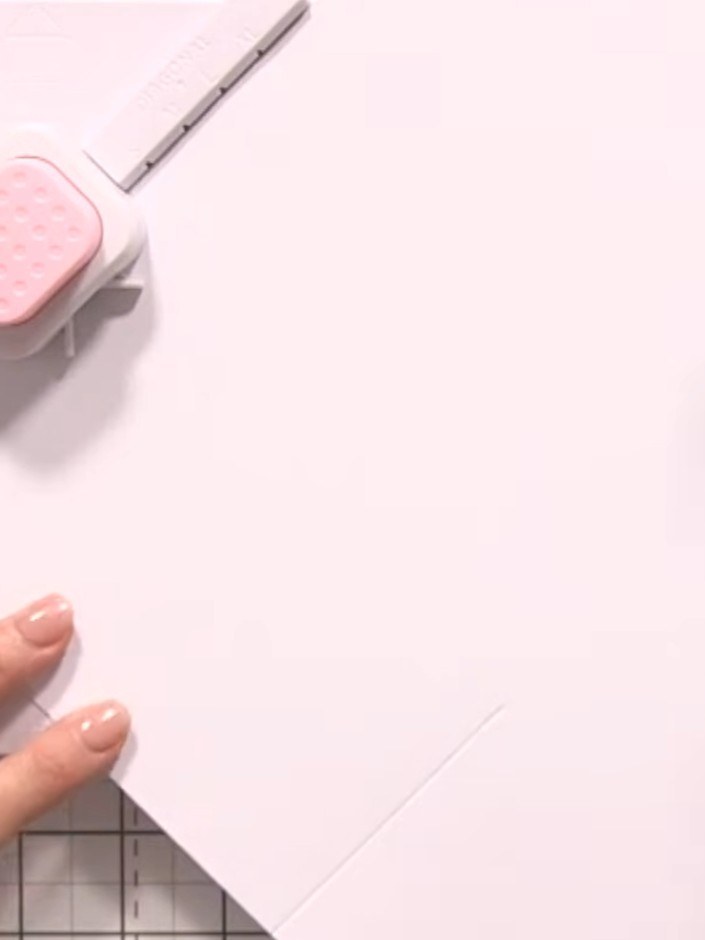
Rotate the card 90 degrees. Score again from the XL start line to the point, creating a second score line perpendicular to the first.
▶ watch this step (32:00)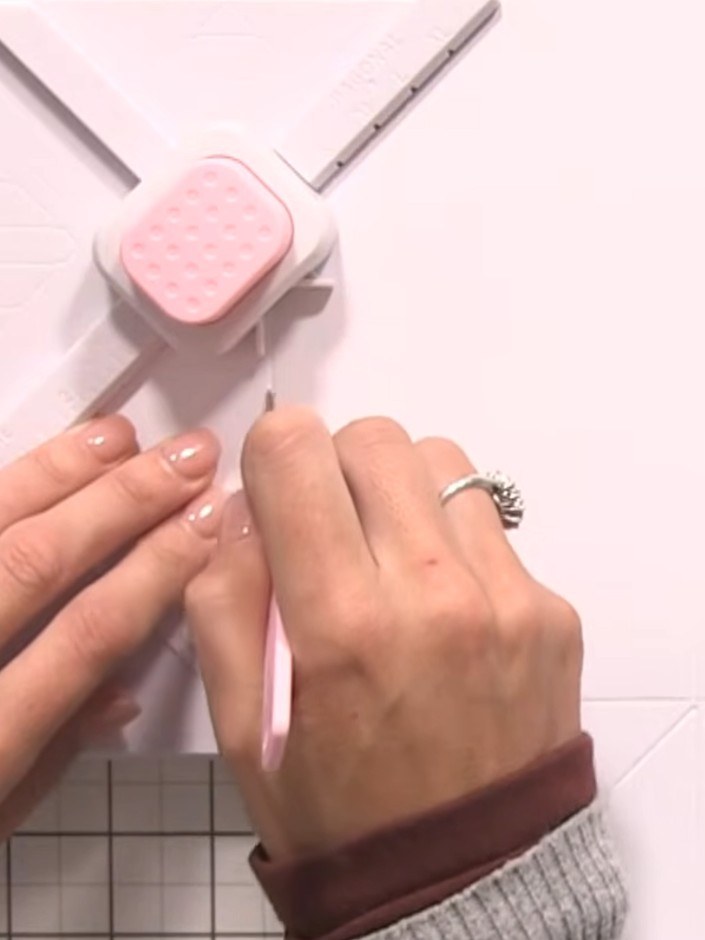
Rotate the card 90 degrees. Use the punch tool to punch the corner, then score along the fold lines as before.
▶ watch this step (32:30)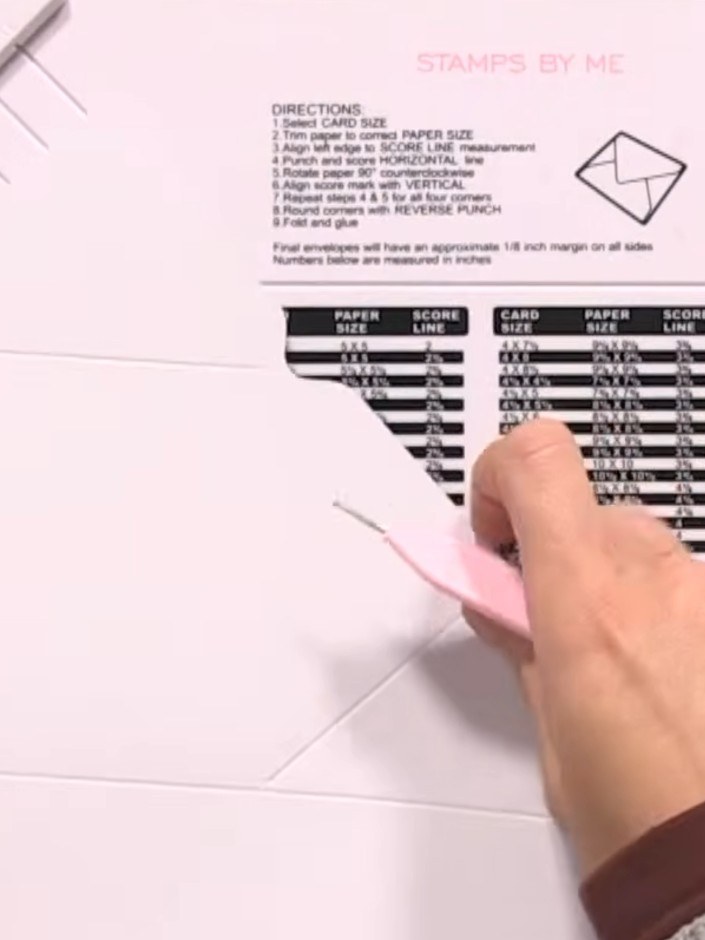
Rotate the board once more and complete the final punch and score along the horizontal line using the pink scoring tool.
▶ watch this step (33:00)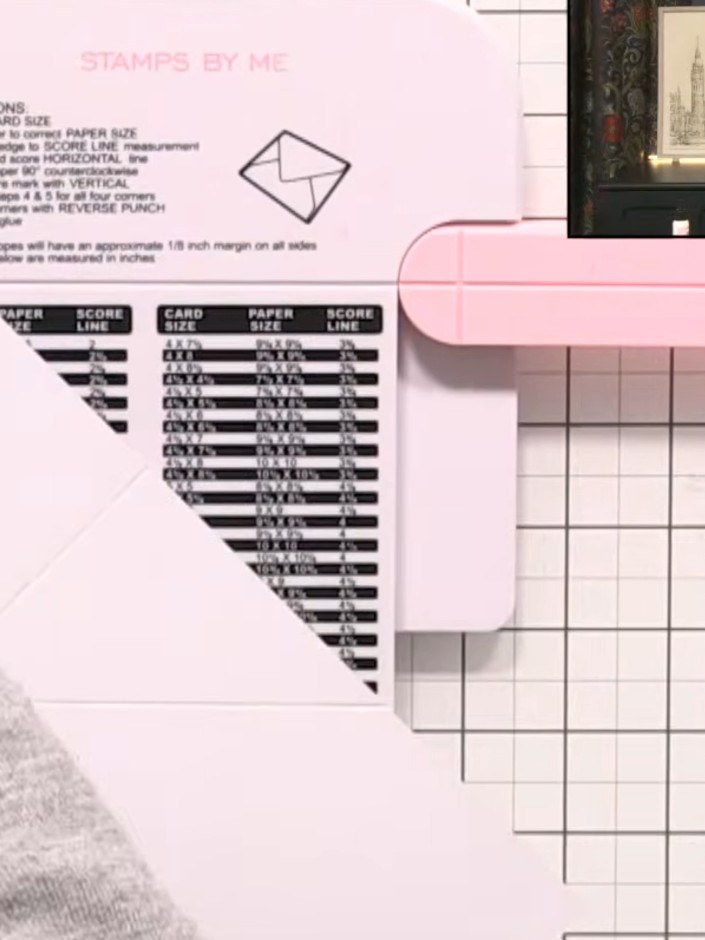
Remove the small triangular pieces that appear in the corners of the scored card using the punch tool. Pop them out carefully and discard.
▶ watch this step (33:15)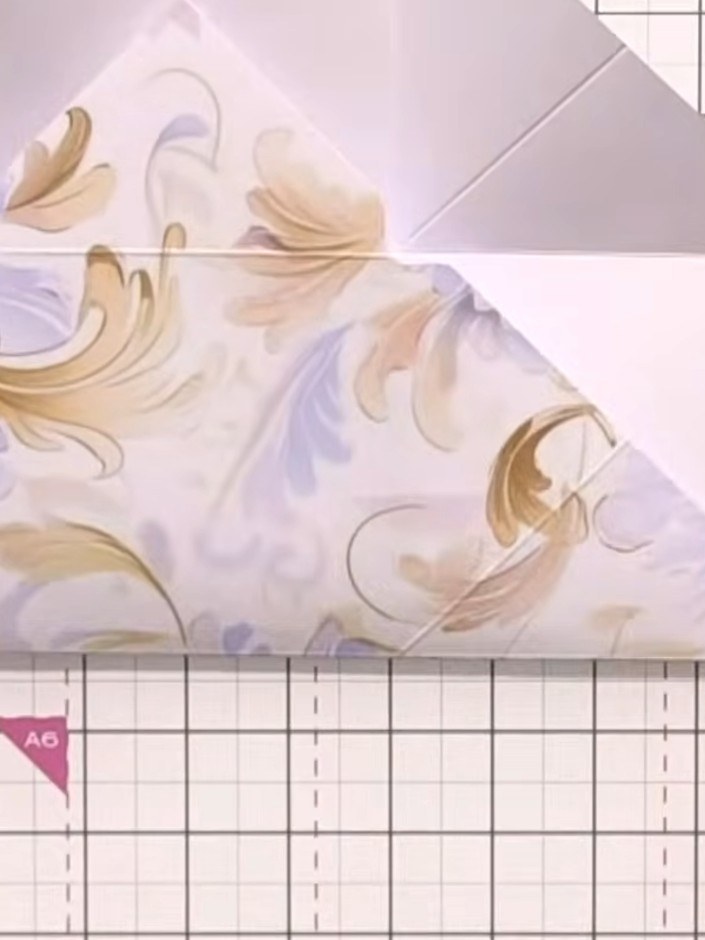
Score down the centre of the decorated paper using the scoreboard to create a fold line. This will help manipulate the paper fibres and make assembly easier.
▶ watch this step (33:45)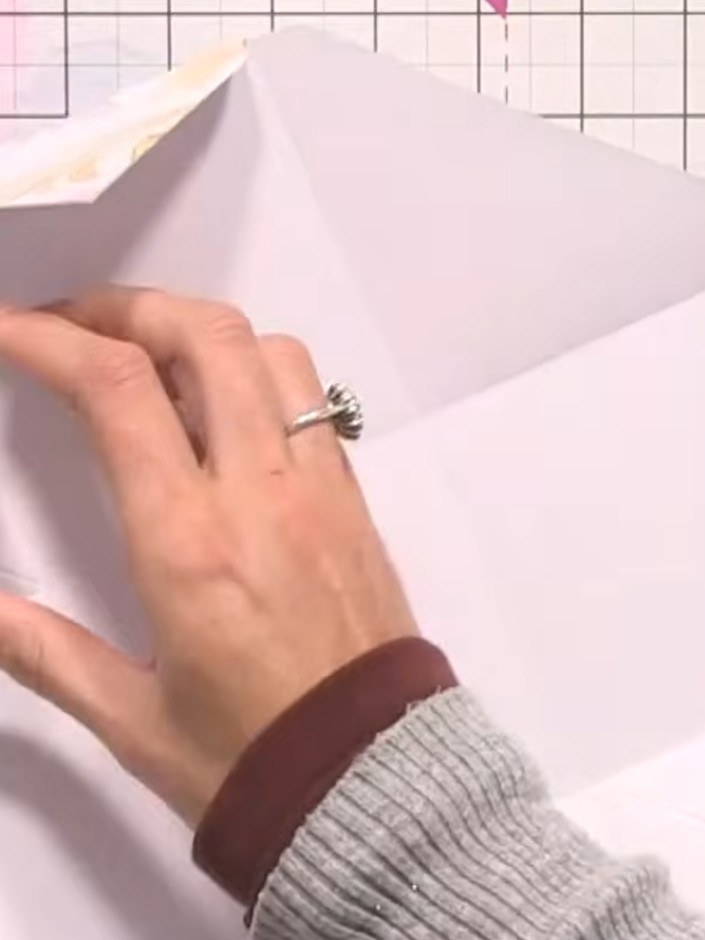
Lift up each side piece and pinch it together to form a point, creating a shape like a duck's mouth. Score down the fold line to create a crisp crease.
▶ watch this step (34:15)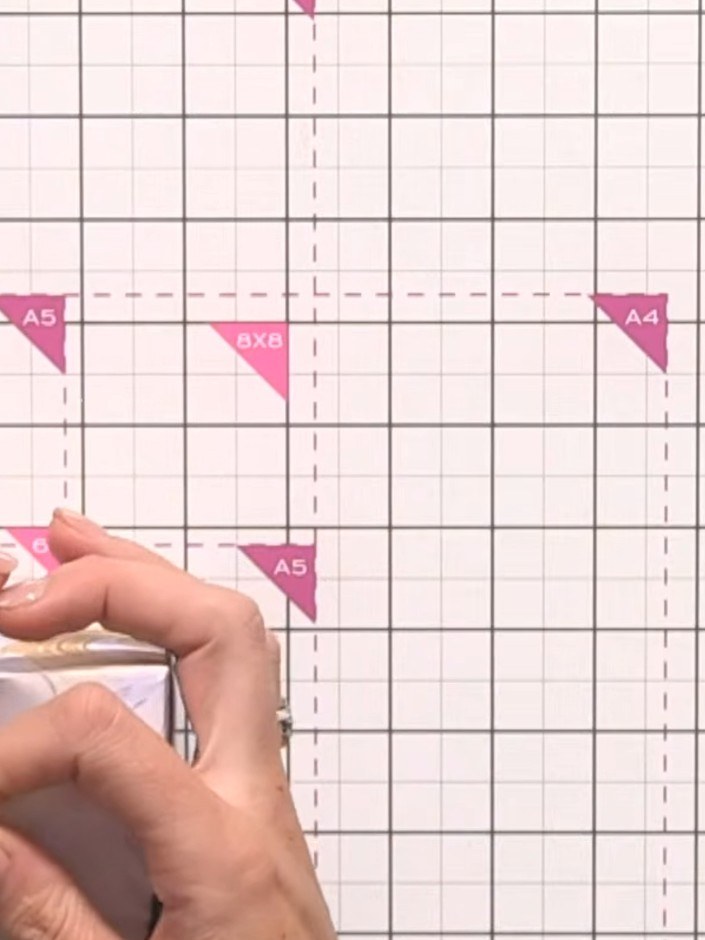
Use the closure punch tool to create hook-and-eye closures on all four sides of the box. Lift each flap and punch through to create the interlocking fasteners.
▶ watch this step (34:45)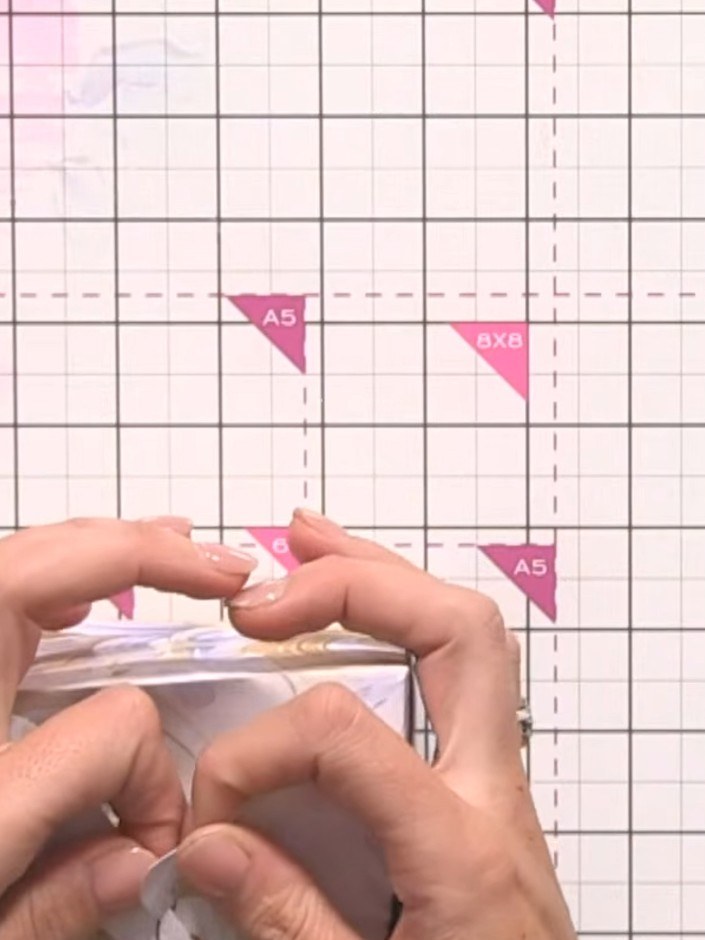
Hook and eye the closure system together to seal the box. Pinch the hook and eye together to fasten securely without using any glue.
▶ watch this step (35:30)Written up from the show itself. See every guide from our shows · free how-to guides · watch live on My Telly