Give your friends €10 off their first order!
Refer a FRIEND








 The Thursday DropThu 19 Nov 1pm
 The Friday Final CutFri 20 Nov 5am
 Community ShowcaseMon 23 Nov 5am
Prices change straight away. Every language is our own translation, not Google.
A project from our live show MY PODCAST - Catch my latest updates broadcast 2nd February 2026 · 02/02/2026
Create a charming miniature envelope using a 5 by 5 inch piece of white cardstock, perfect for presenting gift cards or small notes. This delightful project uses simple scoring and punching techniques to form a neat, professional-looking envelope with clean diagonal folds. The finished piece is compact and elegant, ideal for special occasions or as a thoughtful handmade touch to any small gift.
 1
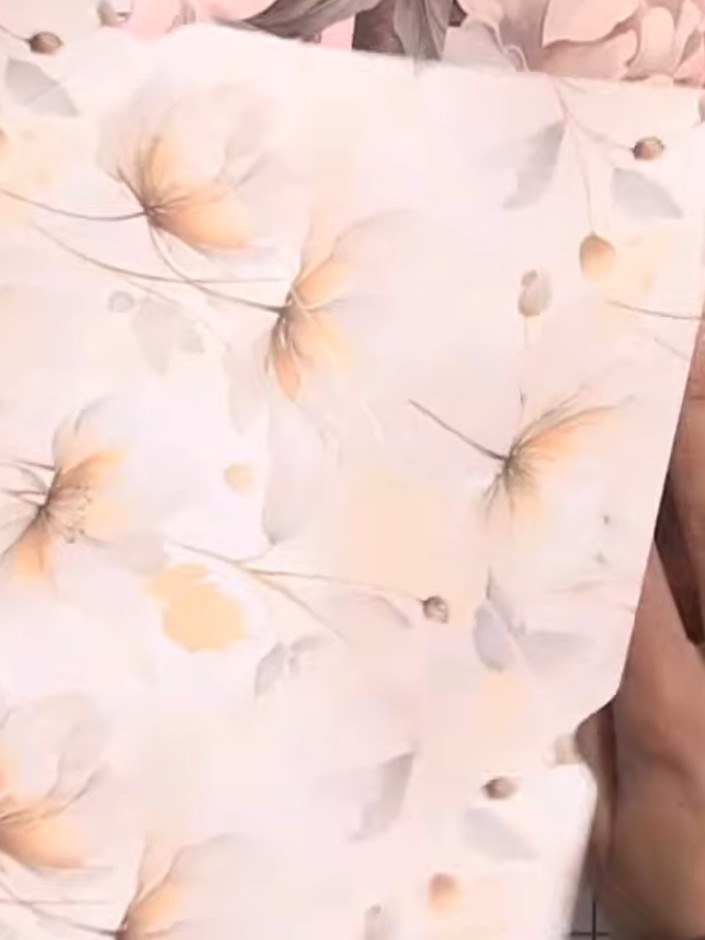
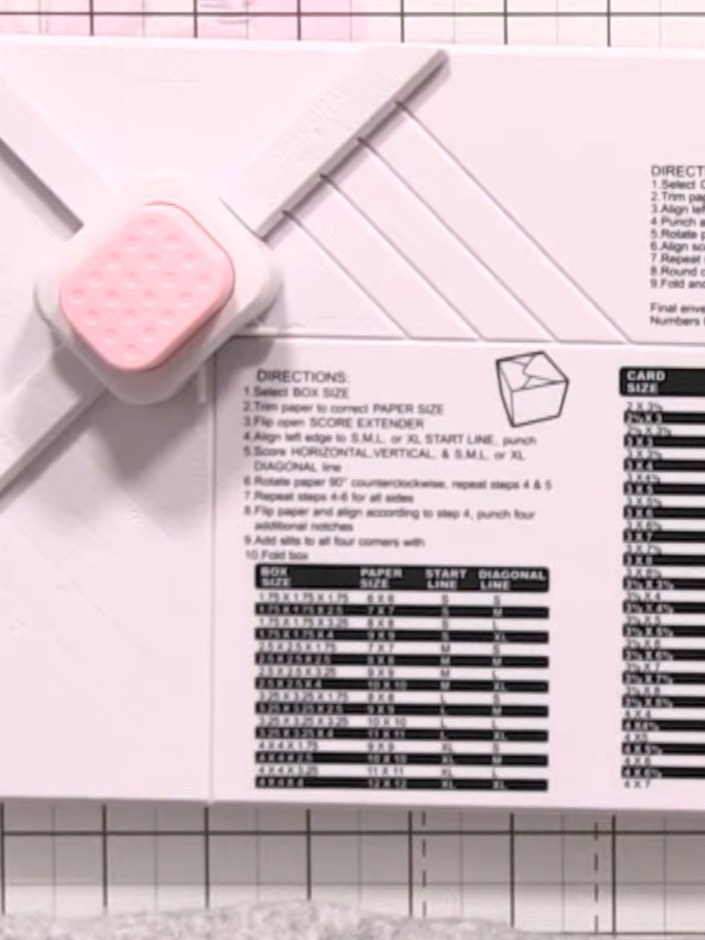
Cut your card stock to 5 by 5 inches using the measurements on your craft mat or ruler.
 2
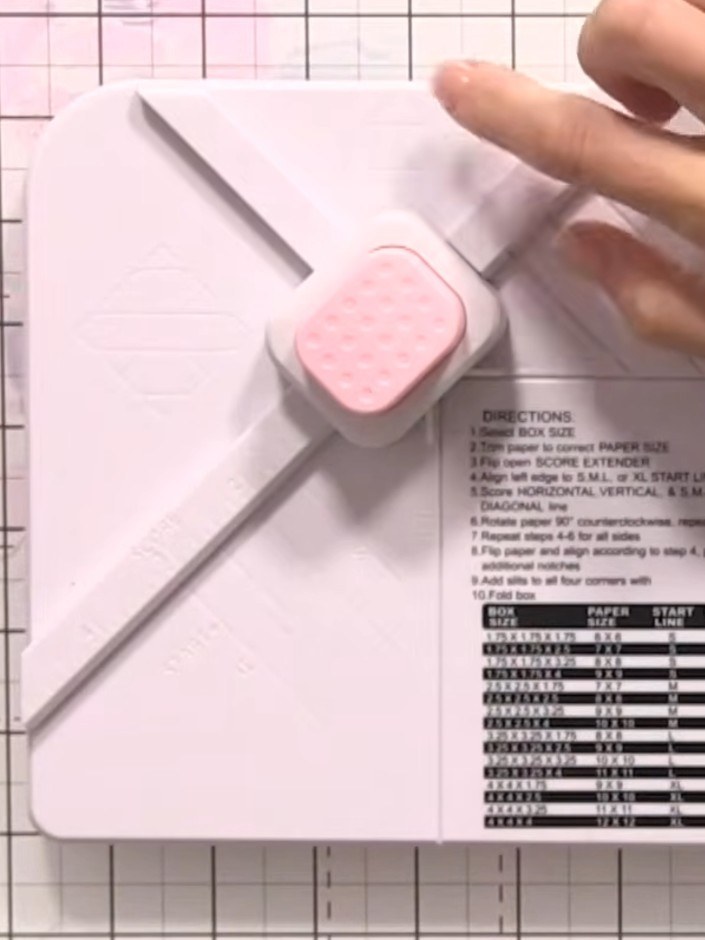
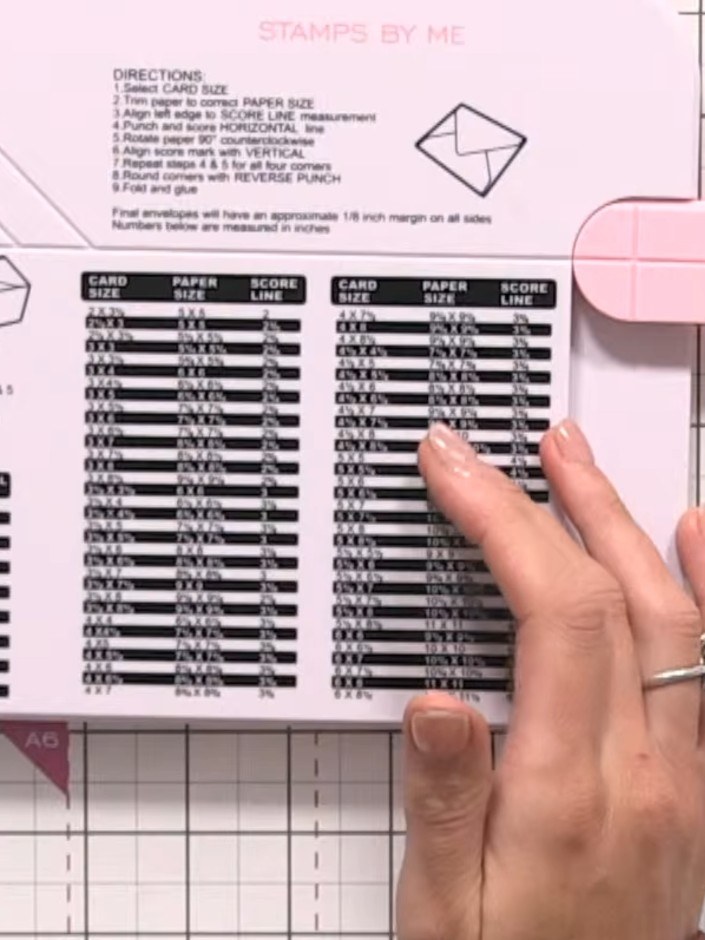
Place the card into the box board at score line two and score once using the scoring tool.
 3
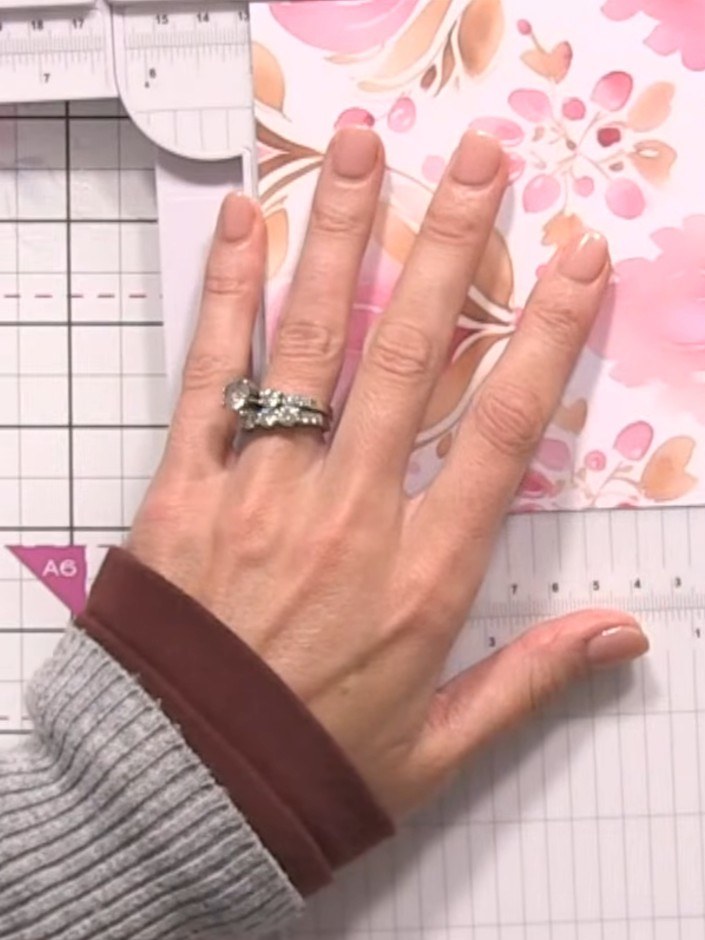
Punch at score line two using the envelope maker board.
 4
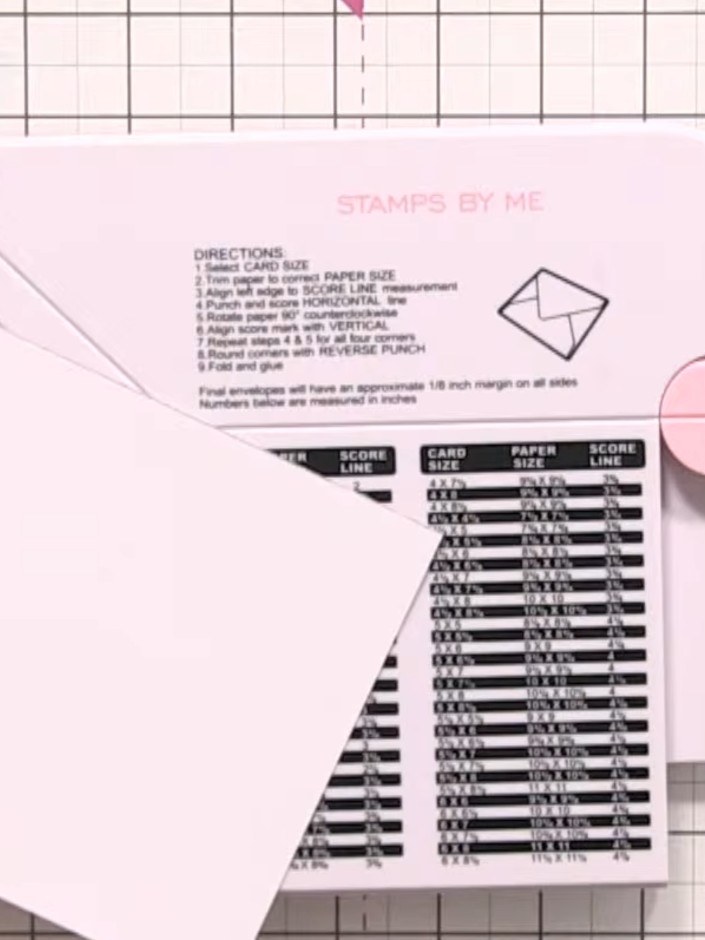
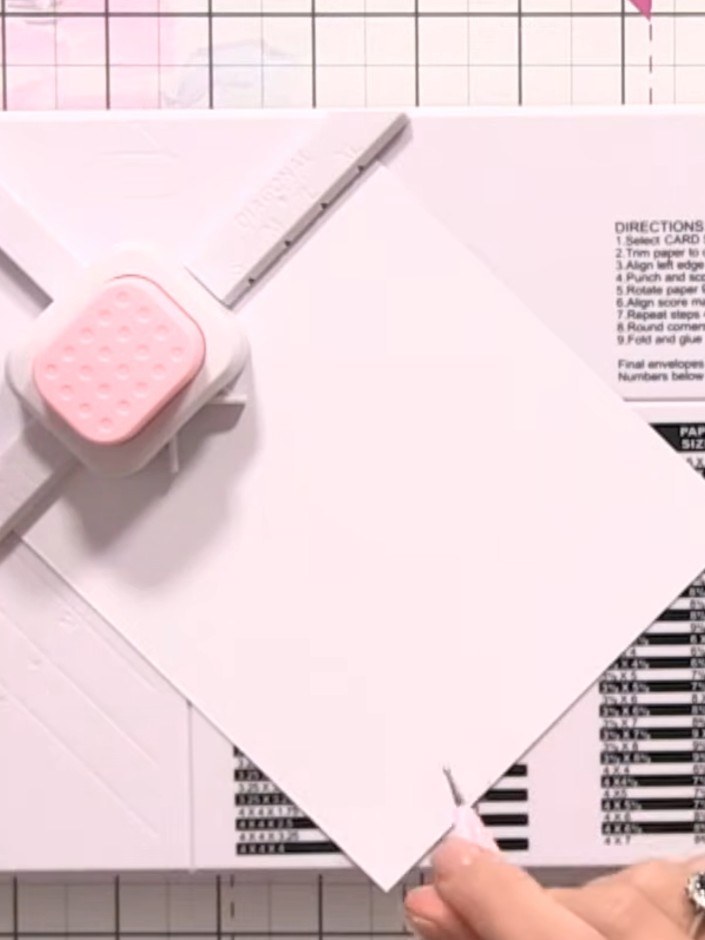
Rotate the card and align it with the corner guide on the box and envelope maker. Punch and score the card along the horizontal line.
 5
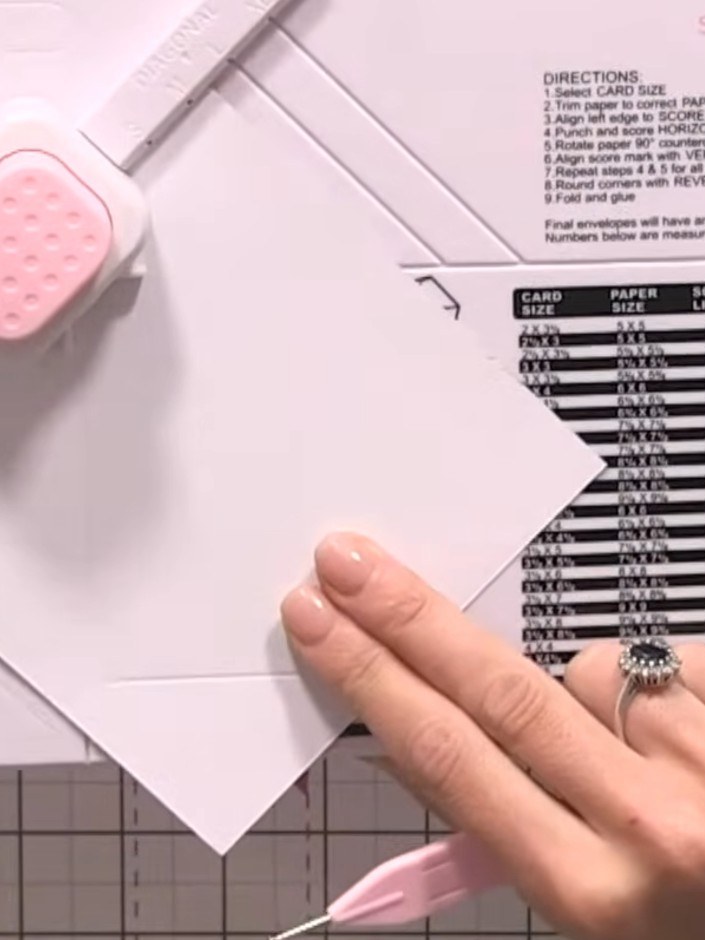
Rotate the paper again and align the third edge with the score line on the board. Punch and score the third line.
 6
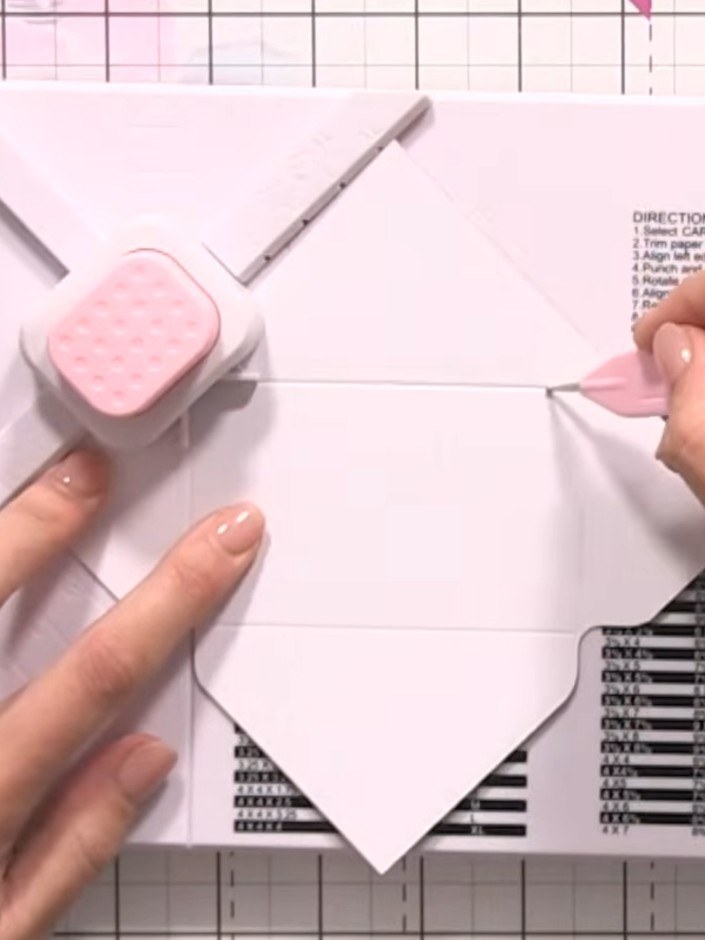
Rotate the card once more and align with the score line 2. Punch and score the final line to complete the envelope template.
 7
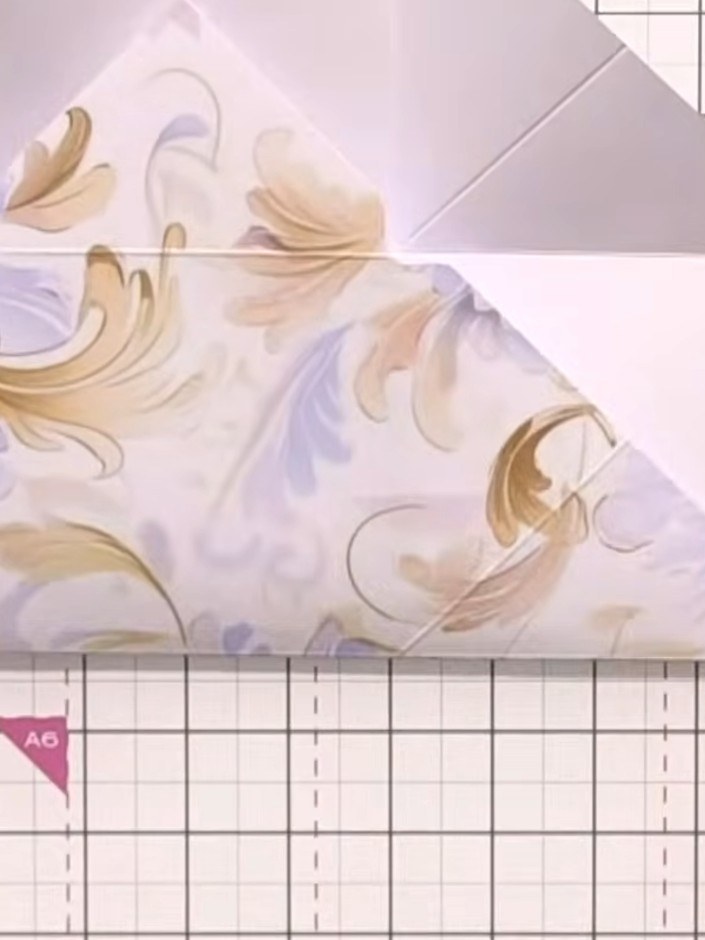
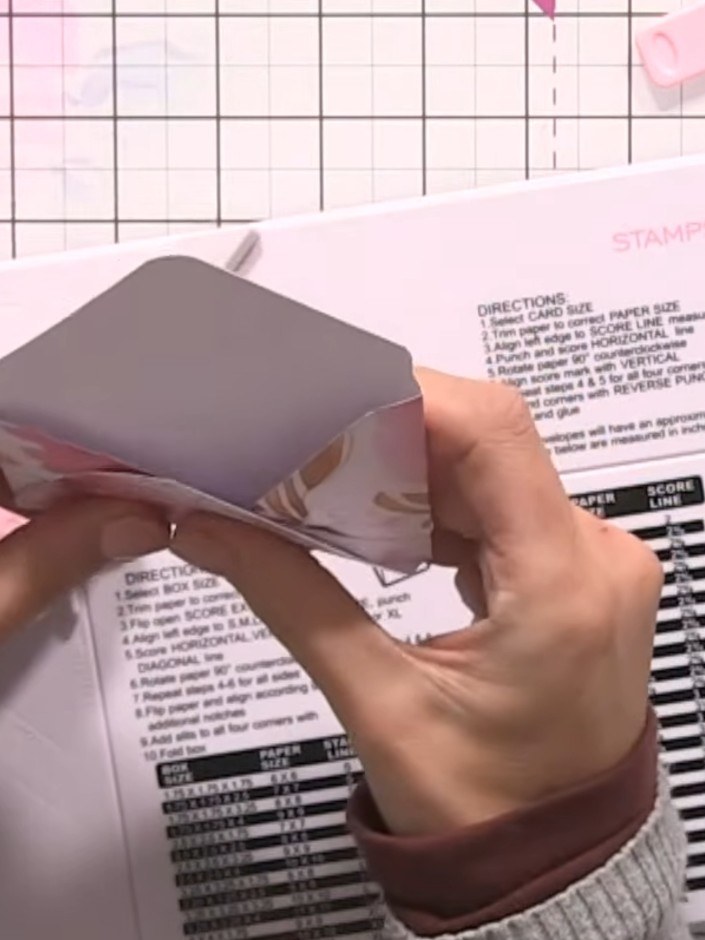
Fold the envelope together along the scored lines. Apply glue to the side flaps and press them down to secure the envelope structure.
 8
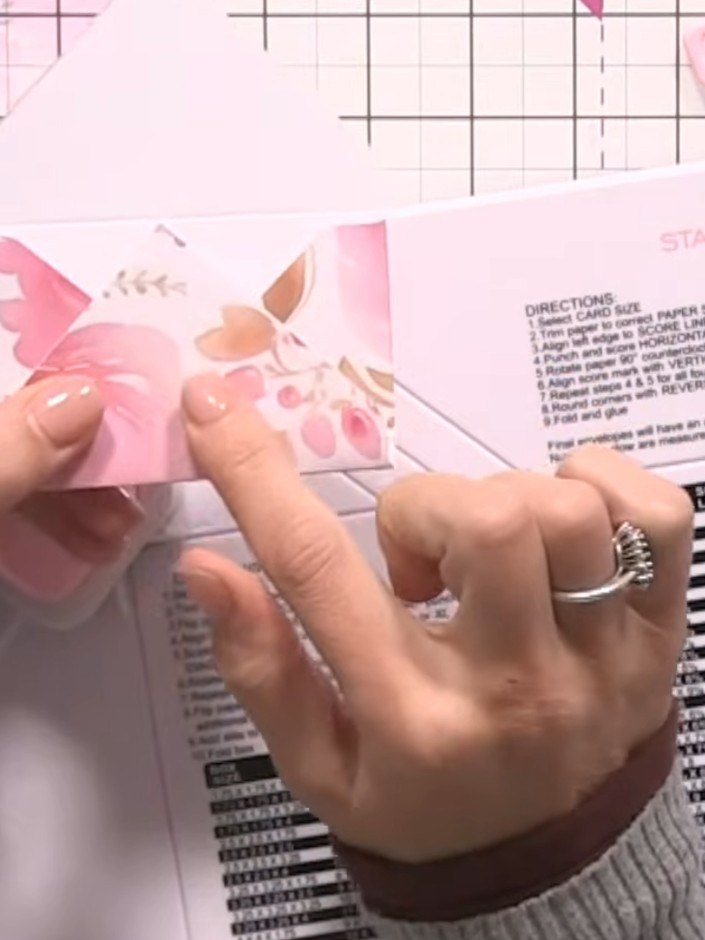
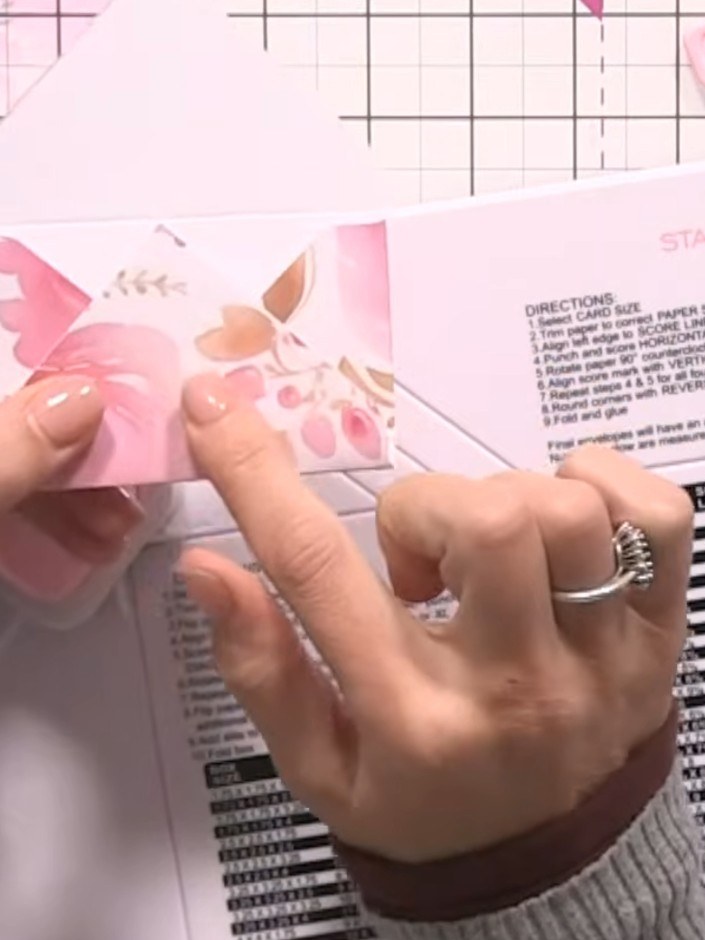
Use the corner punch to round off the corners of the envelope flap.
 9
Tuck the flap tail inward and glue it down to secure and finish the envelope.
Share your make with the Stamps By Me community - and keep this guide for next time.
Written up from the show itself. See every guide from our shows · free how-to guides · watch live on My Telly · the previous layout