Give your friends €10 off their first order!
Refer a FRIEND








A project from our live show ONE DAY SPECIAL - Join Toni for her brand new launch - Broadcast 7th November 2025 · 07/11/2025 · watch it from 45:30
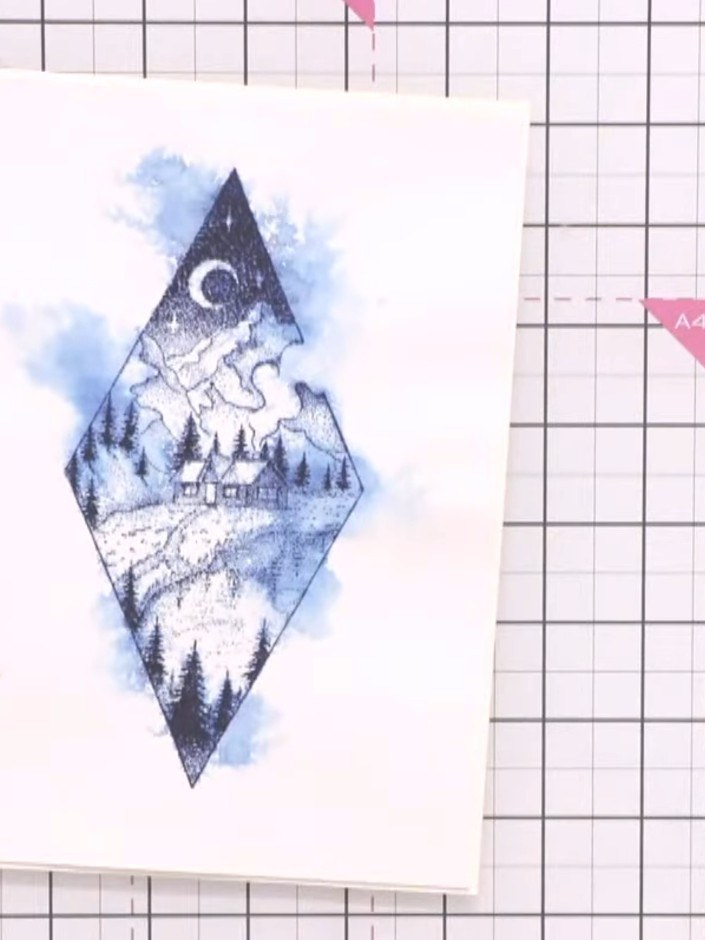
Create a stunning watercolour card featuring a large diamond-shaped winter village scene. The design uses a beautiful blue and white colour palette with a soft, atmospheric effect achieved by spraying water over stamped ink to create a dreamy bleed. The finished piece is mounted on white card with an aperture frame to showcase the delicate watercolour technique.
 Stamps By Me - Seek the Extraordinary Paper Pad 12 X 12 - 071223ASEE IT
 Stamps By Me Waste Free Die Set- Dotty Framework - 260424BSEE IT
 Stamps By Me - Premium Pigment Ink Pure White - Cotton - 121022MSEE IT
 Stamps By Me - Premium Hybrid Ink - Midnight - 121022NSEE IT
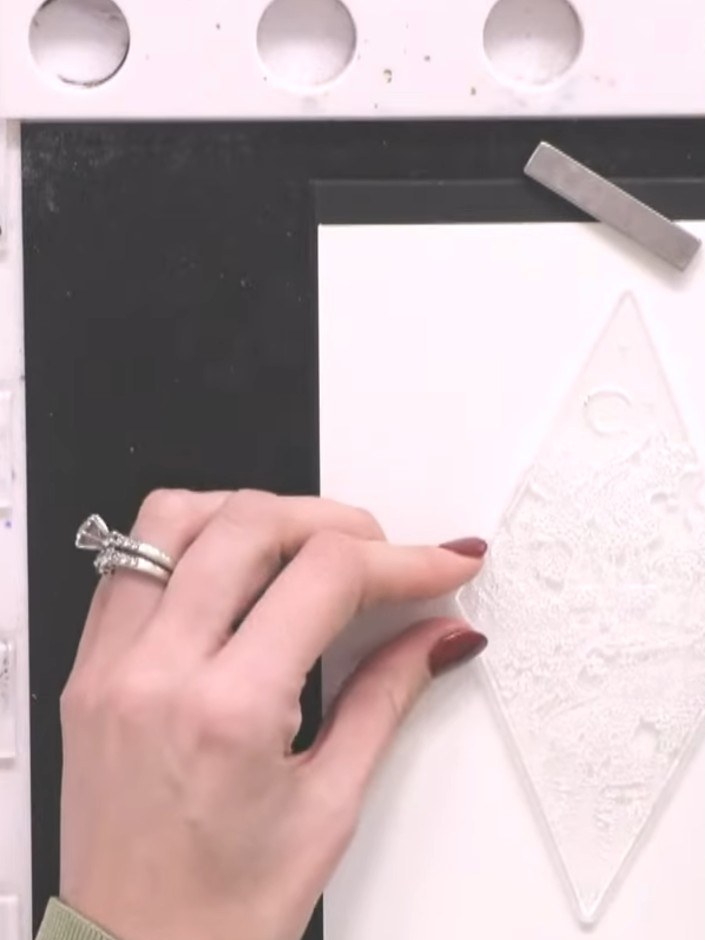
Place a large diamond-shaped waste-free die into your die-cutting machine with a piece of white watercolour card.
▶ watch this step (46:00)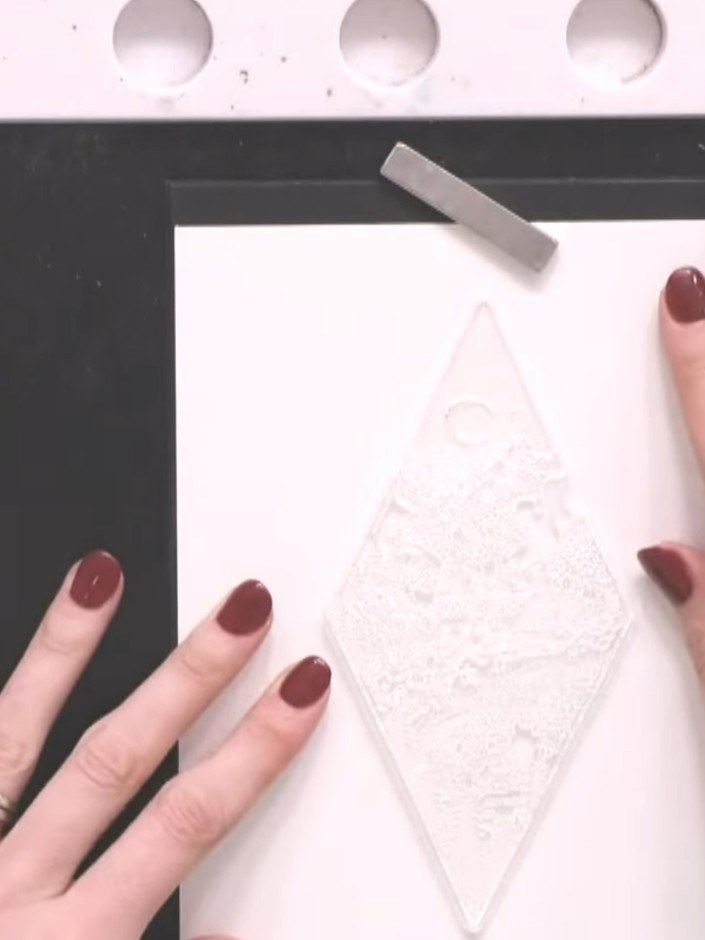
Lightly tap the ocean-coloured premium ink pad onto your diamond stamp, using minimal ink to create a subtle effect.
▶ watch this step (46:15)
Stamp the diamond design centrally onto the watercolour card using black ink. Position the stamp carefully to ensure it is centred on the card.
▶ watch this step (46:45)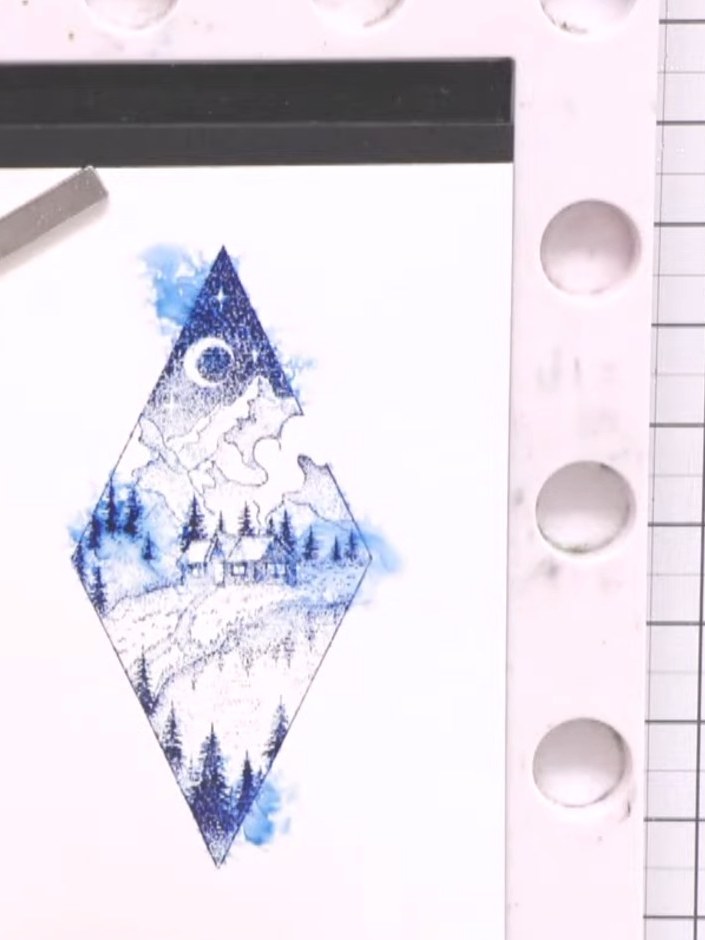
Spray the stamped design lightly with water using a water mister, allowing the blue ink to bleed and blend outward from the stamped areas to create a soft watercolour effect.
▶ watch this step (48:45)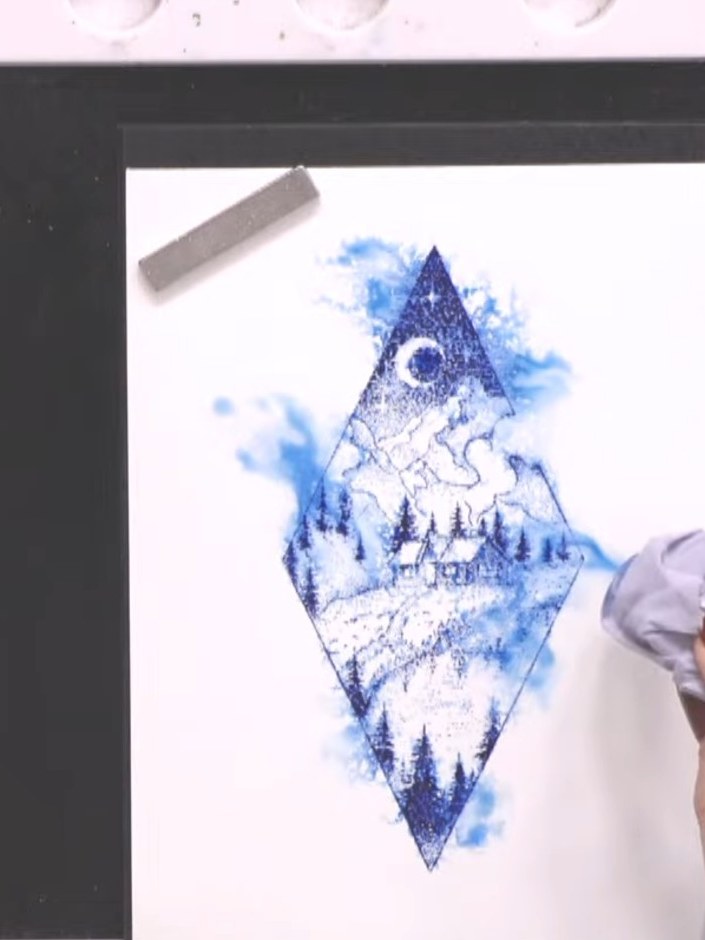
Use a piece of tissue to gently mop up any puddles of water or ink on the stamped image. This will help speed up the drying process.
▶ watch this step (49:30)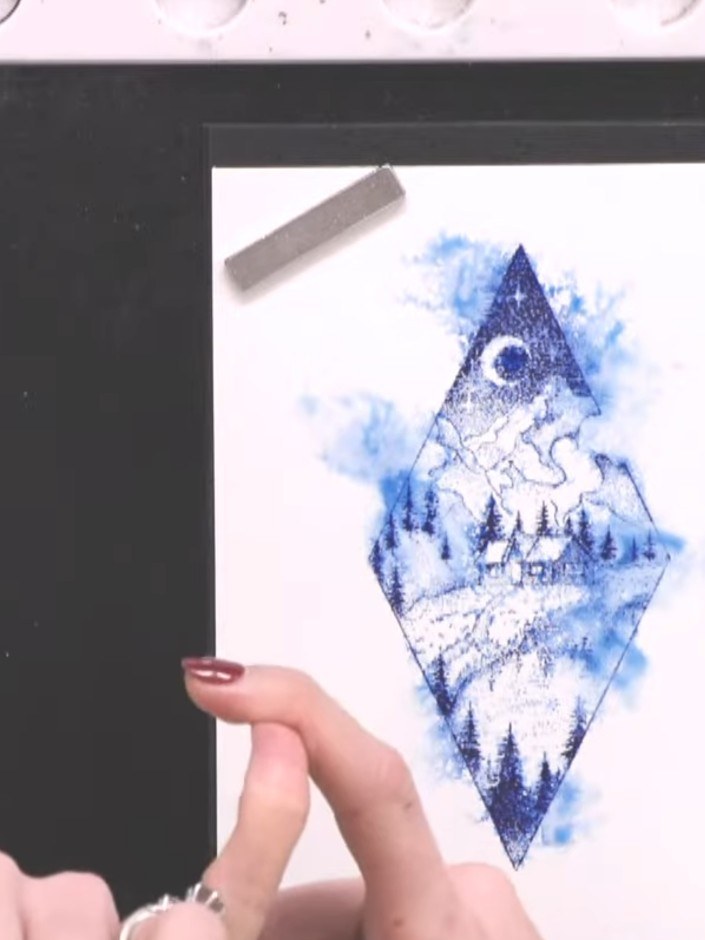
Heat-set the stamped card with a heat gun to dry the ink completely. Hold the heat gun above the card and move it gently over the surface until the watercolour ink is fully dry.
▶ watch this step (50:00)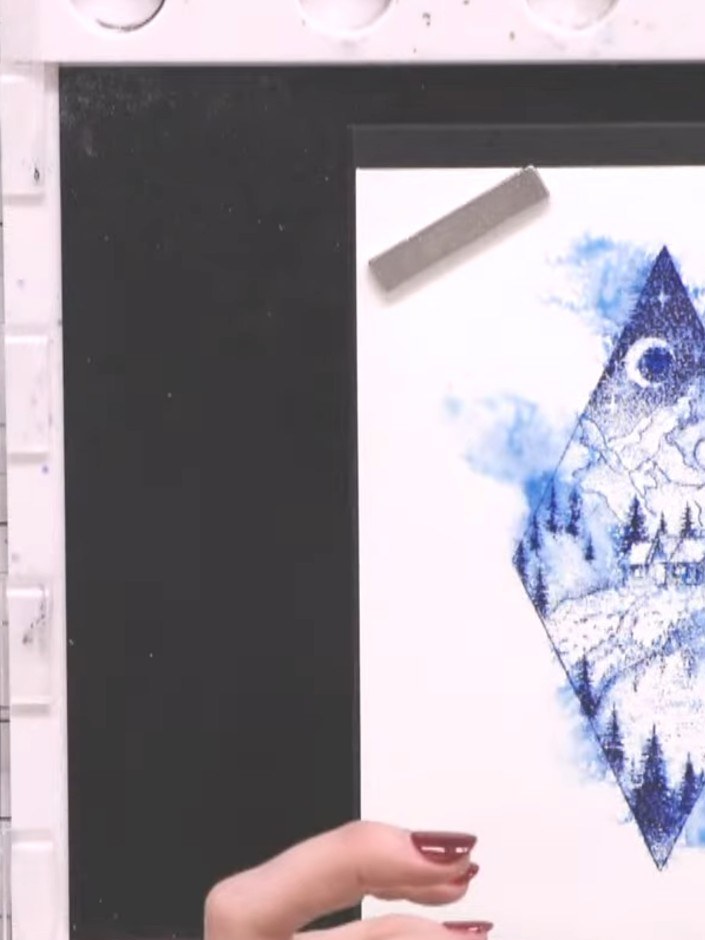
Re-stamp the diamond design over the same area using the ocean blue ink to bring back the detail and create a distressed edge effect.
▶ watch this step (50:15)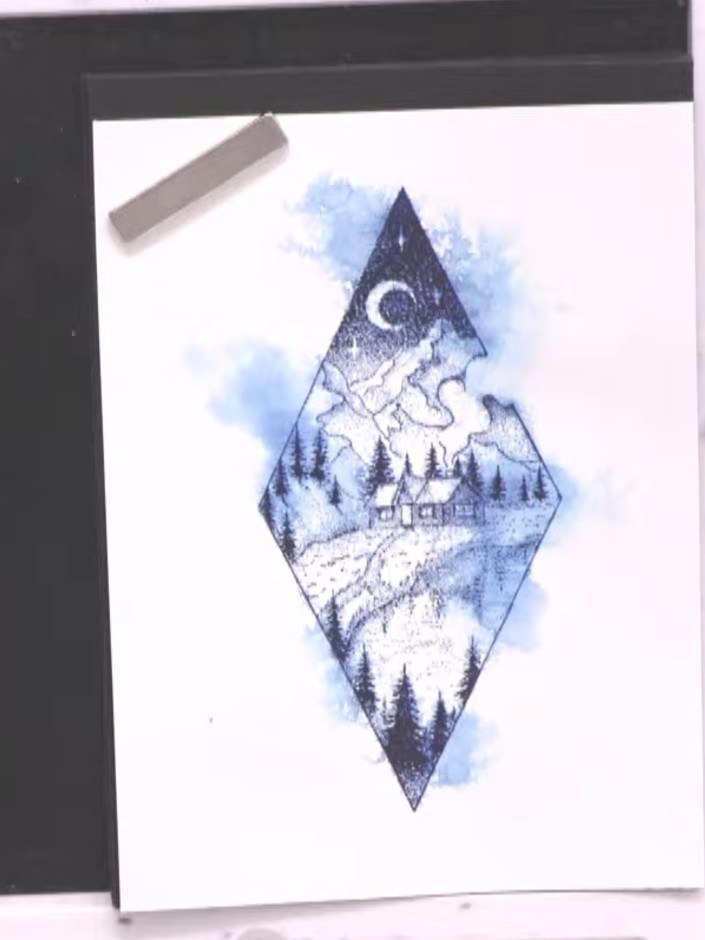
Cut an aperture in a second piece of watercolour card the same size as your first card using a diamond-shaped die from the Dotty Framework die set, positioning it to frame your stamped winter scene.
▶ watch this step (53:30)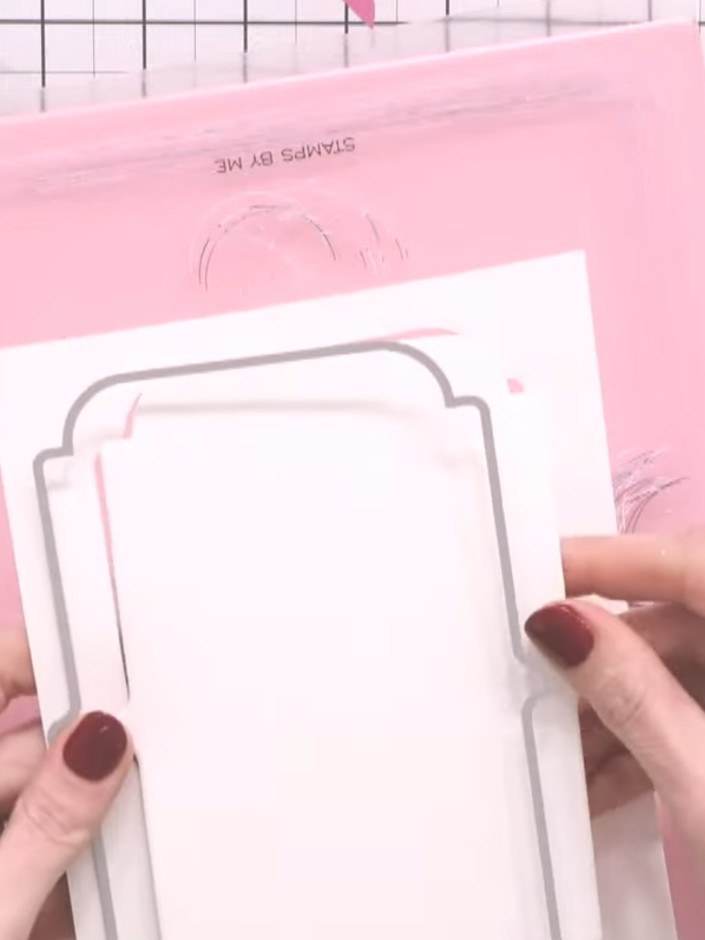
Adhere the stamped and sprayed diamond panel onto a cream card blank using adhesive.
▶ watch this step (55:00)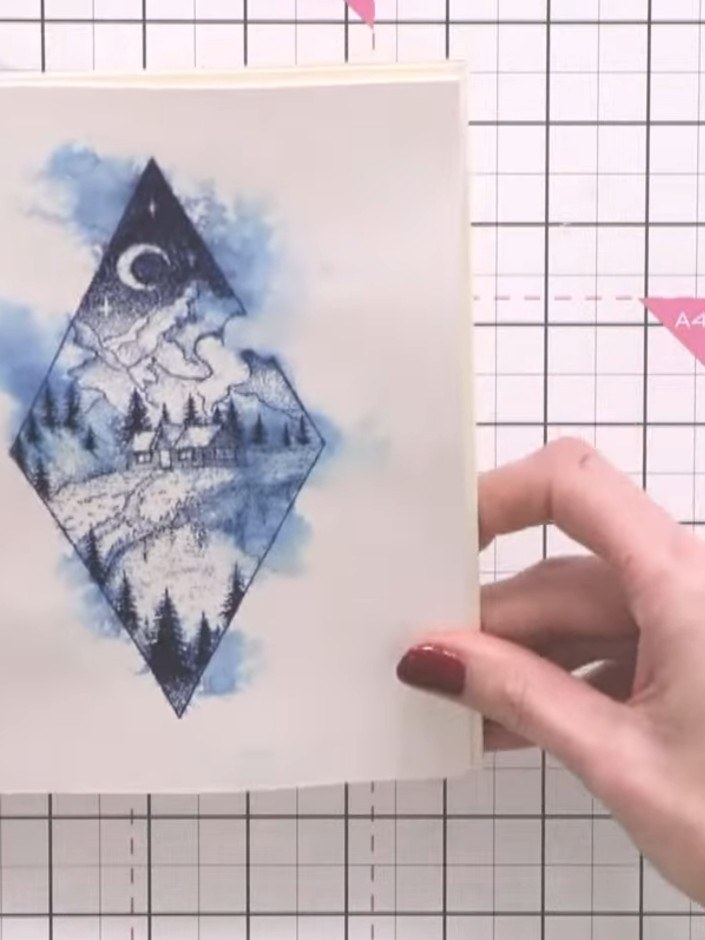
Layer the diamond aperture frame on top of the card using foam pads for dimension. Alternatively, adhere it flat if preferred.
▶ watch this step (57:00)Written up from the show itself. See every guide from our shows · free how-to guides · watch live on My Telly