Give your friends €10 off their first order!
Refer a FRIEND








A project from our live show ONE DAY SPECIAL - Join Toni for her brand new launch - Broadcast 25th July 2025 · 25/07/2025 · watch it from 38:00
Emboss a detailed rose design with surrounding words, then add gilding wax to the raised areas to create a luxurious, dimensional card with metallic accents.
 Stamps By Me Stamp & Emboss Bundle - 230725ASEE IT
 Stamps By Me - Premium Pigment Ink Pure White - Cotton - 121022MSEE IT
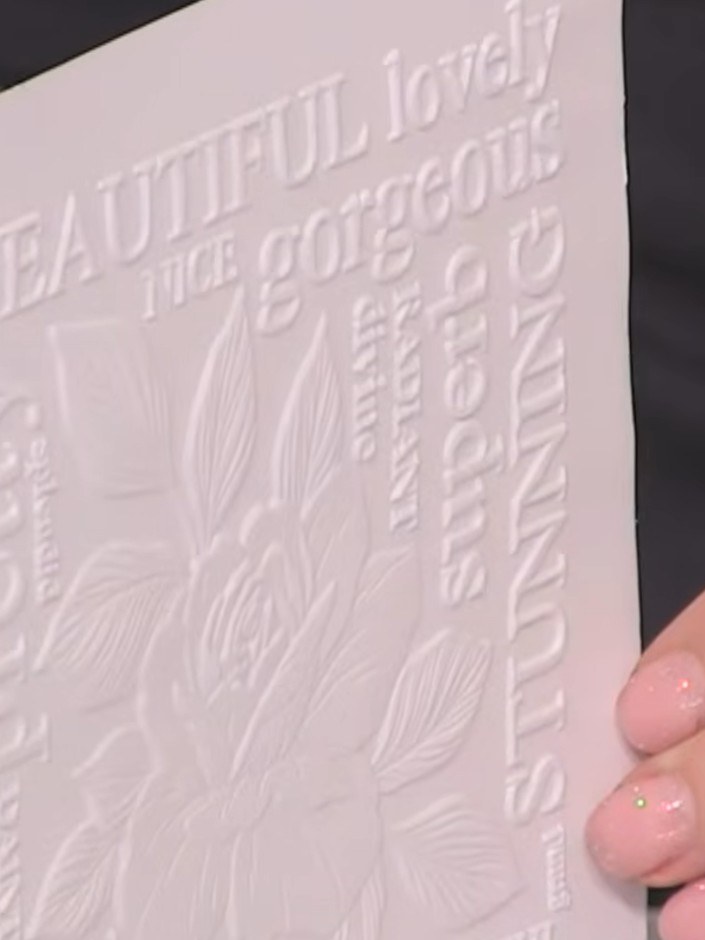
Stamp the rose stamp onto the embossed card using black pigment ink, pressing firmly to ensure the ink captures all the detail in the embossed grooves.
▶ watch this step (40:15)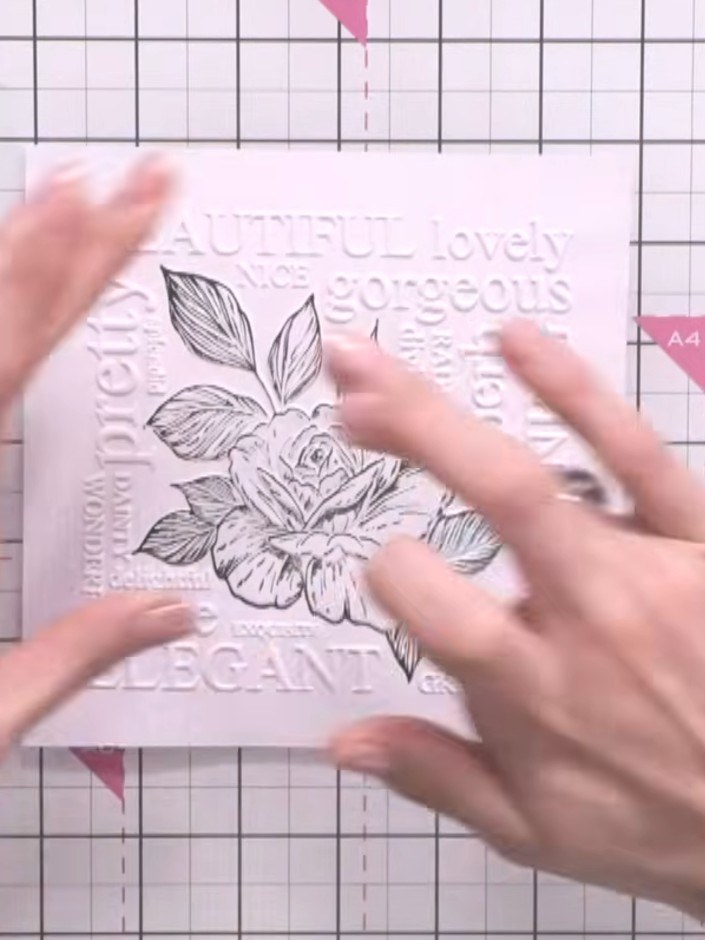
Apply gilding wax to the raised areas of the embossed design using your finger or a soft cloth. Work the wax into the dimensional parts of the rose and the embossed words, highlighting the texture.
▶ watch this step (49:45)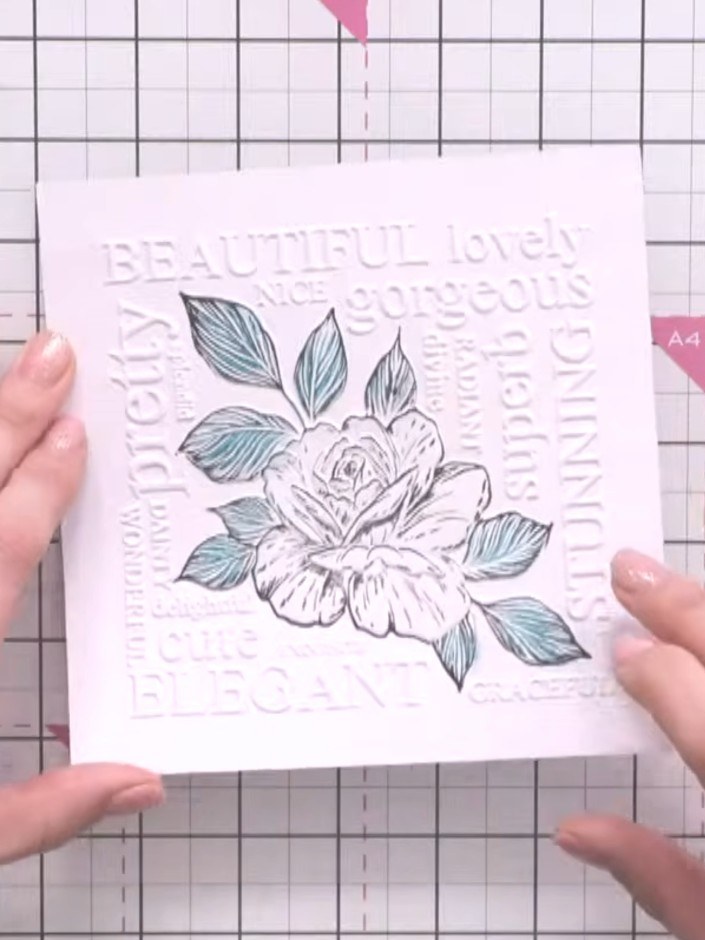
Allow the wax to dry on the embossed design. The wax dries almost instantly, leaving a subtle highlight on the raised areas of the rose and leaves.
▶ watch this step (50:30)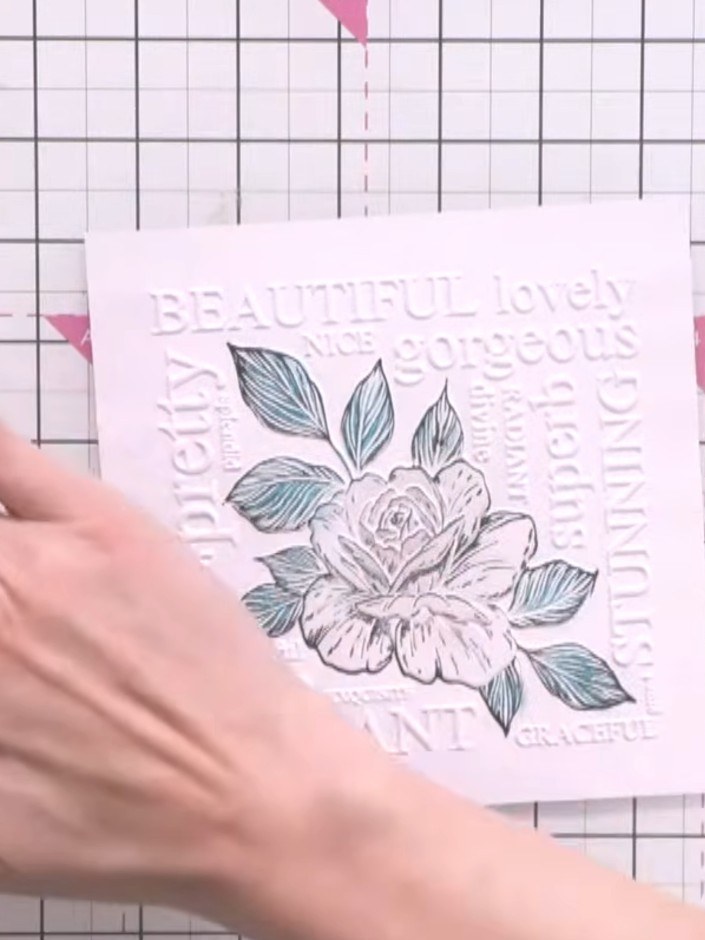
Optionally, swipe a black ink pad over the waxed areas to add definition and make the embossed words stand out.
▶ watch this step (51:00)Written up from the show itself. See every guide from our shows · free how-to guides · watch live on My Telly