Give your friends €10 off their first order!
Refer a FRIEND








Prices change straight away. Every language is our own translation, not Google.
A project from our live show ONE DAY SPECIAL - Join Toni for her brand new launch - Broadcast 25th July 2025 · 25/07/2025
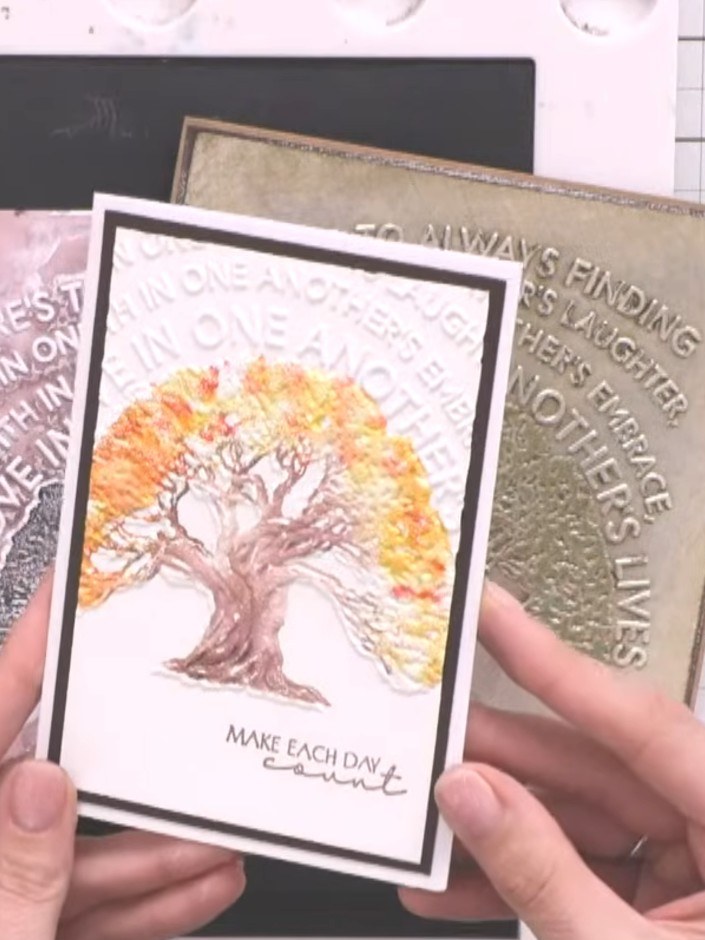
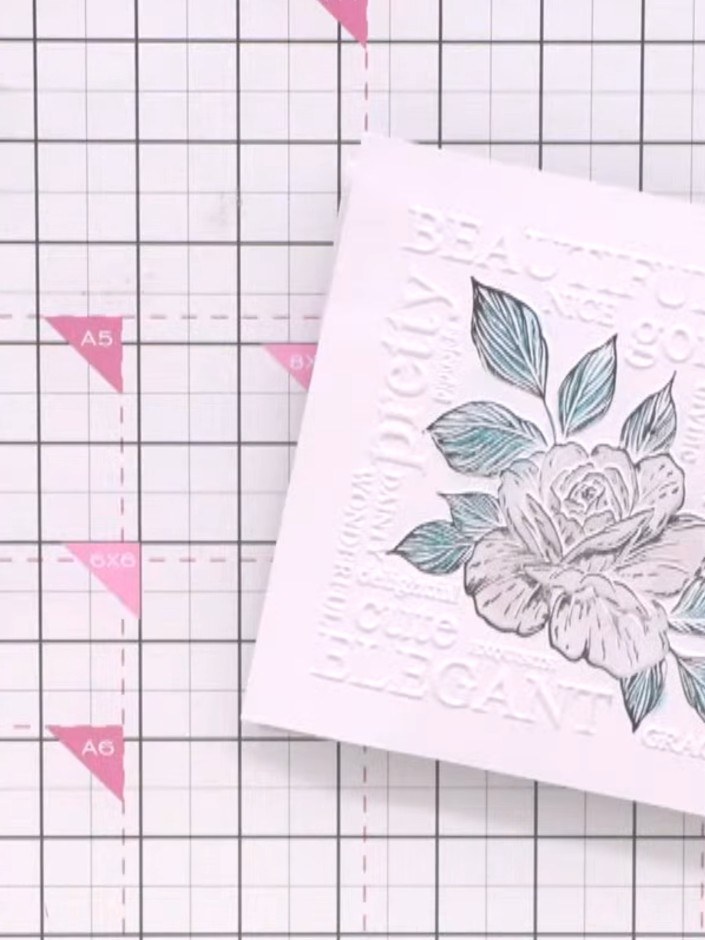
Create a beautiful friendship card featuring an elegant embossed rose design with meaningful text. The piece combines delicate black stamped florals with soft embossed lettering on white cardstock, mounted on a sophisticated black card base. Master the techniques of heat embossing, detailed stamping, and pigment ink blending to achieve soft, distressed edges.
 1
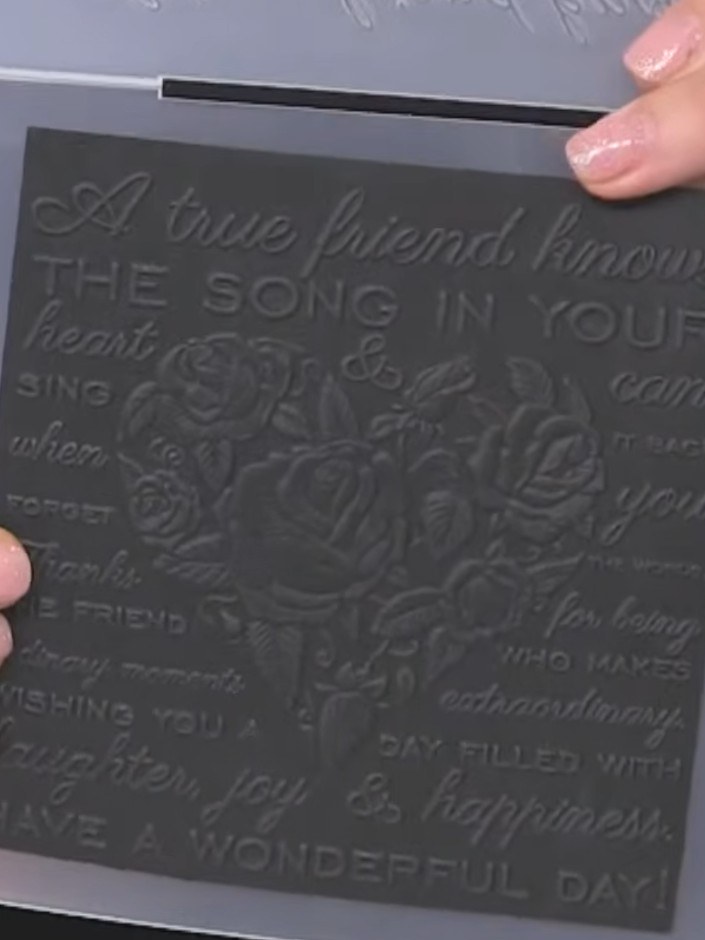
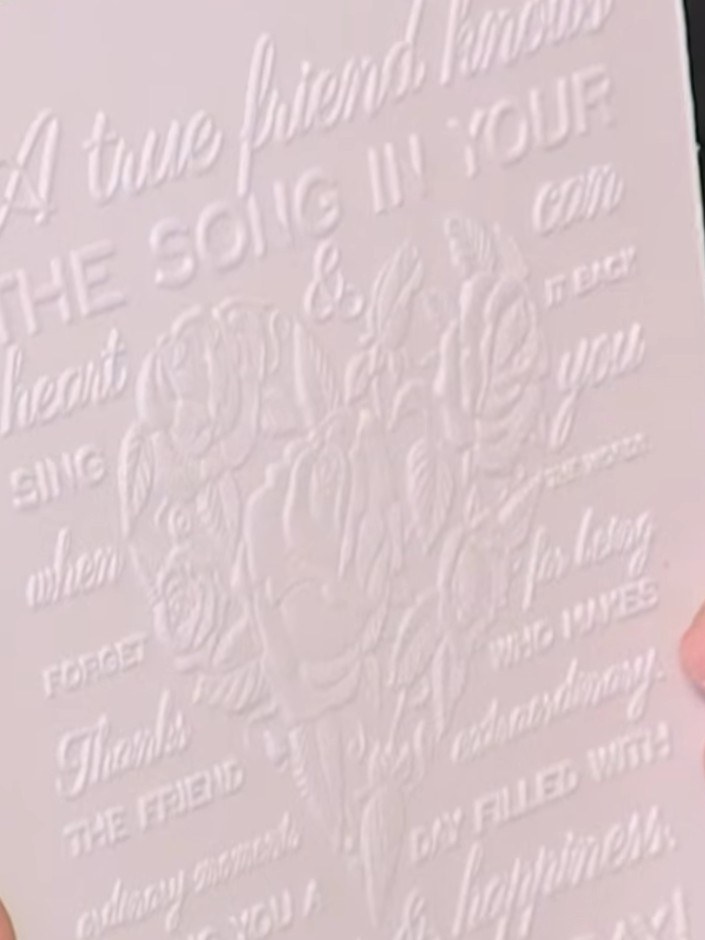
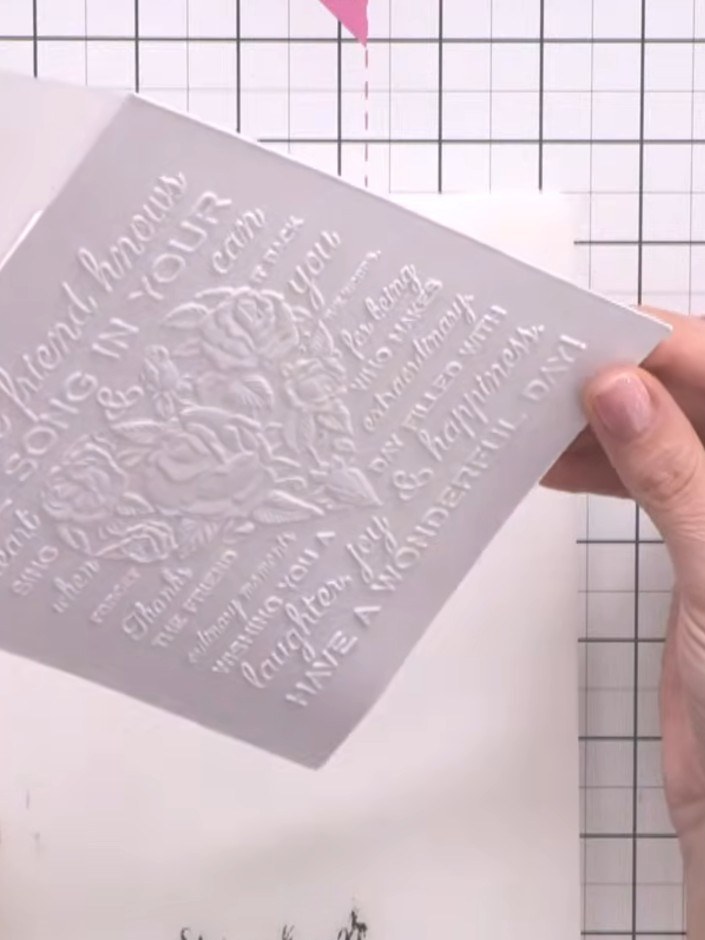
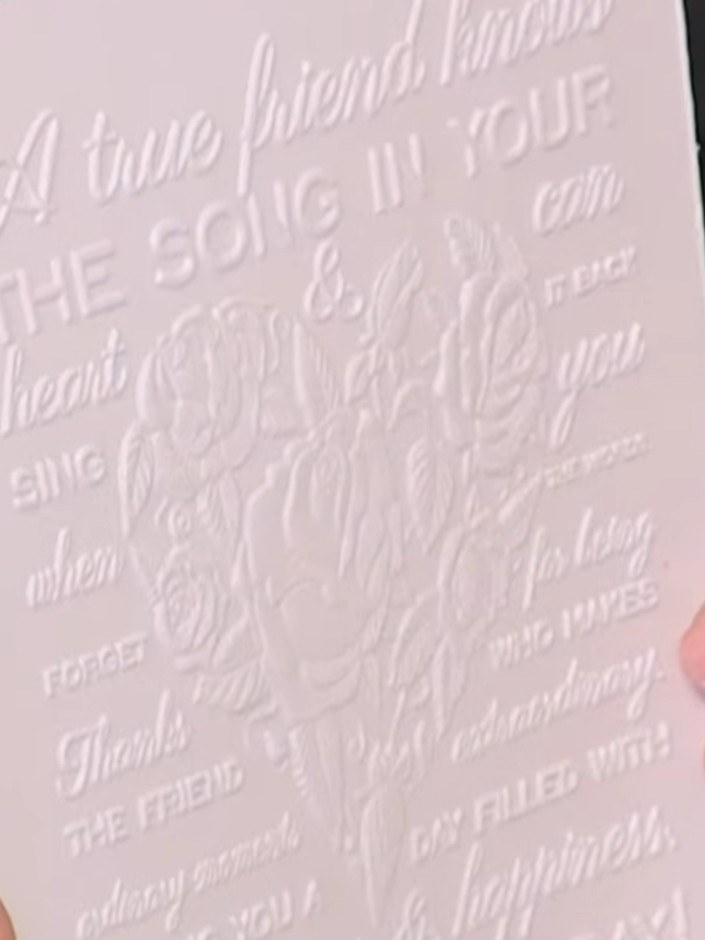
Cut a piece of white card stock to size. Place it in the heart embossing folder and run it through your embossing machine to create the raised heart design.
 2
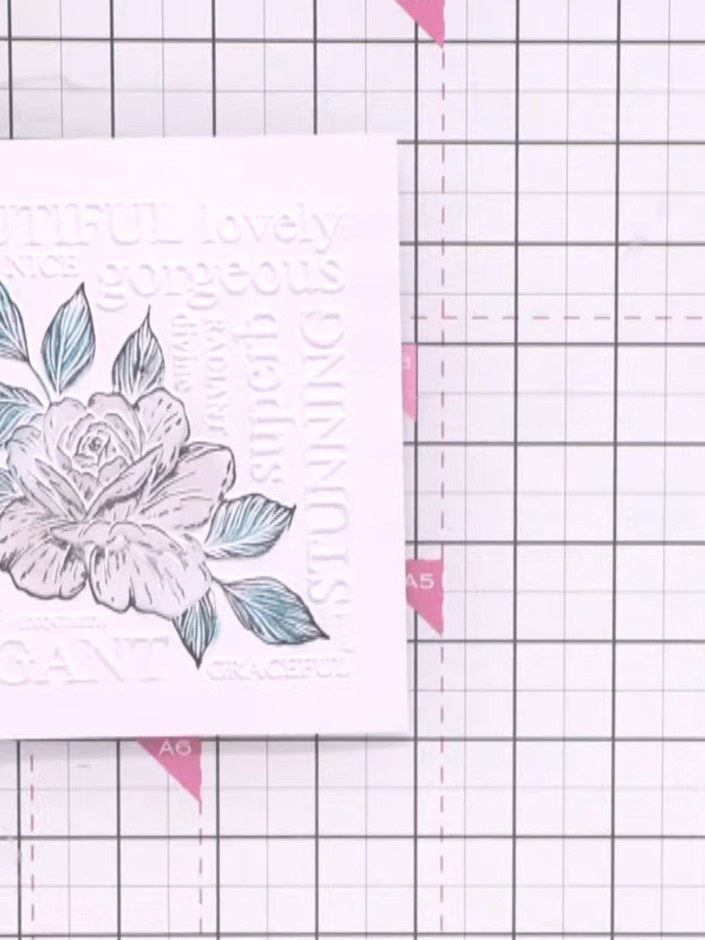
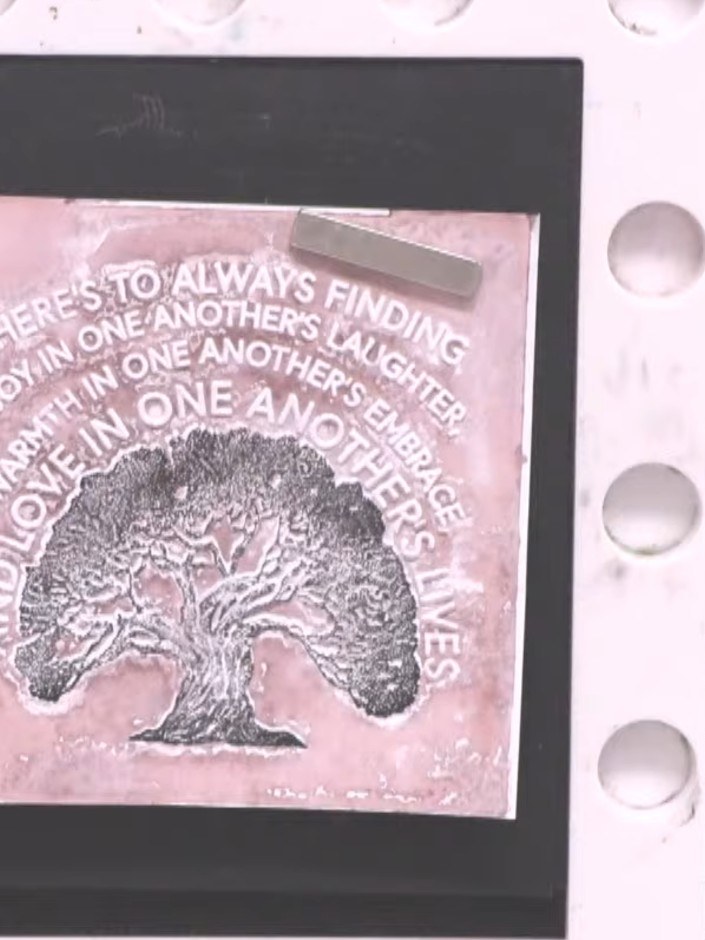
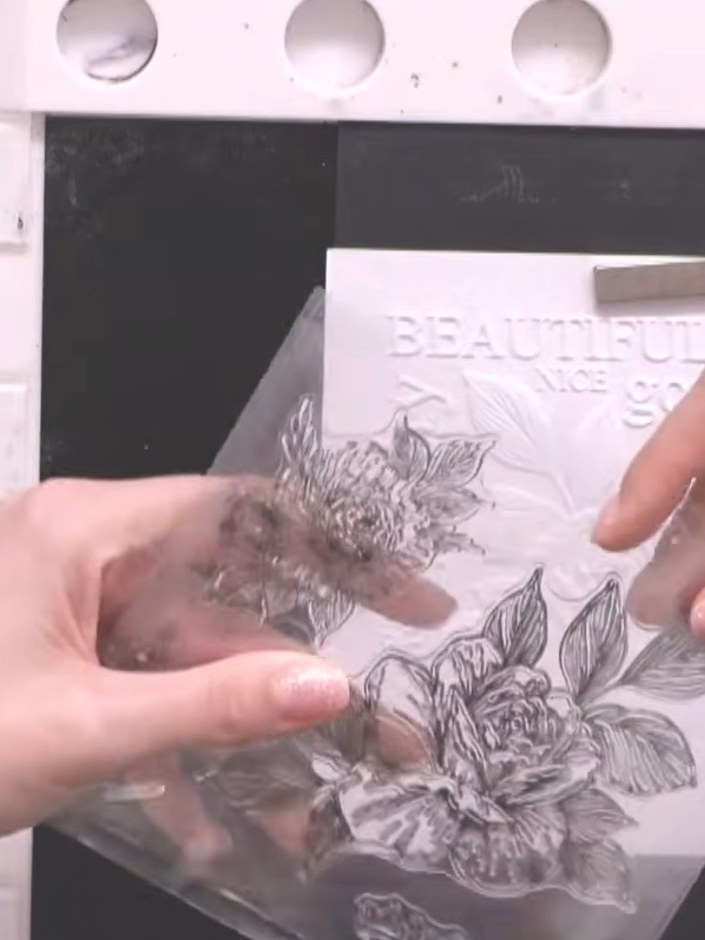
Stamp the heart design onto the embossed white card using black pigment ink, pressing down firmly to ensure all the details are captured clearly.
 3
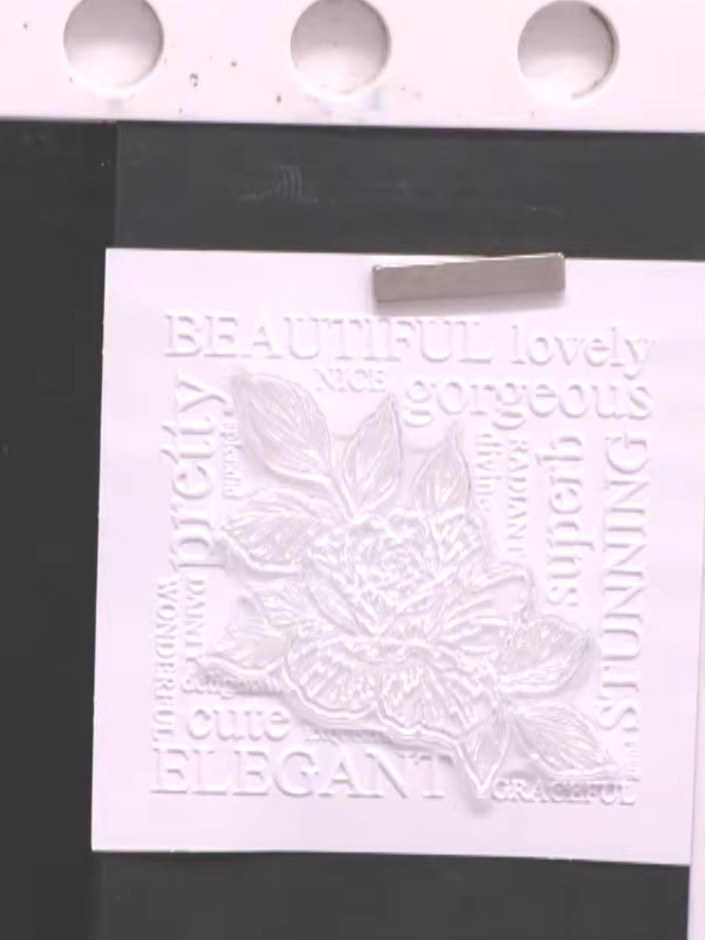
Use your finger or a blending brush to gently soften any harsh lines around the edges of the stamped floral design on the white embossed paper.
 4
Stamp over the embossed design again using black pigment ink to reinforce the words and floral details. Press firmly to ensure the ink gets into all the grooves of the embossed pattern.
Share your make with the Stamps By Me community - and keep this guide for next time.
Written up from the show itself. See every guide from our shows · free how-to guides · watch live on My Telly · the previous layout