Give your friends €10 off their first order!
Refer a FRIEND








A project from our live show ONE DAY SPECIAL - Join Toni for her brand new launch - Broadcast 25th July 2025 · 25/07/2025 · watch it from 36:30
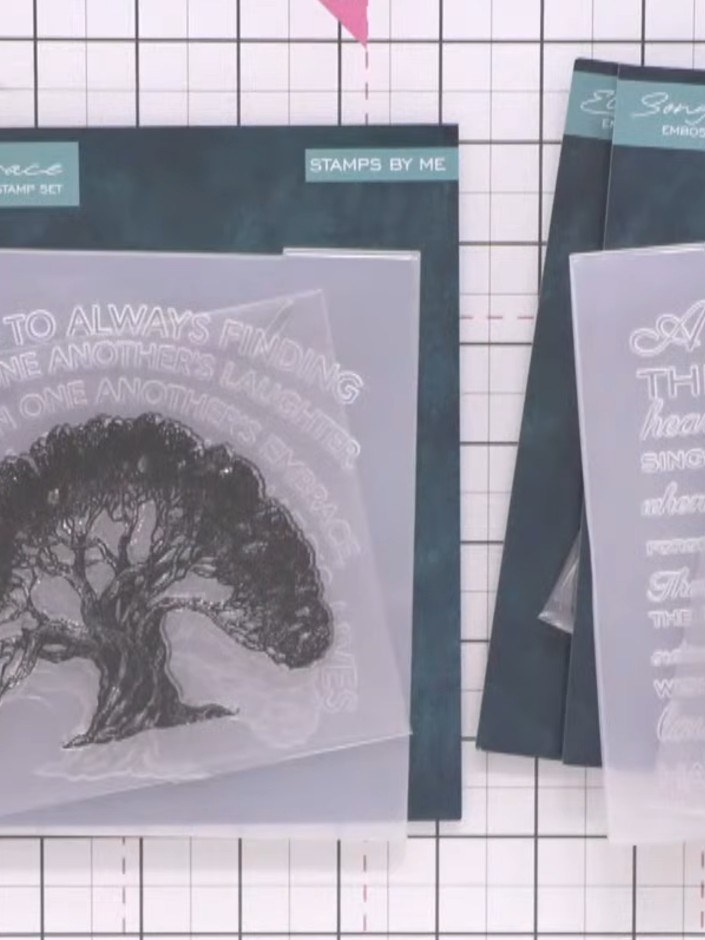
Make an elegant monochrome card with a detailed embossed tree design and flowing sentiment words. Blend black and white inks to create a soft, distressed chalkboard background that highlights the raised white embossing. This striking technique produces a sophisticated card with beautiful contrast and texture.
 Stamps By Me Stamp & Emboss Bundle - 230725ASEE IT
 Stamps By Me - Premium Pigment Ink Pure White - Cotton - 121022MSEE IT
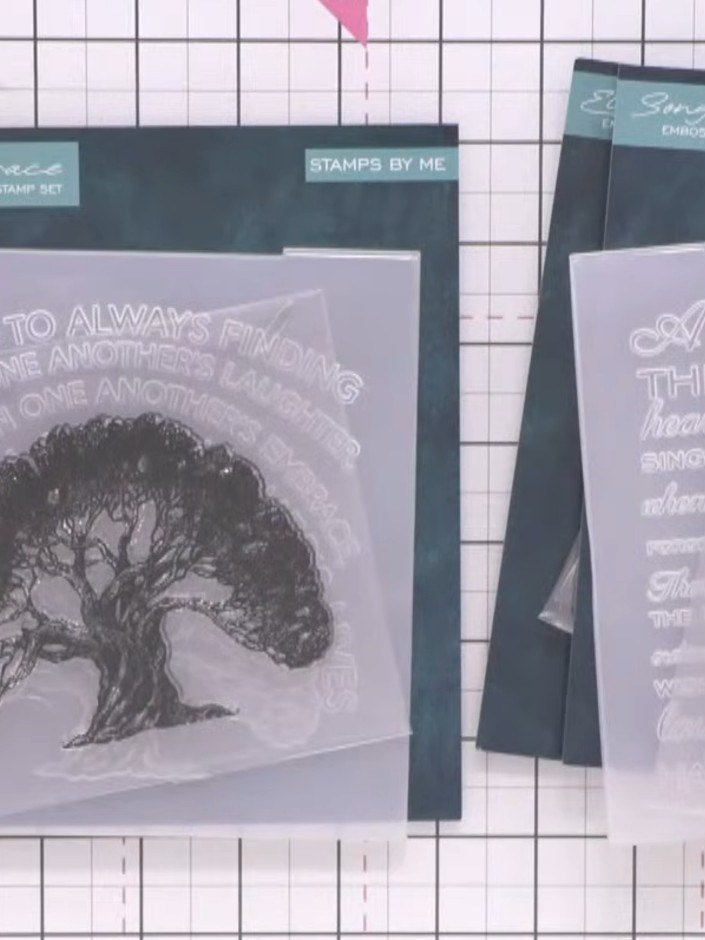
Cut your card stock to size and run it through your embossing machine with the tree embossing folder to create the raised design.
▶ watch this step (36:30)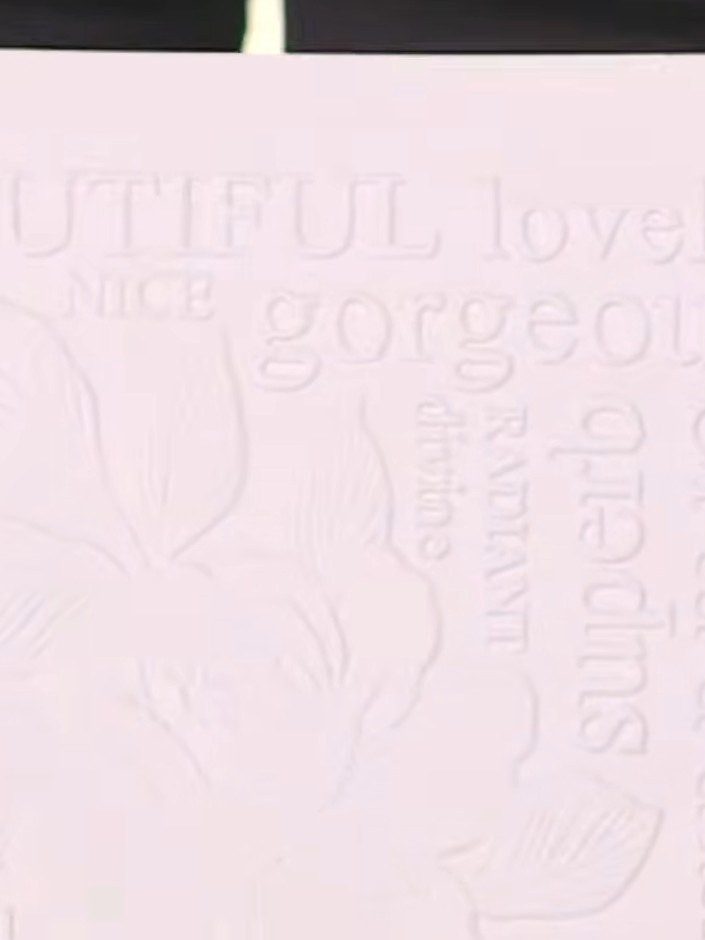
Ink up the tree stamp with black pigment ink and stamp it firmly onto the embossed pink card, pressing down to capture all the detail of the design.
▶ watch this step (40:30)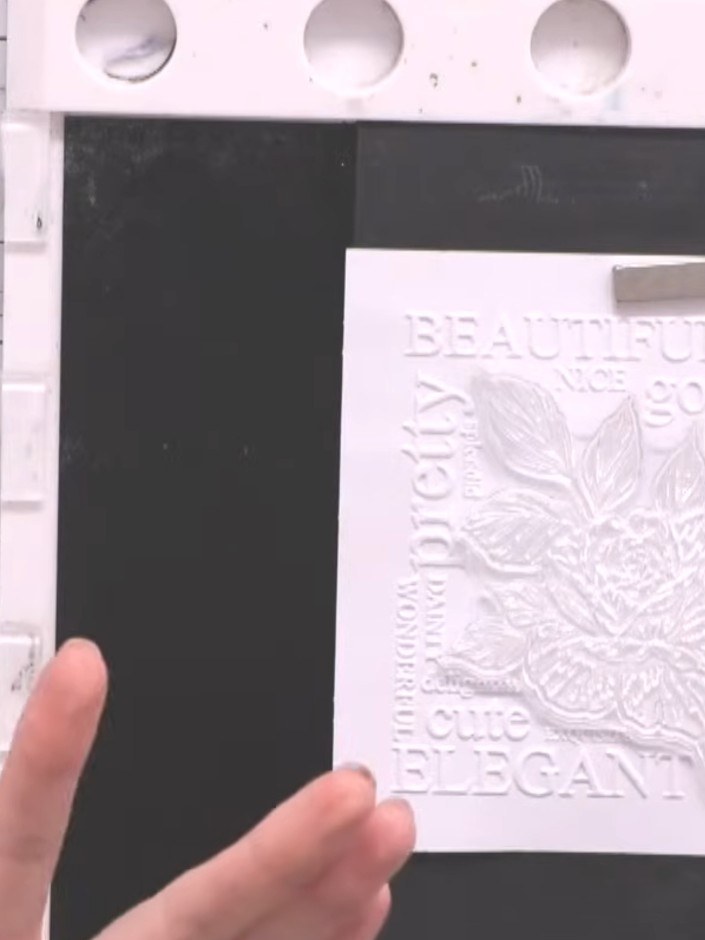
Place the embossed white card panel onto a piece of black card stock. Run both pieces together through your die-cutting machine to create a black background layer for your embossed design.
▶ watch this step (46:00)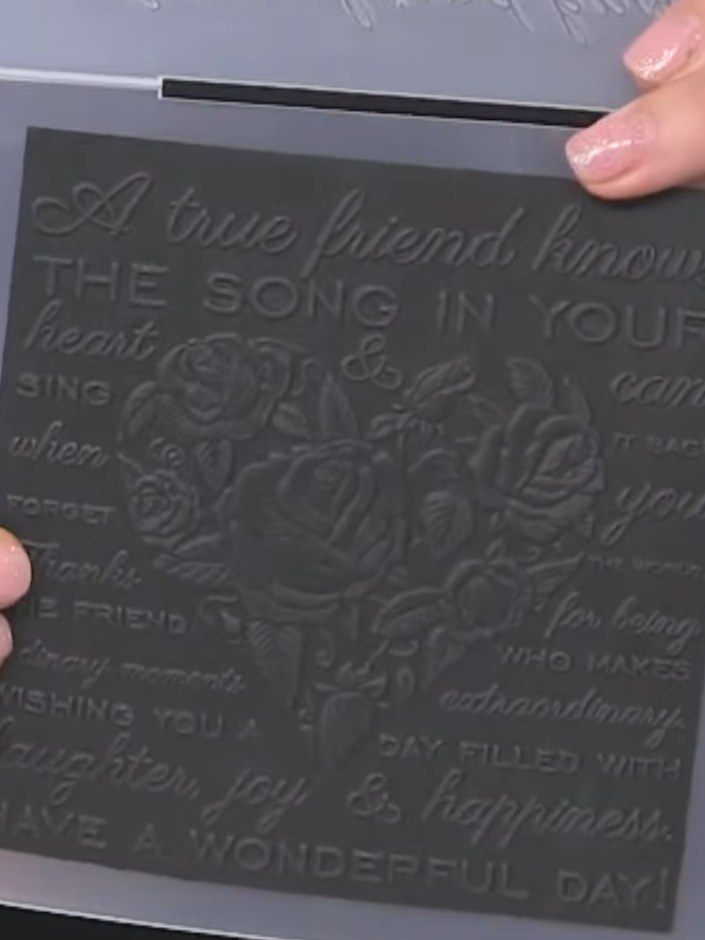
Swipe the white ink pad across the black embossed card to highlight the raised words and tree design. Use light, sweeping motions to catch the raised surfaces.
▶ watch this step (55:45)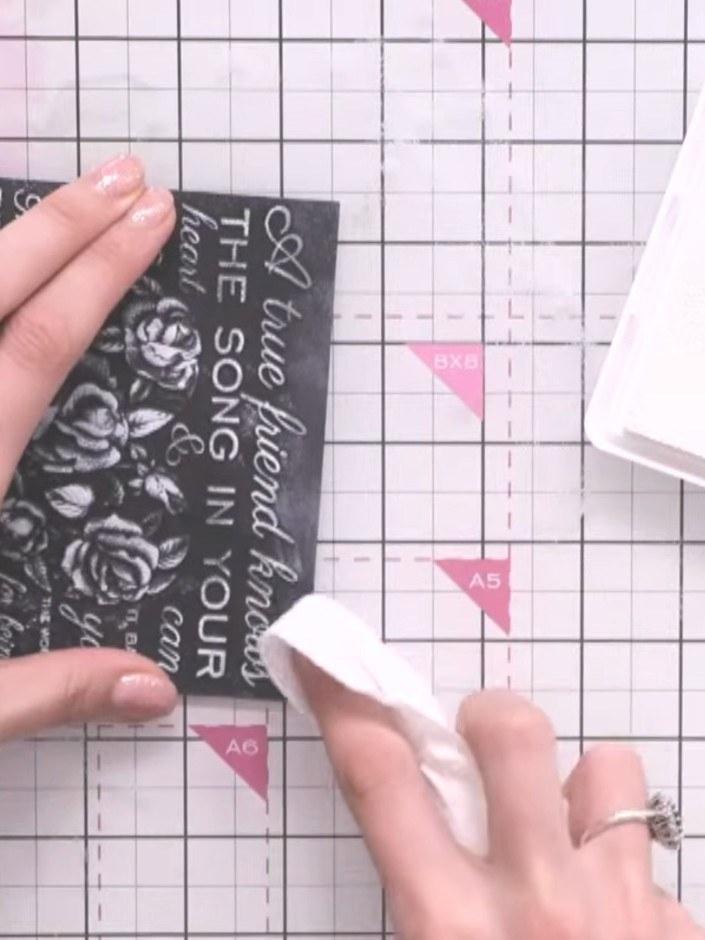
Use your finger or a blending brush to gently soften any harsh lines where the white ink meets the black background, creating a subtle distressed effect around the edges.
▶ watch this step (57:00)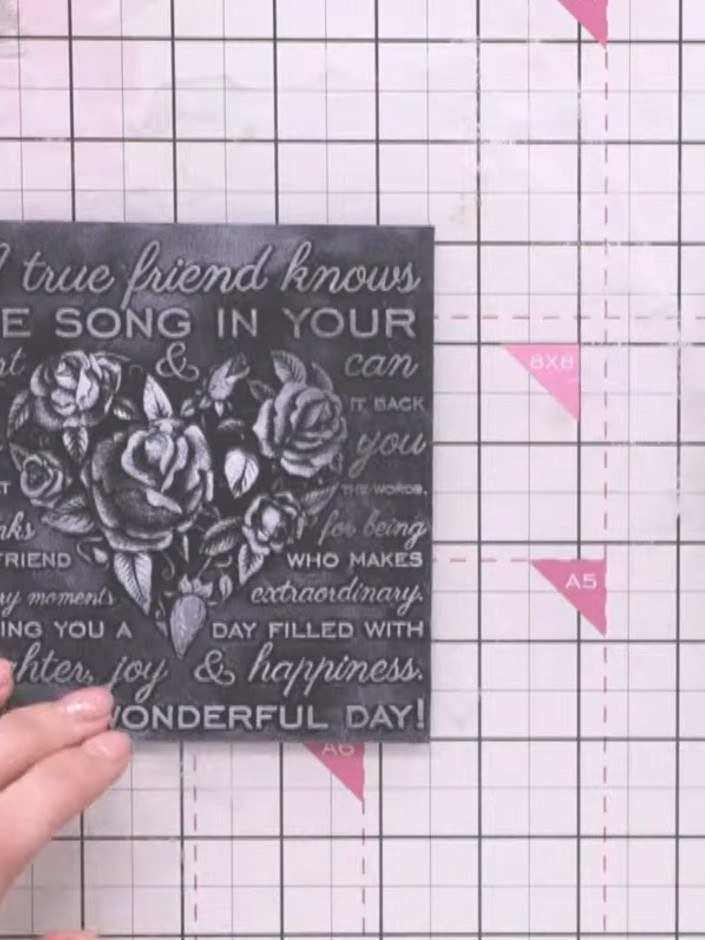
Go back over the white areas with the Pure White pigment ink pad to reinforce the words and design details on the stamped image.
▶ watch this step (58:00)Written up from the show itself. See every guide from our shows · free how-to guides · watch live on My Telly