Give your friends €10 off their first order!
Refer a FRIEND








Prices change straight away. Every language is our own translation, not Google.
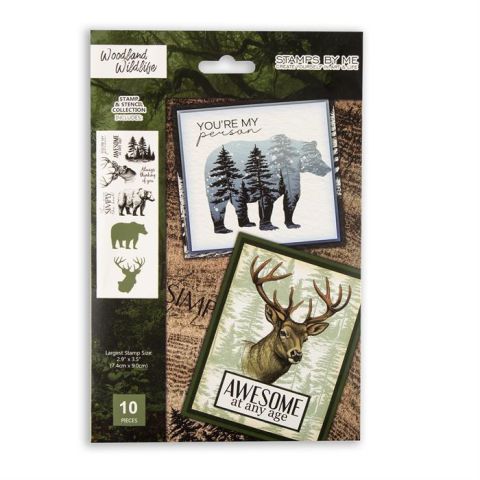
A project from our live show MY PODCAST - Catch my latest updates broadcast 9th June 2025 · 09/06/2025
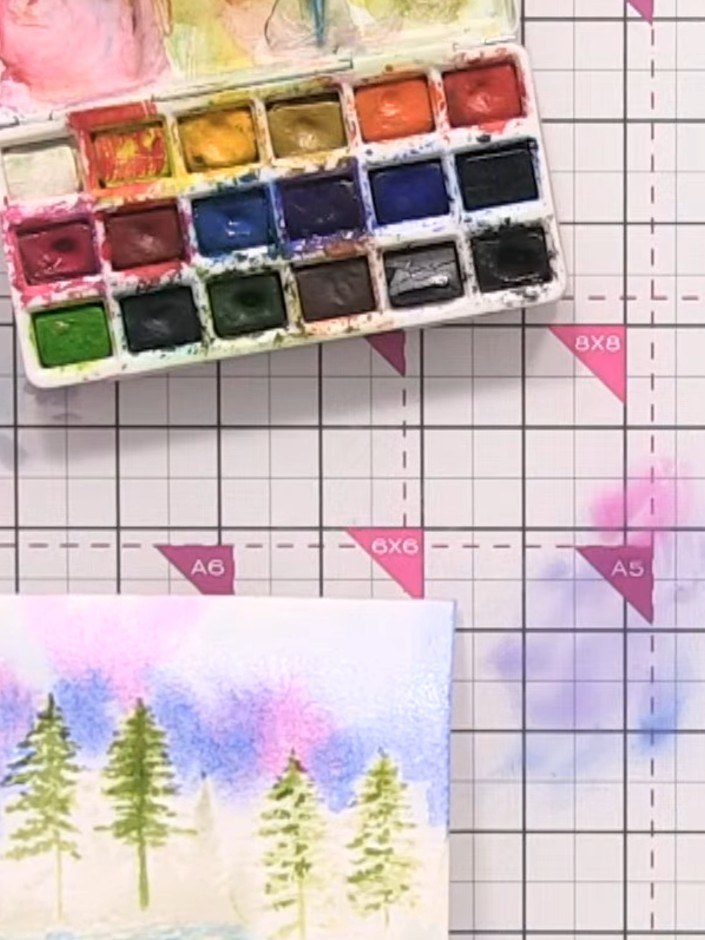
Create a stunning hand-painted watercolour landscape card featuring a serene winter tree line scene. Using the innovative No-Line Ink Pad technique, you'll paint delicate evergreen trees against a soft purple, pink and blue sky with a snowy foreground and water feature. This clever method uses invisible watermark guides beneath your watercolours to help you achieve professional-looking results with accurate placement and beautiful blended colours.
 1
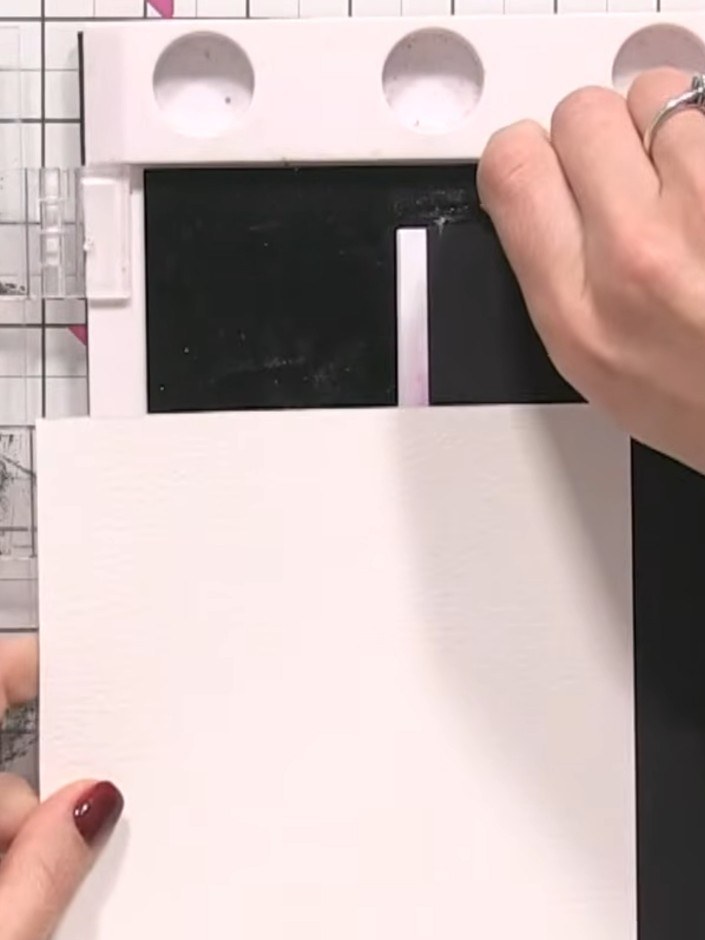
Cut your white watercolour card stock to approximately half of a full sheet to create a manageable working size.
 2
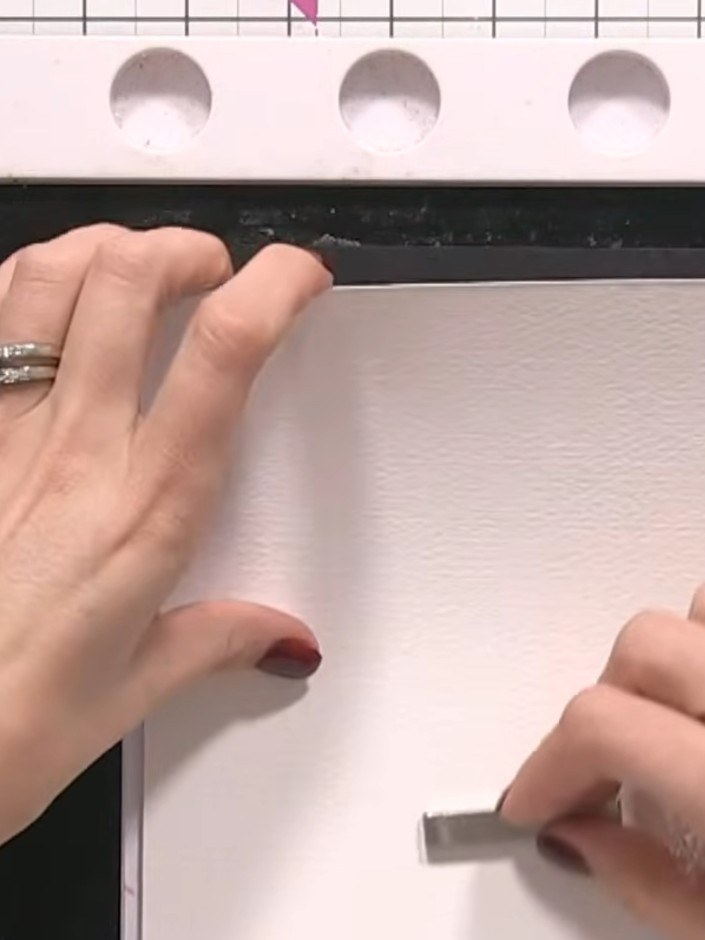
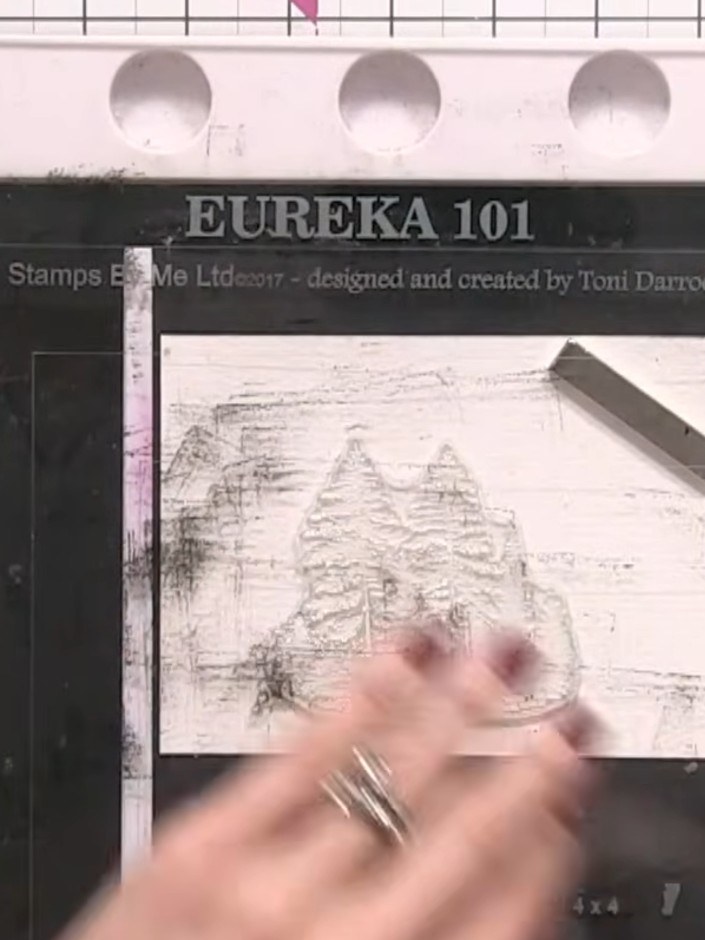
Ink the tree line stamp with the No-Line Ink Pad. Press the stamp firmly onto the watercolour card to create a faint watermark outline.
 3
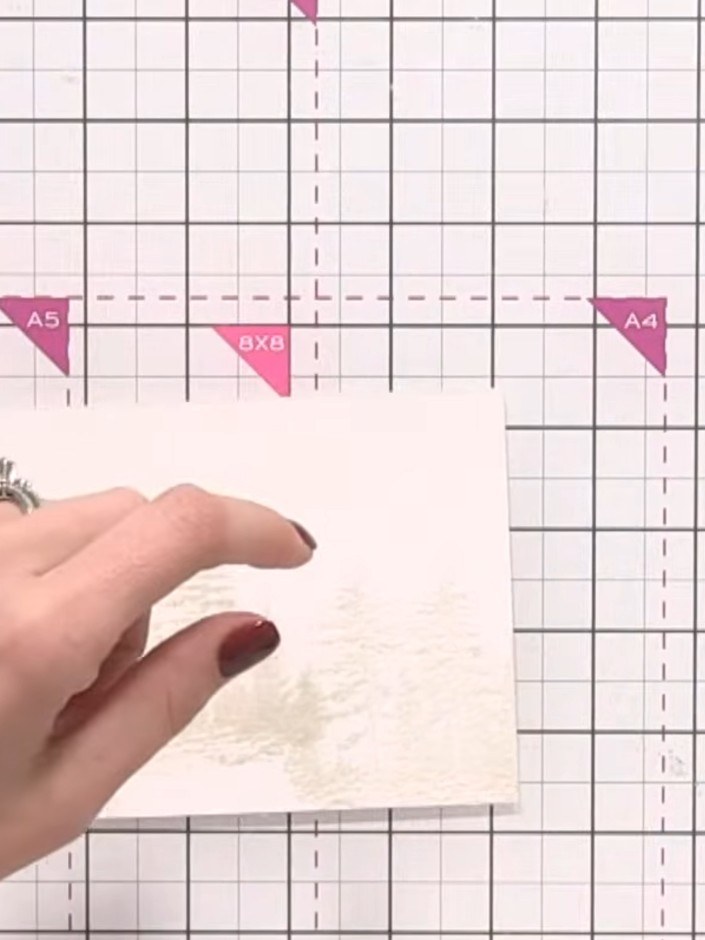
Repeat stamping the tree silhouette several times across the white card panel, varying the heights to create a natural tree line effect. Ensure each impression shows enough detail to guide your watercolour painting later.
 4
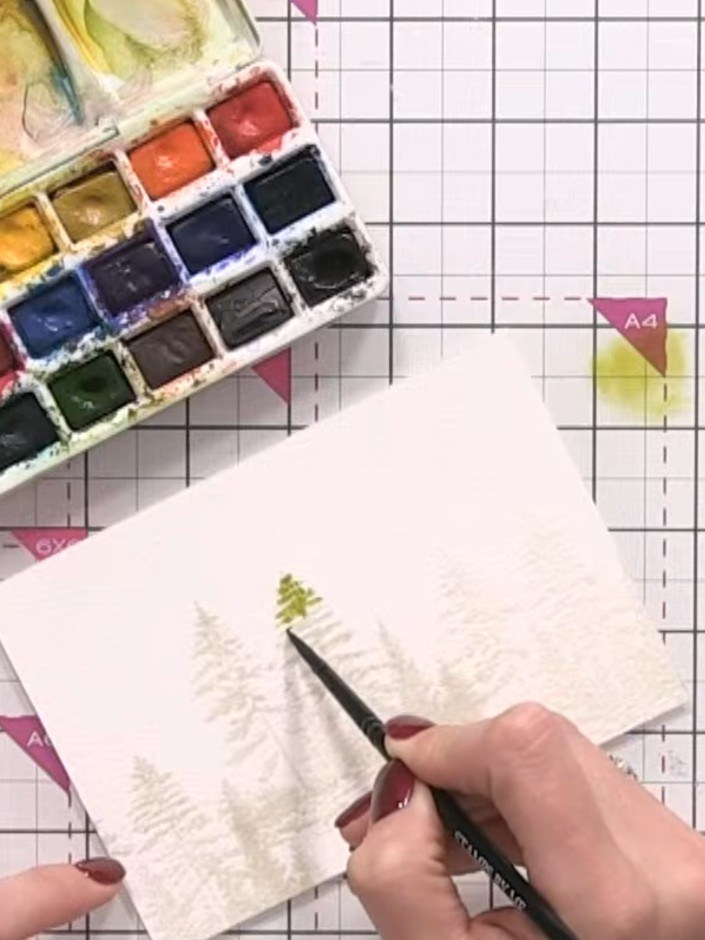
Wet your paintbrush with clean water and dampen the area where you've stamped the first tree, following the watermark outline.
 5
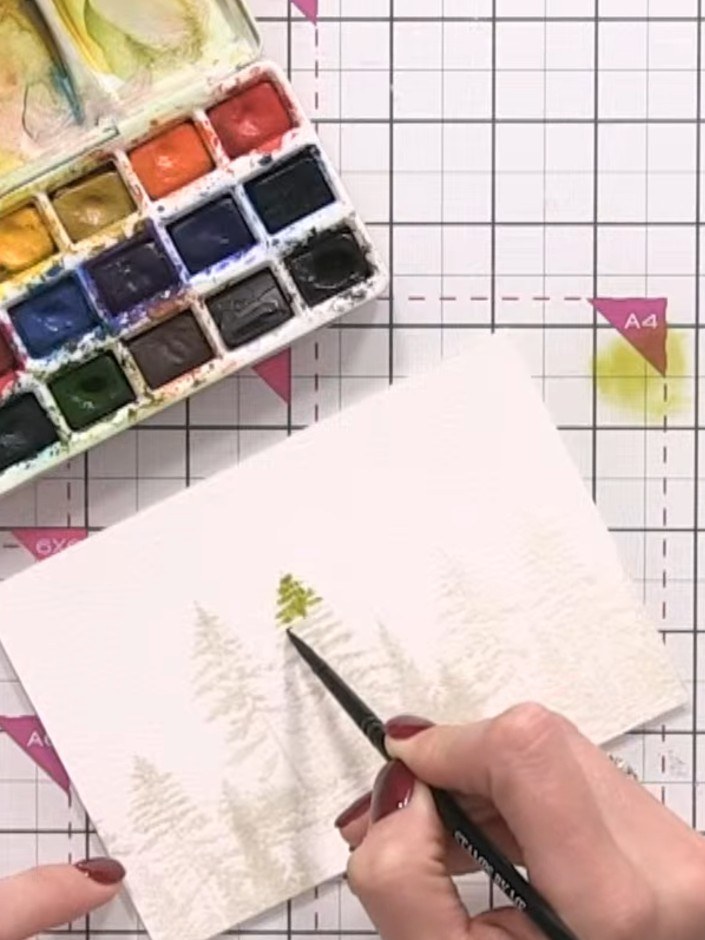
Drop green watercolour paint onto the wet area of the tree shape, allowing it to flow and blend naturally within the dampened area.
 6
Using a darker green from your watercolour palette, add depth and shadow to the tree. Build up the colour gradually with your brush, layering the paint rather than applying it heavily all at once.
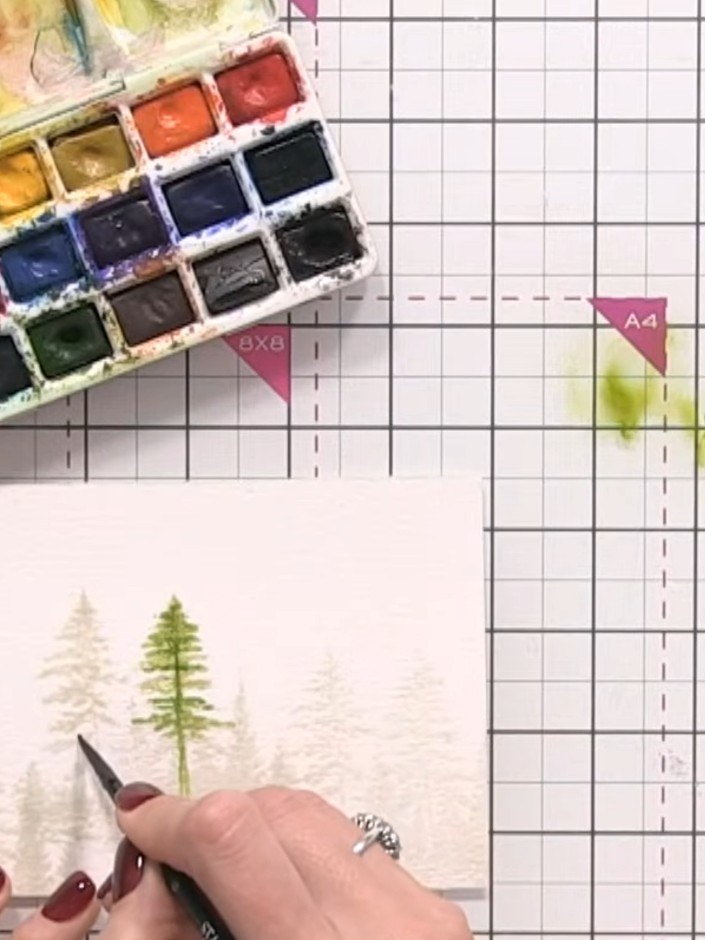 7
Continue wetting and painting each remaining tree with green watercolour, varying the intensity of the green to create visual interest across your tree line composition.
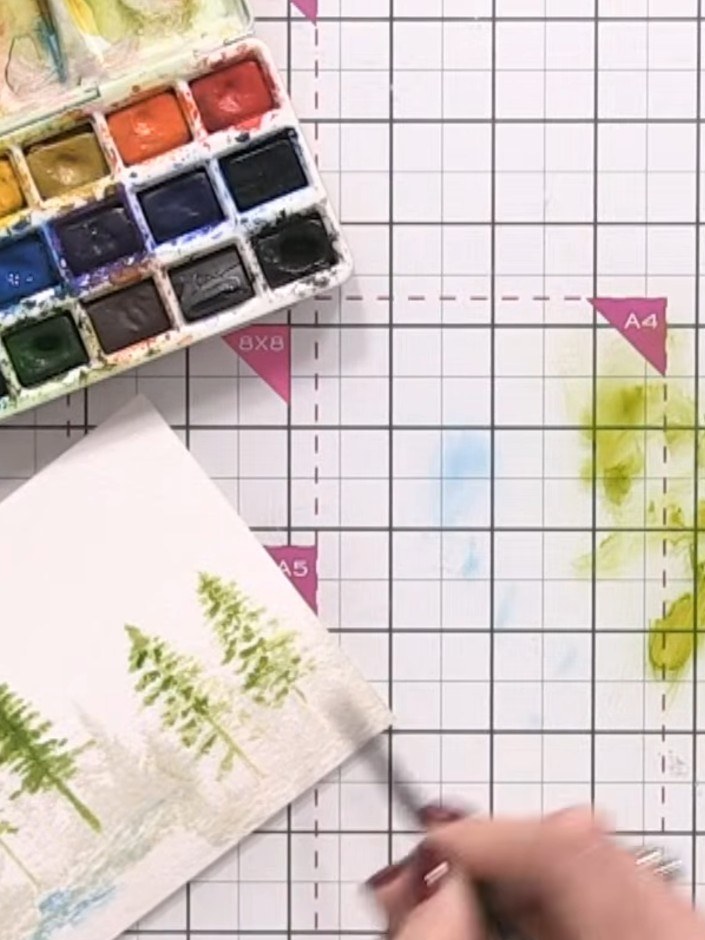 8
Once the trees are completely dry, wet the entire card background with clean water using a brush to prepare for adding a sky.
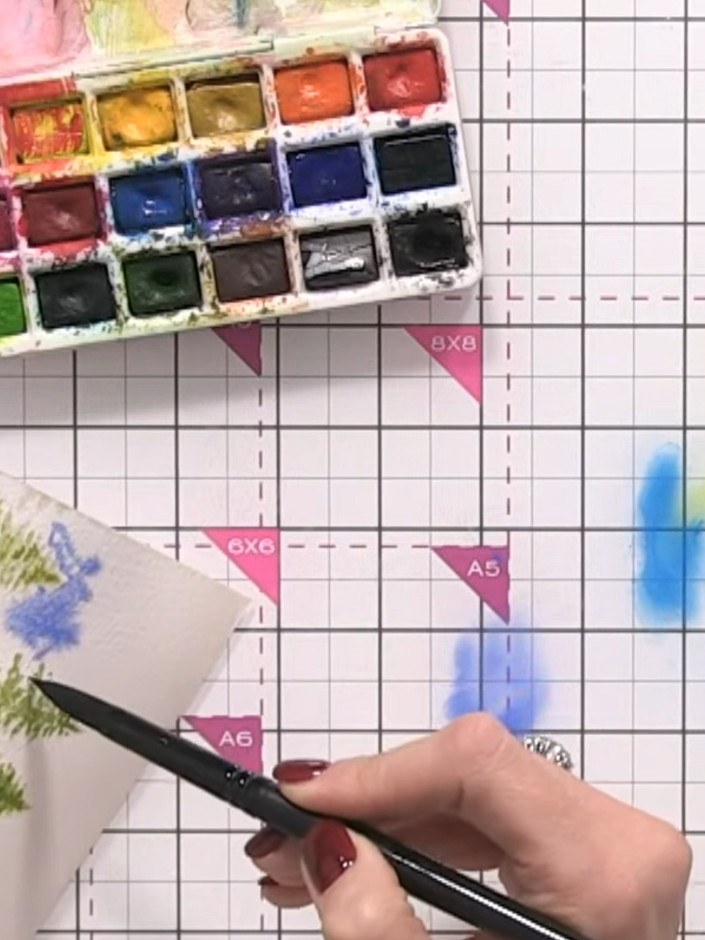 9
Apply blue watercolour into the wet background around your trees, allowing the colours to blend naturally and create an atmospheric sky effect.
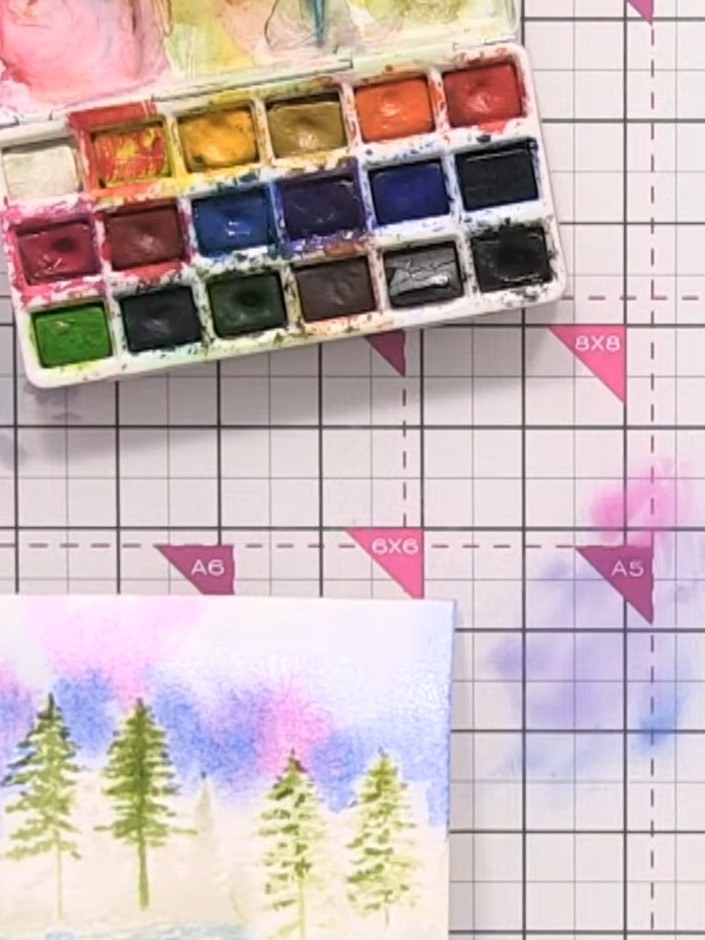 10
Once the watercolour is fully dry, optionally add white speckles using white acrylic paint mixed with water to create a starry night effect if desired.
Share your make with the Stamps By Me community - and keep this guide for next time.
Written up from the show itself. See every guide from our shows · free how-to guides · watch live on My Telly · the previous layout