Give your friends €10 off their first order!
Refer a FRIEND








Prices change straight away. Every language is our own translation, not Google.
A project from our live show IDEAL WORLD - Join Toni for the latest Stamps By Me product launch - Broadcast Wed 21st May 12 p.m. · 21/05/2025
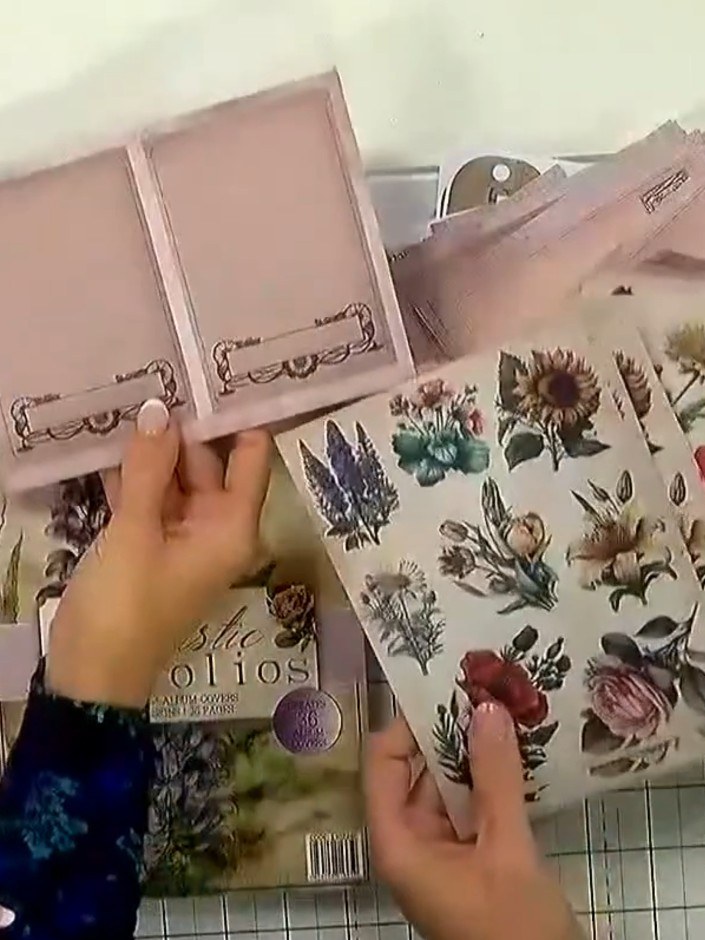
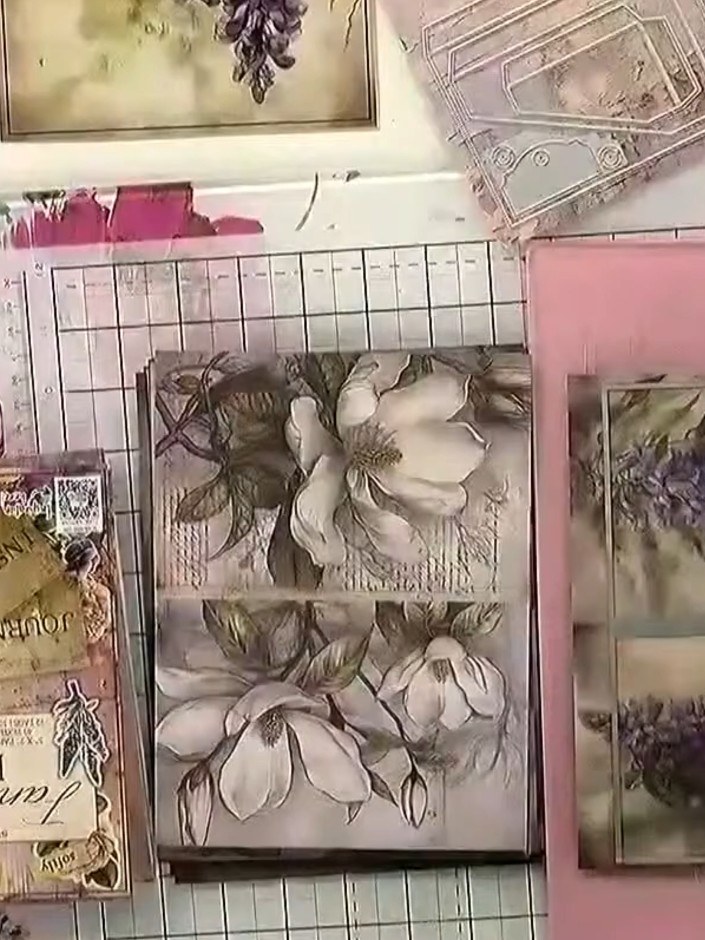
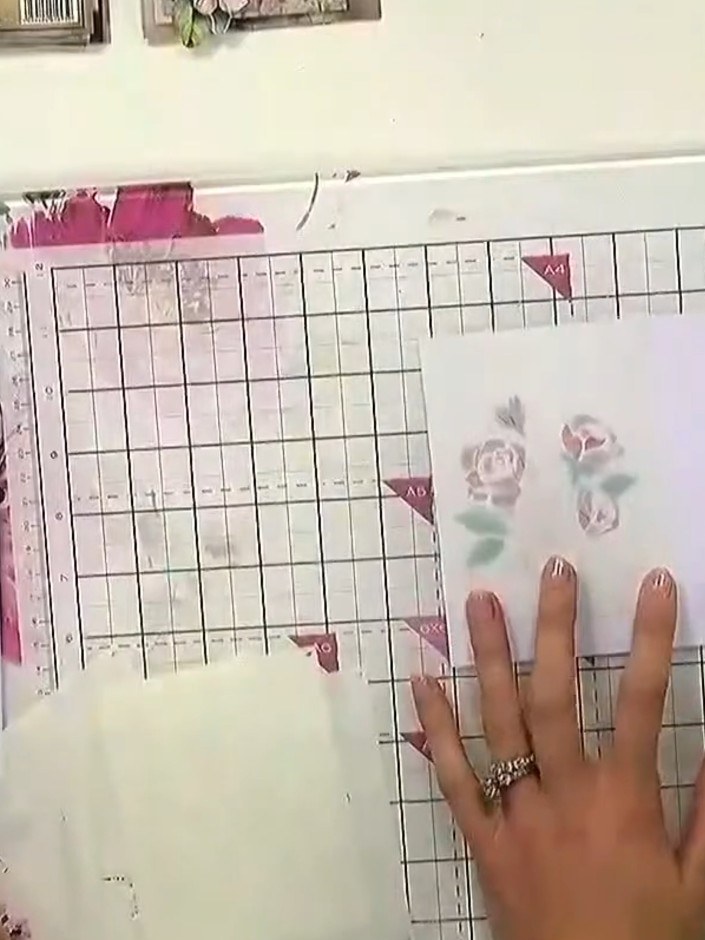
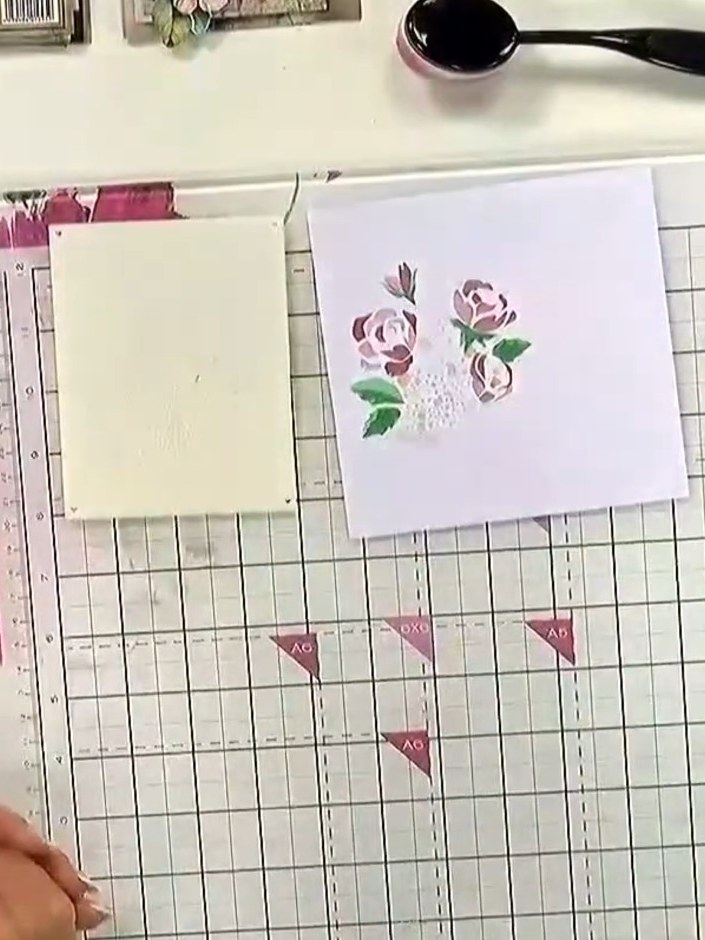
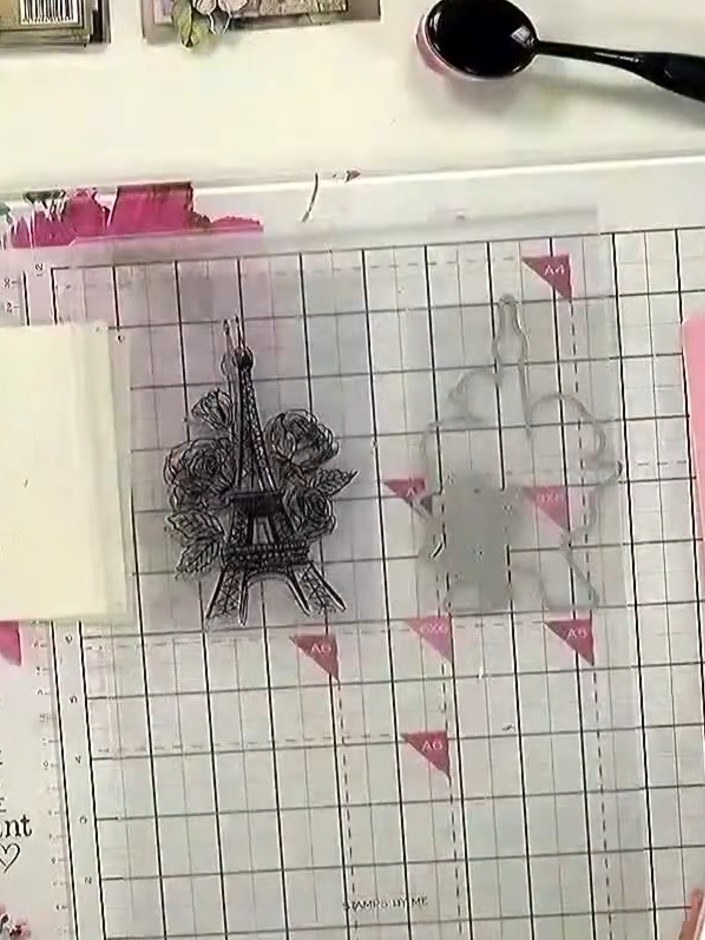
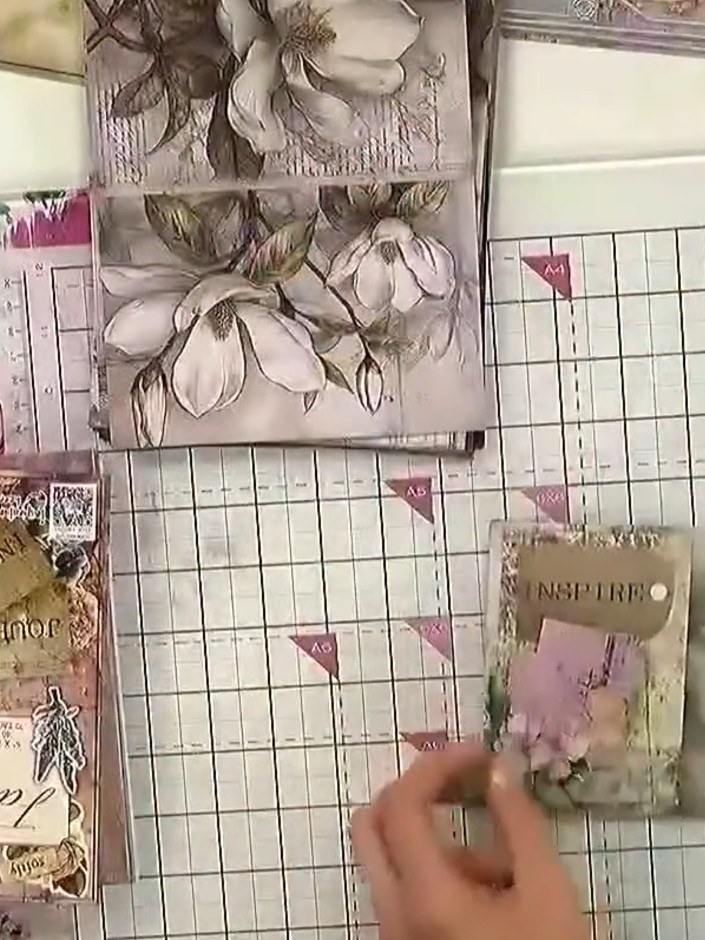
Create a delightful mini envelope card with a sentiment insert using decorative papers and dies. This charming project features soft floral designs in pink, cream and grey tones, perfect for tucking a secret message or sentiment into a larger card. The main techniques include die-cutting an envelope shape, folding and assembling the envelope, and creating a coordinating insert card.
 1
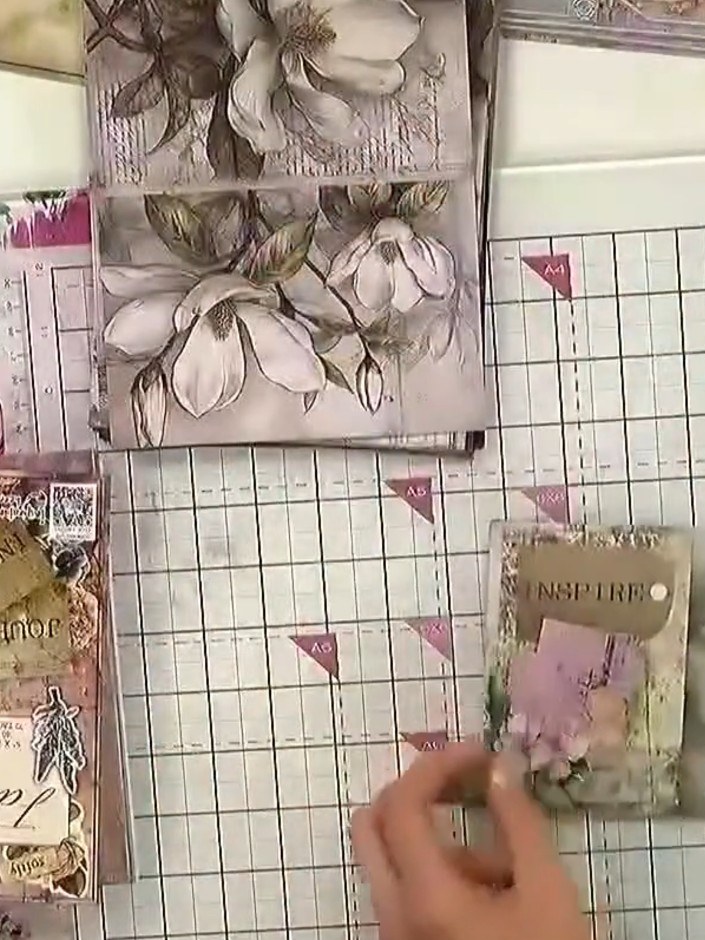
Run the envelope die through your die-cutting machine to cut out the envelope shape from your chosen cardstock. Fold the cut envelope along the pre-scored lines to form the envelope shape. Carefully crease each fold to ensure clean, sharp edges. Apply adhesive tape or glue to the flap of the envelope to seal it closed. Press down firmly to secure the envelope.
 2
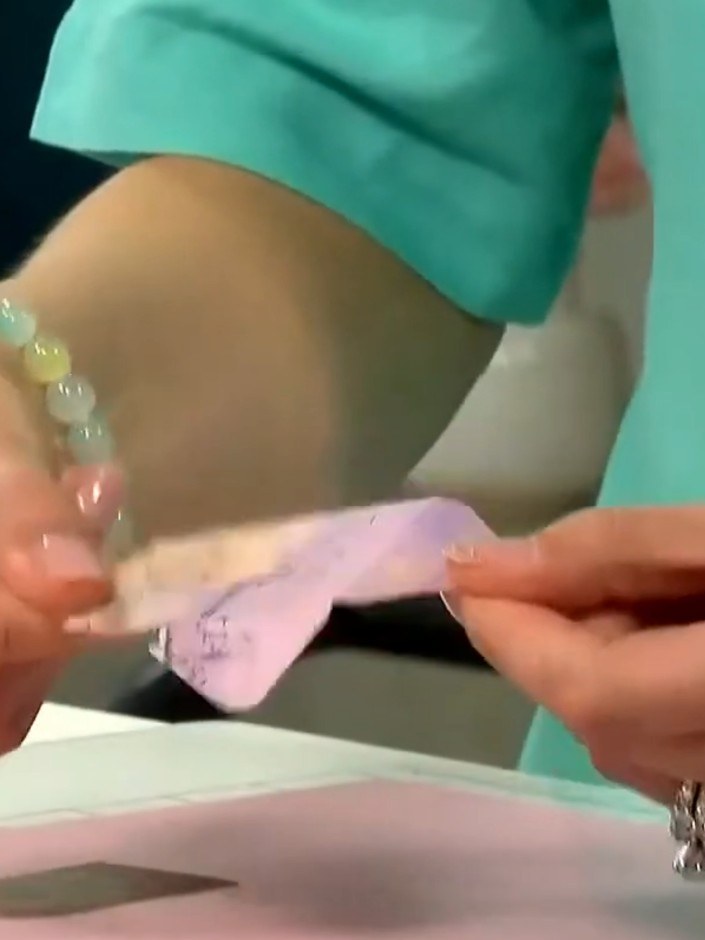
Stick a sentiment word or quote onto the front of the envelope. Position it centrally or to one side as desired.
 3
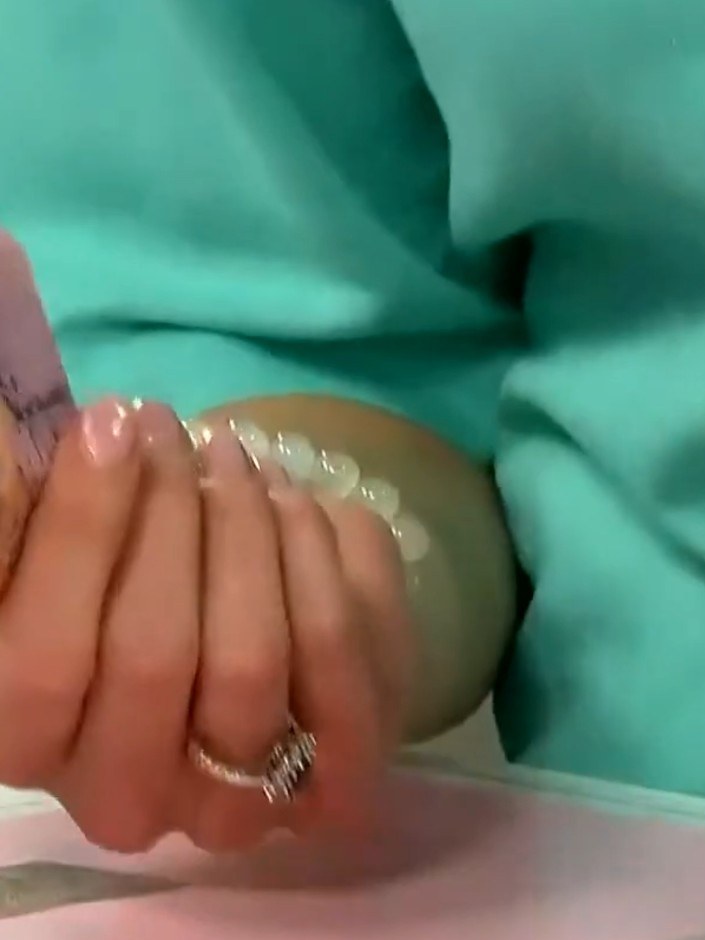
Insert the mini envelope into the front pocket of your main card. Slide it in carefully to ensure it sits neatly within the pocket.
Share your make with the Stamps By Me community - and keep this guide for next time.
Written up from the show itself. See every guide from our shows · free how-to guides · watch live on My Telly · the previous layout