Give your friends €10 off their first order!
Refer a FRIEND








A project from our live show IDEAL WORLD - Join Toni for the latest Stamps By Me product launch - Broadcast Wed 21st May 12 p.m. · 21/05/2025 · watch it from 38:45
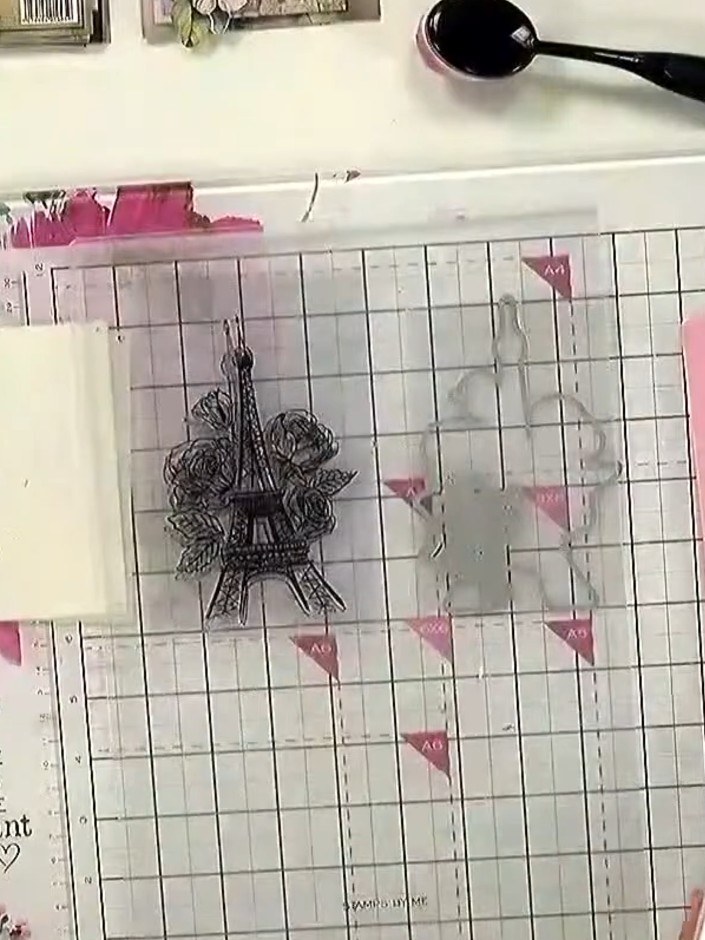
Create a beautiful greeting card featuring a 3D embossed floral design with elegant pink hibiscus flowers and inspirational text. Using an embossing folder and decorative papers, you'll add raised texture and dimension to create a luxury, handmade card. The technique combines embossing with layered elements to produce a stunning, professional-looking result.
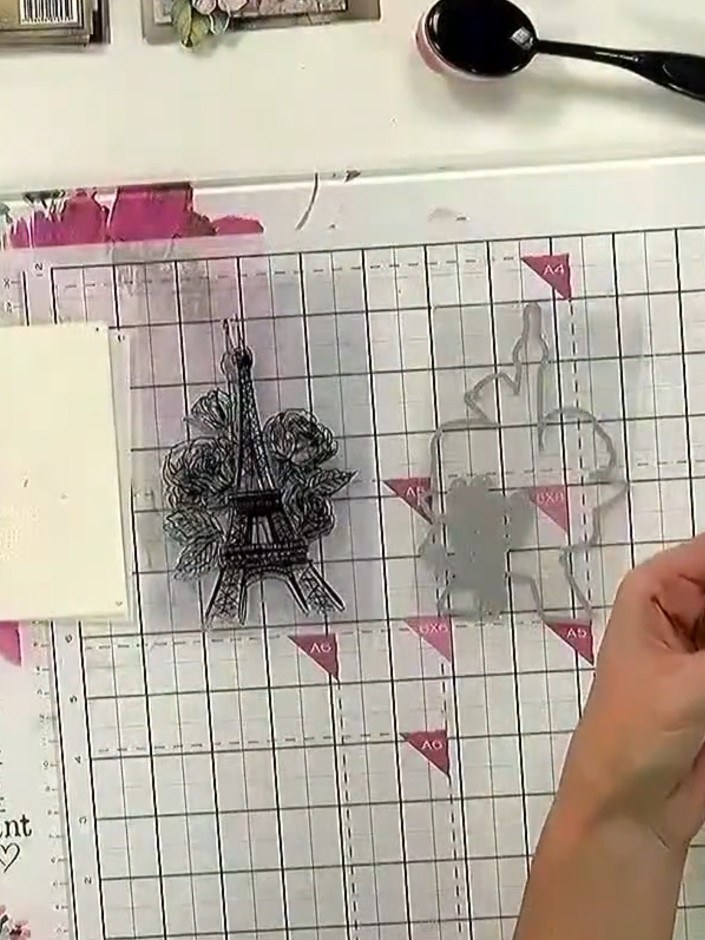
Place your die-cut design piece or prepared card stock on the magnetic glass mat. Position a pink card blank on the mat to prepare for the embossing process.
▶ watch this step (38:45)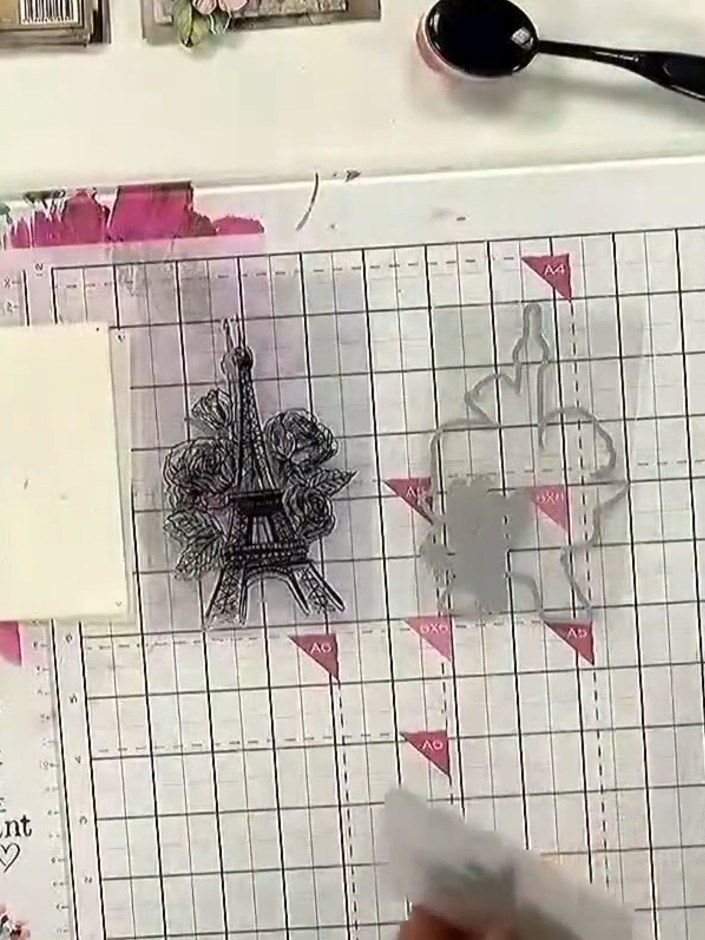
Open the 3D embossing folder and position your card stock on the raised side of the folder. Place the card stock carefully to ensure it sits flat within the folder.
▶ watch this step (39:00)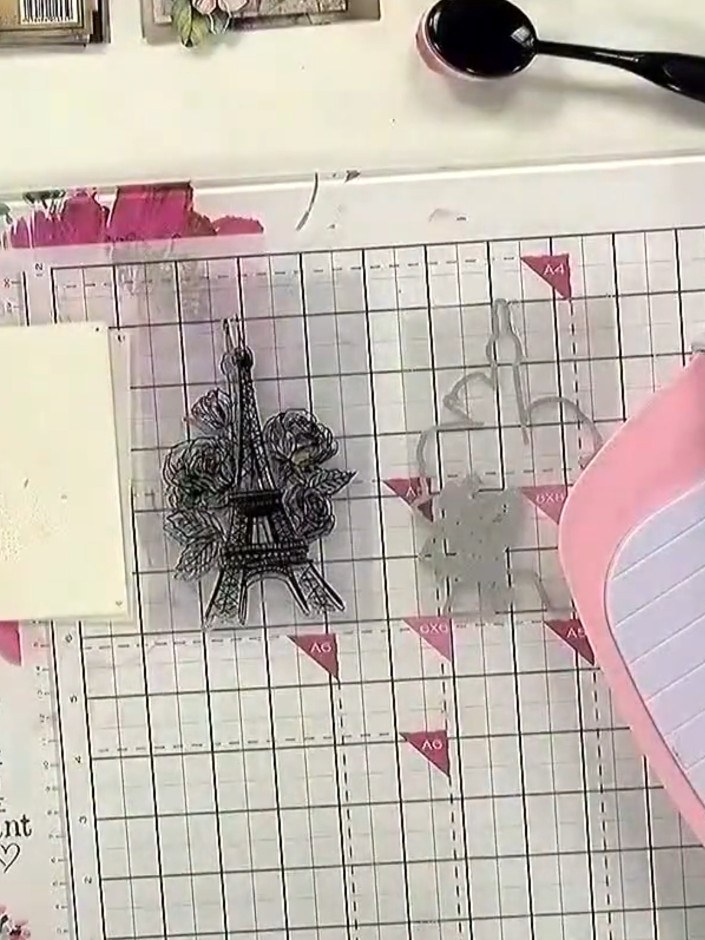
Close the pink embossing folder carefully over your stamped design, ensuring the image is centred within the folder. Press down gently to align the design before running it through your die-cutting machine.
▶ watch this step (39:15)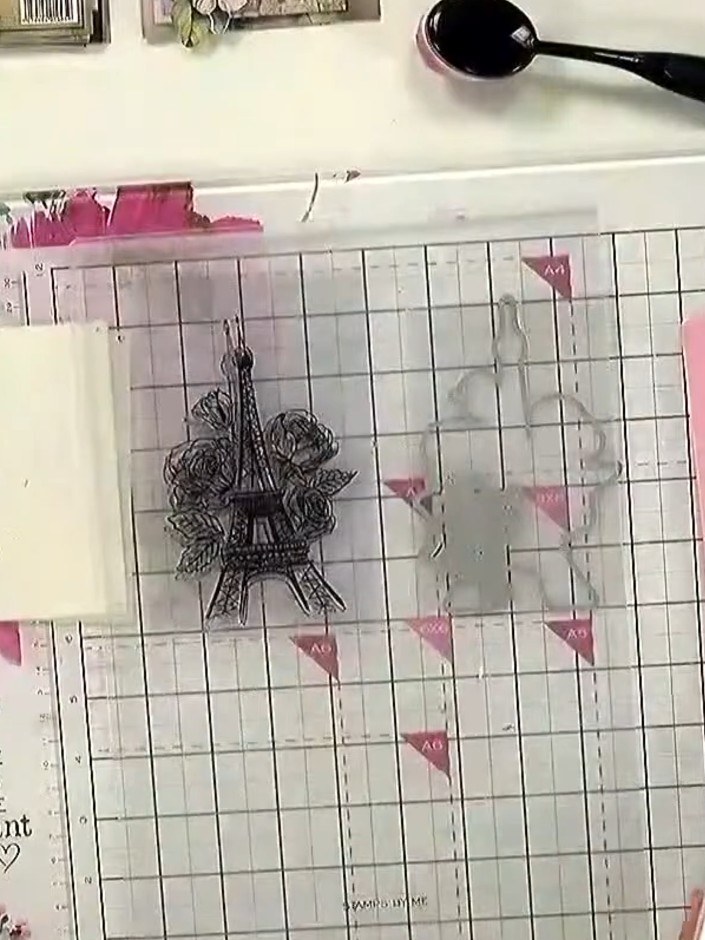
Create a sandwich by placing a clear plate on the bottom of the magnetic glass mat, then position your closed embossing folder on top, and finally place another clear plate on top of the folder.
▶ watch this step (39:30)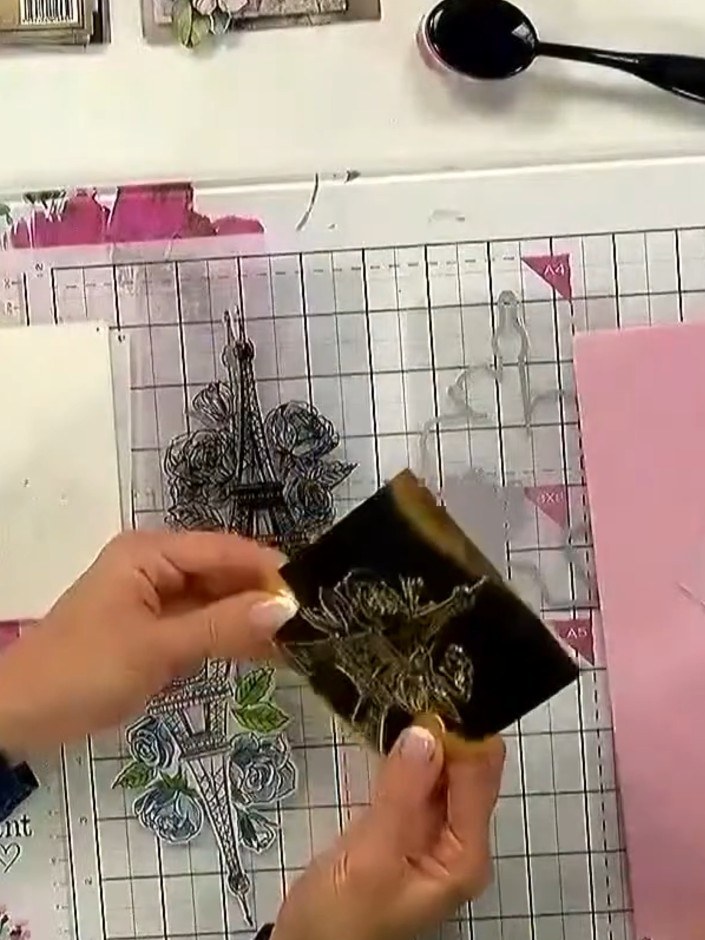
Run the sandwich through your die-cutting machine using the hand crank to emboss the design onto your card.
▶ watch this step (39:45)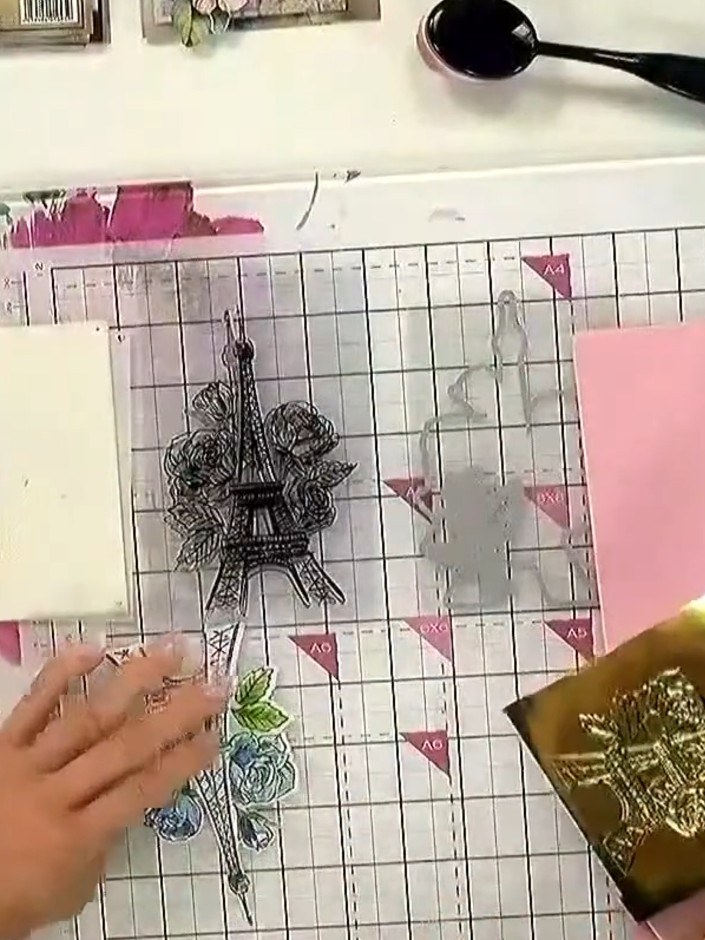
Carefully remove the embossing folder from your card. Admire the raised and recessed 3D effect created on the pink card panel, showing the detailed hibiscus design.
▶ watch this step (40:00)Written up from the show itself. See every guide from our shows · free how-to guides · watch live on My Telly