Give your friends €10 off their first order!
Refer a FRIEND








A project from our live show IDEAL WORLD - Join Toni for the latest Stamps By Me product launch - Broadcast Wed 21st May 12 p.m. · 21/05/2025 · watch it from 32:00
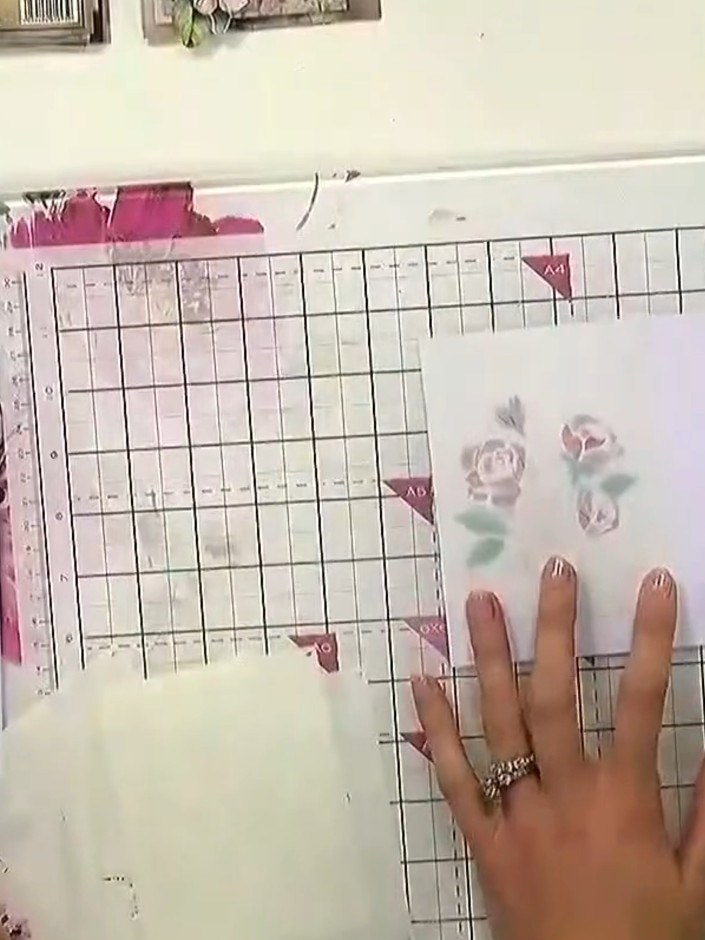
Create a beautiful embossed card featuring delicate floral designs in soft pink and purple tones. Using numbered layering stencils and coloured ink pads, you'll build up a detailed, dimensional image with professional results. This technique combines stencilling, embossing and layering to achieve a sophisticated, textured finish perfect for special occasion cards.
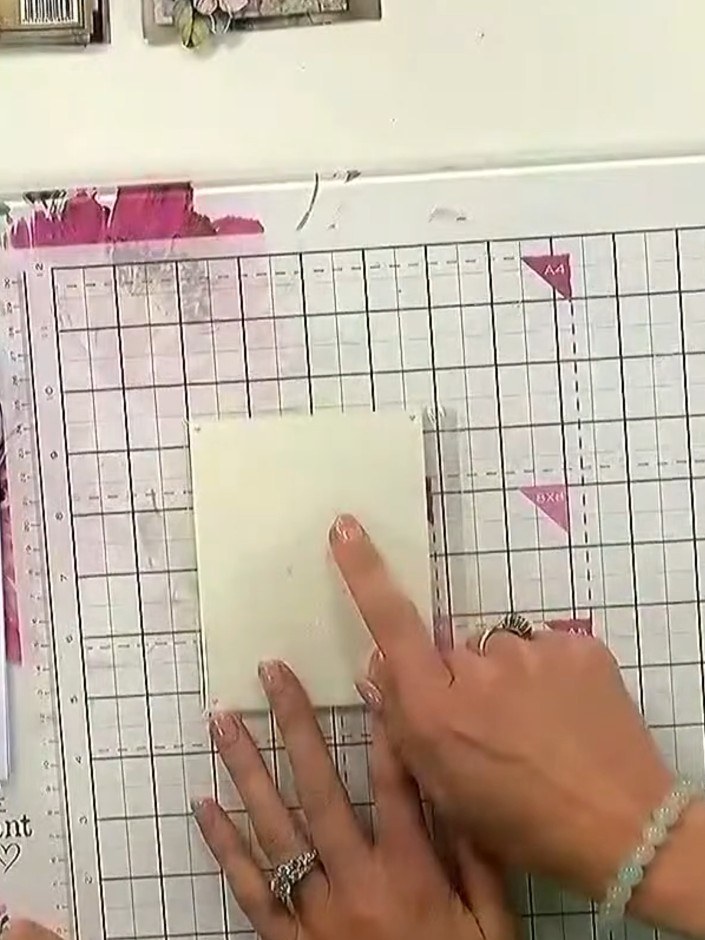
Position layering stencil number one in the corner of your card blank on the magnetic glass mat.
▶ watch this step (32:15)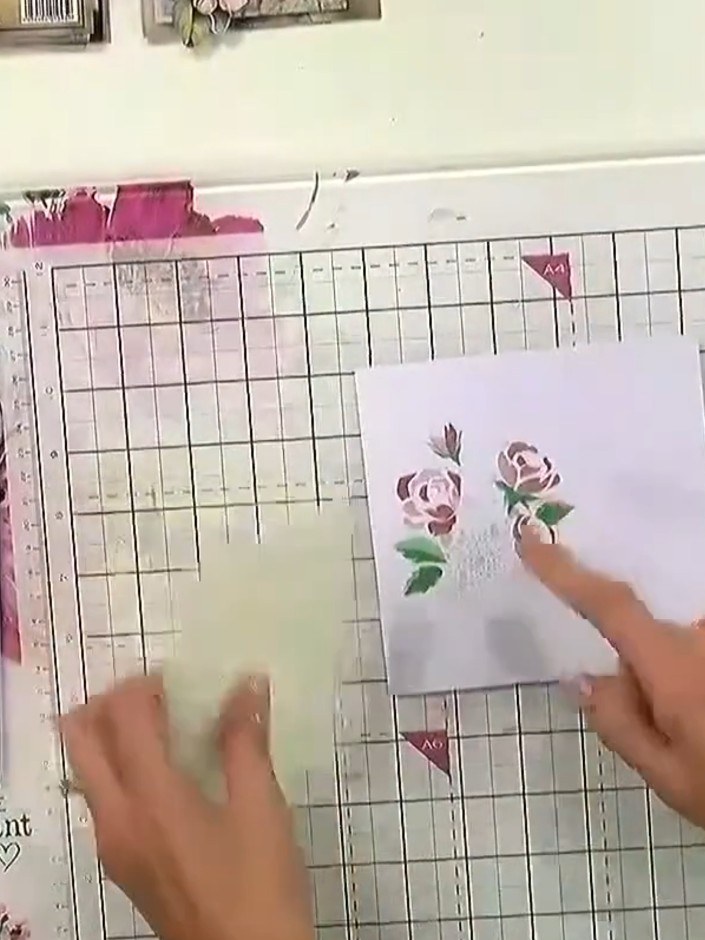
Use a blending brush to apply coloured ink through the layering stencil onto your white card. Work the ink gently through the stencil design to build up colour on the floral motifs.
▶ watch this step (32:30)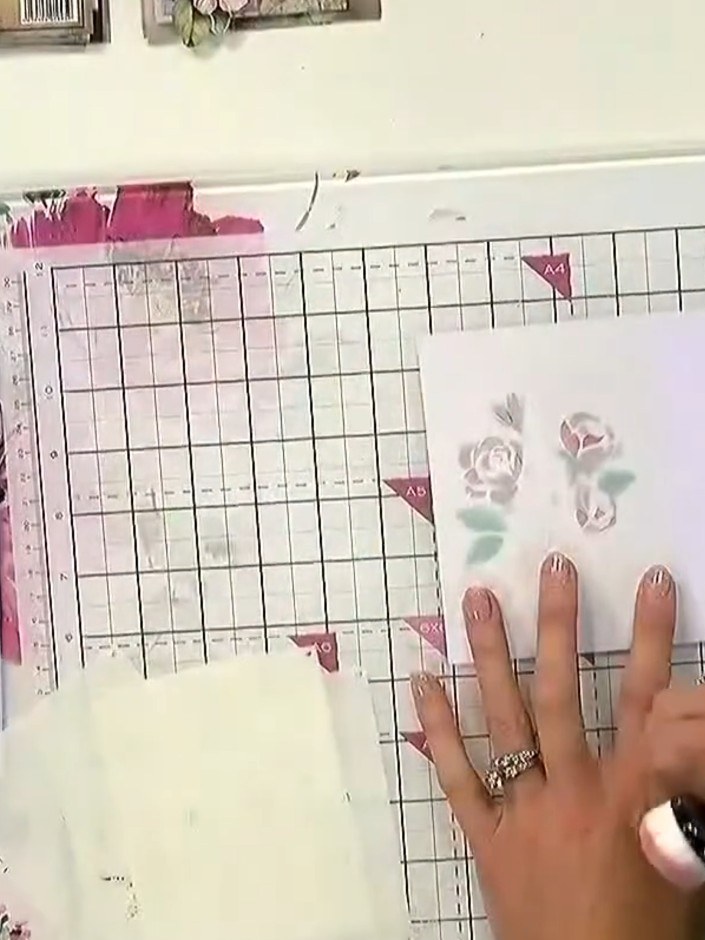
Remove the first stencil carefully. Position the second stencil in exactly the same spot on your card, aligning it precisely with the previous design.
▶ watch this step (32:45)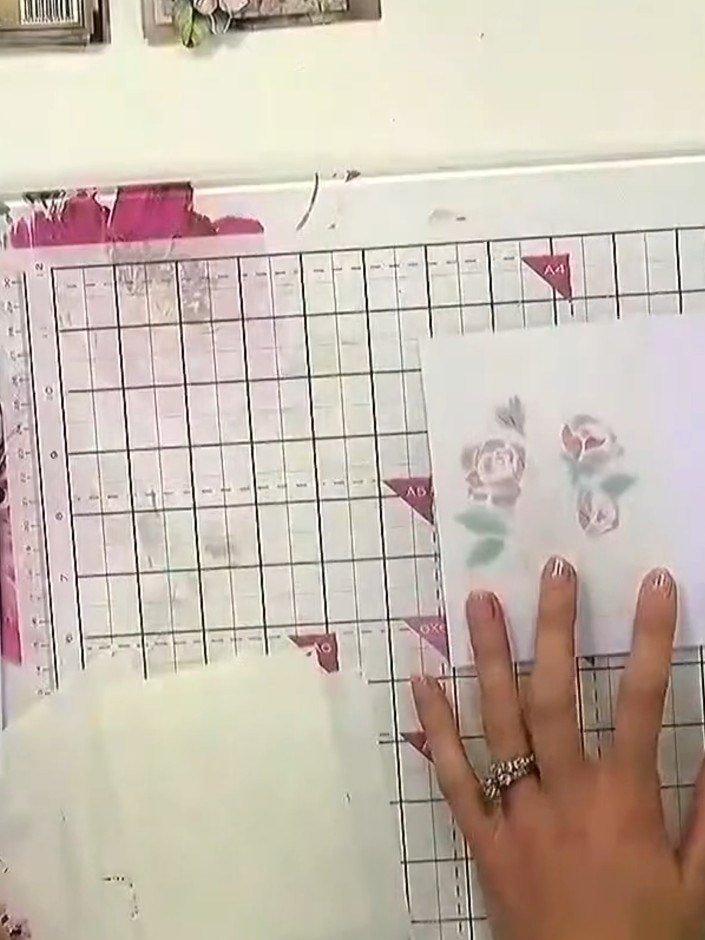
Apply a different colour ink through your second stencil using a blending brush. Work the ink through the stencil design to build up the layered effect on your card panel.
▶ watch this step (33:00)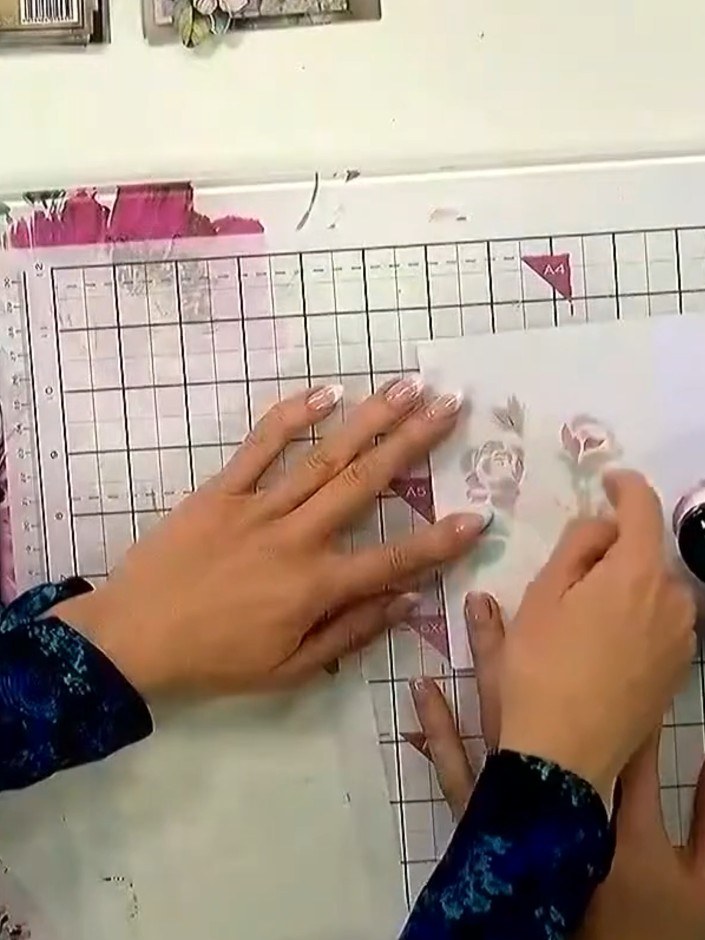
Continue layering with stencils three, four, five and six in the same position, changing to a different ink colour for each layer. Build up the design gradually, allowing the colours to blend and create depth.
▶ watch this step (33:15)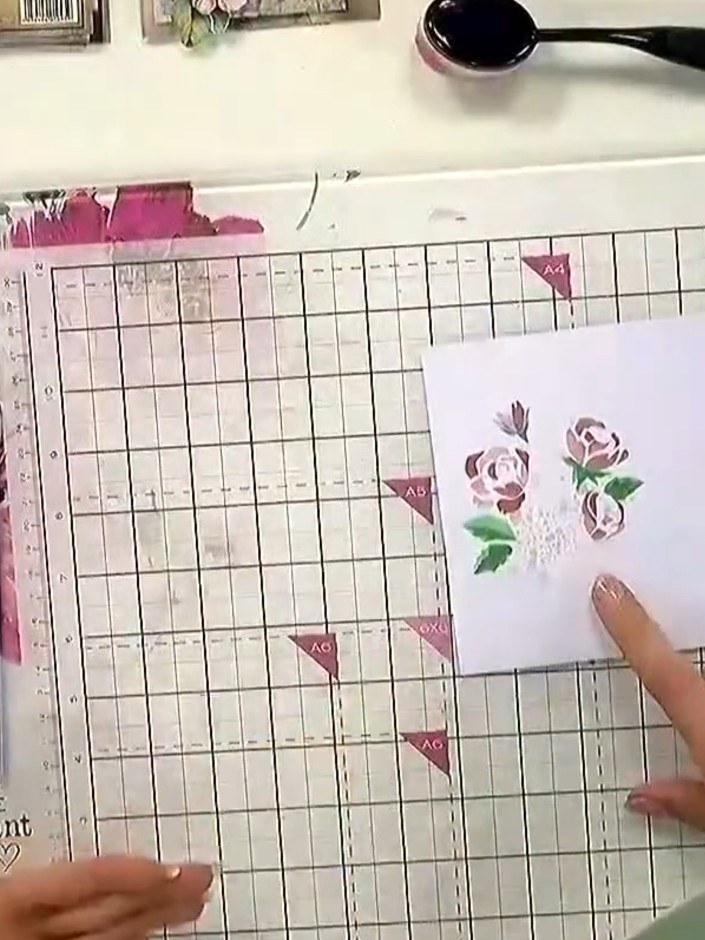
Allow the ink to dry completely between layers. The floral design with pink roses and green leaves should be fully dry before proceeding to the next layer.
▶ watch this step (33:30)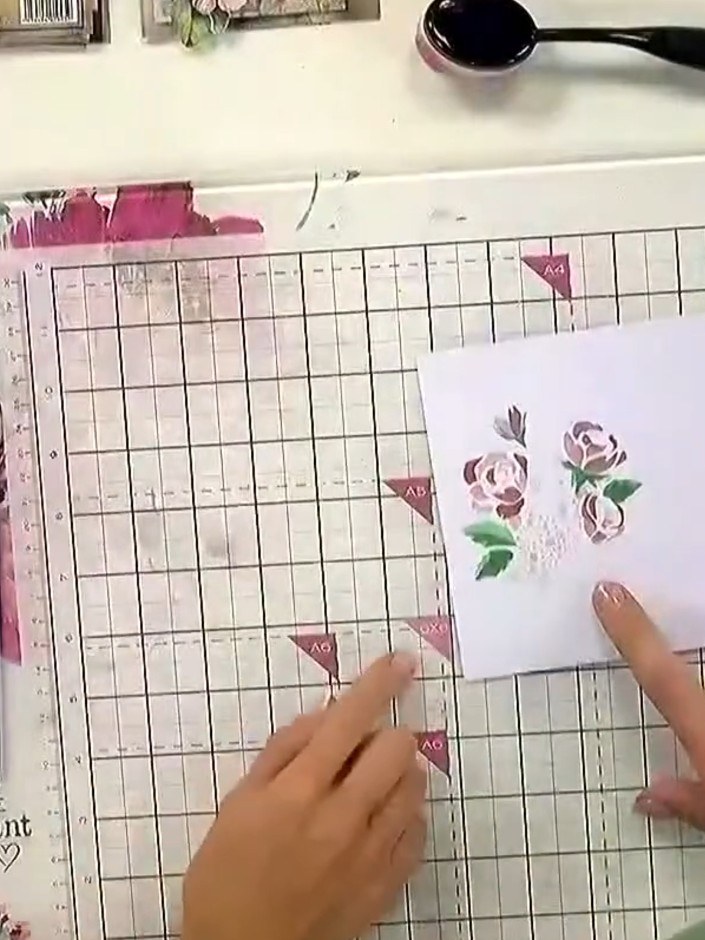
Position your final layered stencil design on the card to complete the multi-coloured embossed effect. The layers will create depth and dimension with the different colours showing through.
▶ watch this step (33:45)Written up from the show itself. See every guide from our shows · free how-to guides · watch live on My Telly