Give your friends €10 off their first order!
Refer a FRIEND








A project from our live show Create Together Club - 5 Days of Creativity - Broadcast Friday 14TH Feb 2025 · 14/02/2025 · watch it from 11:00
Create a striking card featuring a beautiful poppy flower stamped onto coloured card stock. This elegant design showcases a delicate floral image in dark ink on a soft blue background, mounted on a black card base with a white border. The stamping technique allows you to produce multiple cards with the same design on different coloured backgrounds, giving you plenty of options to choose your favourite colour combination.
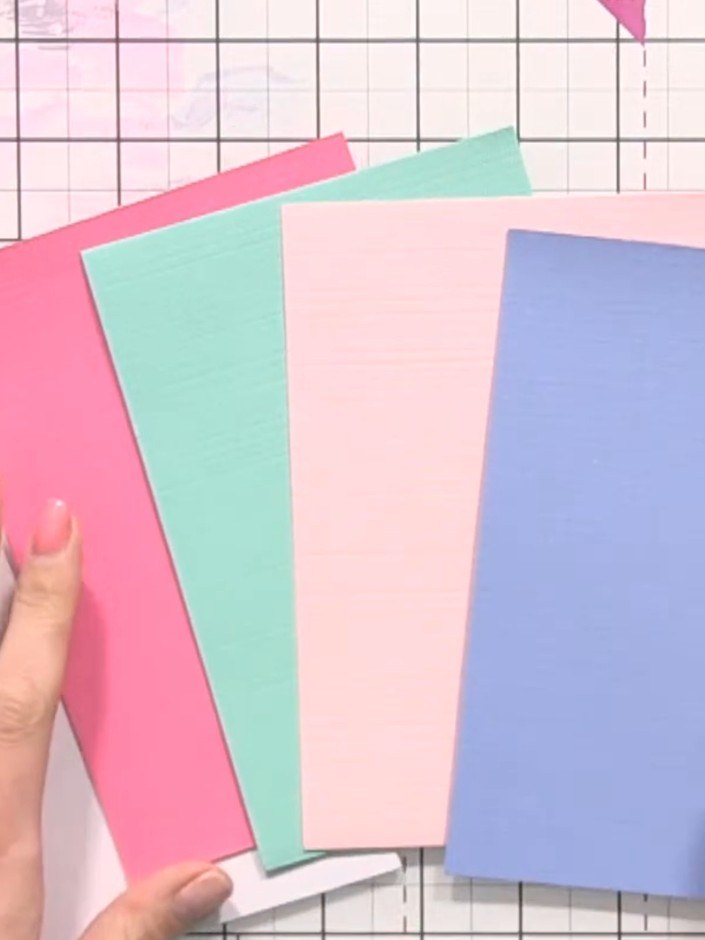
Gather a card blank and four pieces of coloured card stock in soft pastel shades: white, pink, mint green, pale pink, and periwinkle blue.
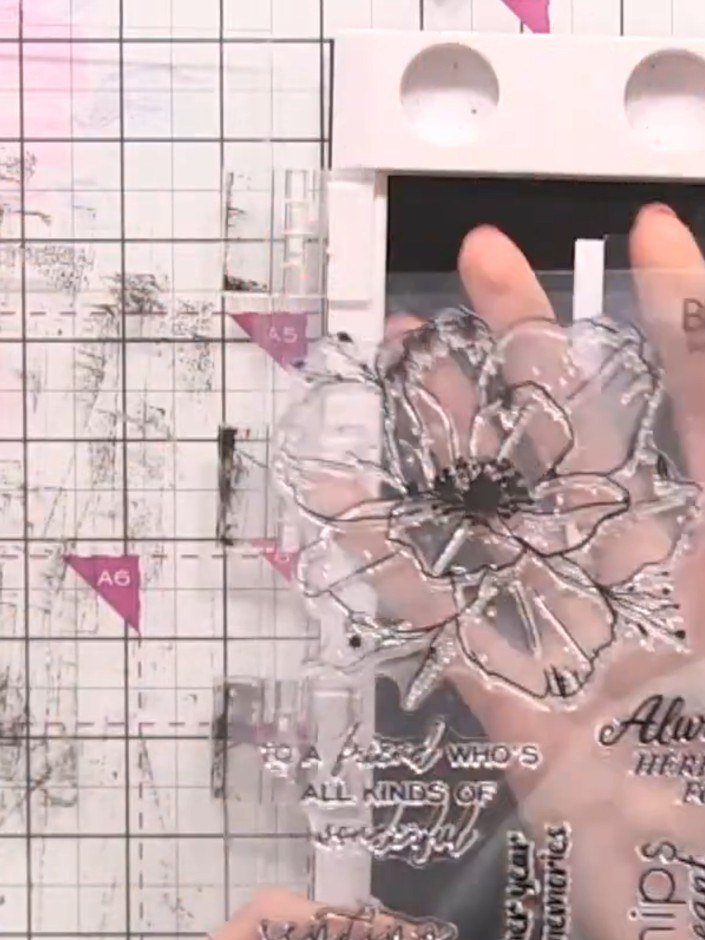
▶ watch this step (11:00)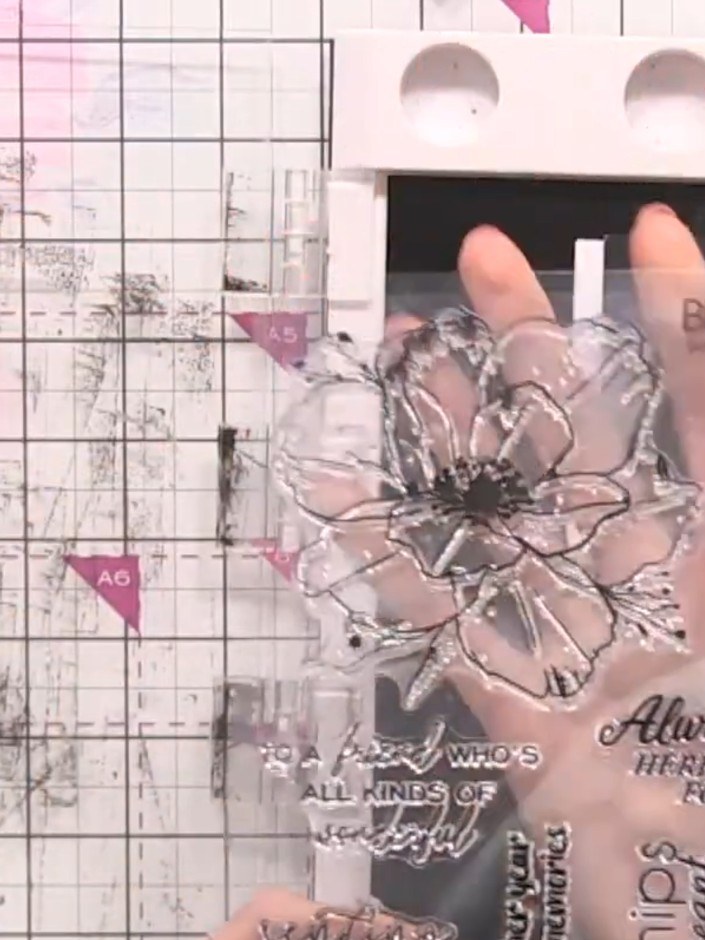
Ink up the large poppy stamp from the set with black ink using an ink pad.
▶ watch this step (12:00)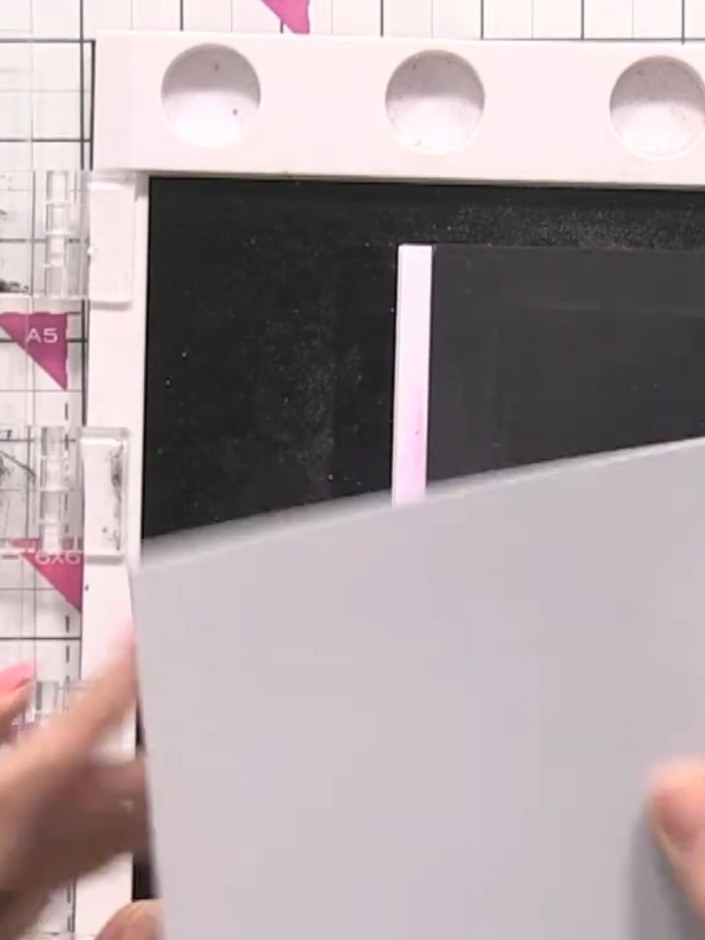
Position your white card blank in the corner of the Eureka stamping system to hold it steady for stamping.
▶ watch this step (12:30)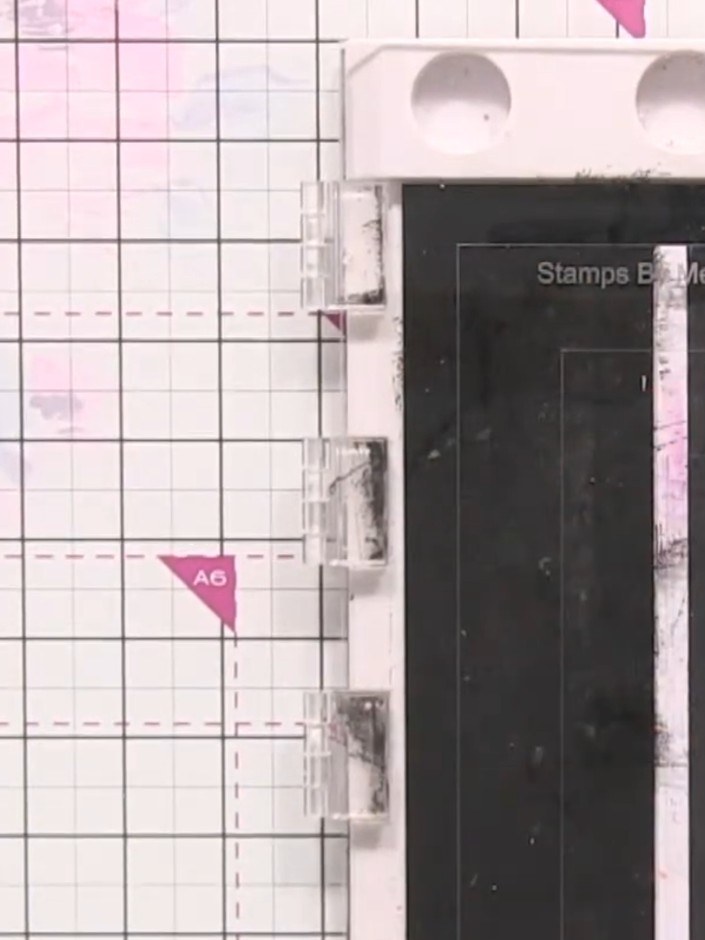
Stamp the poppy image onto the white card blank using the clear stamp and acrylic block. Press firmly and evenly to ensure good ink coverage across the entire design.
▶ watch this step (12:45)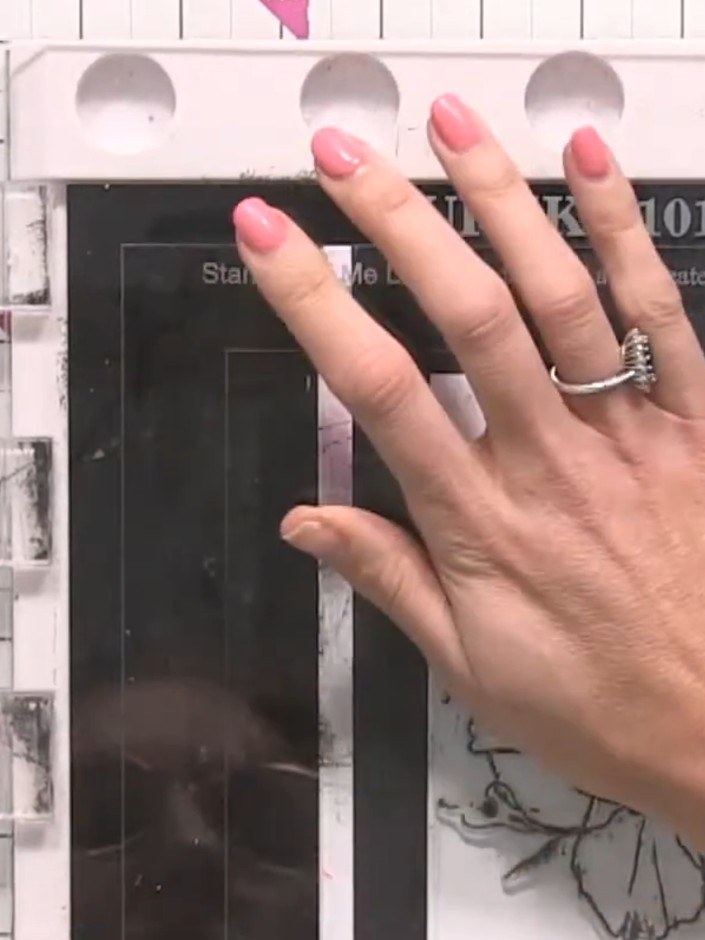
Without moving the stamp, remove the card blank and replace it with your first piece of coloured card stock, positioning it in the corner of the stamping platform.
▶ watch this step (13:00)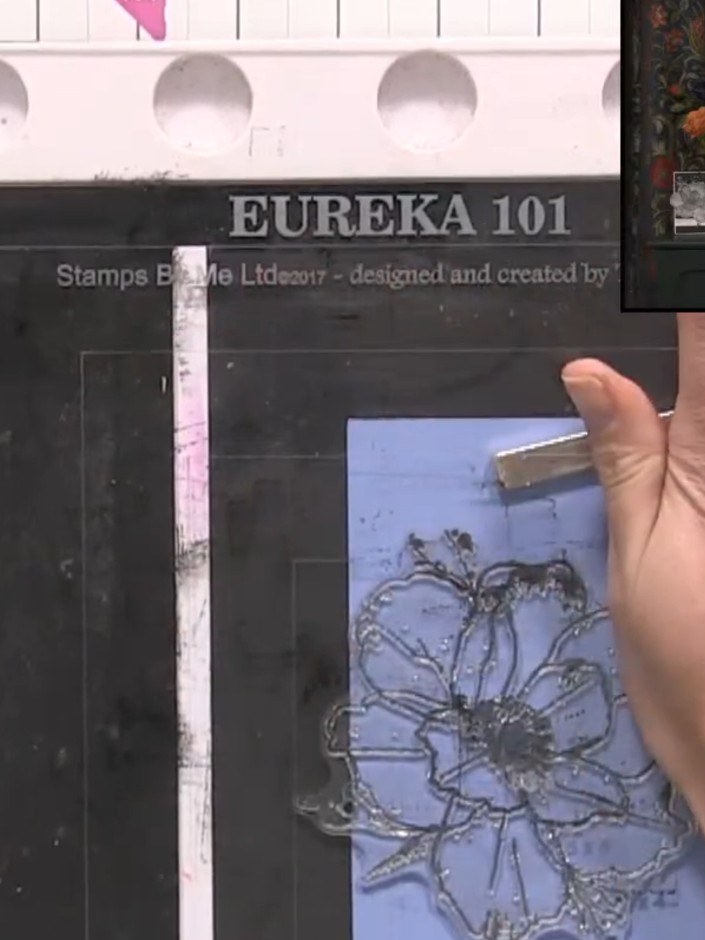
Stamp the poppy image onto the blue card stock using black ink. Re-ink the stamp if needed to achieve a darker, clearer impression.
▶ watch this step (13:15)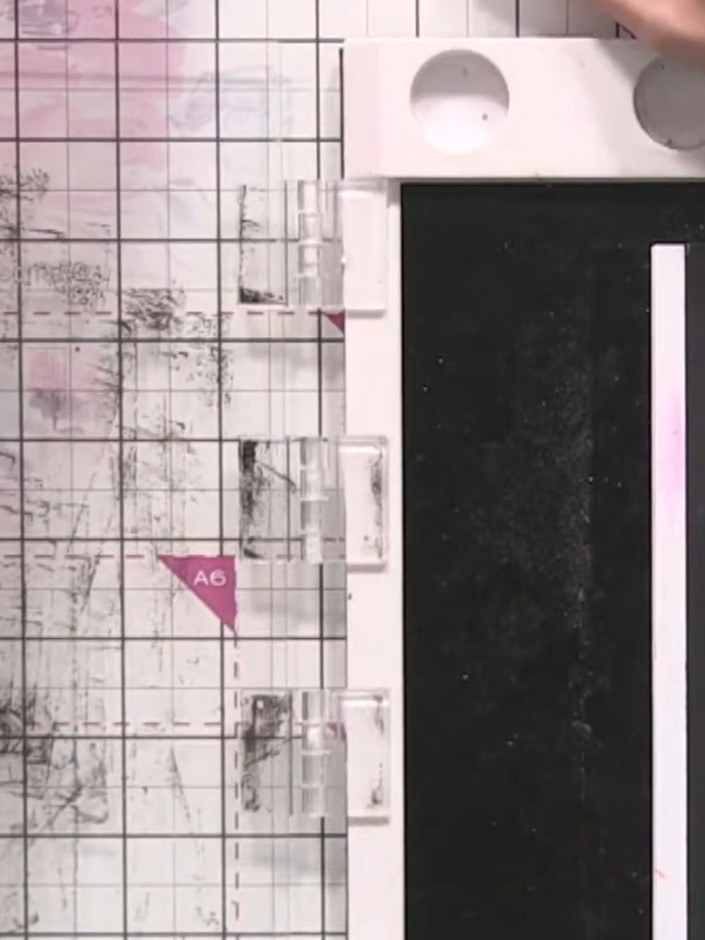
Repeat the stamping process with each remaining piece of coloured card stock (pink, teal, pale pink, and blue), keeping the stamp in exactly the same position each time to ensure consistent placement.
▶ watch this step (13:45)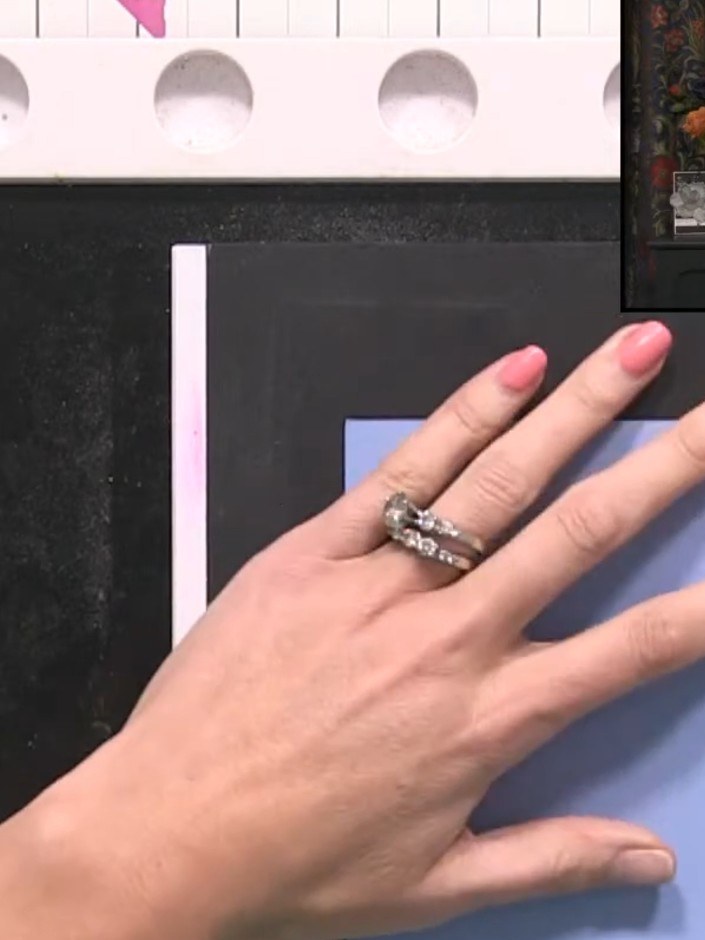
Review all your stamped pieces and select your favourite coloured background card for your finished card.
▶ watch this step (14:15)Written up from the show itself. See every guide from our shows · free how-to guides · watch live on My Telly